Happy New Year!!! For today I have gathered my top 9 papercraft ideas using snowflake dies, stamps, and stencils.
I hope you find them useful. Click on the pictures to find more info of each project and supplies list.
1. SNOW FLAKES DIE CUT BACKGROUND
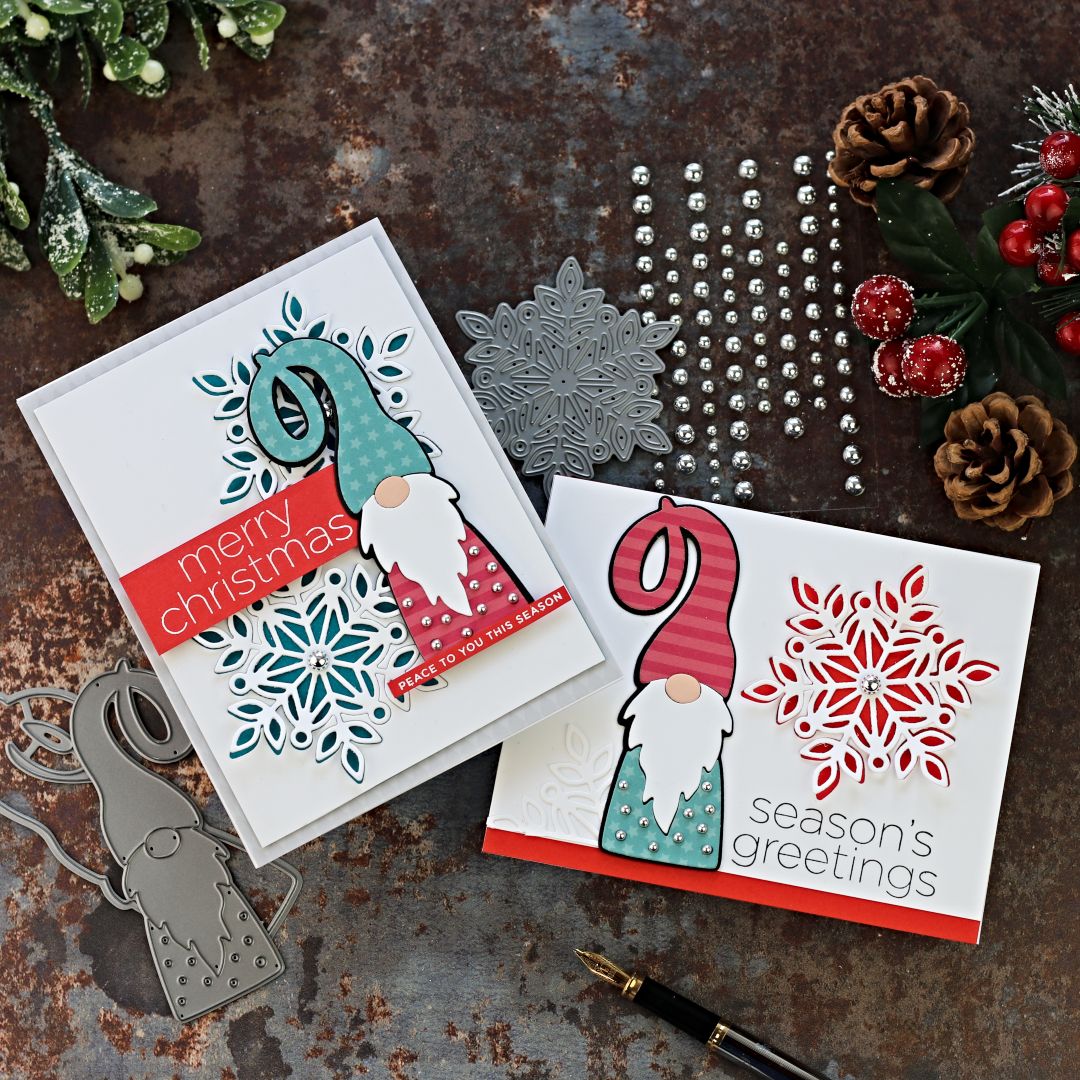
- Here is an idea to simply die-cut the background of your projects and inlaid the die cuts over the negative space.
- You can also glue the die cuts on a solid background to add a subtle and interesting texture. As a final result, the paper will look like if it has been embossed.
- For this project, I used “Gnome Wafer die by Simon Says Stamp“ and Marie Snowflake die“
- Video available here.
- Read the post here
2. SNOWFLAKE DIECUT TEXTURES AND LAYERS
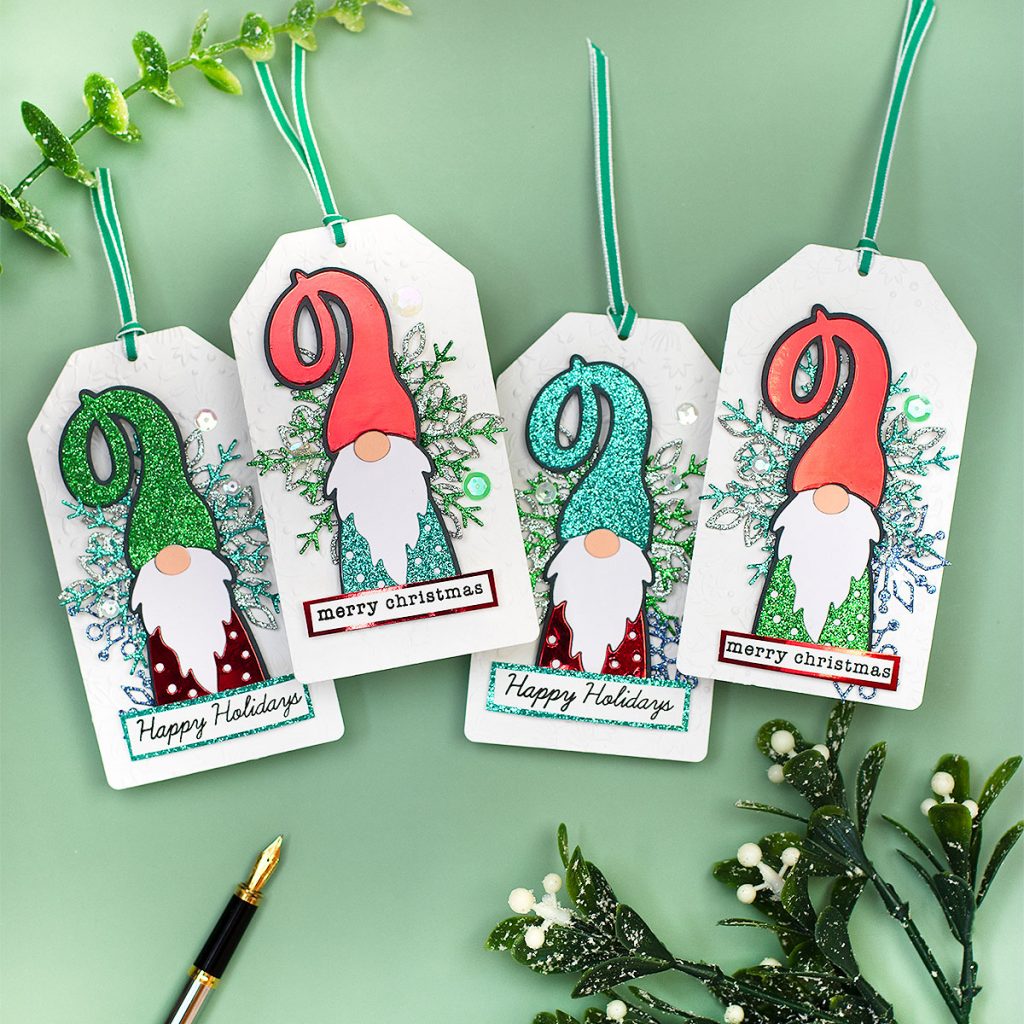
I love die-cut snowflakes our of glitter cardstock as it seems to be the first choice… Read the post here…
However, we can also use no traditional Xmas colours of Distress Sprays and inks to add colour to snowflake die-cuts as I id for the 2 projects below.

- For the card above and the tag below I used I used Rusty Hinge Oxide and Crackled Campfire Stain Distress Sprays.
- This will repurpose the die cuts giving them a different appearance.
- Layer these elements with a neutral colour of glitter cardstock for visual impact.
- Read the post here…
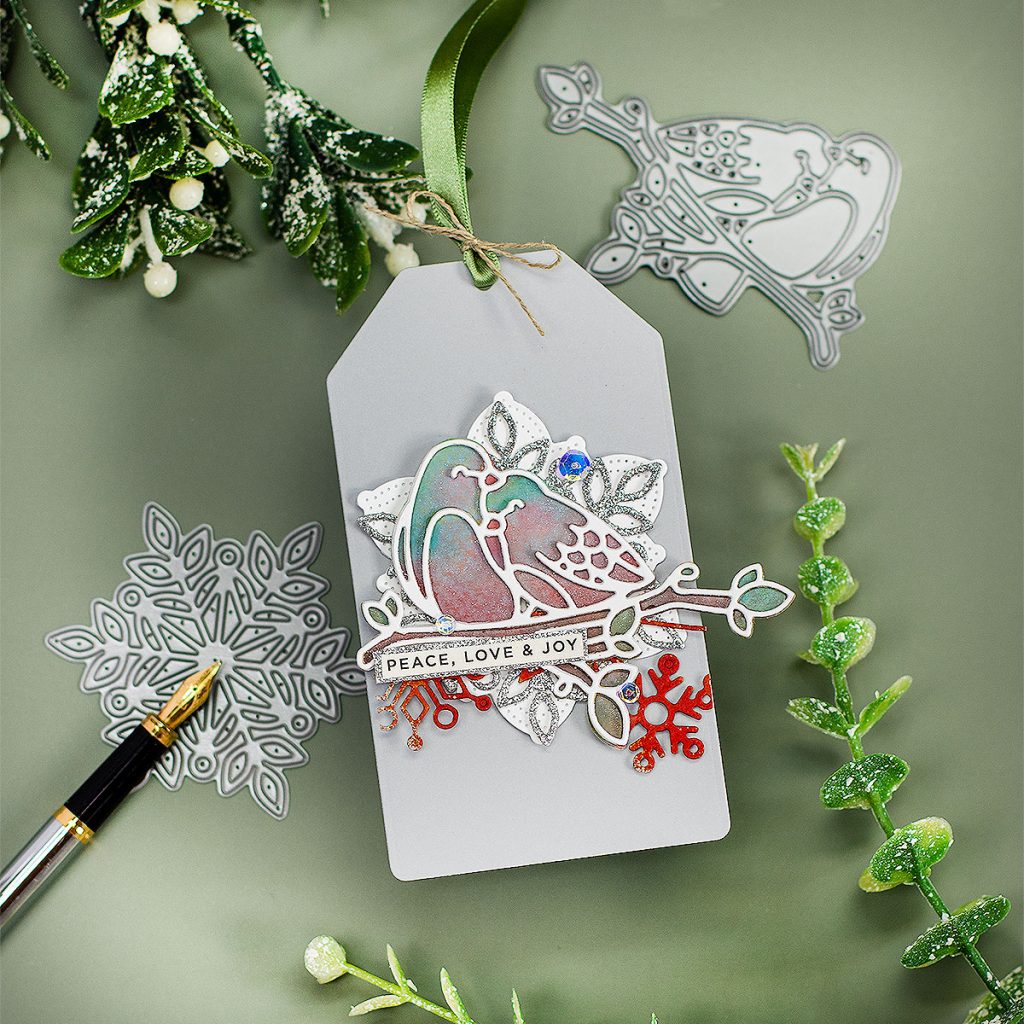
This tag use similar elements than the card above with a slightly different layout.
Read the post here…
For the projects below I used snowflake die-cuts as a decorative backing layer for the stamped images.
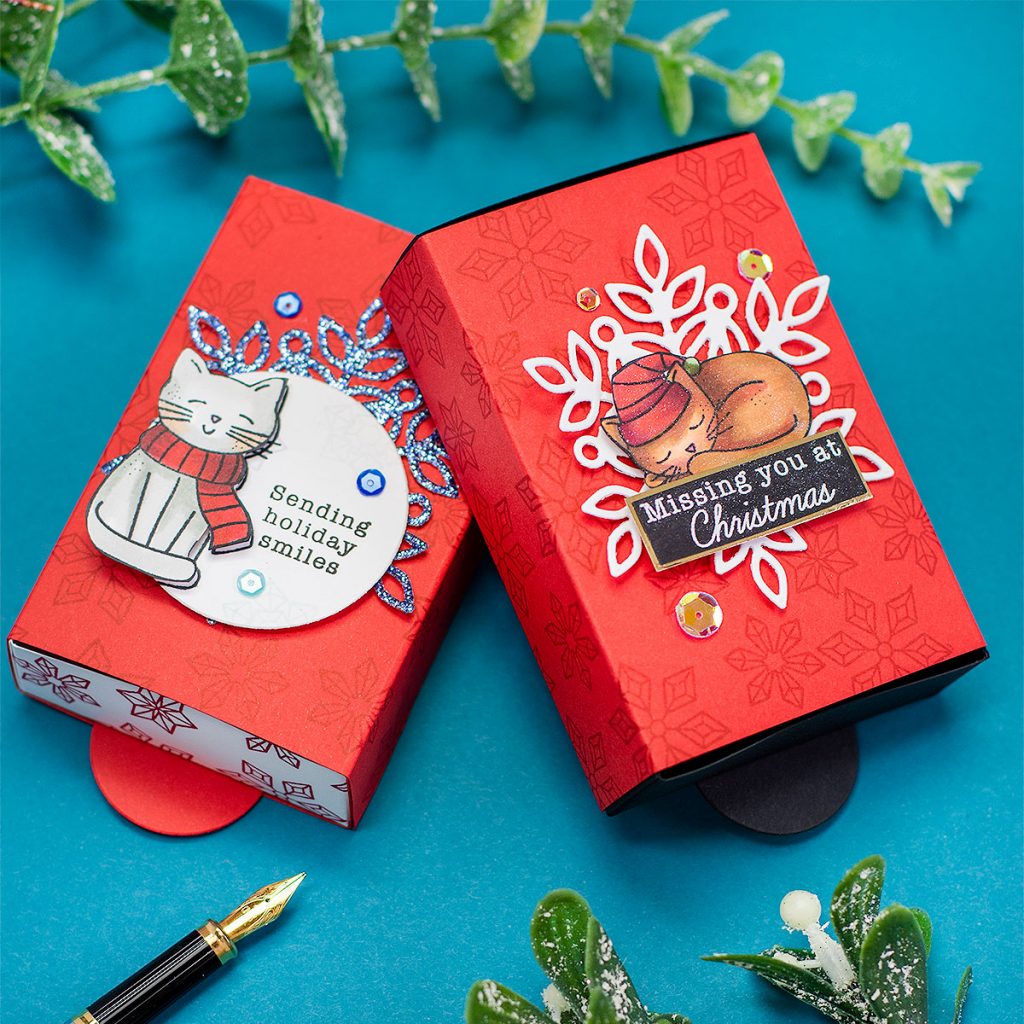
Read the post here…
Watch video to see the boxes in action here…
3. SNOWFLAKES EMBOSSED RESIST BACKGROUND
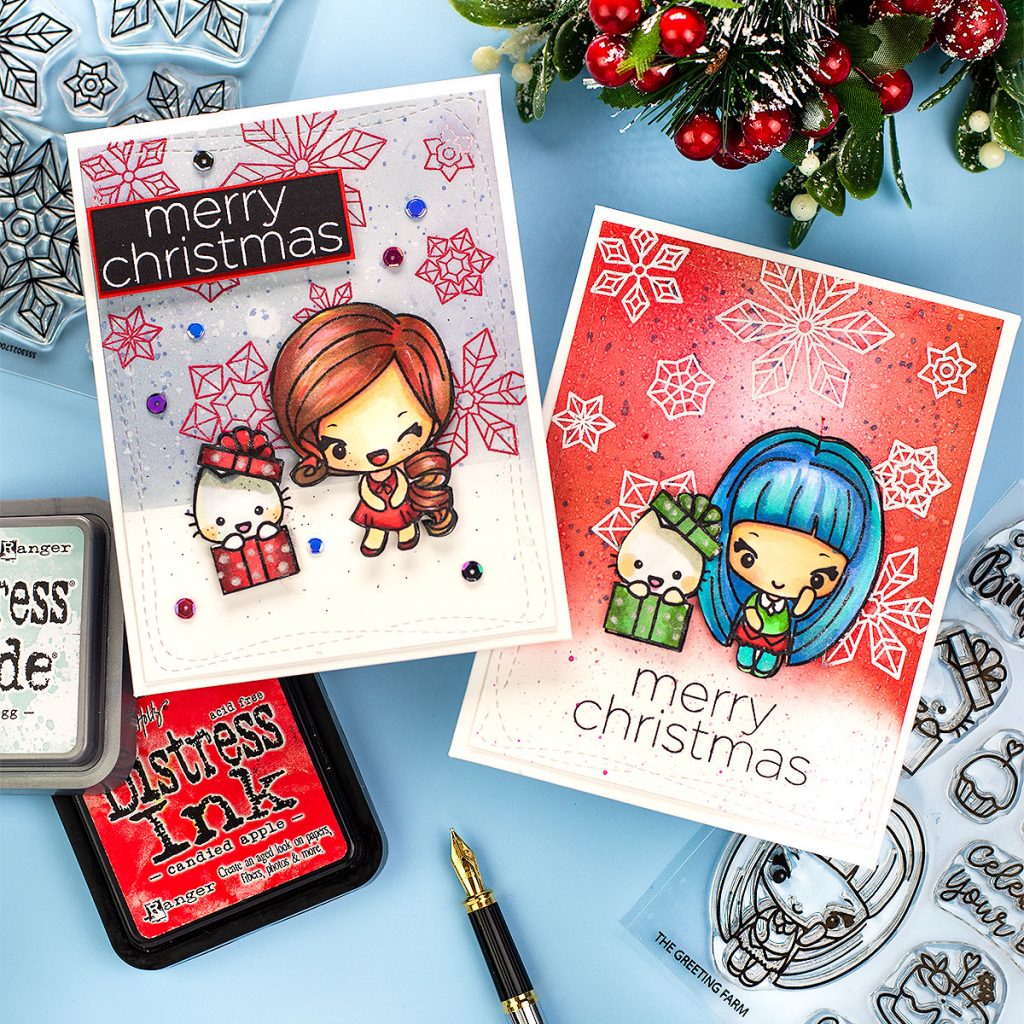
Simply heat emboss snowflakes images on the background of your projects using any embossing powder colour. This will add beauty to any winter or Christmas papercraft project.
So you can apply Distress Inks with a sponge as I did for the cards above and the card below.
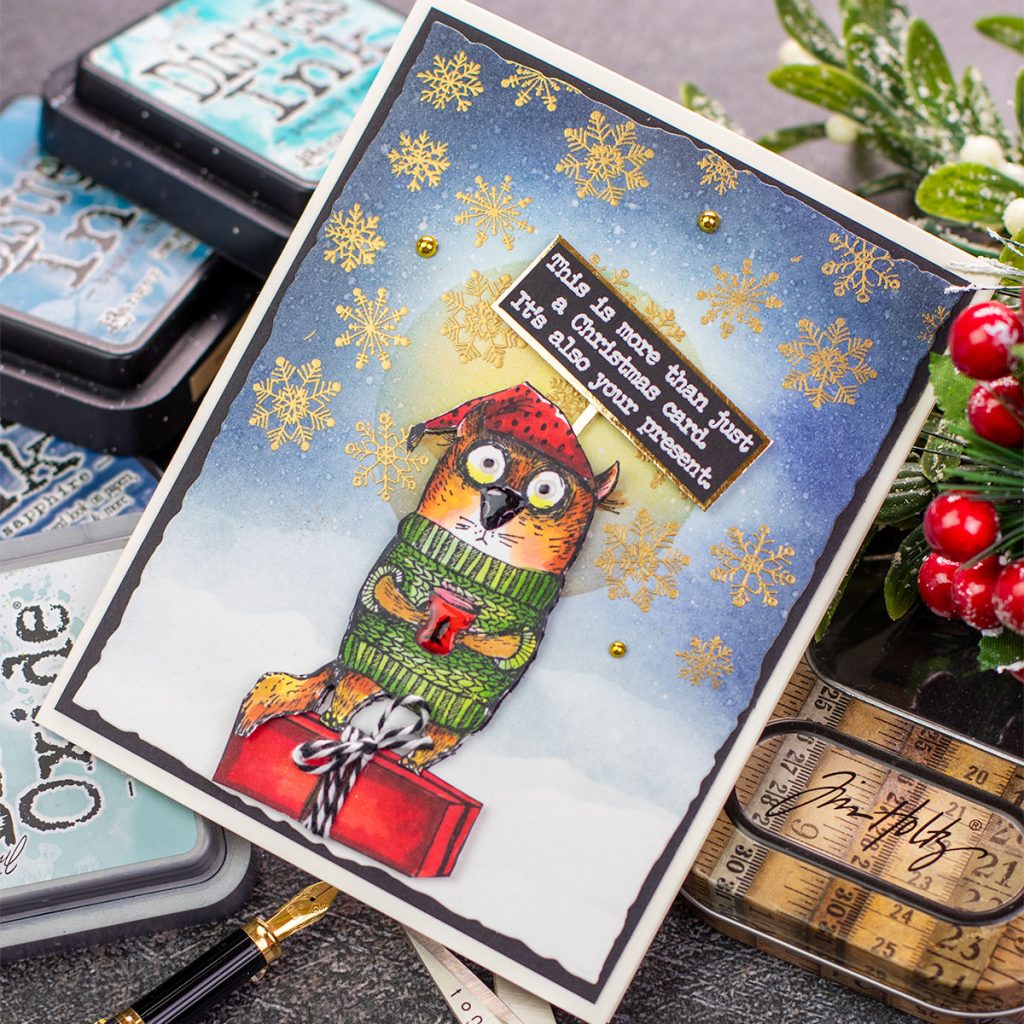
You can also add a more arty look by using Nuvo Aqua Flow Pens or liquid water-based inks over the embossed images for a completely different look as for the 3 Xmas cards below.
Read the post here…
Watch video technique here…
4. HEAT EMBOSSING ON MIRROR CARD FOR BOX MAKING

Heat embossing on Mirror Cardstock provides a beautiful elegant paper for different 3D projects.
Note: avoid using bone folder over mirror cardstock as it can create scratches and even though this kind of paper is not ideal for sharp folds or demanding narrow folds it will look fantastic on basic boxes or crackers.

Heat embossed mirror cardstock is also great for festive card making, below a sample of the look provided.

5. SNOWFLAKE DECORATIVE DIE-CUTS PANELS FOR BOXES

This couldn’t be easier. To decorate boxes, simply adhere snowflake die cuts to the box panel .
Read the post here…
6. EASY SNOWFLAKE TOPPERS

Here is an idea to stretch your snowflake die-cuts or to create quick and easy toppers for your projects.
Read the post here...

Here is another idea for easy toppers but this time I also added a fun diagonal sketch using scrapbook paper.
Read the post here…
7. SIMPLE SNOWFLAKE TONE ON TONE STAMPING
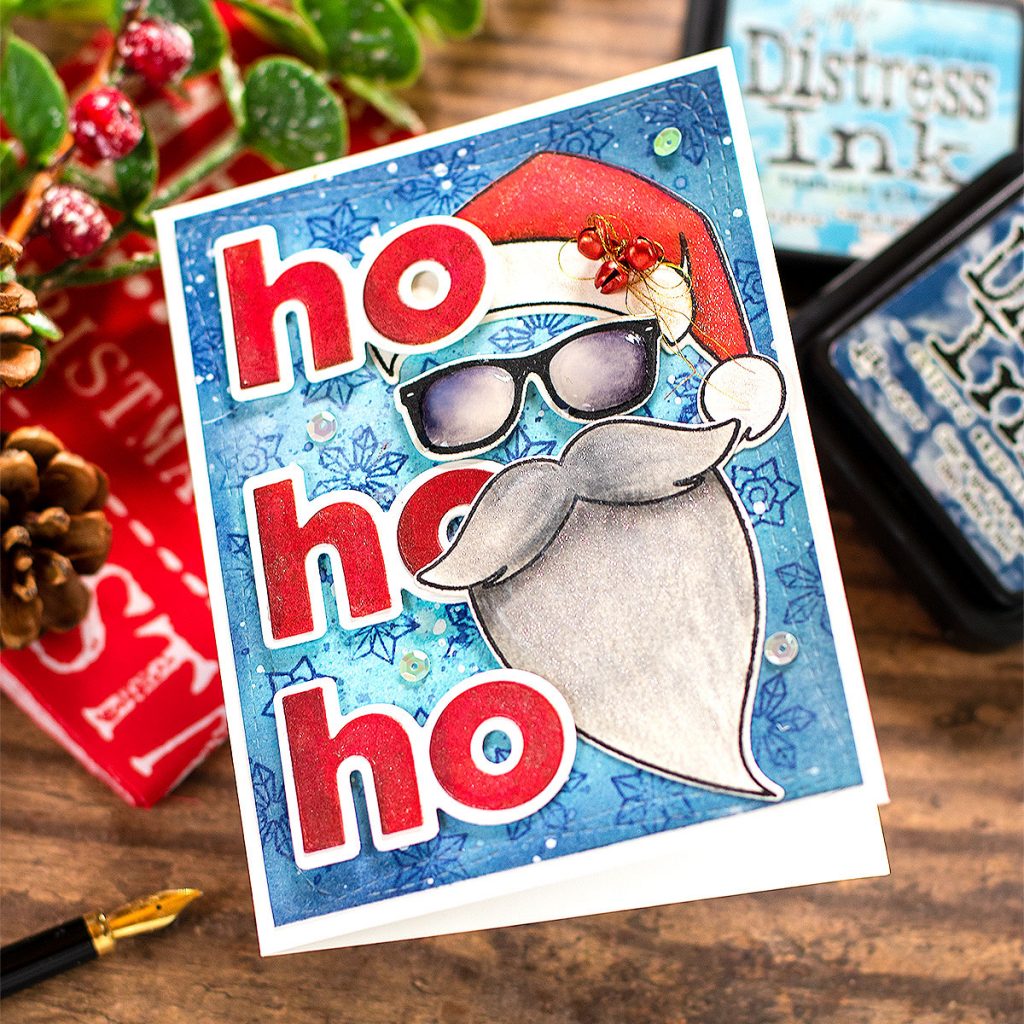
For easy and quick backgrounds you can also add Distress Inks with a blending tool and stamp tone on tone snowflakes as in the card above and the cards below.
Read Santa Card post here…
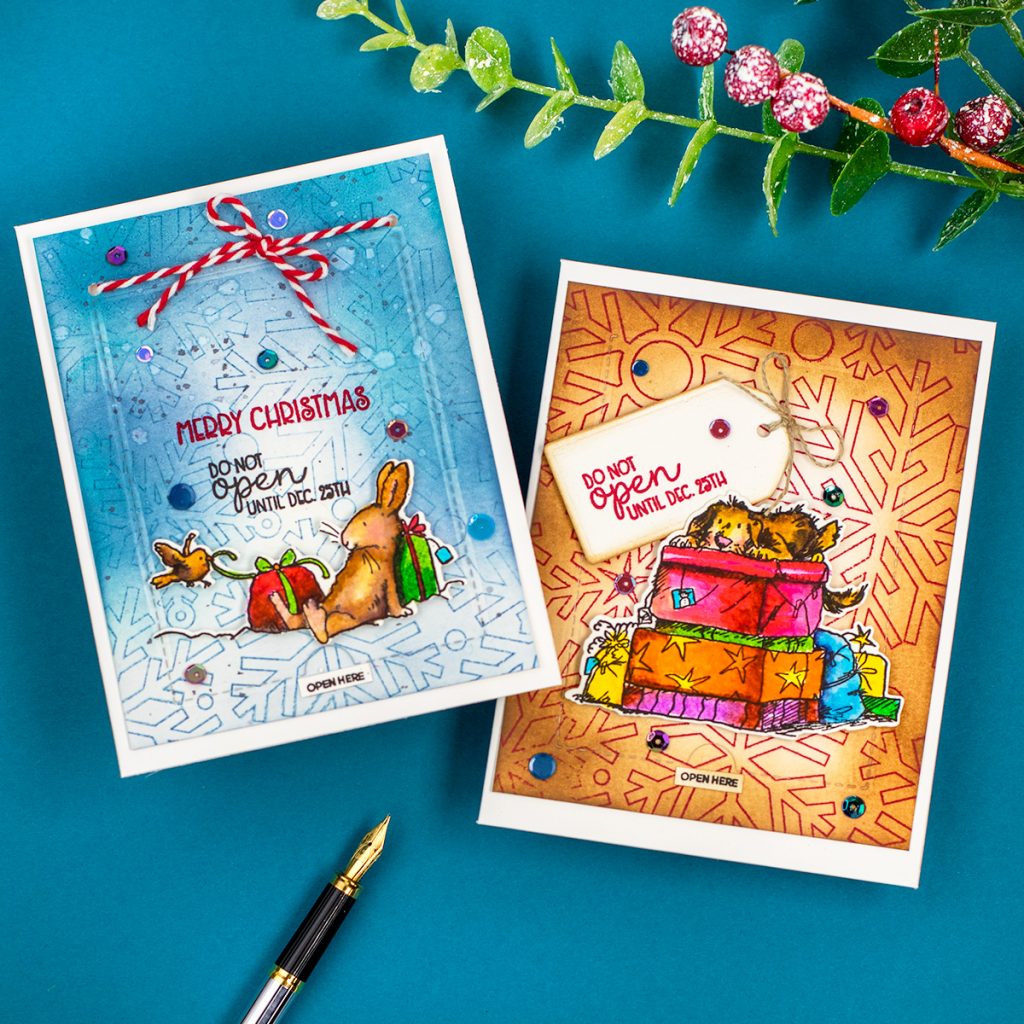
Read the post here…
8. TEXTURED SNOWFLAKE DIE-CUTS AND STENCILLED BACKGROUNDS

- Another fantastic idea is to apply Nuvo Expanding Mouses with snowflake stencils on background panels.
- You can also apply Expanding Mousses directly on snowflake die-cuts using a palette knife or a spatula. for the box sample above, I used Nuvo Iced Aqua Expanding Mousse.
- Then, heat set the mousse to make it expand creating a beautiful texture.
9. snowflake stencilled background
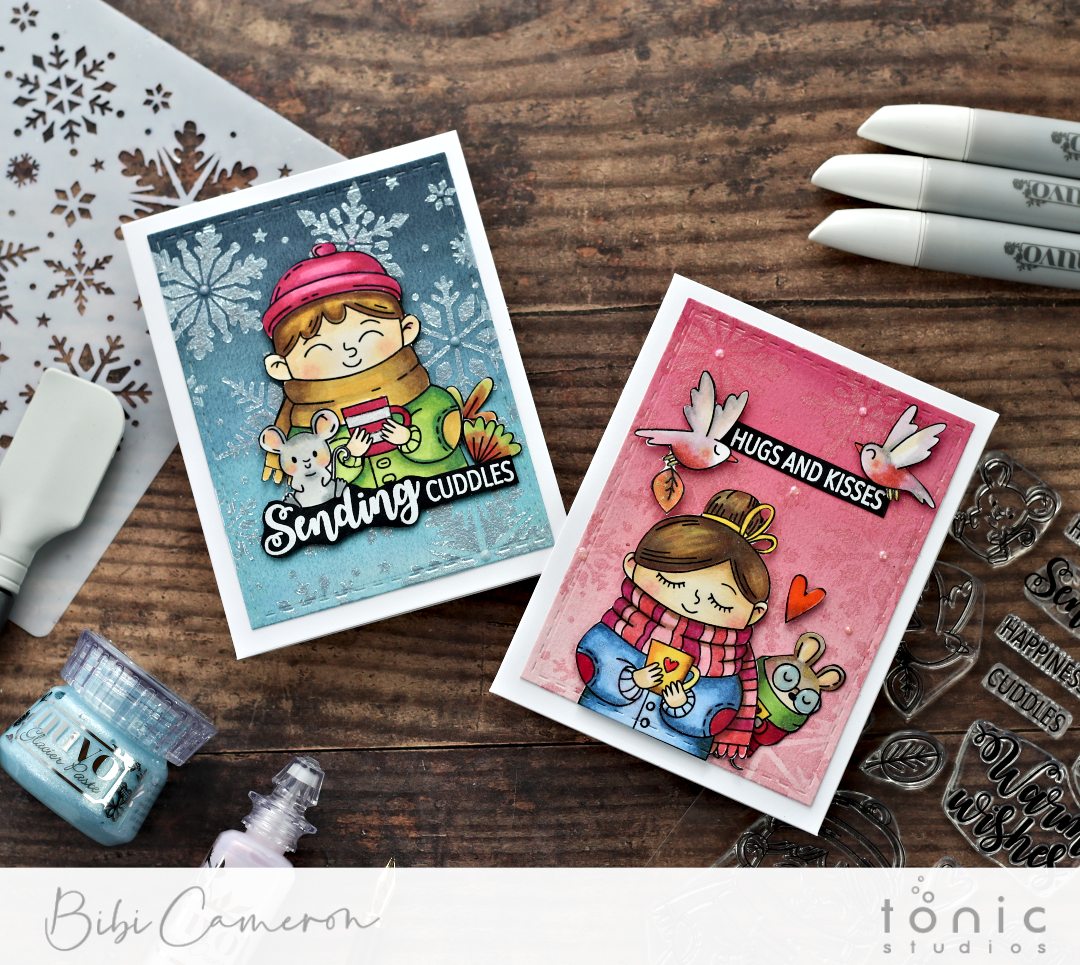
You can also create beautiful shiny snowflake backgrounds using Nuvo Glacier paste in different colours.
For the card above I used Frostbite and Frosted Pearl Nuvo glacier pastes.
That’s all for today
I hope you enjoy this post with ideas to get crafty with snowflake die-cuts, stencils and stamps.
Happy Crafting
X
Bibi


So many wonderful snowflake ideas and projects. Very curious about the emboss on mirror paper. Looks fantastic.
Happy New Year! Looking forward to more of your crafty ideas in 2021. Have a great new year.
Thank you very much. We need to be careful when heat embossing on mirror card as it has a plastic coat that can get damaged with excess heat apart from that this looks so cool. Happy new year and thanks for your kind comment.
Your cuddle cards are so stinking cute❤️❤️❤️ Love the way you colored the images❤️❤️ Thanks for sharing Zoila