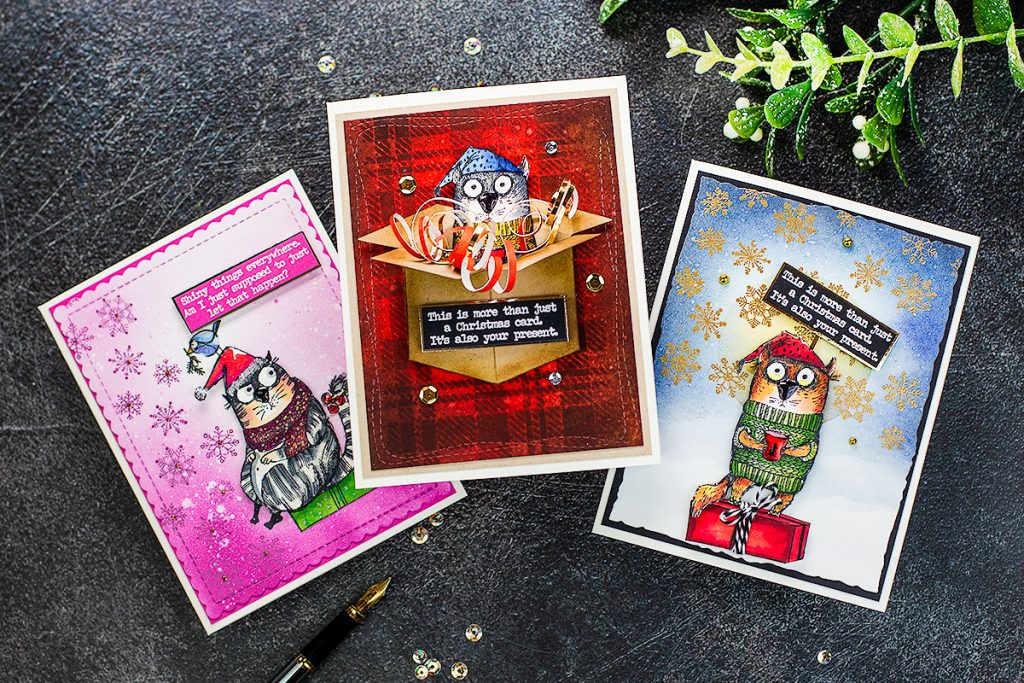
Hello there, Tim Holtz STAMPtember 2020 stamp set has been released today and I’m loving it!
This stamp set is super cute, fun, and modern! It made me smile as soon as I saw it and I really hope it can make you smile too.
It offers a very different and original solution for Xmas themed cards or different papercraft projects for the upcoming season.
The sentiments and the cats’ eyes expressions are hilarious!
Tim Holtz STAMPTEMBER® 2020 Revealed!!
Here you have a super fun 16 pieces Christmas themed stamp set.
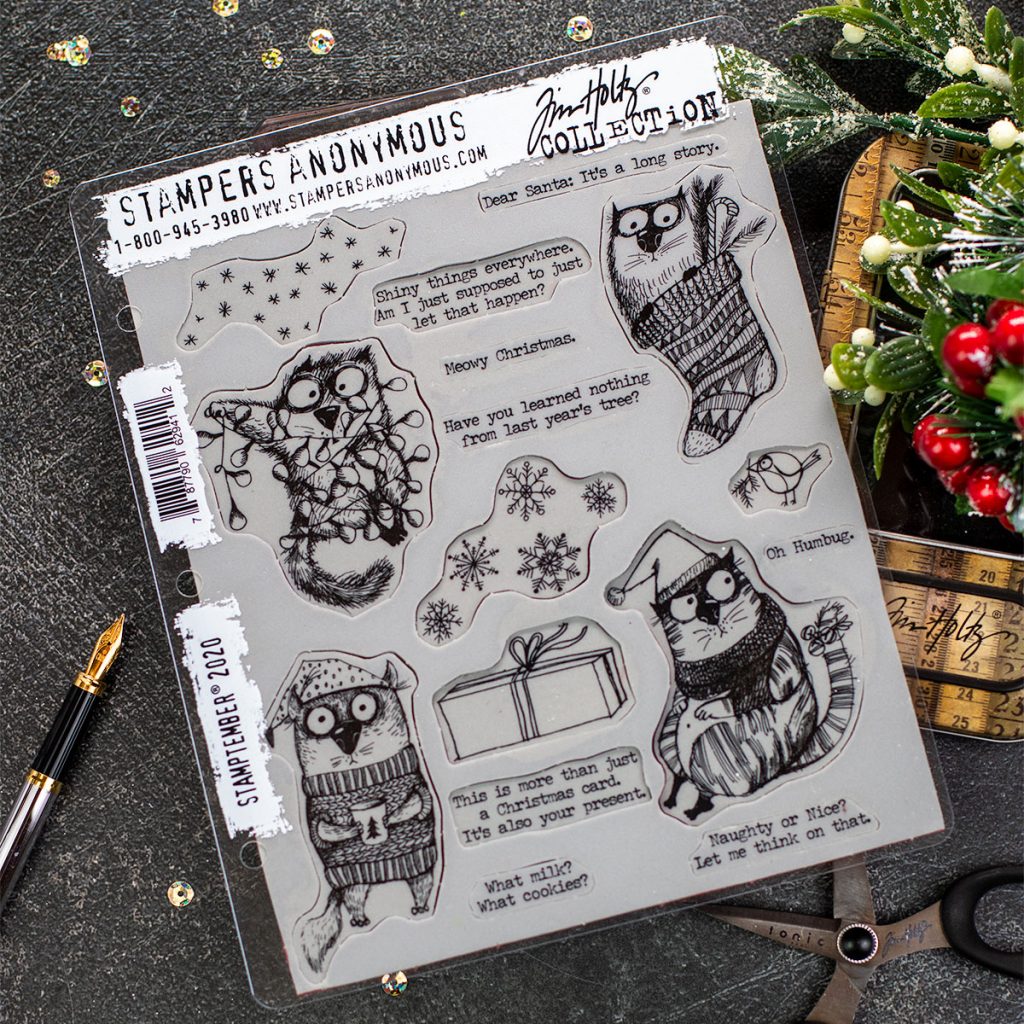
Available for a limited time and while supplies last.
To show you the Tim Holtz STAMPtember 2020 stamp set in action, I put various hours of crafting in a 3-minutes video.
I’m also sharing in the video 3 easy ink blending backgrounds.
Tim Holtz STAMPtember 2020 Cat in a Box Card
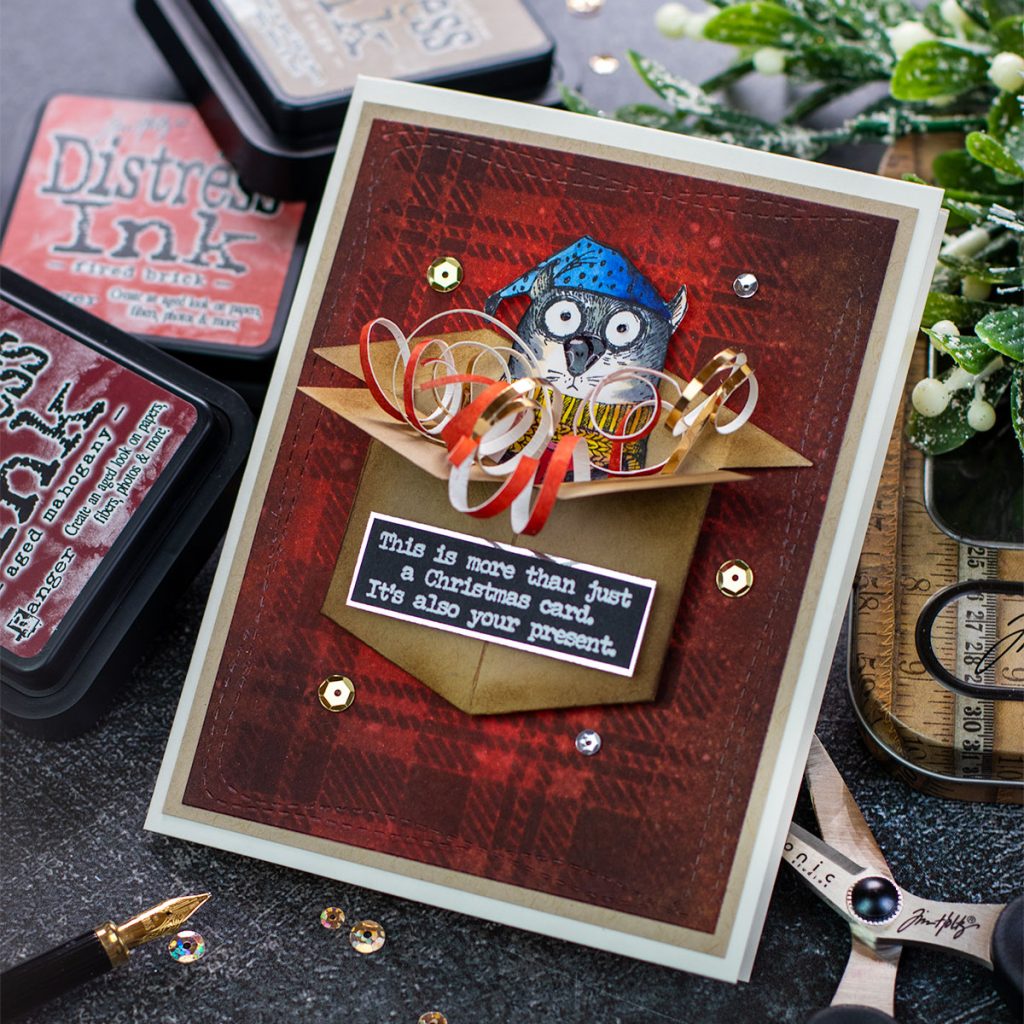
Cats love boxes, right? So why not to add a fun 3D topper to this card.
- First, I stamped the image using black Memento ink over 300grams smooth cardstock .
- Then I applied colours using Copic markers.
- I fussy cut the image and to give it a nice finishing touch, I applied a black Memento marker around the edges.
- For the background, I fully cover a white piece of 300 grams smooth cardstock using Fired Brick and Ripe Persimmon Distress Inks.
- Next, I applied Gathered Twigs Distress Ink over the inked panel using Tim Holtz Layering Stencil Plaid.
- To create white speckles, I sprayed water over the panel and lift the ink colour using a paper towel.
- I applied Gathered Twigs and Black Soot Distress inks around the edges of the panel as well.
As I like to add some kind of decorative edge to the front panels of my cards, I used SSS Wonky rectangles die set to die cut the panel.
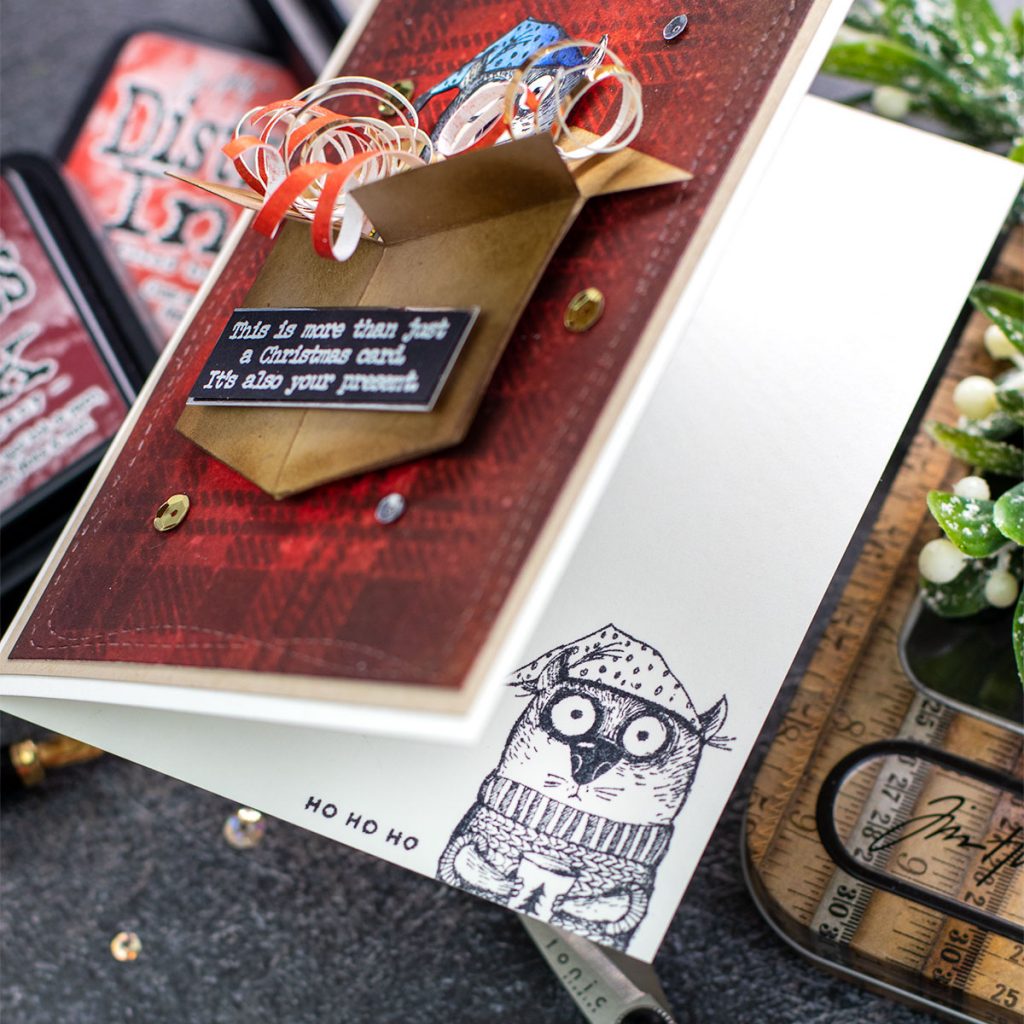
I also stamped the inside of the card and I added the “Ho Ho Ho” sentiment from Tiny words Christmas Stamp set.
To make the 3D box on the front panel, I used a die by Neat and Tangle that sadly has been discontinued. However, Honey Bee Celebration Box die set offers a very similar solution. Almost identical.
I also added DIY paper streamers. To make them, I simply wrap and twist a fine strip of paper on a thin brush or stick, and then I release the paper that will get that pretty spiral shape.
Fun Xmas Sentiments
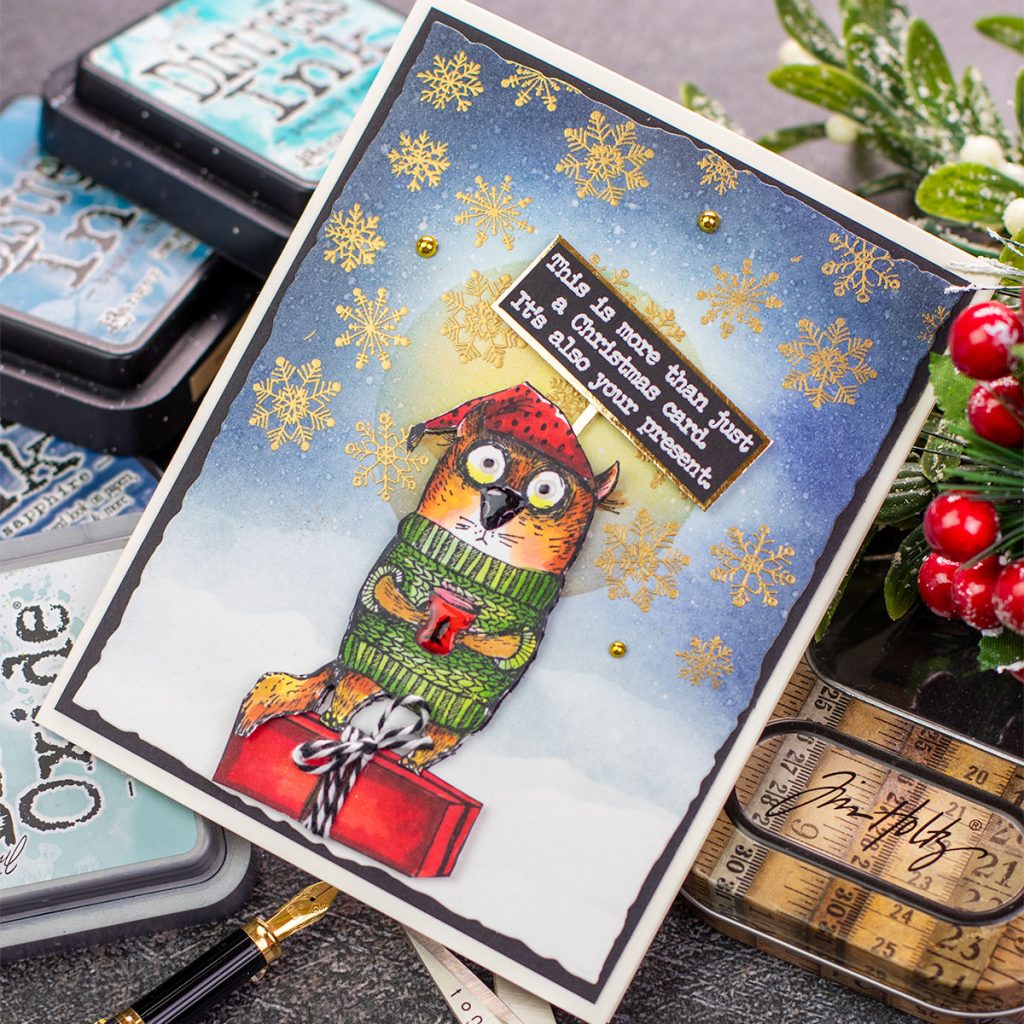
“This is more than just a Christmas Card. It’s also your present” , this is one of the funniest sentiments I have seen for this xmas.
I heat emboss the sentiments for all the cards in this post and I also add them on banners.
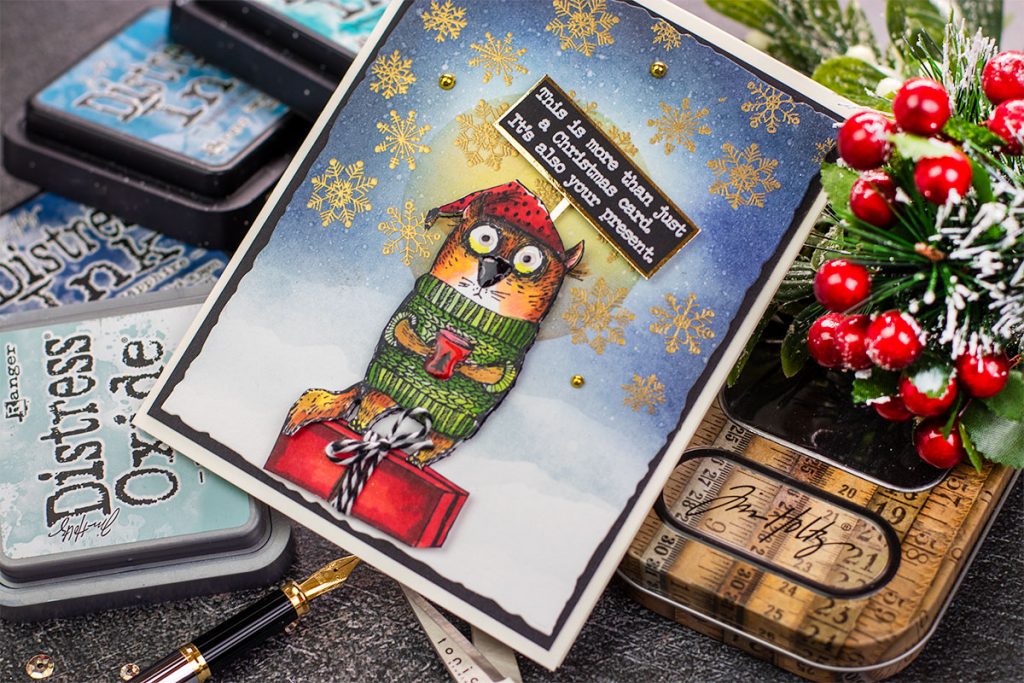
For the background of this card, I also made DIY printer paper masks or stencils.
- First, I used a circular mask and Squeezed Lemonade + Ripe Persimmon Distress ink to stencil the moon.
- Then, I applied one of my favourite ink combinations: Broken China, Chipped Sapphire, Black Sooth, Speckled Egg Oxide.
- I used a piece of paper ( Mask) and light blue inks from the combo above to create snowbanks.
- Once I finish blending, I die cut the panel using the largest die in Deckle Edge A2 die set.
- To add some sparkle, I gold heat embossed snowflakes on the background panel.
- The image was stamped using black Memento ink over 300grams smooth cardstock
- For easy colouring, I used Copic markers.
- As a decorative touch, I applied Nuvo Crystal Glaze on the cat’s eyes, nose, and mug.
Tim Holtz grumpy cat Christmas Card

For this card background I used a mixture of Seedless Preserve Distress Oxide Ink and Spun Sugar.
I also stamped the snow flakes on the background using Seedless Preserve Distress Oxide Ink.
To add some shine, I added Nuvo Aztec gold in the center of the snowflakes
top tips
- To avoid keep cleaning blending tools or brushes, work from light to dark when doing ink blending.
- Clean the brush only when the ink to be used is lighter than previuos ink used. Although this is not necesary and it depends on the look and feel you want to achive.
- Use memento ink to stamp images that ill be coloured using alcohol markers. Do not use in combination with water-based products as the ink will bleed.
- Avoid ink bleeding by stampin images using Versafine Onix Black ink on panels you will be stamping prior applying distress inks.
- Stamp the main images on the ink blending backgrounds and add coloured images over using dimensional foam pads. This add dimension and a nice finishing touch as well.
Thirsty For More STAMPtember Ideas?
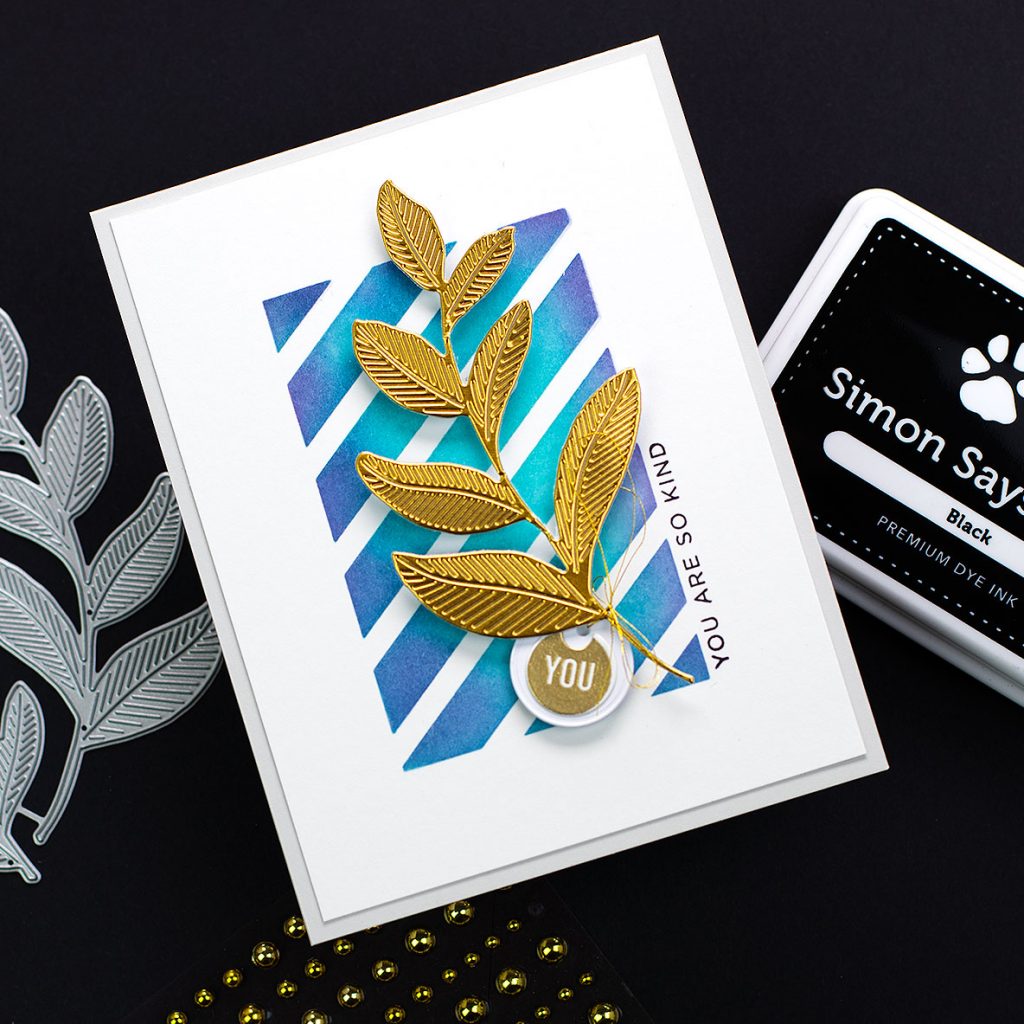
Check Laurel Leaves post here
Join Tim Holtz Facebook live at 10:00 am Pacific today September 26/ 2020. Although my card samples didn’t arrive on time for the demo, I’m joining this super fun release from the North of Scotland where DHL is useless lol.
That’s all for today.
I hope you enjoy this post
Happy stamping!
Bibi.
supplies
Affiliate links applies at not extra cost to you. Thanks for your support.


Your snarky cat cards are awesome. Thank you for the inspiration.
Fabulous cards! These cats have so much personality… I just love them! Awesome coloring and details on your fun cards!
Love your cards, they are wonderful – I especially love the cat in the box, it is so fun and such a great way to showcase that funky cat!
Thanks for the video. It has so amazing tips! Somethings I missed while looking at your amazing cards! Wow!
Such beautiful cards. So funny, too. 🌞
Wonderful coloring on the Snarky Cats. I ordered the stamps.
Melissa
“Sunshine HoneyBee”
Oh I just love the snarky cats and you take them to another level. Absolutely love them. Thank you so much for sharing your talent.