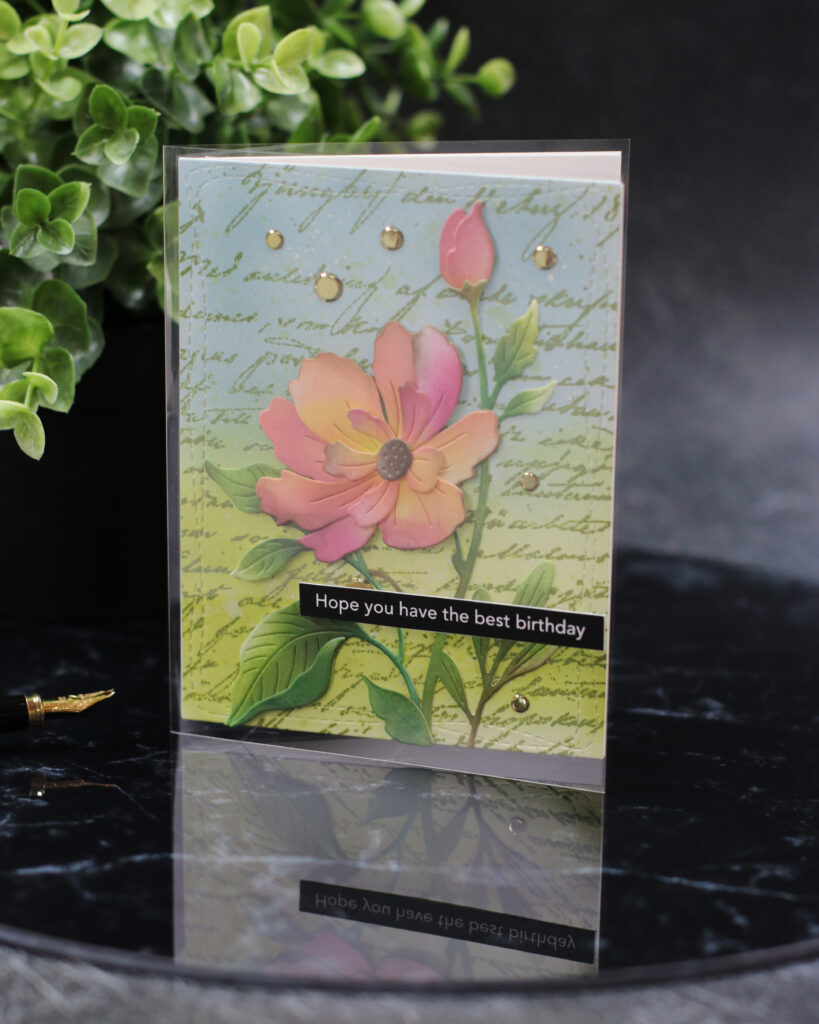
Acetate is back in fashion and this month’s Cheering For You Simon Says Stamp release included new heat-resistant acetate card bases.
They aren’t super thick or super flimsy… They are just great to create with.
So today, I used one of the acetate card bases to add a cover or sleeve to a card. Easy!
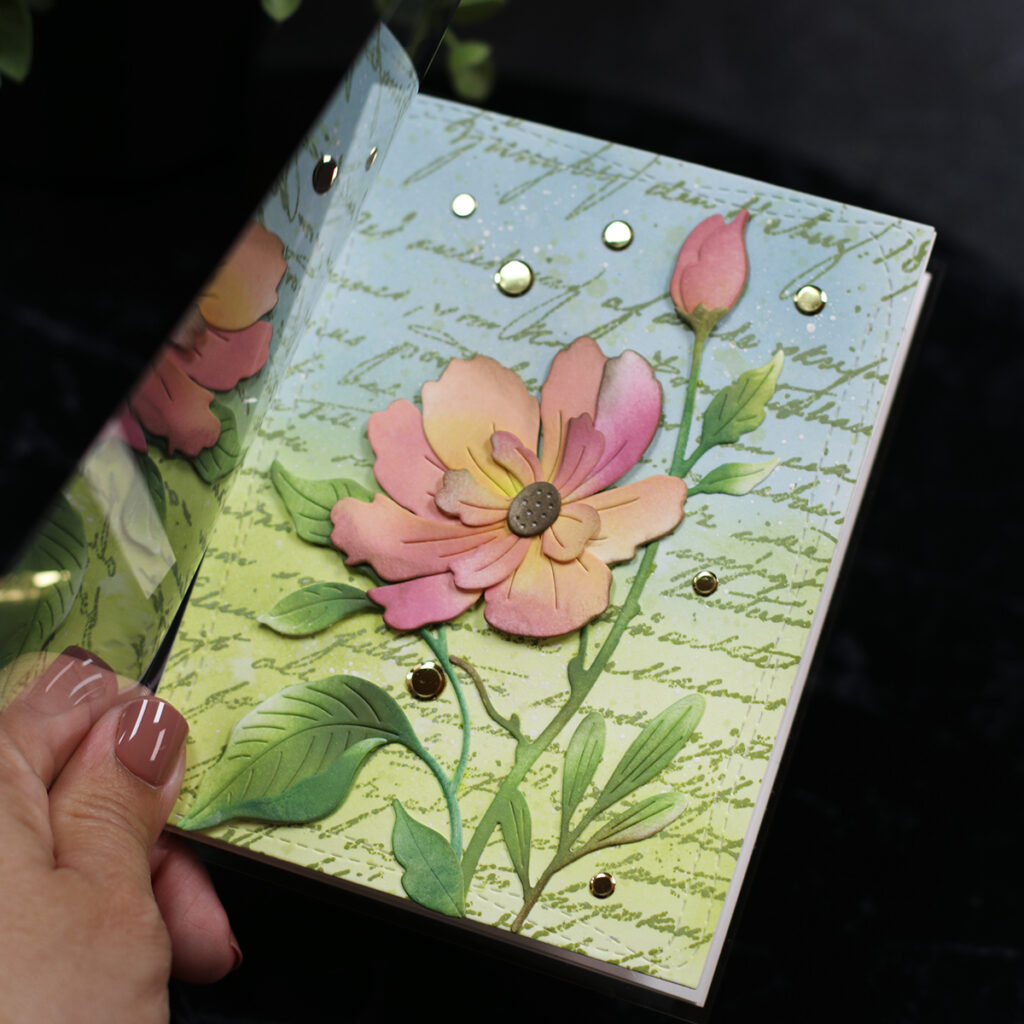
I know this might not be the most exciting idea but if you type ” acetate or shaker” in my “blog search box” you will find more inspiration ( ****I also added some clickable images at the bottom of this post)
So I agree with you, this might be the easiest way to incorporate acetate to cards BUT it will still allow us to add interest and a different look and feel to our projects.
The process of making this card is rather easy and in the 90 second video below I show you how I did it
The Acetate Cover Process
Card Recipe
- Acetate card bases
- 300 grams cardstock
- Divine Peony Wafer Dies
- Old Letter background clear stamp
- Wonky Rectangle Wafer dies
- Simon Says Stamp Scoring Board
- The sentiment is from : Foil Transfer Cards Fancy Dad and Father Greetings
- Nuvo Deluxe Adhesive or Misti Glue Precision Gun ( that also was designed to work with Nuvo)
Card Parts
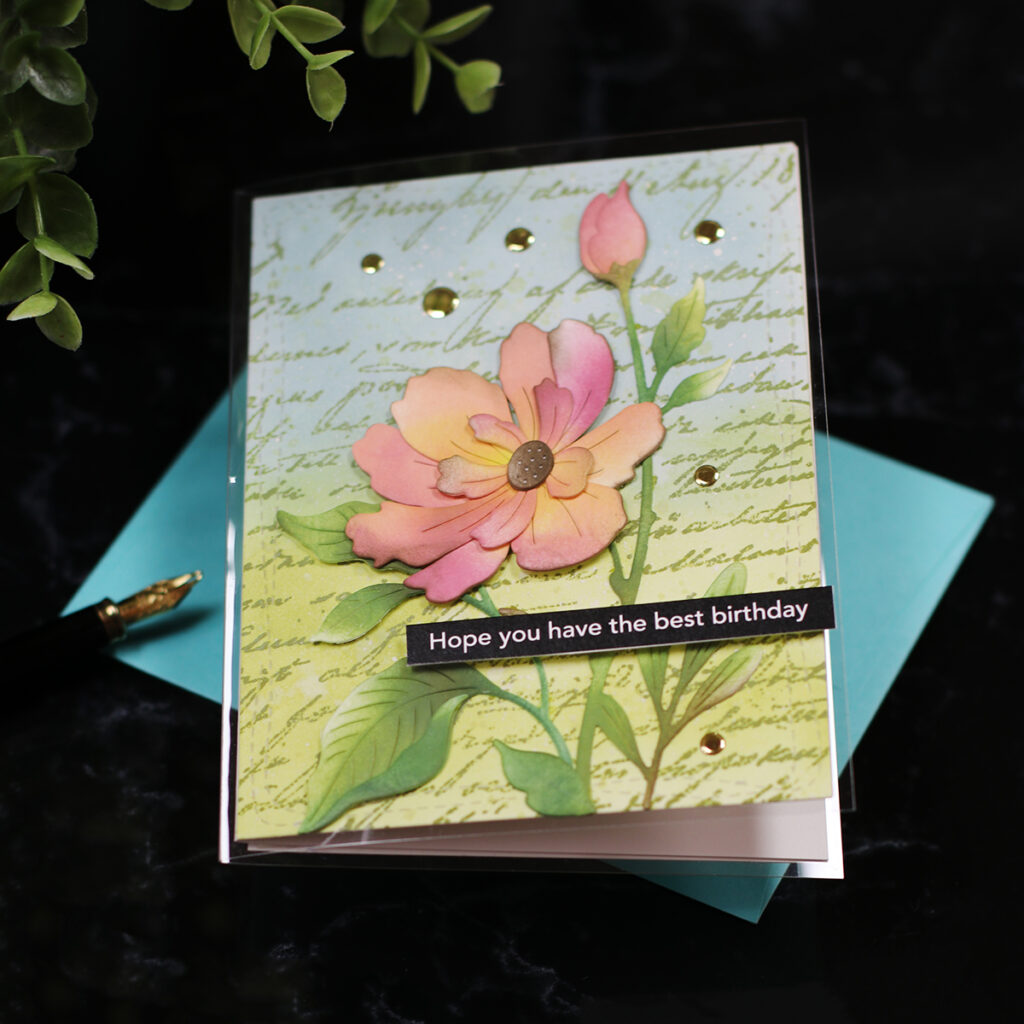
- Make a card 1/4″ or 1/2″ inch smaller than the acetate card base
In this case the cardstock card base measures 5-1/4″ x 4″ ( it is 1-1/4″ smaller) - Using double-sided tape stick the cardstock card base inside the acetate card base.
Make sure it is well aligned with the edges before sticking it. - To cover the adhesive tape (seen behind the transparency), you can stick another piece of cardstock at the back of the acetate.
In this case, I stuck a 5-1/4″ x 4″ piece of smooth cardstock. ( This could also be a pocket for a gift card or another image, the sky’s the limit)
Done!
Glueing paper or other materials on acetate:
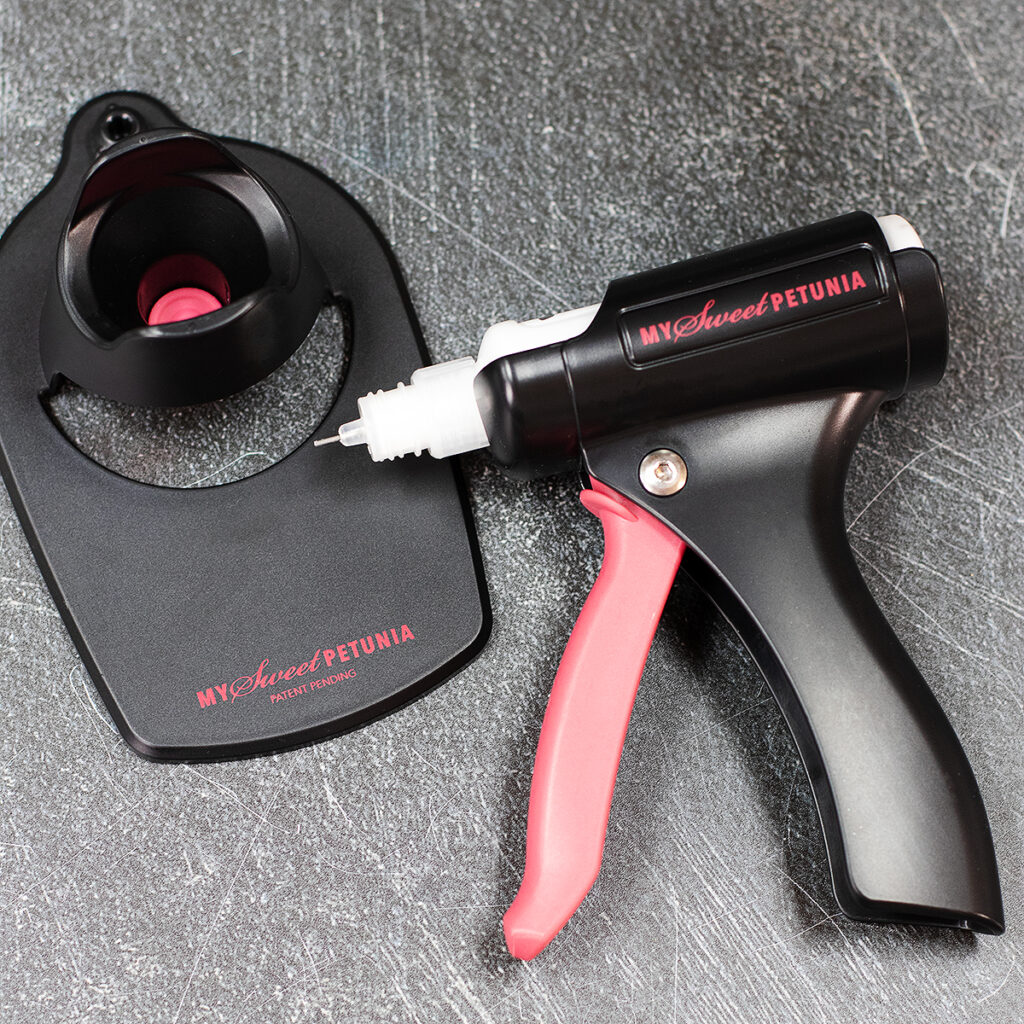

- Nuvo Deluxe Adhesive is great for glueing paper, fabric, and vellum over acetate.
You need to apply an even coat of glue.
Use a small piece of paper to evenly spread the glue over.
Before sticking the pieces on the acetate, wait for the adhesive to dry a little bit ( almost until it is clear).
Do it this way and the glue won’t be seen behind it. I promise!
Other adhesives
- You might want to use double-sided adhesive tape to adhere paper, fabric or similar light flat materials over the acetate. This makes the process easy and quick.
- To adhere acetate on acetate you can use 100% acetone ( this is a secret from old times)
- Decoupage adhesive is good if you want to stick thin paper or napkins over the acetate.
- Add a couple of stitches to add die-cuts ( e.g butterflies or something small)
- Hot glue “never” worked for me.
Thirsty for More?
There are numerous ways to add acetate to handmade cards.
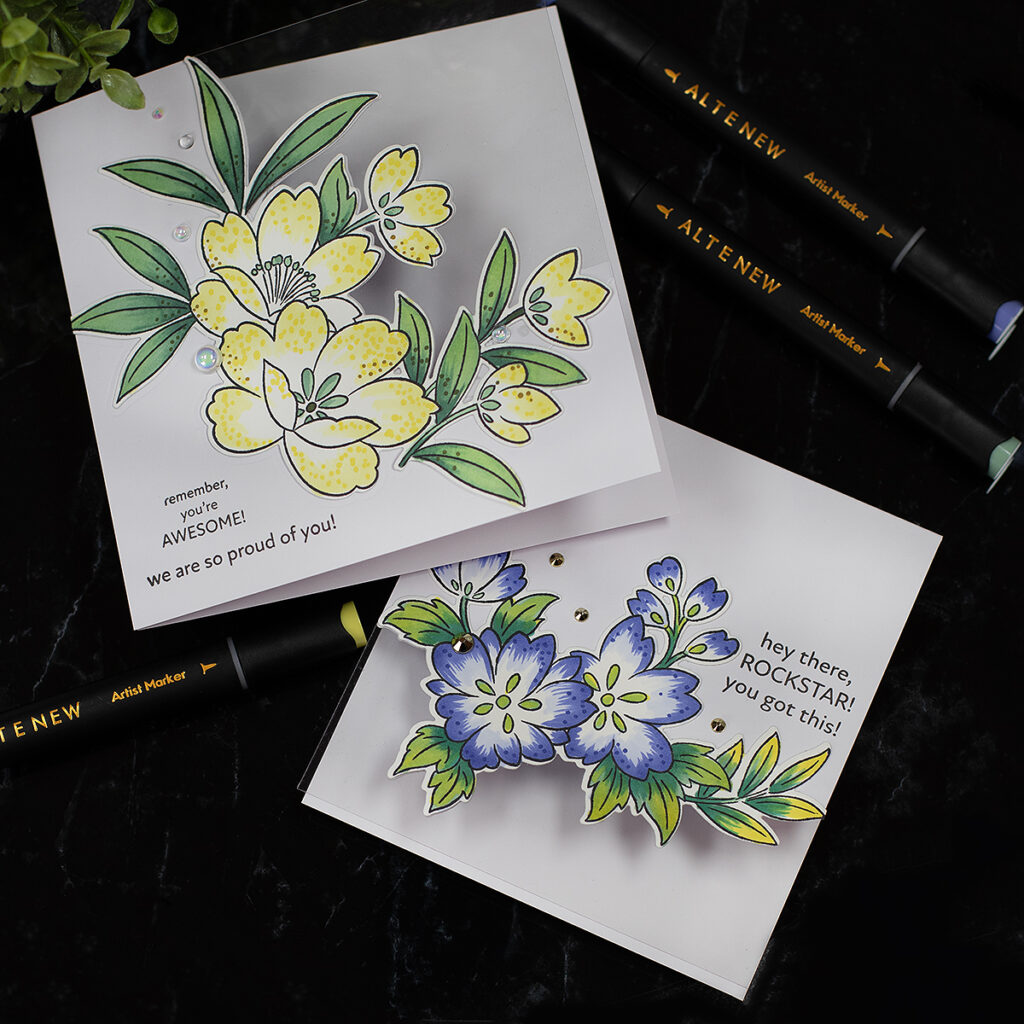
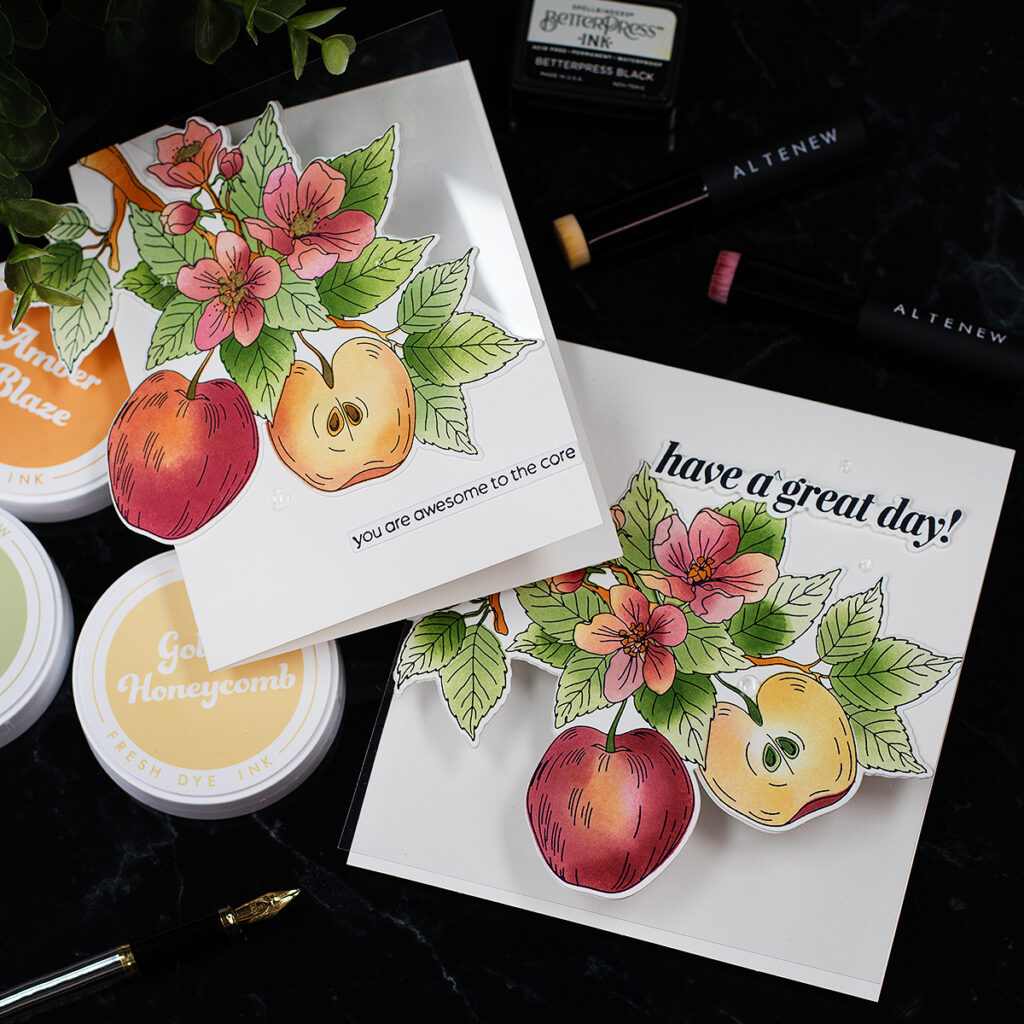
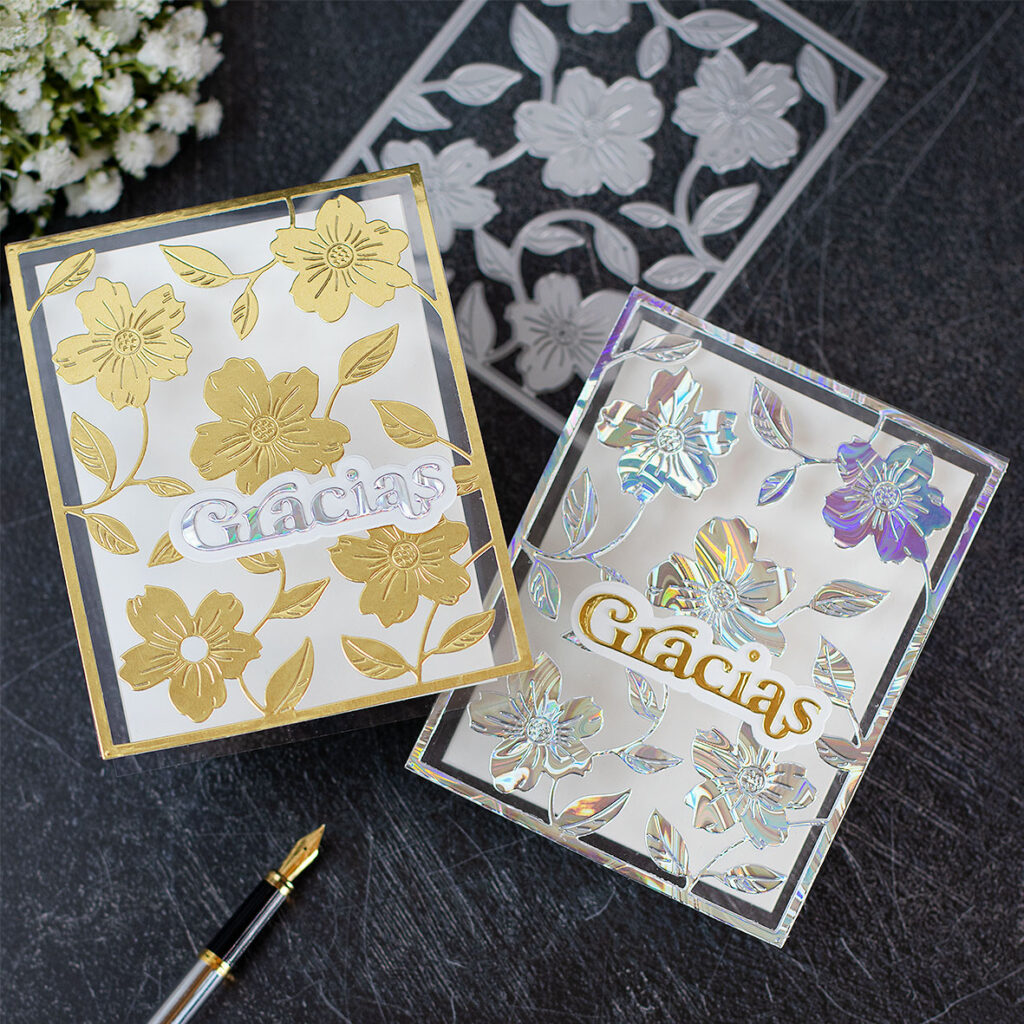
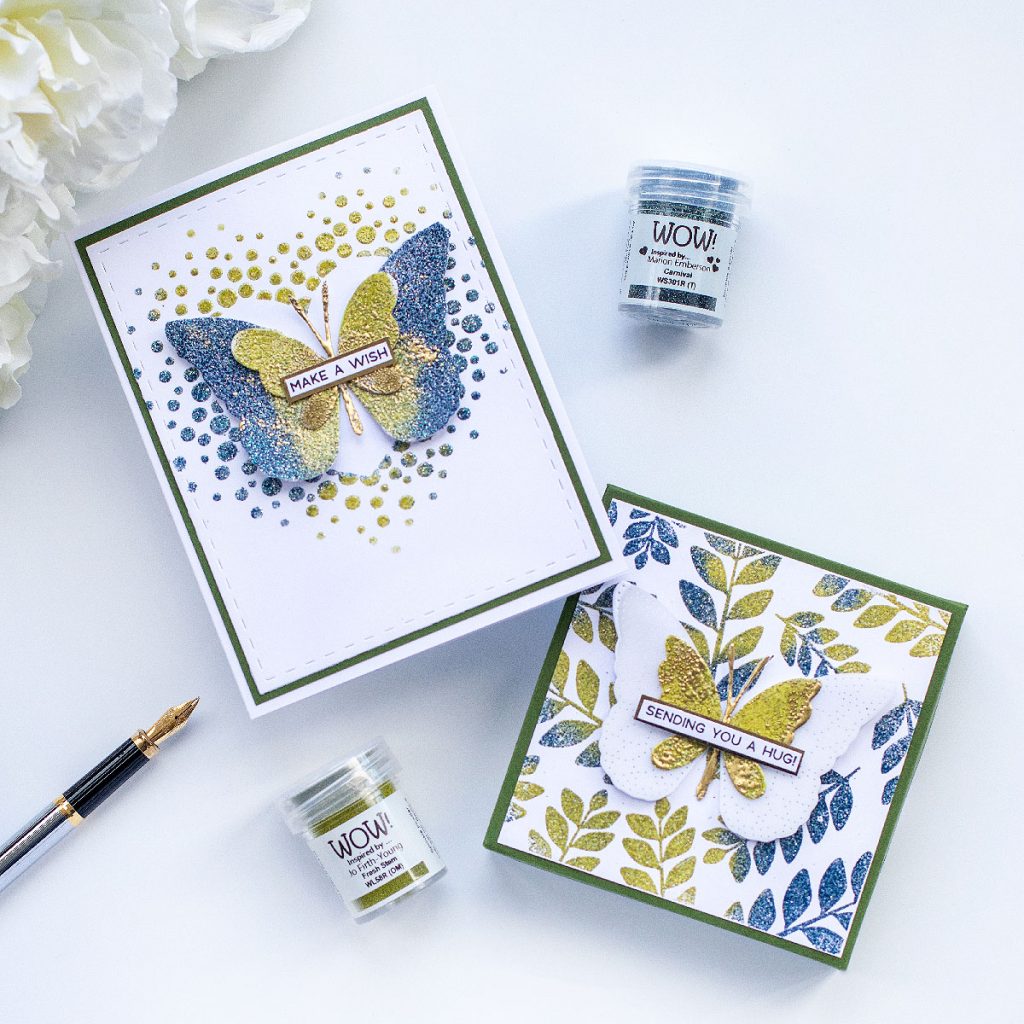
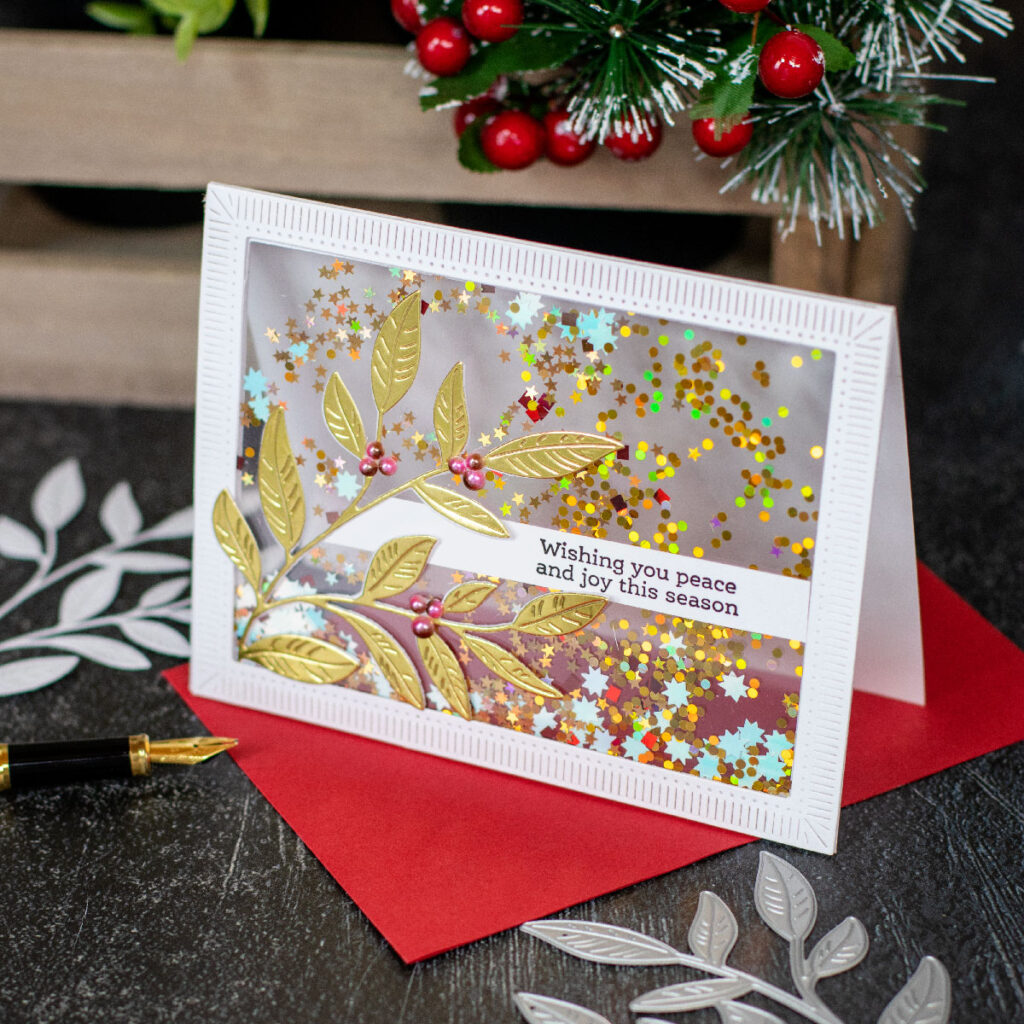
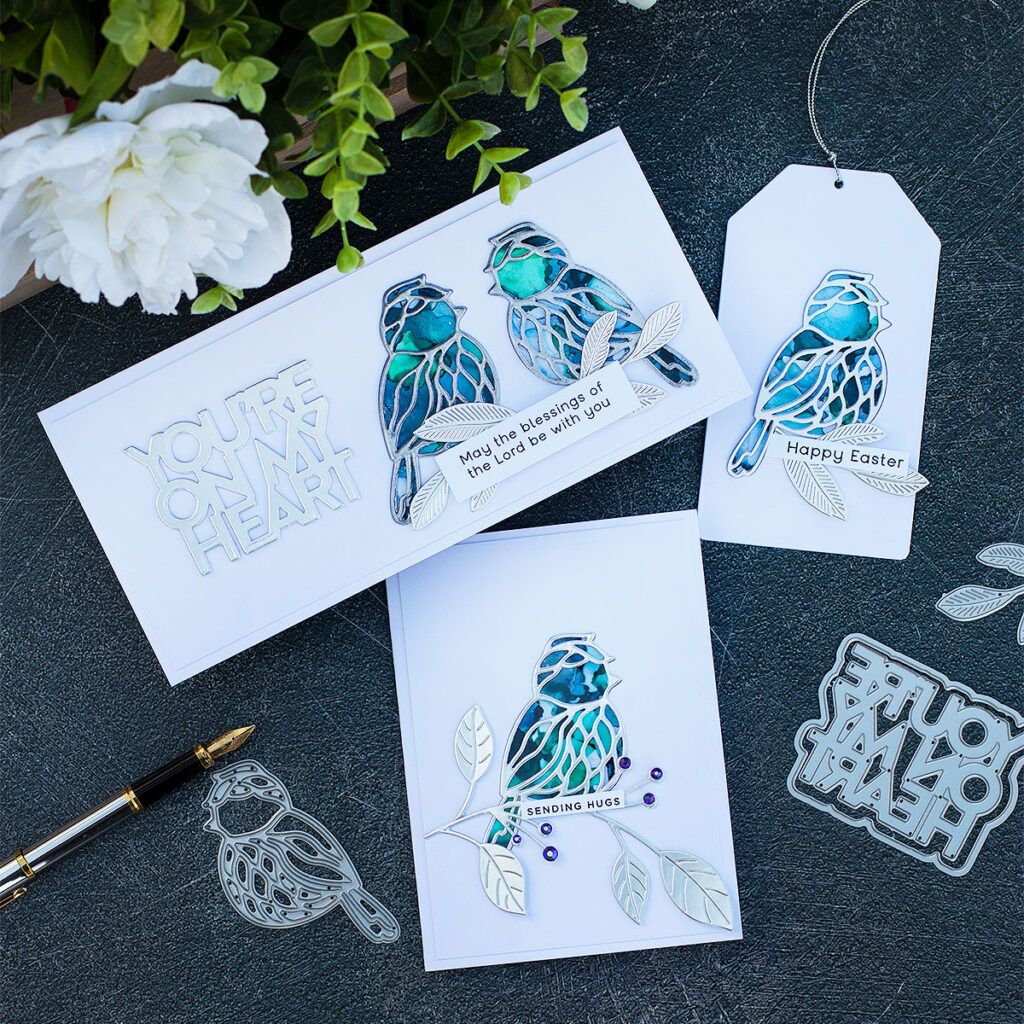
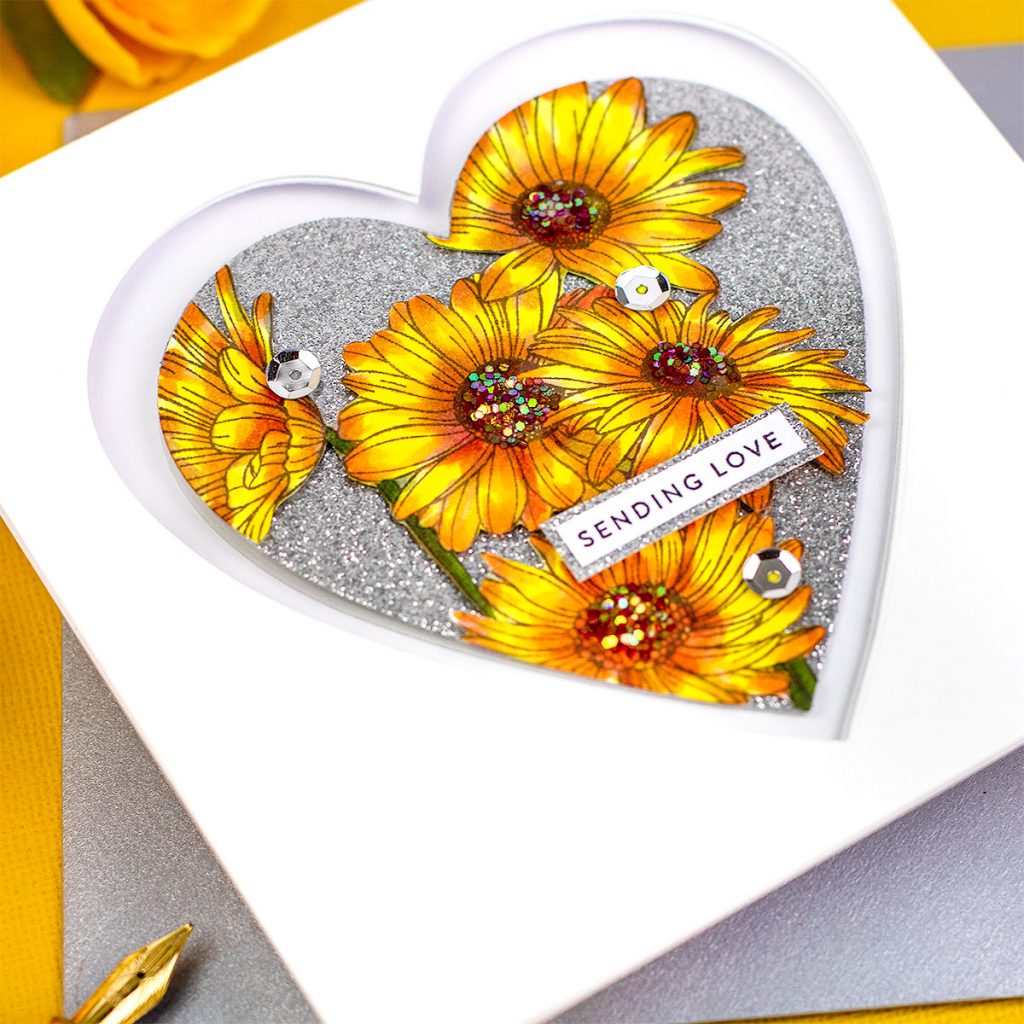
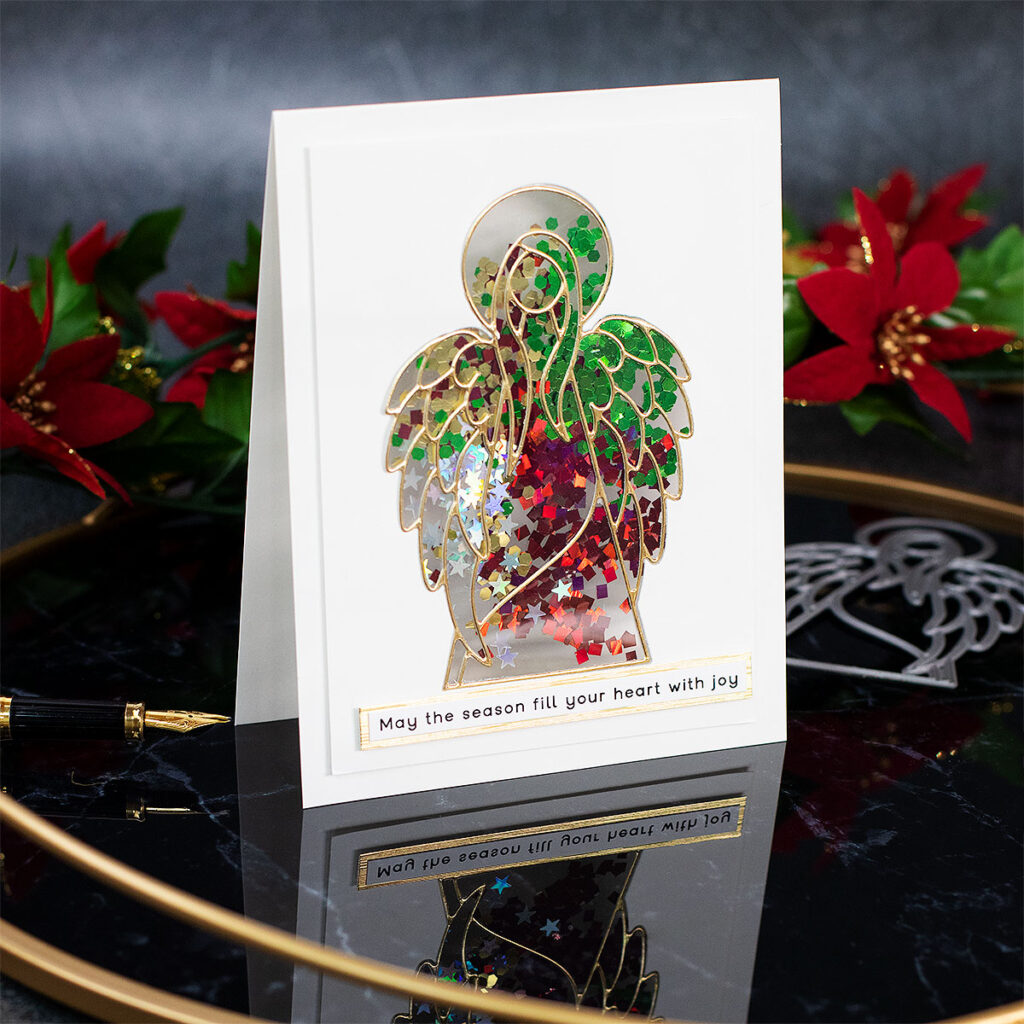
Click on the pictures to be redirected to the different blog posts or type acetate, shakers, and/or transparencies on my blog search box to find more ideas and inspiration.
That’s all for today
Thanks for stoping by.
X Bibi
Supplies List
Affiliate Links Apply at no extra cost to you. Thanks for your support


Leave a Reply