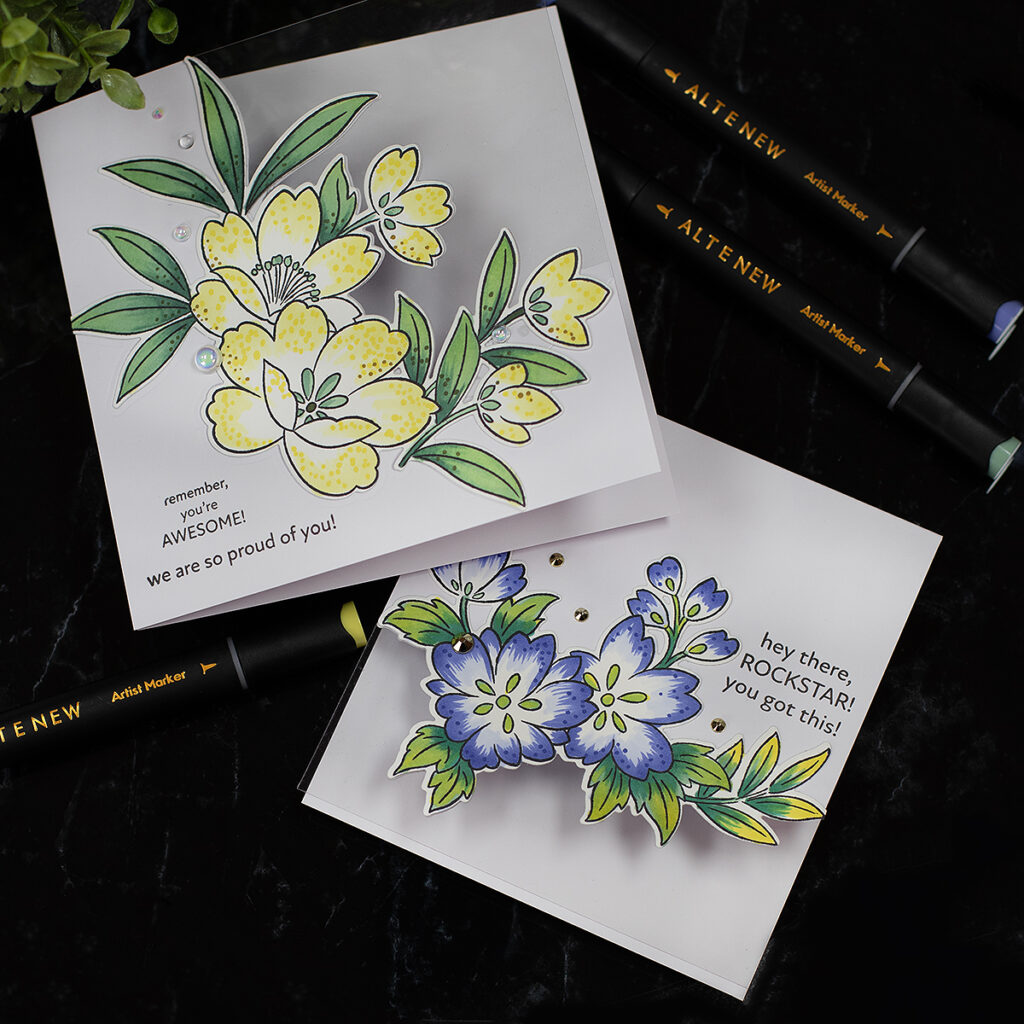
Hello there, I’m passing by to share a fun die-cutting hack to add clear or acetate borders to your handmade cards or papercraft projects.
This will provide a different finish to your DIY crafting projects and involves very simple die-cutting and assembling steps.
You can use this die-cutting hack to create memory album covers, box lids, frames, scrapbook pages… the sky’s the limit!
Today, I’m also featuring the new Playful Flowers stamp and die set. You can use similar supplies to create projects in different sizes. The key is to have a large image and a coordinating outline die to create this type of cut. Let’s get started!
Playful Flowers stamp and die set.
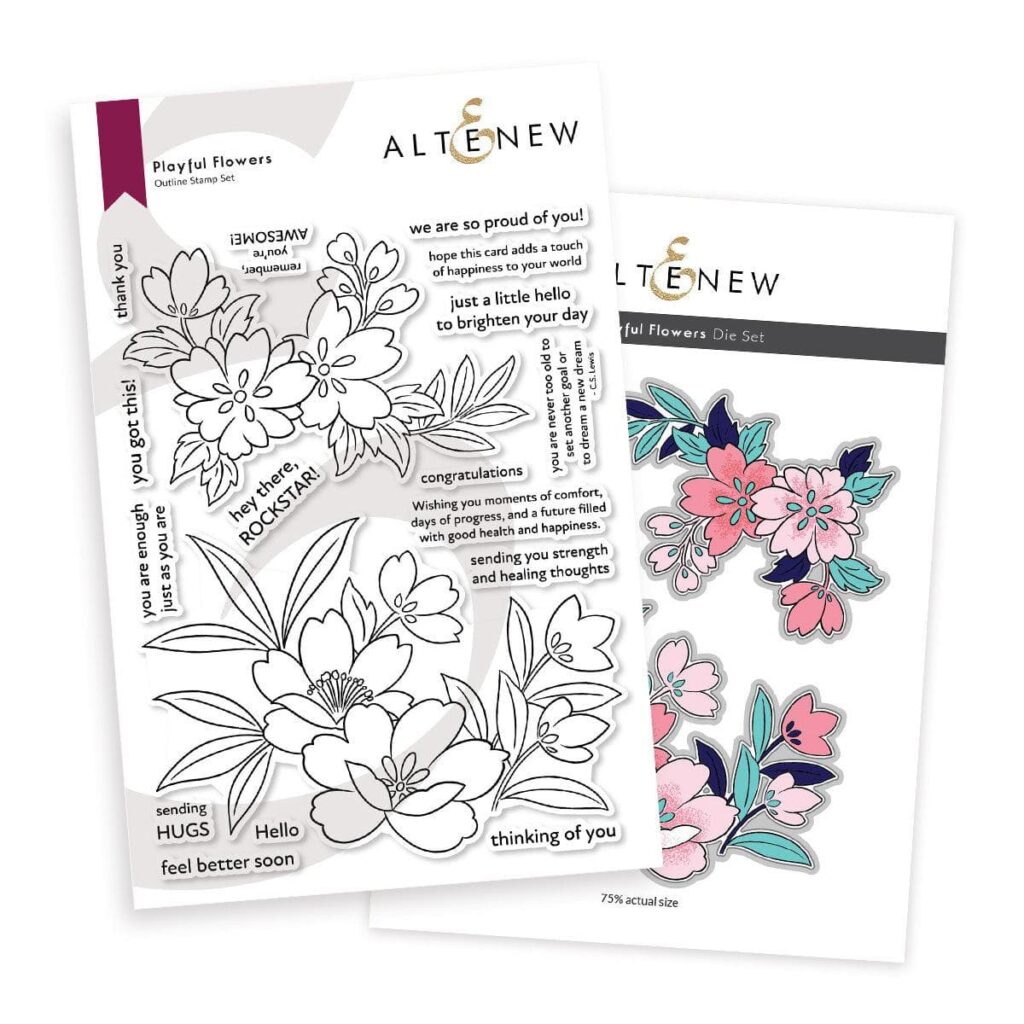
The Playful Flowers stamp and die set includes 16 sentiments and 2 large floral clusters.
Video Tutorial
As images are worth more than a million words, here is a video tutorial to show you the Altenew products in action and some basic tips on how to try this die-cutting hack to create these fun cards. Click the image below to watch the video.
Side Fold Card
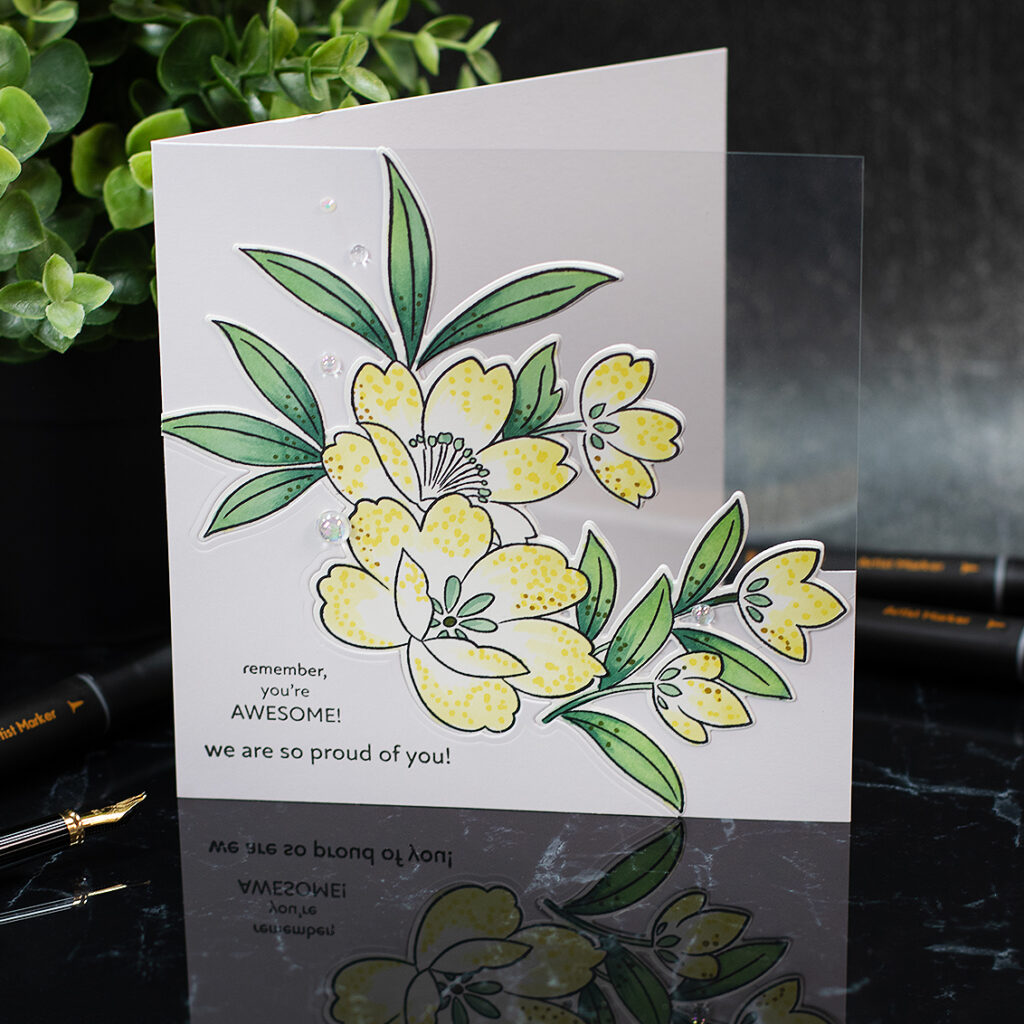
This is 6″x 6″ and it features a side-fold.
Top Fold Card
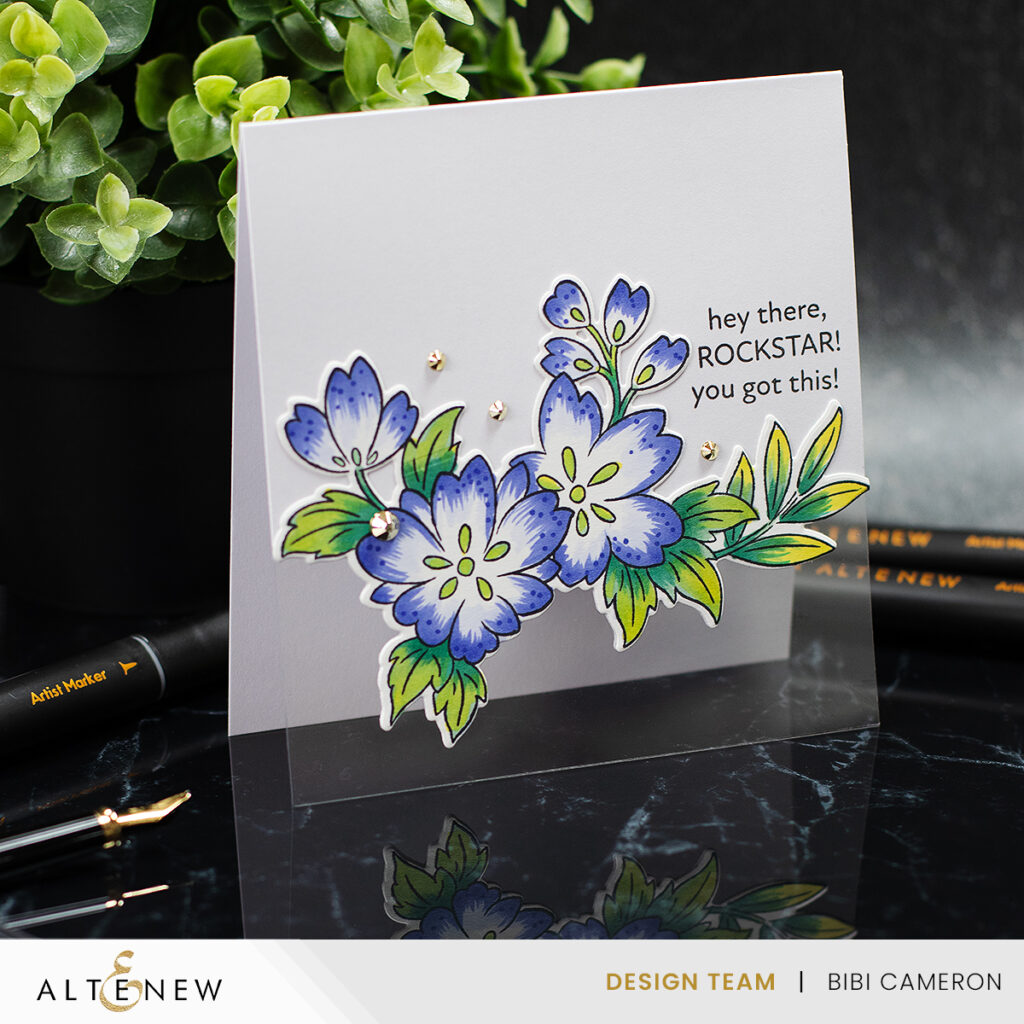
This top-folding card measures 5 1/8″ x 5 1/2″.
The Cardmaking Process
- First, I stamped the images on 100lb White Cardstock using the Stampwheel and Memento Black Ink ( this ink does not bleed when using alcohol markers)
- Then, I added colour using markers from Woodland Garden Artist Alcohol Markers Set L and Firewood Garden Artist Alcohol Markers Set M.
- After adding colour, I die-cut the images using the Spellbinders Platinum 6 (standard 6″ inches platform) and Platinum 8″ (large format die-cutting machine).
- Next, I partially die-cut the card bases’ front panels ( as shown in the video).
- Tip: To cut straight borders, we can use a standard-size die-cutting machine. To create diagonal cuts, on large panels or across the card base front panel, we need to use a large die-cutting machine and small cutting plates.
- Once the die-cutting is done, we need to cut a piece of acetate and stick it over the partially die-cut border.
-To do this we need to use double-sided adhesive tape and Nuvo Deluxe Adhesive.
-Then, we need to carefully trim it so the inner edge of the acetate can’t be seen on the front of the card.
-The die-cut image should cover the edges of the acetate as much as possible. - To finish, I stamped the sentiments and added some blink. You can add a die-cut sentiment and any sparkling or clear embellishment to step your design a bit more.
Thirsty for more?
Have a look at a similar cardmaking process but using Betterpress plates, coordinating stencils and dies.
That’s all for today!
If you have any questions please ask.
I hope you like these card ideas.
Thanks for stopping by!
Happy crafting!
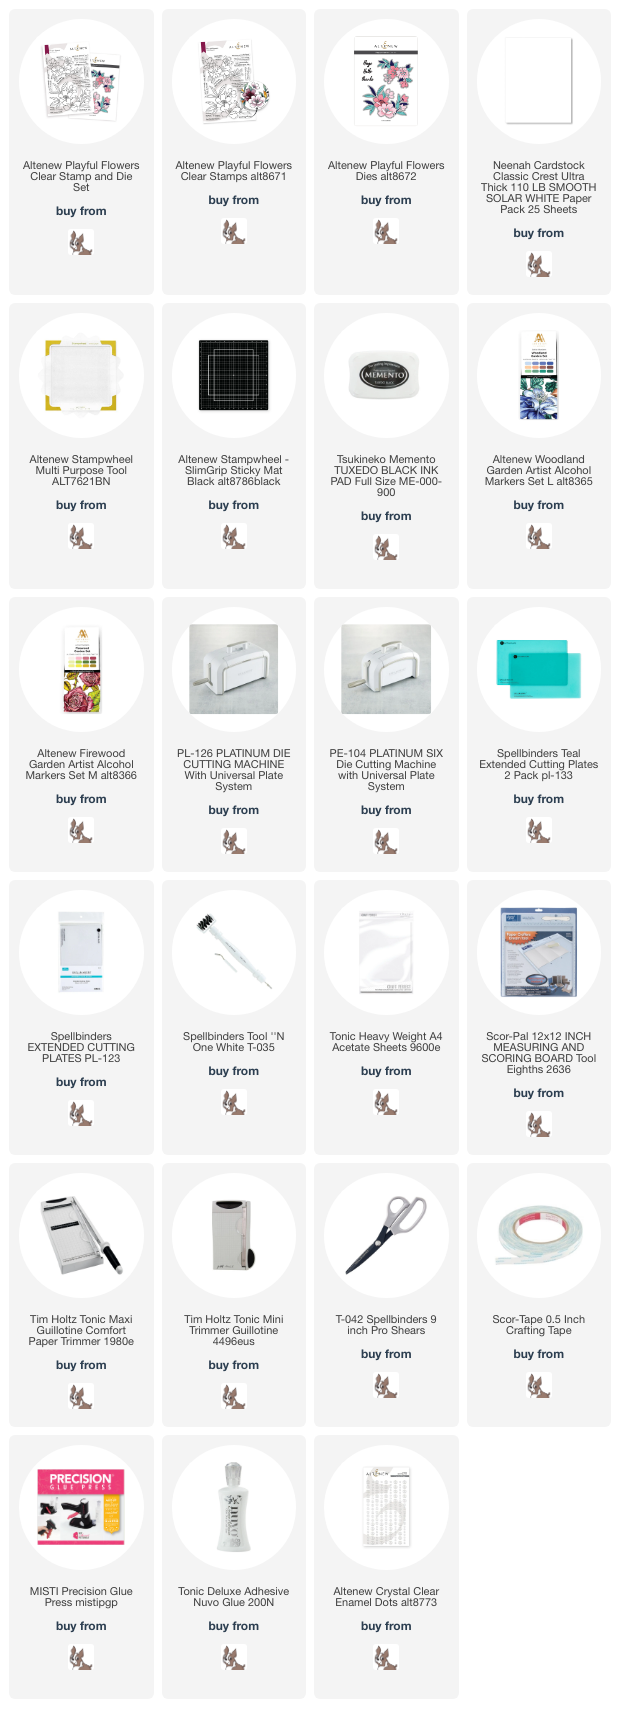
Supplies List
Affiliate links apply at no extra cost to you. Thanks for your support.


Leave a Reply