Hello, Diecember 2021 is here! This is a month to celebrate the magic of die-cutting over the Simon Says Stamp online store.
As always they are releasing cutting-edge supplies for papercraft and cardmaking. ..You can expect loads of beautiful die-cut textures, accents, sentiments, or main pieces for your papercraft projects.
For today I made a couple of cards to feature the new:
- Privet Branch wafer die.
- Imperia Plate wafer die.
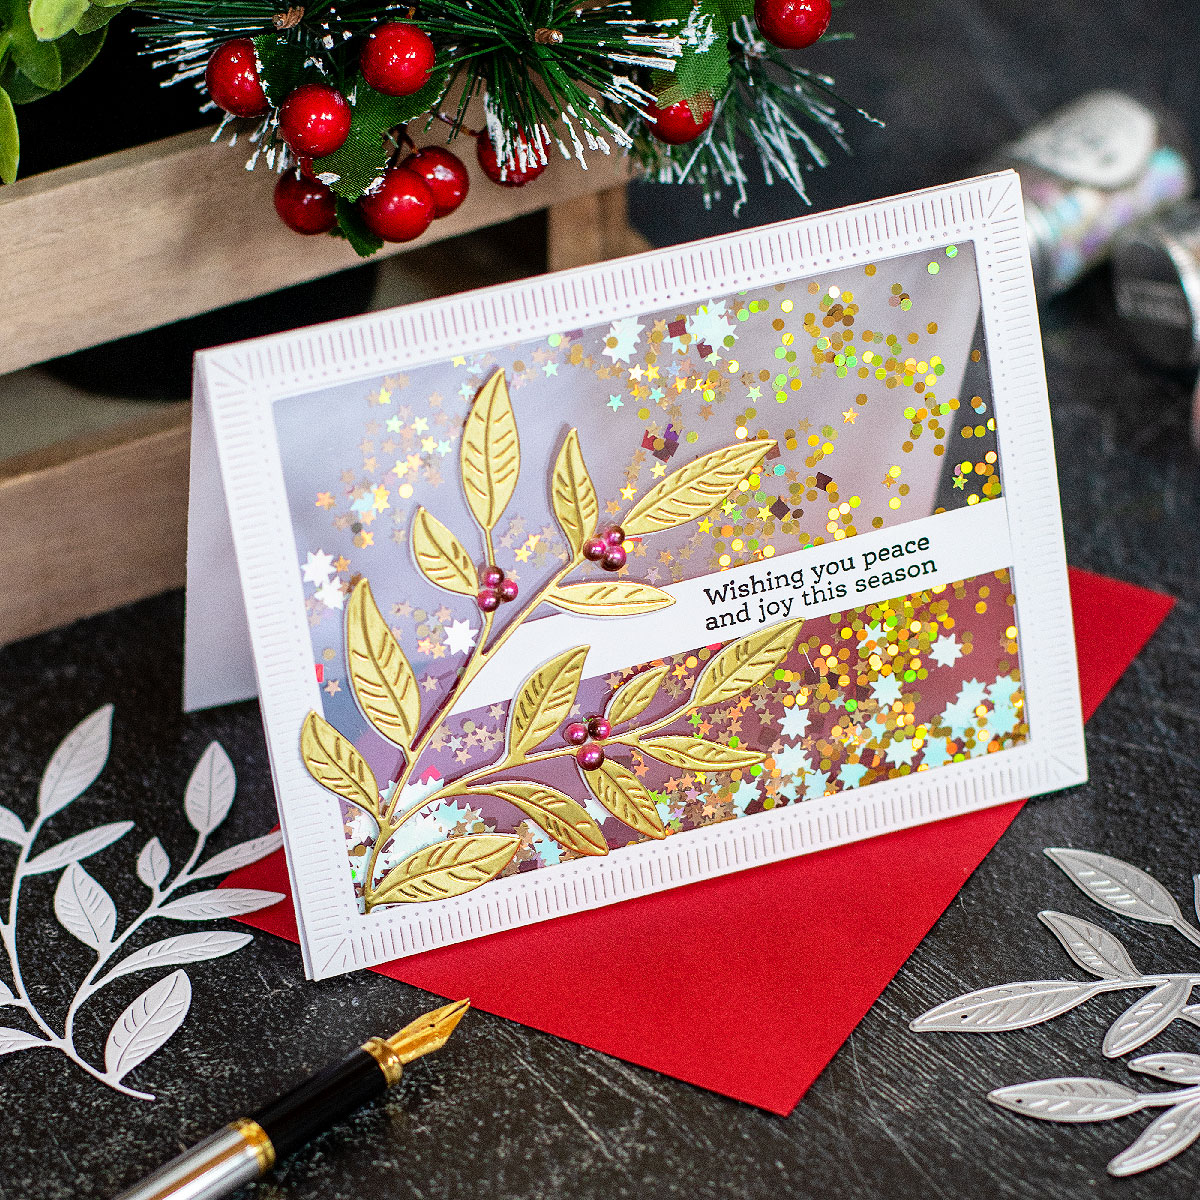
See-Through Sheker Christmas Card
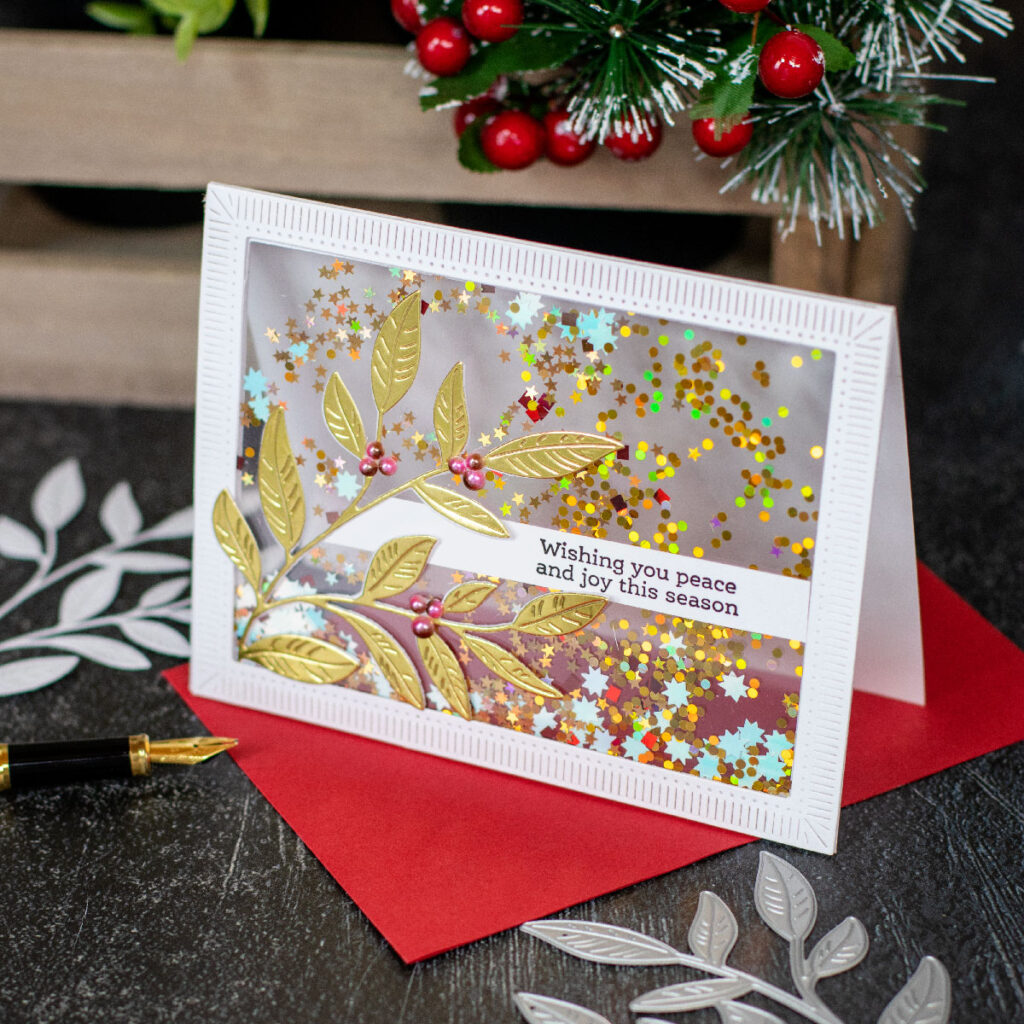
- To make this card, I first die-cut 2 branches using Privet Branch wafer dies. One out of SSS Matte Gold cardstock and the other out of 300 grams white cardstock.
- Then, I glued the golden branch over the branch die-cut out of white cardstock.
- Next, I used dies from the Spellbinders Fluted Classic Rectangles die set to die-cut a window in the front panel of a C6 card base and two (2) identical frames out of white cardstock.
- I glued a piece of acetate over the window in the front panel of the card base and while the glue was still wet, I slid the branch between the frame and the acetate.
- For the sheker, I also adhered another piece of acetate behind the other die-cut frame using SSS 1/4 double sided tape.
- I added some Nuvo Confetti over the center of acetate glued onto the front panel and I glued the frame with the other piece of acetate over.

- I stamped a sentiment from Winter Birds stamp set on white cardstock using Versafine Onyx Black Ink.
- For a nice finish and also to add sturdiness to the paper frame, I added the other die-cut frame inside the card.
- To embellish I used Picket Fence embellishments soon to be released ( so this is an sneak peak) those are gorgeus.!!

Privet Branch

CAS Thank YOu card

This is a C6 top folding card.
- First, I made the card base.
- Then, I die-cut the background out of white cardstock using the new Imperia Plate wafer die.
- Next, I glued the background over the cardbase.
- Using Privet Branch wafer dies, I die cut 2 branches. One out of SSS Matte Gold cardstock and the other out of 300 grams white cardstock and I glued them together.
- Then, I gluethe branch at the top pver the background.
- To add an extra decorative elements to this super simple composition, I die- cut a frame using dies from the Spellbinders Fluted Classic Rectangles die set and I glues over.
- I embellished using Picket Fresh embellsiments that will be released soon and available at the Simon Says Stamp shop here.
- The sentiment is from the SSS All the Thanks Stamp Set. I die-cut it using coordinating dies after I gold heat embossed it .


That’s all for today
I hope you like these projects
Happy crafting.
X Bibi
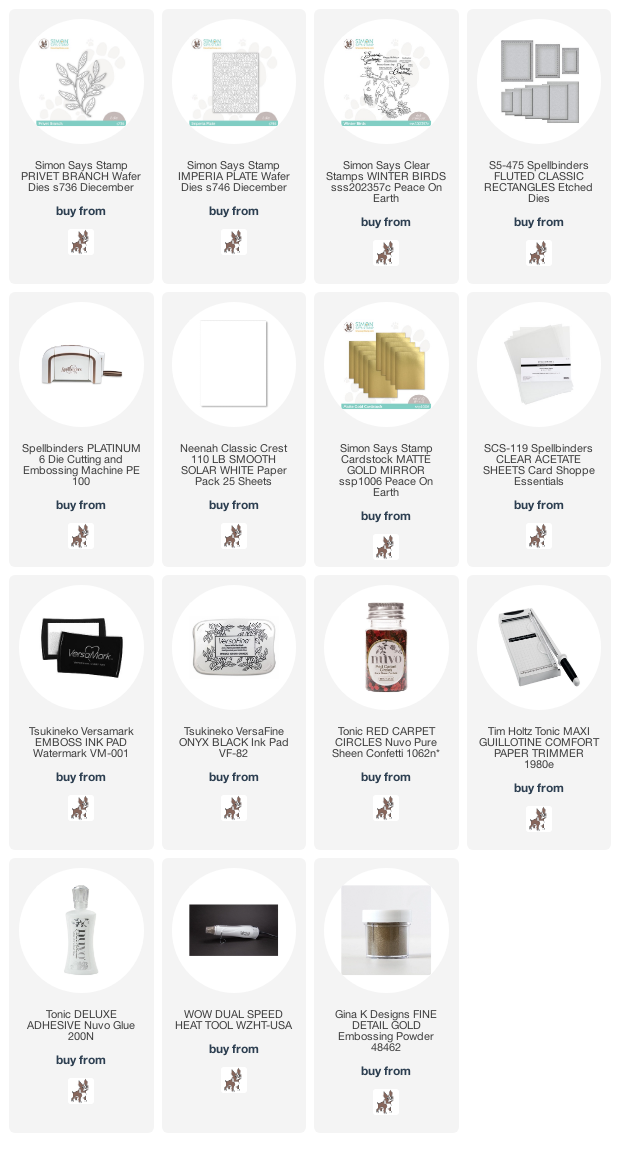
Supplies List
Affiliate links apply at no extra cost to you.


Very beautiful cards. Love the unusual shaker design as well as the gold and white themes.
Lovely, just lovely!
These are the most beautiful elegant cards. I absolutely love them. I really love this shaker card. I know I will be making this as one of my Christmas cards. Thanks for sharing.