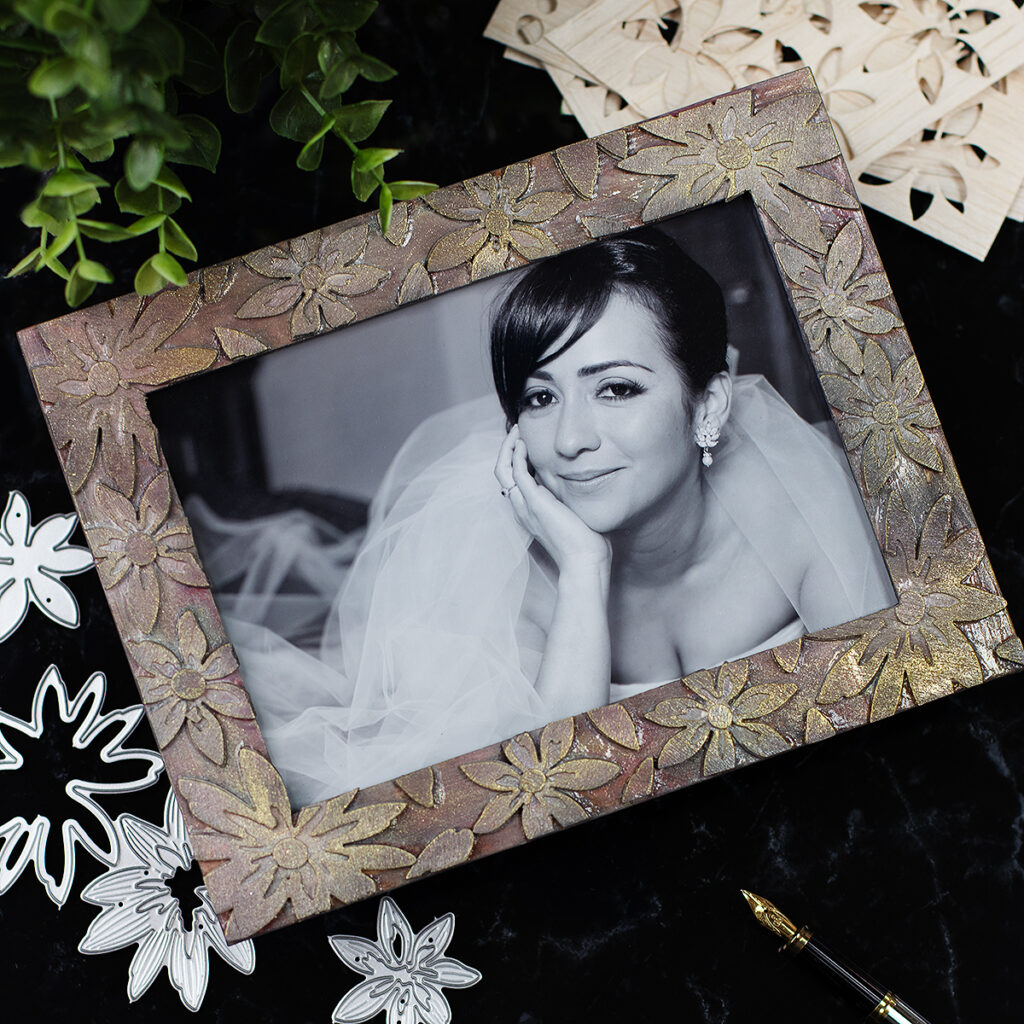
Hello there! Die-cutting wood to decorate wooden objects is an idea I have had for years and I finally gave it flesh.
I made a small wooden picture frame to share the process but the sky’s the limit!
Die-Cutting Wood -Here is how I do it
Carved Wood Effect
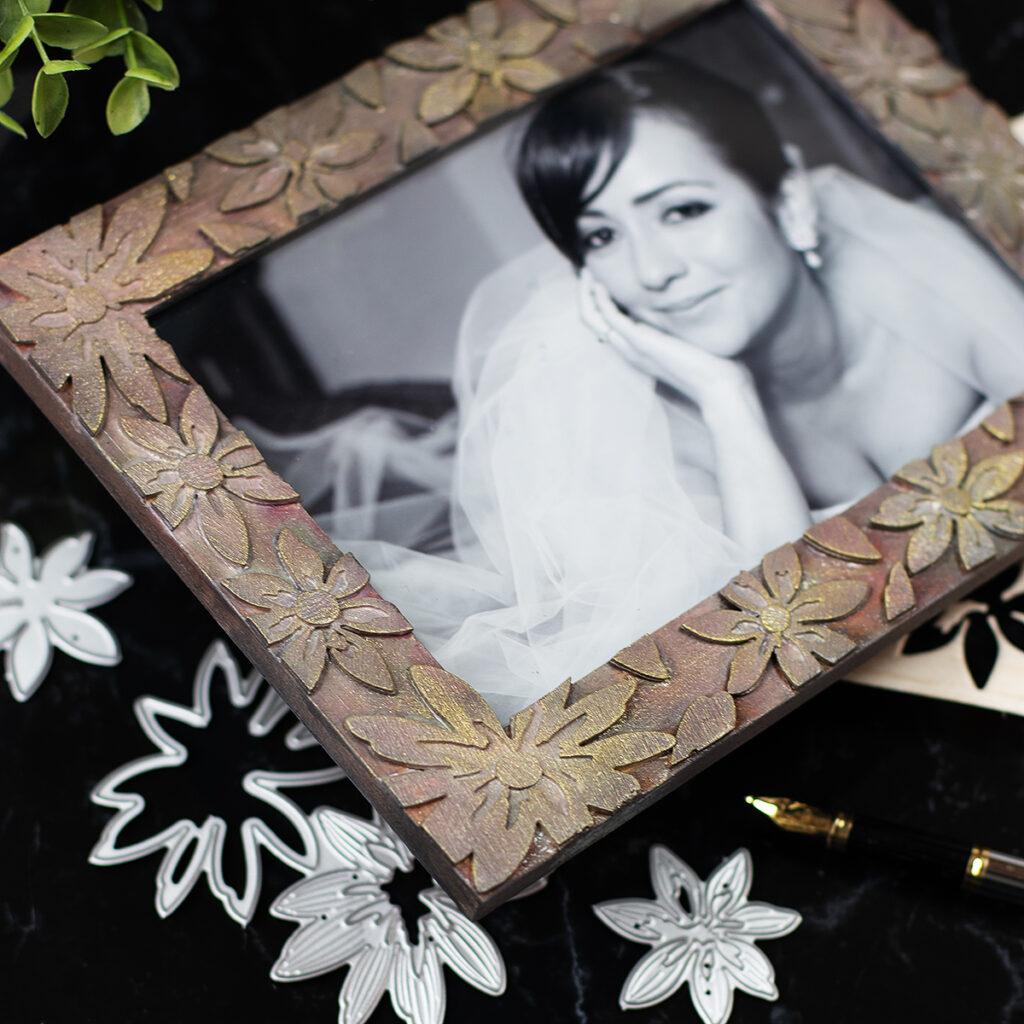
As shown in the video, to effortlessly achieve a beautifully carved wood effect, all you have to do is:
- Use a die-cutting machine and layered dies to cut balsa wood
This wood is lightweight and flexible and it is about 3mm thick, so you can cut it in the same way you cut paper. - Then, you will need to use Nuvo Deluxe Adhesive to glue the die-cuts over any wooden object.
- To make sure everything is affixed in place, I also applied a layer of Geso.
- Once the gesso is dried, you can use any paint you have to add colour.
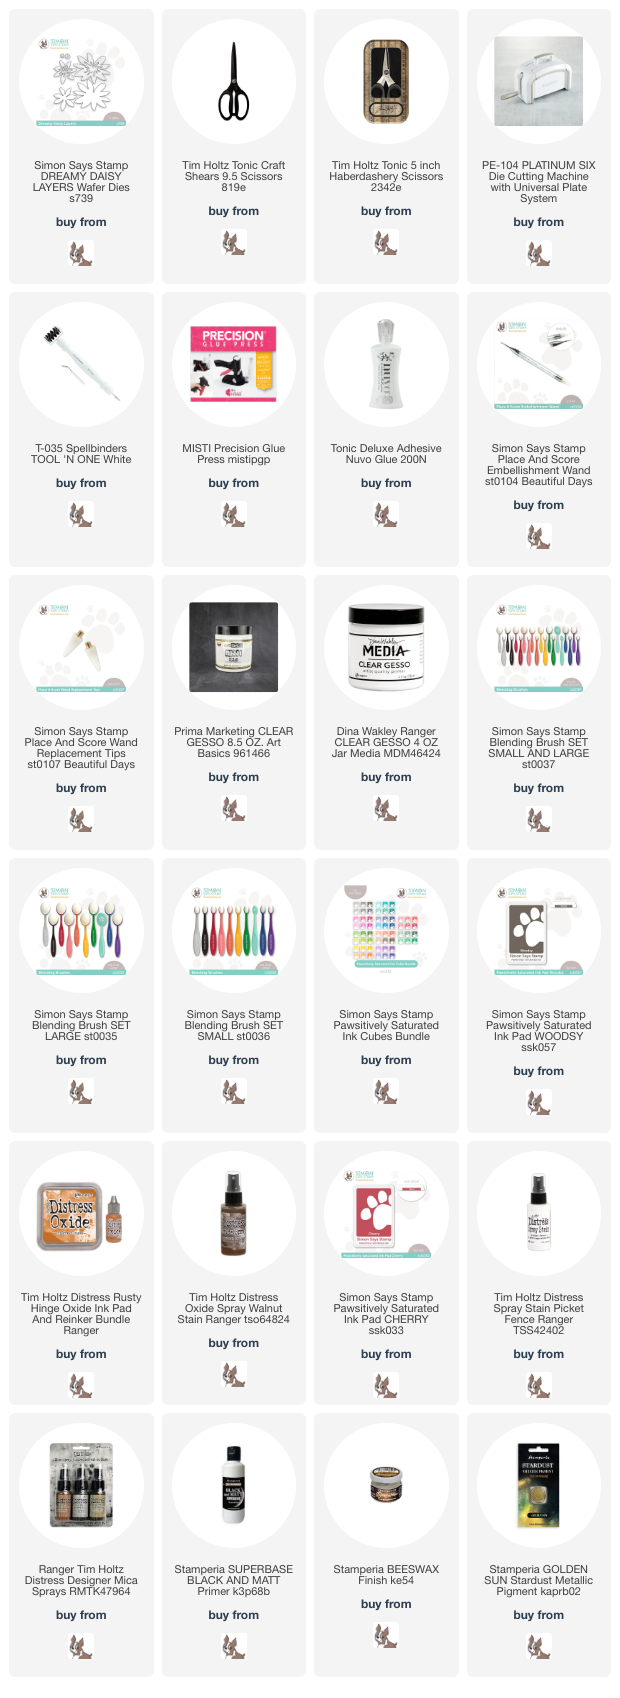
Materials Used
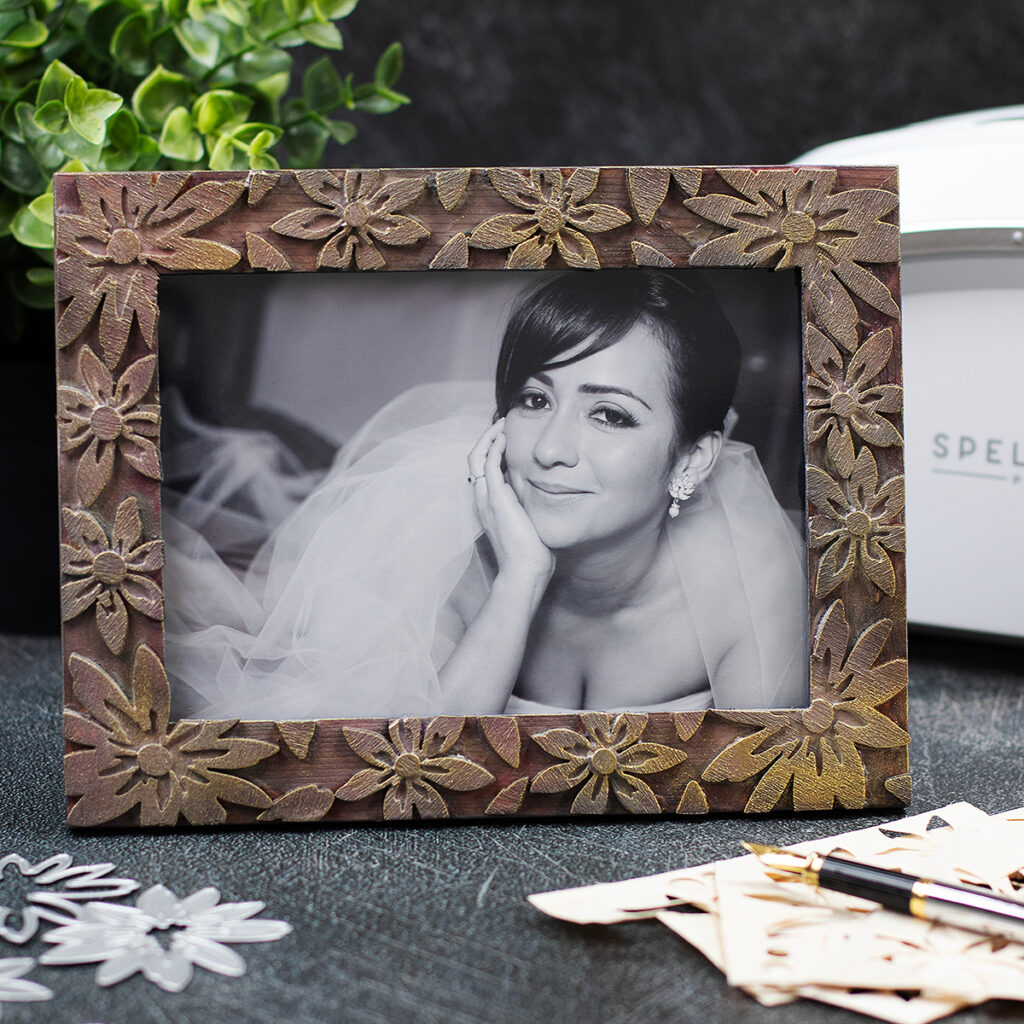
- Wooden Frame ( this fits a 5×7 inches picture)
- 3 mm balsa wood
- Dreamy Daisy wafer dies by Simon Says Stamp
- Spellbinders Die Cutting Machine
- Nuvo Deluxe Adhesive
- Misti Glue Press – contains Nuvo Deluxe Adhesive
- Guesso
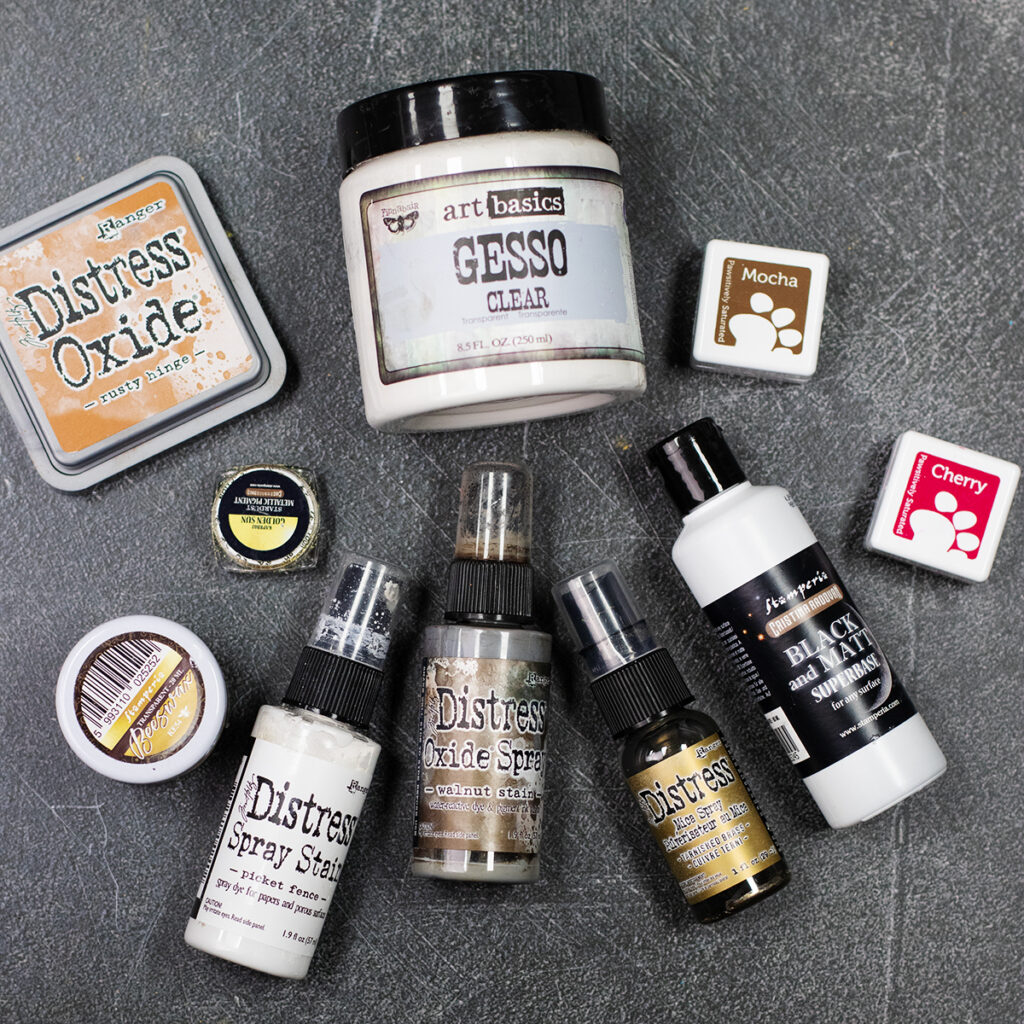
- Distress Sprays, Simon Says Stamp, Stamperia mediums (listed in the supplies list here or below)
Pin Me
That’s all for today.
Thanks for stopping by.
x Bibi
Thirsty for more?
Supplies
Affiliate links apply at no extra cost to you. Thanks for your support.


Leave a Reply