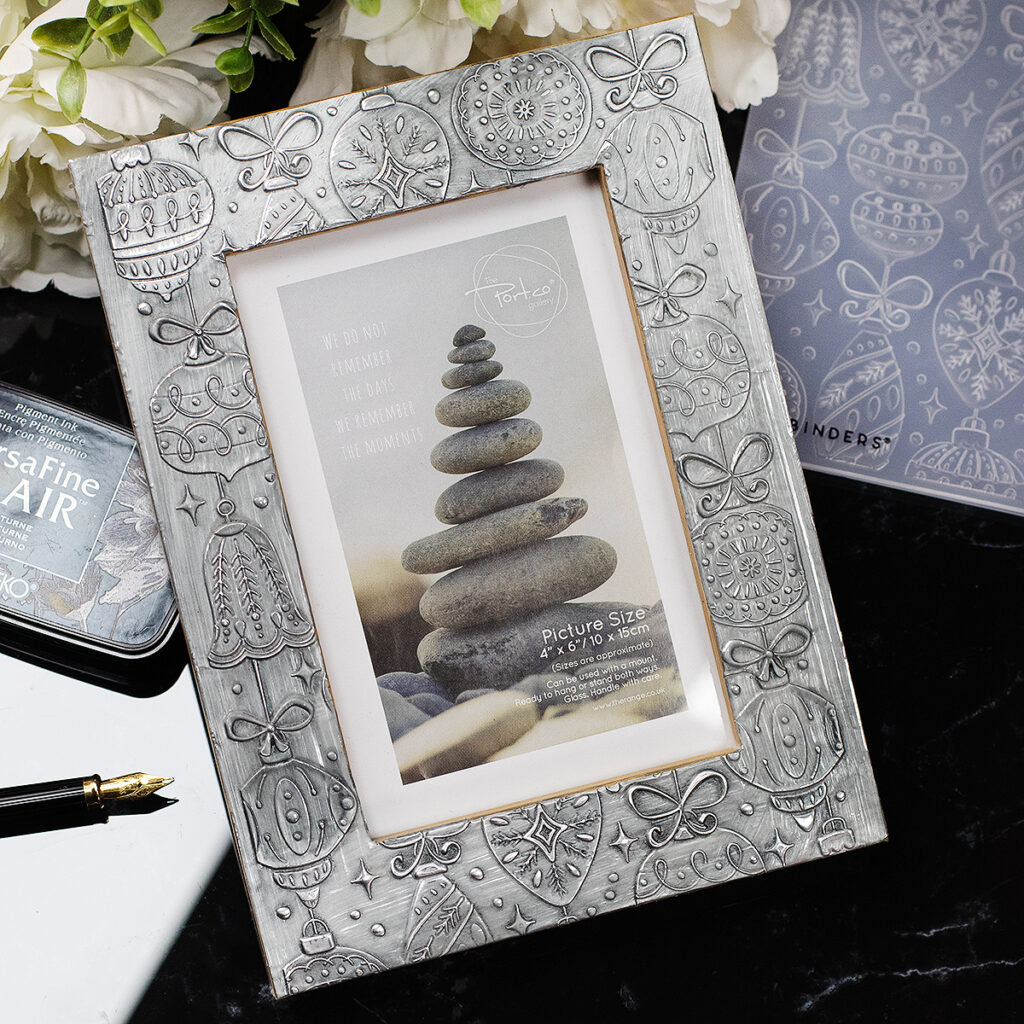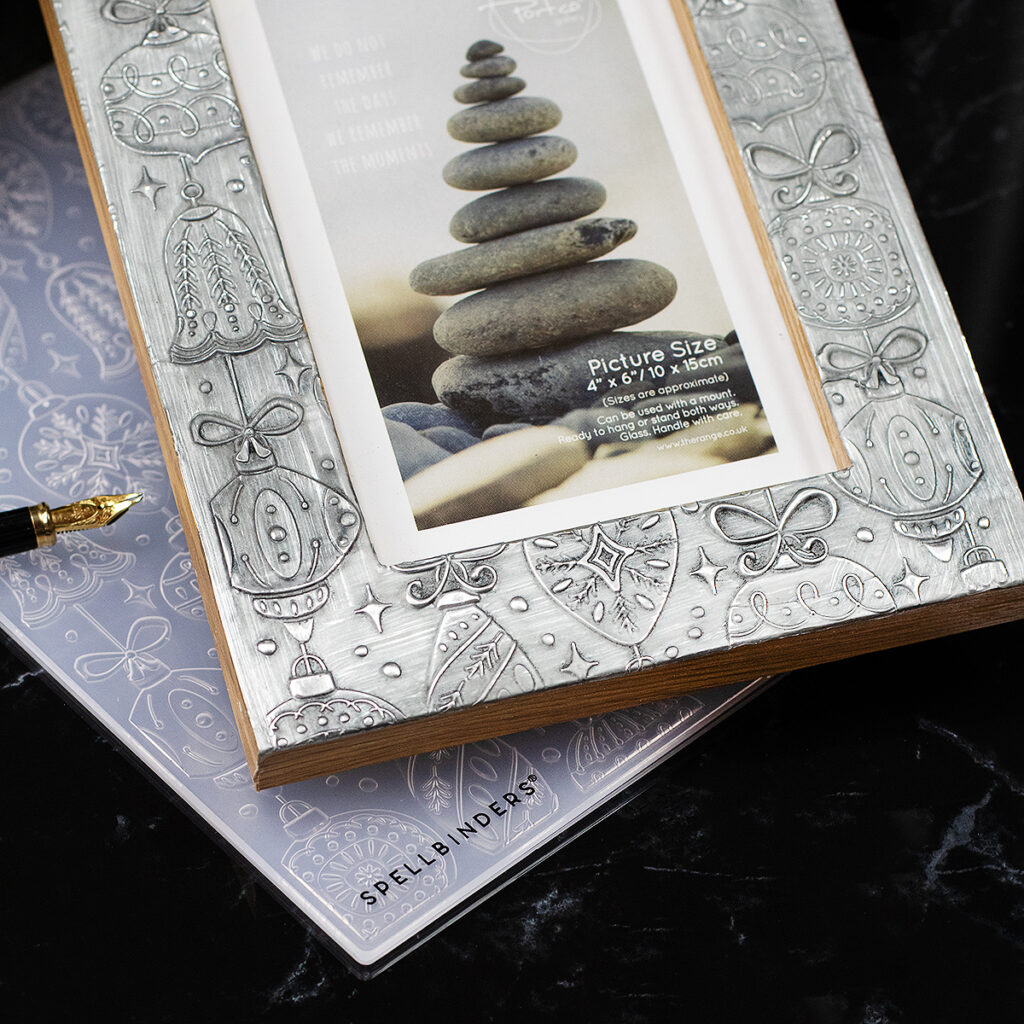
Hello crafty friends, I made a metal embossed picture frame to share more ideas using embossing folders.
This type of project is easy, requires very little materials and is affordable.
In a previous post here, I shared a DIY Wodeen Box idea using 3D embossing folders by Simon Says Stamp. These are 4-1/2″ x 5-1/2 and provide a gorgeous well defined embossed image.
For larger projects, I like to use Spellbinders 3D embossing folders that measure 5-1/2″ x 8-1/2″.
Embossed Picture Frame

Picture Frame Recipe
This frame will fit a 4″x 6″ ( 10 x 15cm) picture and it is about the size of the embossing folder: 5-1/2″ x 8-1/2″.
- Small Wooden Picture Frame
- Spellbinders Vintage Ornament 3D Embossing Folder
- Aluminium Sheets (thin 2.5 thou – 0.06 millimetres thickness)
I used Tonic Studios Craft Perfect Alminium Sheets ( sadly it seems the company discontinued them) - Craft Knife or scissors
- White or Clear Gesso. Any of these allows applying mediums over the aluminium.
- Versafine Clair Nocturne Ink
- Nuvo Deluxe Adhesive or Multi Medium Gloss Gel
- Tim Holtz Collage Brush
- A towel to help yourself to glue down the aluminium onto the frame and to clean the ink excess.
- Surgical Spirit to remove ink from the raised areas of the embossed image.
Watch the Video
Key tips:
- Allow the glue to dry before sticking the aluminium sheet over the frame.
- Place a lightweight object over the frame while the glue dries completely ( not shown in the video).
- Allow the gesso to dry before applying inks.
Thirsty for more?
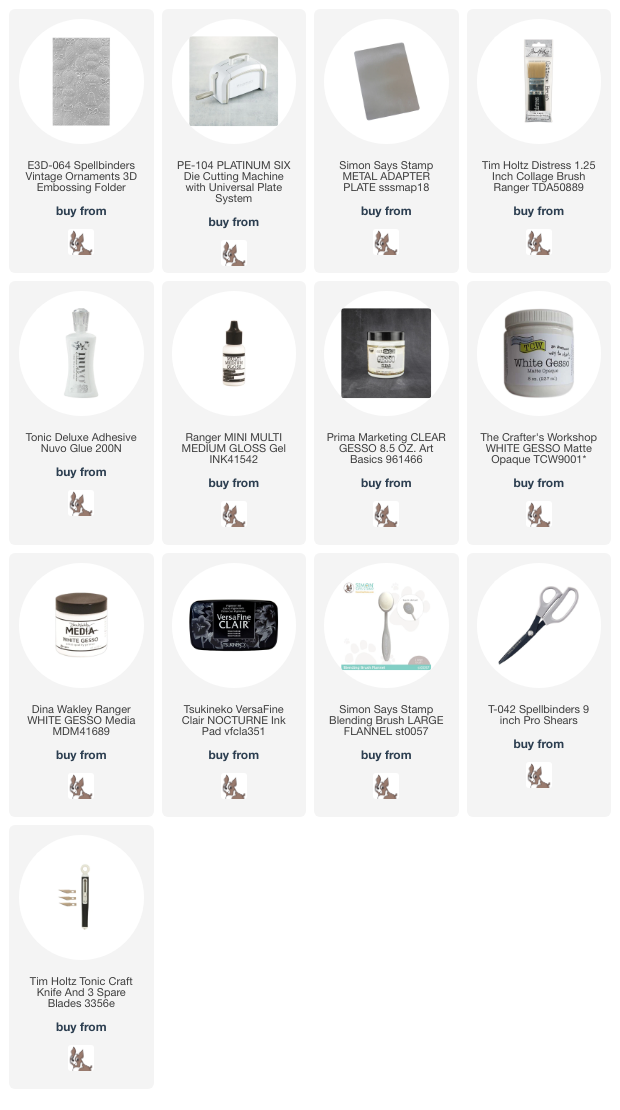
Supplies
Affiliate links apply at no extra cost to you. Thanks for your support


Leave a Reply