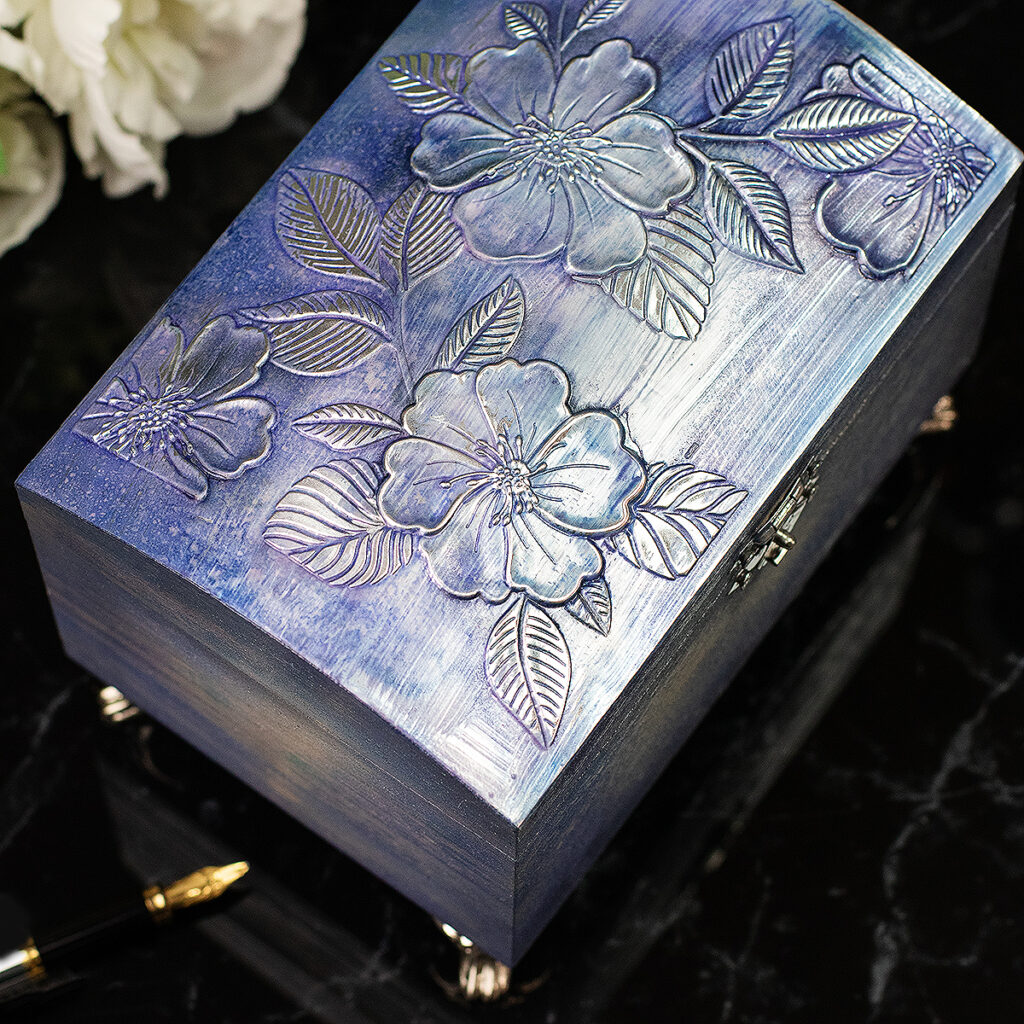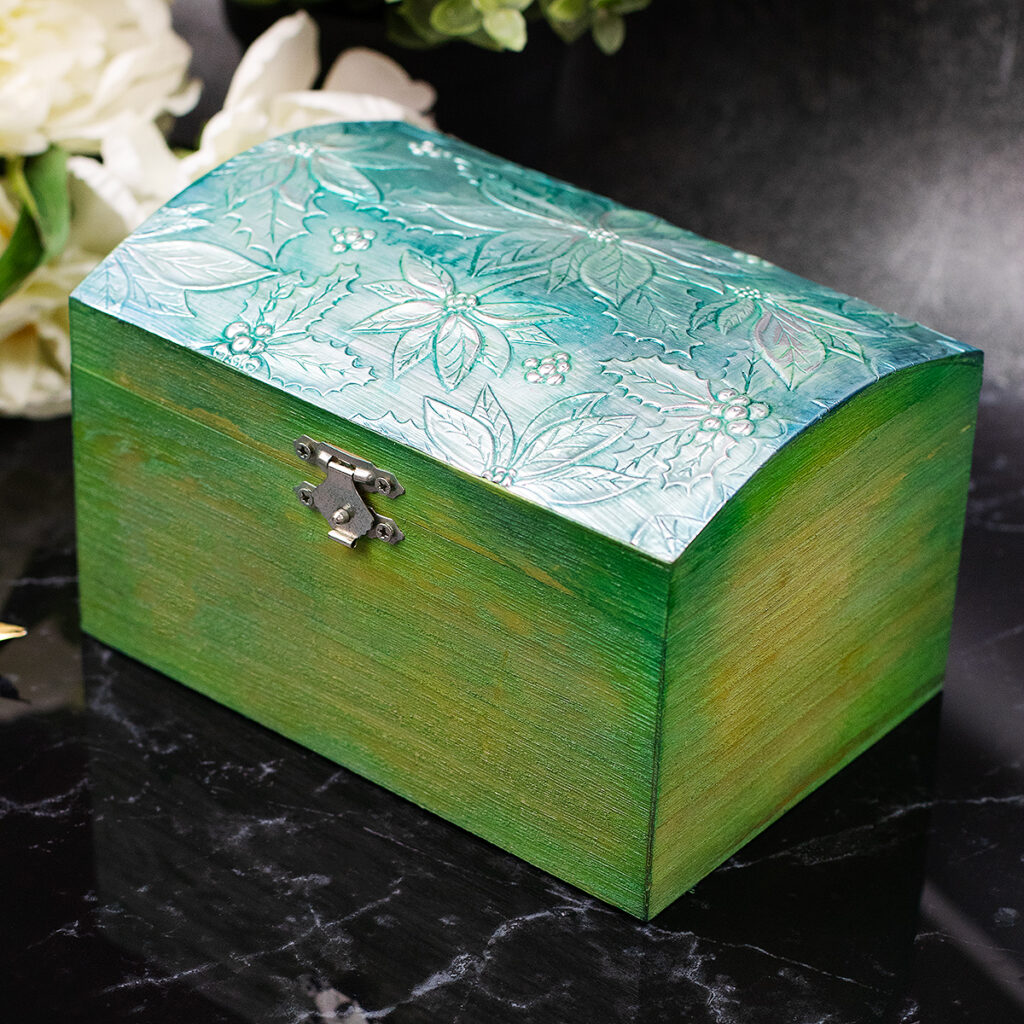
Hello Crafty Friends, It has been 2 years since I made my first decorative wooden boxes using embossing folders, aluminium sheets, and some basic mediums from my stash.
This an affordable, easy, and useful handmade gift idea.
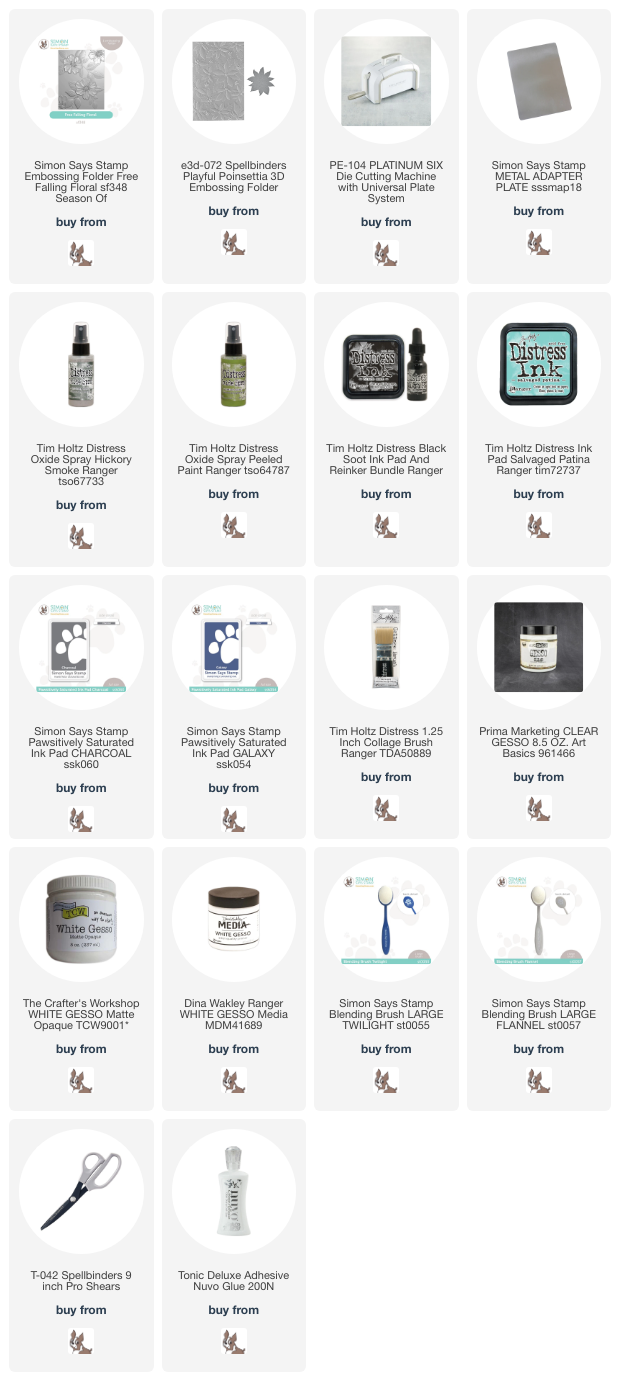
To create this type of project you will need
- Any wooden box – Small is preferable due to the size of the embossing folders)
- Aluminium Sheets (thin)
- 3D Embossing Folders.
- White or Clear Gesso
- Pawsitively Saturated Inks
- A strong glue ( Nuvo Deluxe Adhesive)
- Tim Holtz Distress 1.25 Inch Collage Brush
- Gloss Clear Selear in Spray ( from your local DIY store)
- Box metal legs if you want to add an extra decorative touch to the box.
Key Products:
- Floral and nature-themed 3D embossing folders by Simon Says Stamp are my top favourite embossing folders to do this.
- You can also use Spellbinders embossing folders that are larger for larger projects.
- Silver aluminium sheets (2.5 thou – 0.06 millimetres thickness)

BOX Recipe
- Wooden Box
- Silver aluminium sheet (I used Tonic Studios Craft Perfect aluminium sheets 2.5 thou – 0.06 millimetres thickness) Sadly this product seems to have been discontinued.
- Free Falling Floral Embossing Folder by Simon Says Stamp.
- Hickory Smoke Distress Ocide Spray and Black Soot Distress Ink ( to add colour to the wooden box)
- Charcoal and Galaxy Pawsitively Saturated Inks to add colour to the aluminium.
- Gloss clear sealer.
- Nuvo Deluxe Adhesive.
- Towel and Surgical Spirit (Rubbing Alcohol) to remove ink excess.
Making the Decorative Wooden Boxes
- Quick, easy, and long-lasting embossing.
- There is no need to add anything behind the embossed image.
- You do not need to apply any ink over the aluminum but to add interest and a unique look and feel to this type of box you can use different inks.
Step 1
Paint the wooden box. I used Distress sprays but you can use any ink you might have.
Allow to dry the paint/ink.
Step 2
While the wooden box paint dries, you can emboss the Aluminium sheets.
To emboss any material using Simon Says Stamp 3D folders (thick folders), I use:
The Spellbinders Die Cutting Machine Platform Base + Top Base + 2 pieces of cardstock (250 grams) + metal shim or adapter plate.
Step 3
This step is not shown in the video as I went out of the room to do this ( sorry)
Spray clear gloss sealer over the area you will cover with the aluminium.
*** Note: Although this step is not essential, I found that it really eases glueing the aluminium over.
Step 4
Once everything is dry, Apply glue over the area you will cover with the embossed aluminium and allow the glue to dry a little bit ( until tacky).
Then glue the embossed aluminium over the box and using a towel press down the sheet, try to do this on the negative spaces and smooth out the borders.
This step can take some time but it is worth it.
Step 5
Add Gesso over the aluminium and allow it to dry.
This will enable you to use any ink colour over the embossed piece.
Add your favourite ink colour.
Step 6
To add details, depending on the ink used you can damp a towel with a little bit of water and remove some of the ink from the raised area.
As I was using Simon Says Stamp Pawsitively Saturated Inks, I used little drops of Surgical Spirit (something similar to rubbing alcohol).
Step 7
Spray the whole piece using a clear gloss sealer or lacquer.
Done!
*** Note: You can add extra embellishment to these boxes, like gems or box legs.
The sky’s the limit.
Bonus Project

To add colour to this box I used Peeled Paint Distress Oxide Spray and Salvaged Patine Distress Ink.
To emboss the aluminium, I used the Playful Poinsettia 3D Embossing Folder by Spellbinders.
Thirsty for more
Supplies List


Leave a Reply