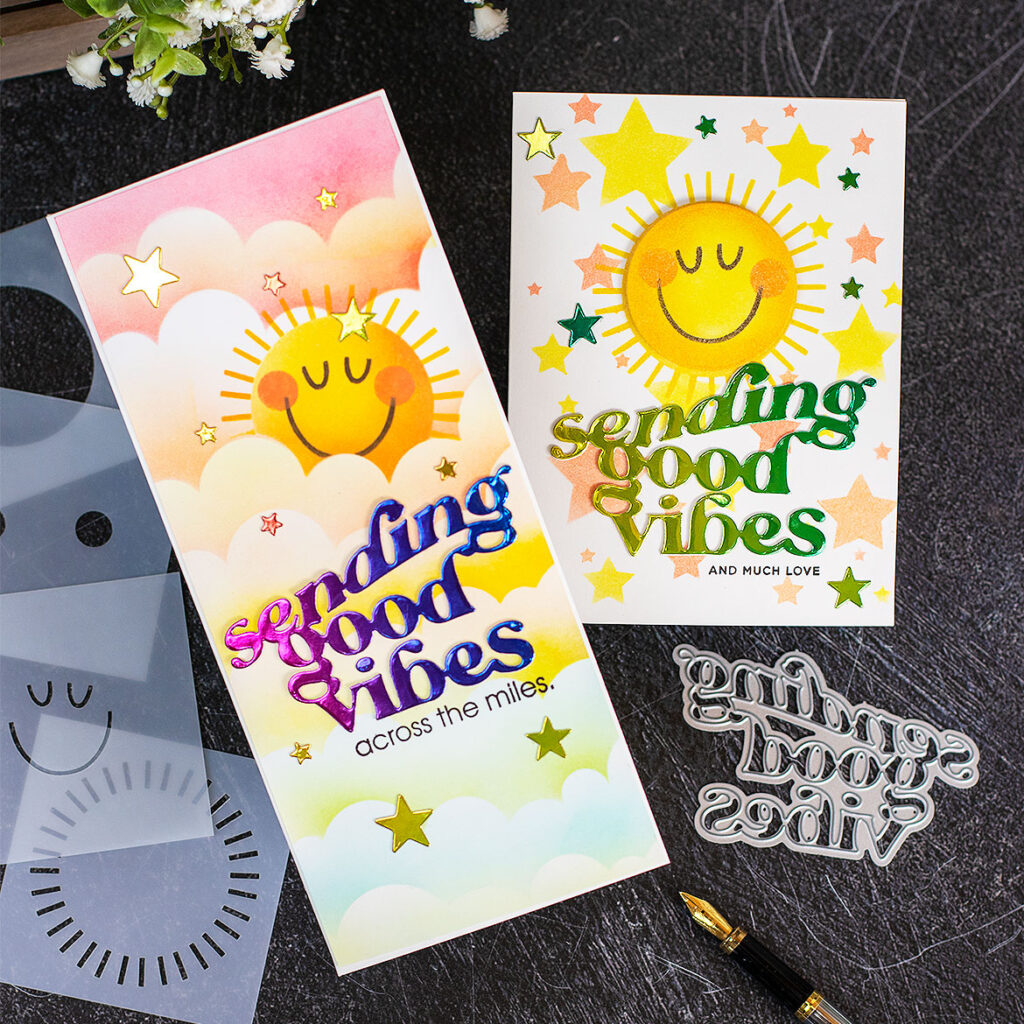
Hello there! These cards turned out very cute. They were made using the Sunny Smiles, the Dimensional Stars, and the Clouds For Days stencils by Simon Says Stamps
I also used the new “Sending Good Vibes wafer die” by Simon Says Stamp and Holographic Rainbows cardstock to add accents and eye-catching elements.
Sunny Smiles Cards

I have found that by mixing and matching stencils you make the best of them.
So for each of the 2 cards in this post, I used 2 stencils.
Layered or Border Stencils Used:
- C6 Card = Sunny Smiles (4-layer mini stencil) + Dimensional Stars (3-layer stencil)
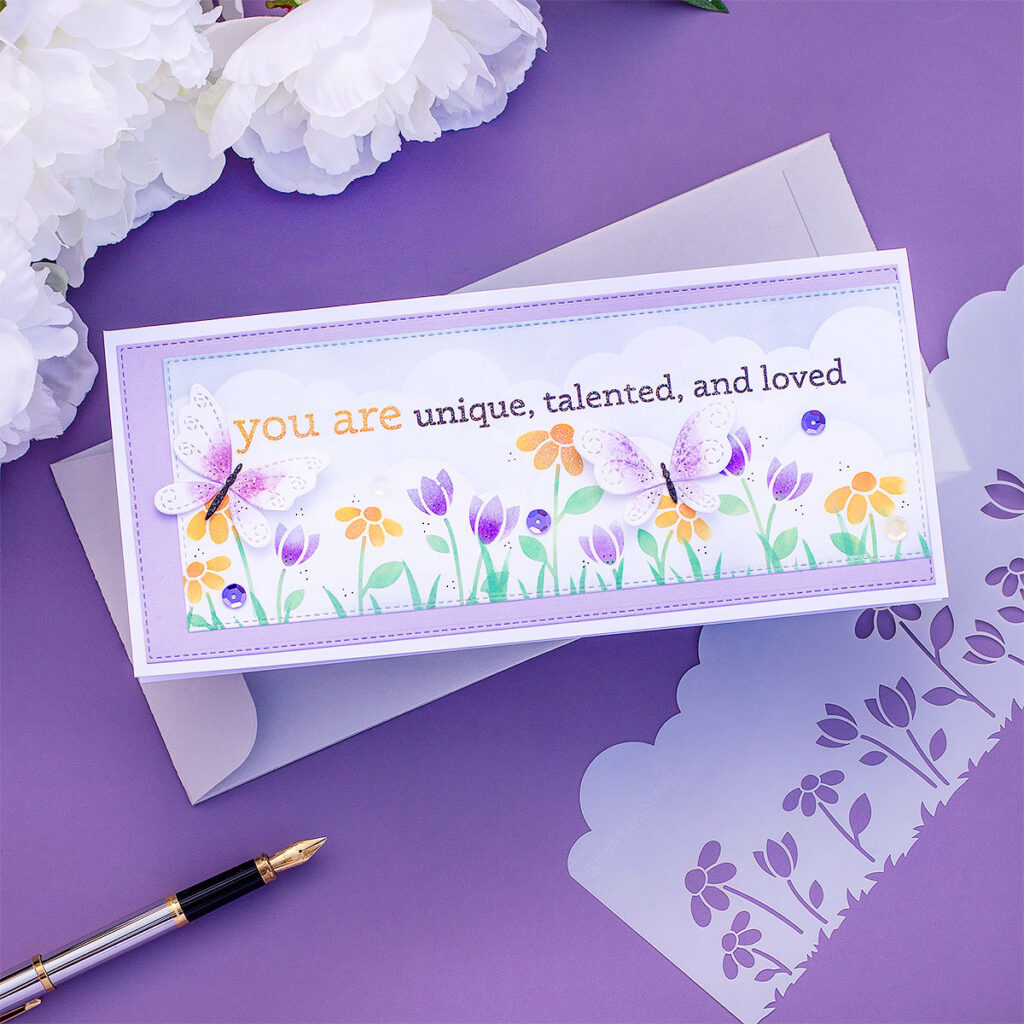
- Slimline card = Sunny Smiles (4-layer mini stencil) + Clouds For Days
Ink Colours Used:
- Starts Background Cards: Sunbeam, Peachy, and Grapefruit Pawsitively Saturated Inks.
- Rainbow Clouds Card from the top to the bottom: Candie Apple Distress Ink + Cheeky, Peachy + Grapefruit, Lemonade + Sunbeam, Celery, Seafoam.
- For the sun face, I used: Lemonade, Sunbeam (edges), Grapefruit ( at the edges too), Mocha ( for the eyes and smile), Cheeky ( for the chicks)
I also used the Starts Wafer die to die-cut small decorative starts out of the Holographic Rainbows cardstock.
When making this kind of card, the last thing I do is to stamp the sentiments using the Misti and Versaifne Clair Nocturne ink.
“Across the miles” is from Just Miss You stamp set and the sentiment ” and so much love’ is from the Happy Days stamp set.
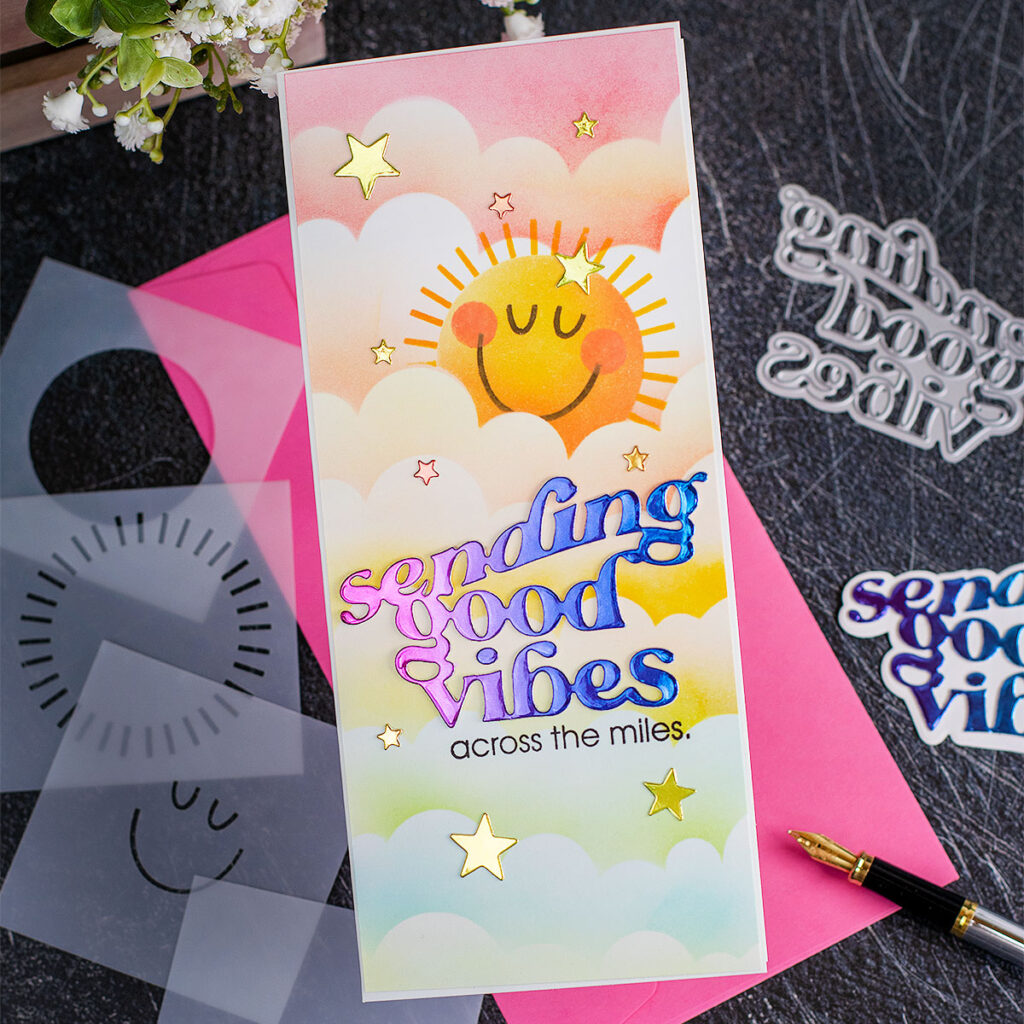
cloud Stencilling Top Tips
- When using a clouds stencil I would recommend starting working from the top to the bottom of the panel.
- Leave blank spaces between clouds.
- Mix two different ink colours on each portion of the cloud-stencilled background for a more striking look and feel.
Pin Me
Thirsty for more?
That’s all for today.
Thanks for stopping by.
X Bibi
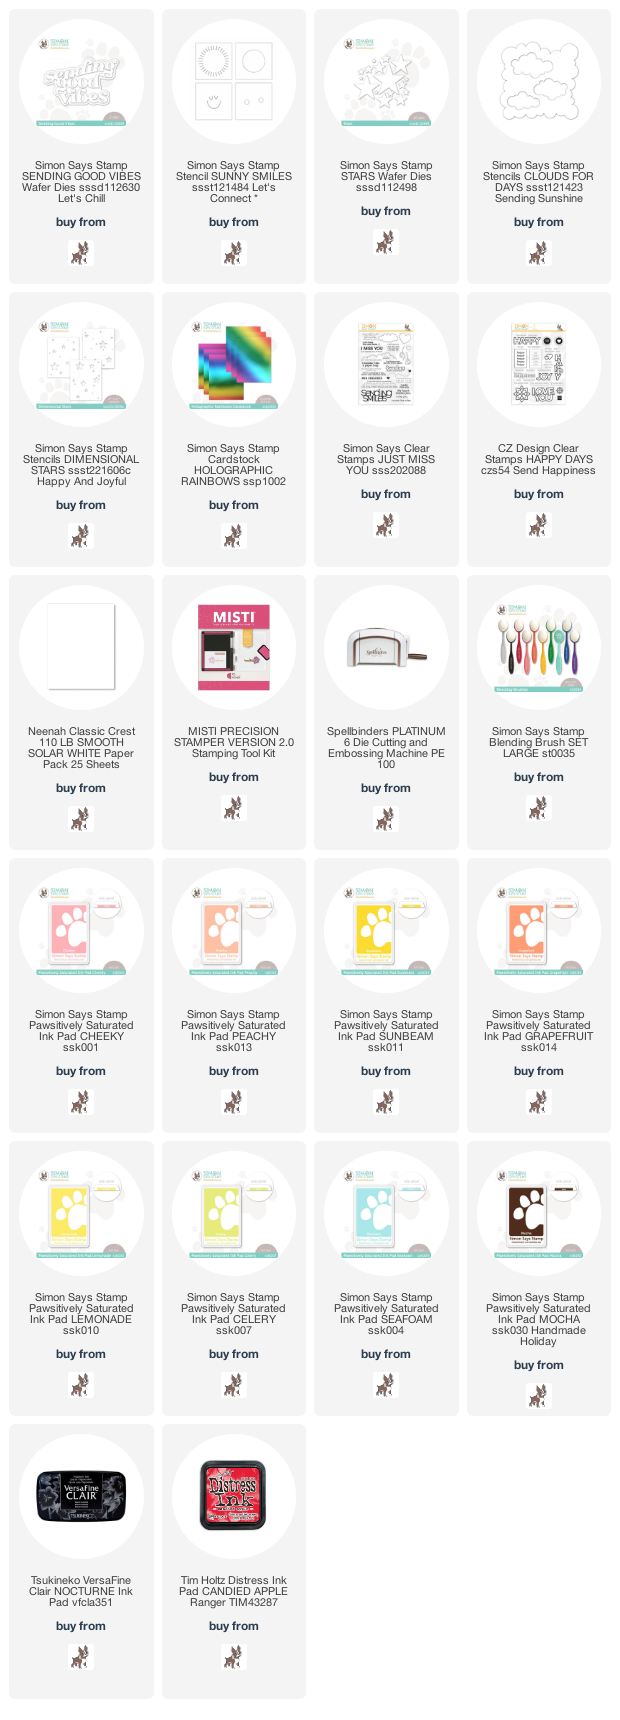
Supplies
Affiliate links apply at no extra cost to you. Thanks for your support.




Leave a Reply