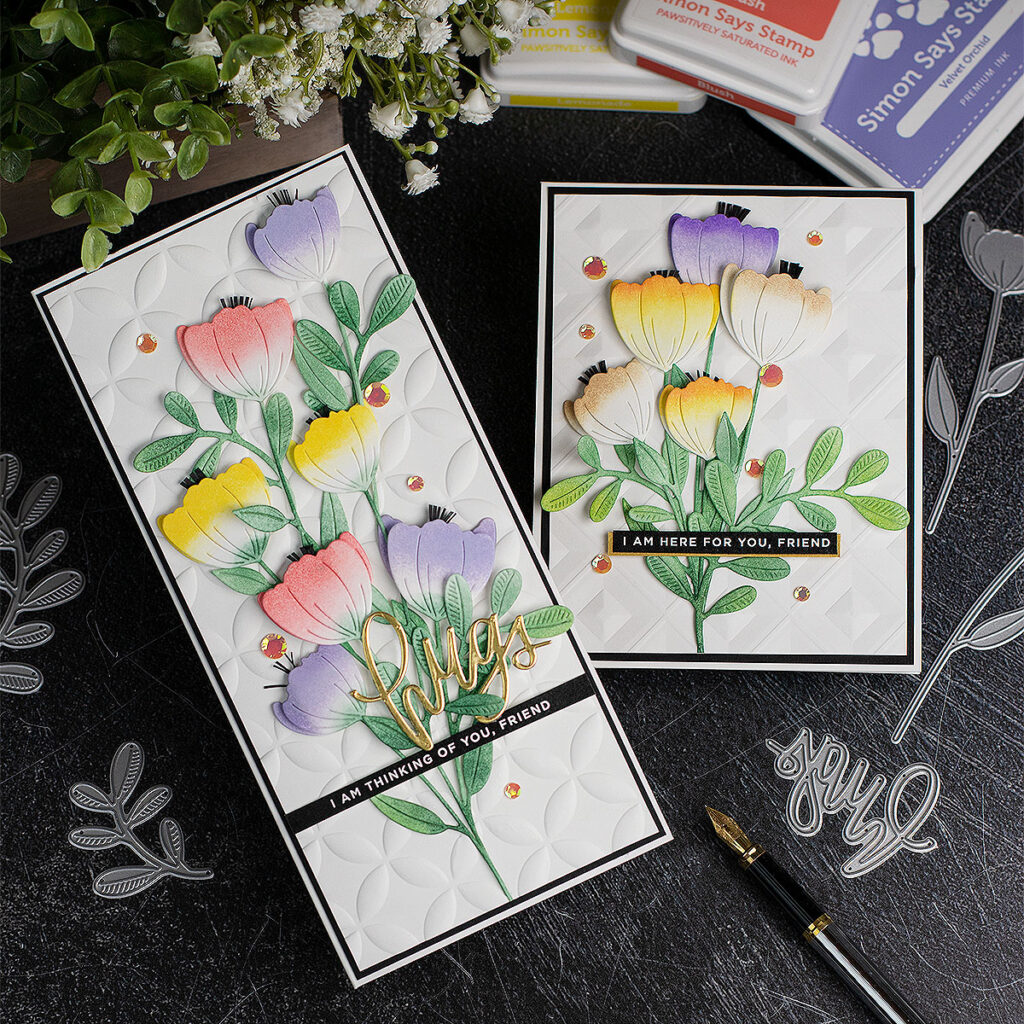
Hello crafty friends, today I’m sharing easy card ideas using the Crocus Steam and Olive Leaves wafer dies by Simon Says Stamps.
I hope you like them!
Crocus Steam and Olive Leaves wafer dies

- The Crocus Steam is a 4 pieces die set that will cut 2 flower designs. One measures 1-1/2″ x 4-1/2″ and the other 1″ x 4″ inches flowers.
- Olive Leaves is a 2 pieces die set that will cut two leaves designs. One measures 1″ x 3″ inches and the other one 1″ x 2″ inches.
With these goodies, you will be able to create floral clusters in different shapes and sizes for any papercraft projects you might have.
You can also pair the Crocus flower with any leafy die you might find suitable … I would say any leafy die will do.
The Cardmaking Process
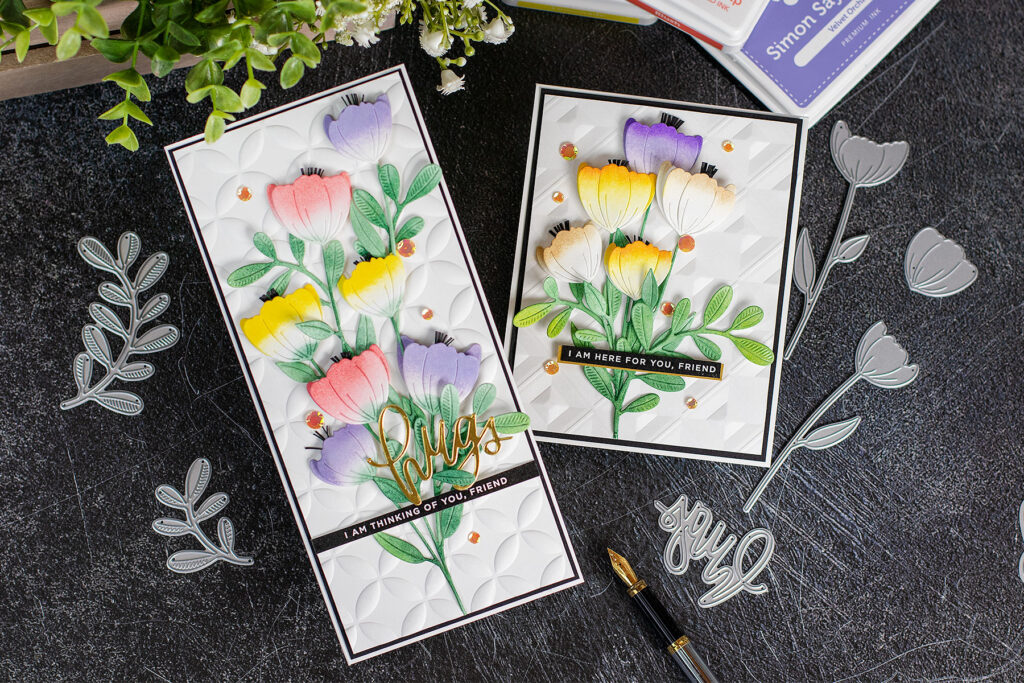
I enjoy making flower clusters using die-cuts, you will see that a lot in my blog.
So for today, I decided to make two different card formats, a slimline card ( 8″ x 3-3/4″ inches) and a C6 ( 5-1/2″x 4-1/4″ inches ) .
This is to be able to show you size options that are really limitless.
You can build clusters of any size and add as many flowers as you want.
- First, I die-cut all the pieces out of Neenah 80Lb cardstock.
- Then I applied Simon Says Stamps Inks to the top part of the die-cut flowers and over the steams.
- I used Simon Says Stamp blending Brushes.
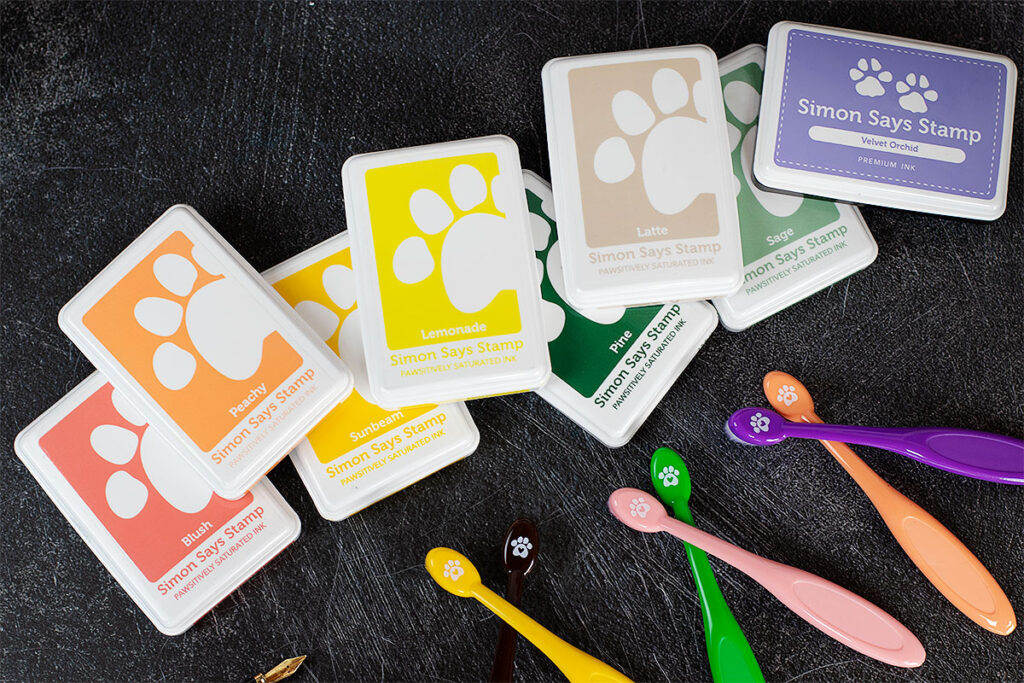
Inks Used
FLOWERS
- Yellow Flowers: Lemonade, SunBean, and Peachy Pawsitively Saturated Ink
- Pink Flowers: Cheeky Pawsitively Saturated Ink
- White / Bown Flowers: Latte Pawsitively Saturated Ink
- Lilac Flowers: Velvet Orchid Premium Dye Ink
LEAVES
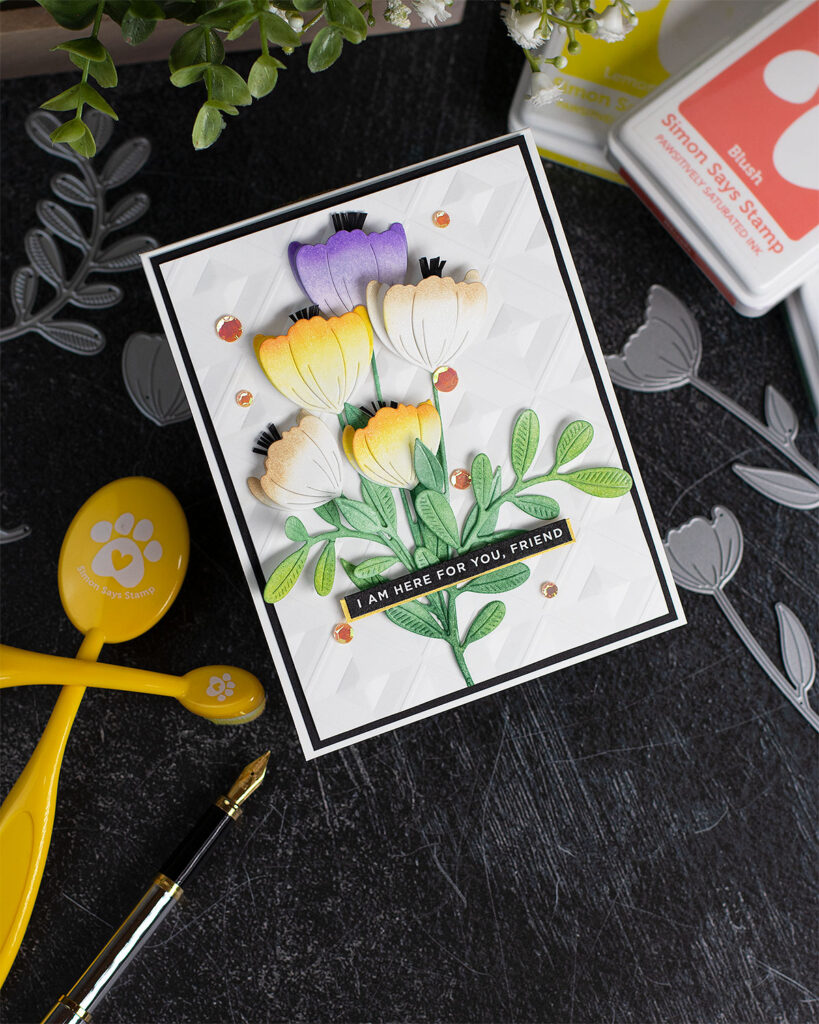
Next, I assembled the flowers. These were very easy and quick to make as they only have two parts.
To make the arrangements, I cut the stem of some flowers to make the shorter and I also DIYed a flower pistil using scissors and black cardstock.
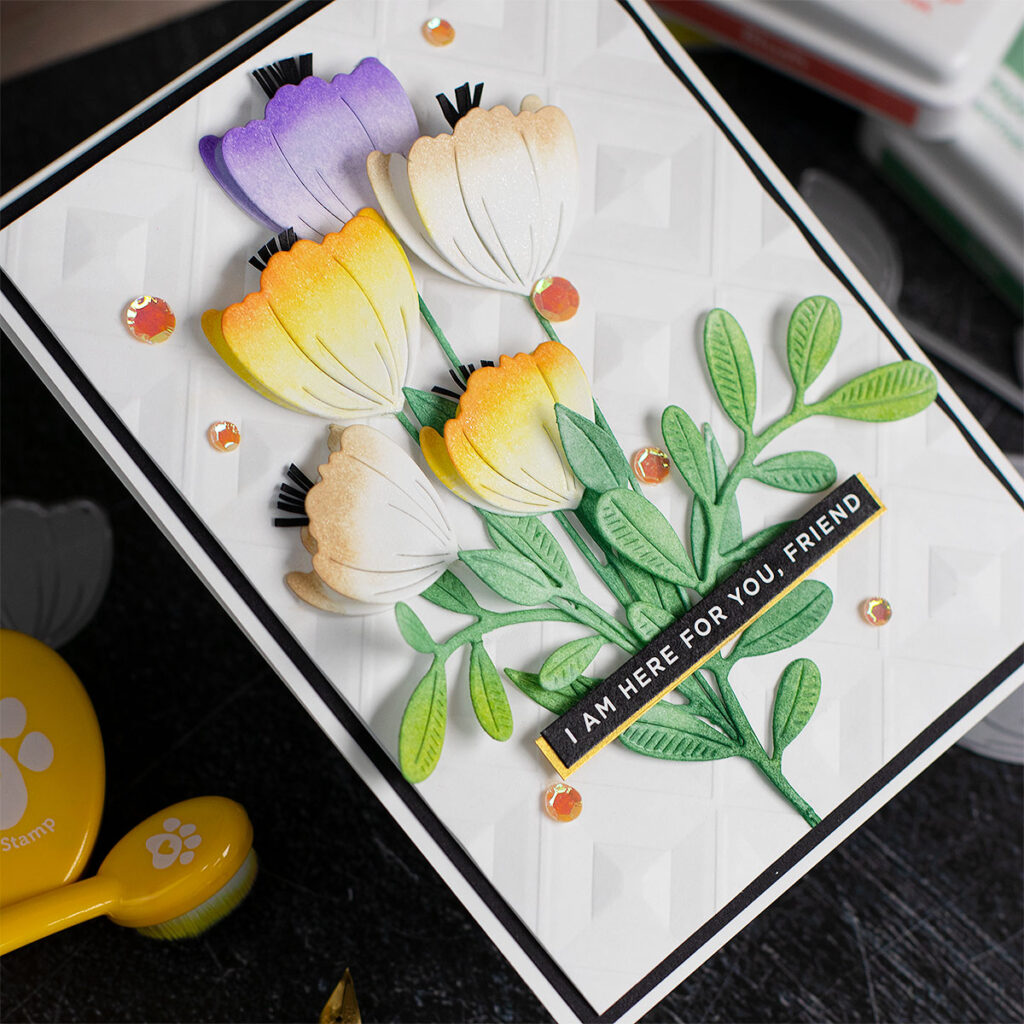
Then, I put the clusters together by glueing the flowers steam to make them look like a single one.
You can use any ink colour and make the flower arrangements as big as you want.
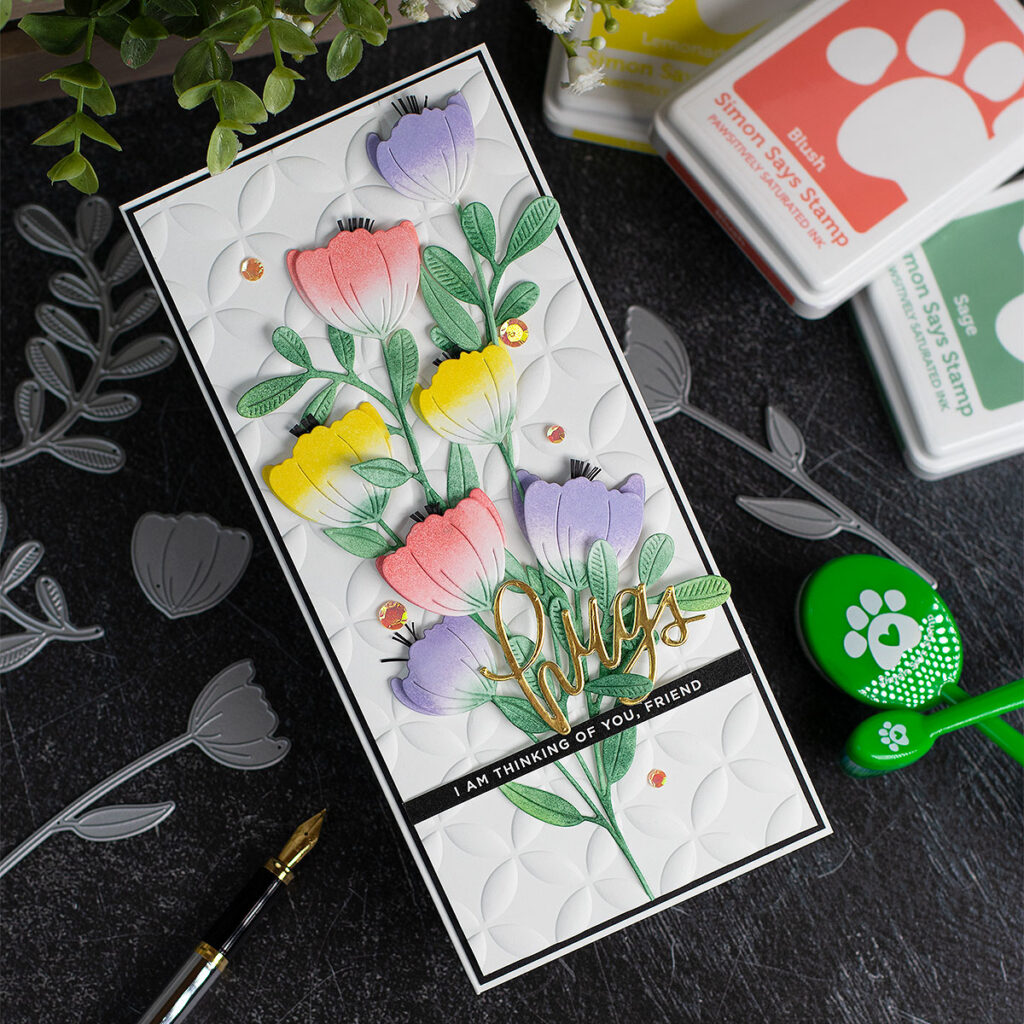
Once the flower clusters were glued together, I then glued them on two different embossed different card front panels.
To emboss the paper I used the new Spellbinders Beveled Diamonds 3D embossing folder and Circle Illusion 3D Embossing Folder.
I also used the new Spellbinders Universal Plates System to easily use the 3D embossing folders and the Spellbinders Platinum die-cutting machine.
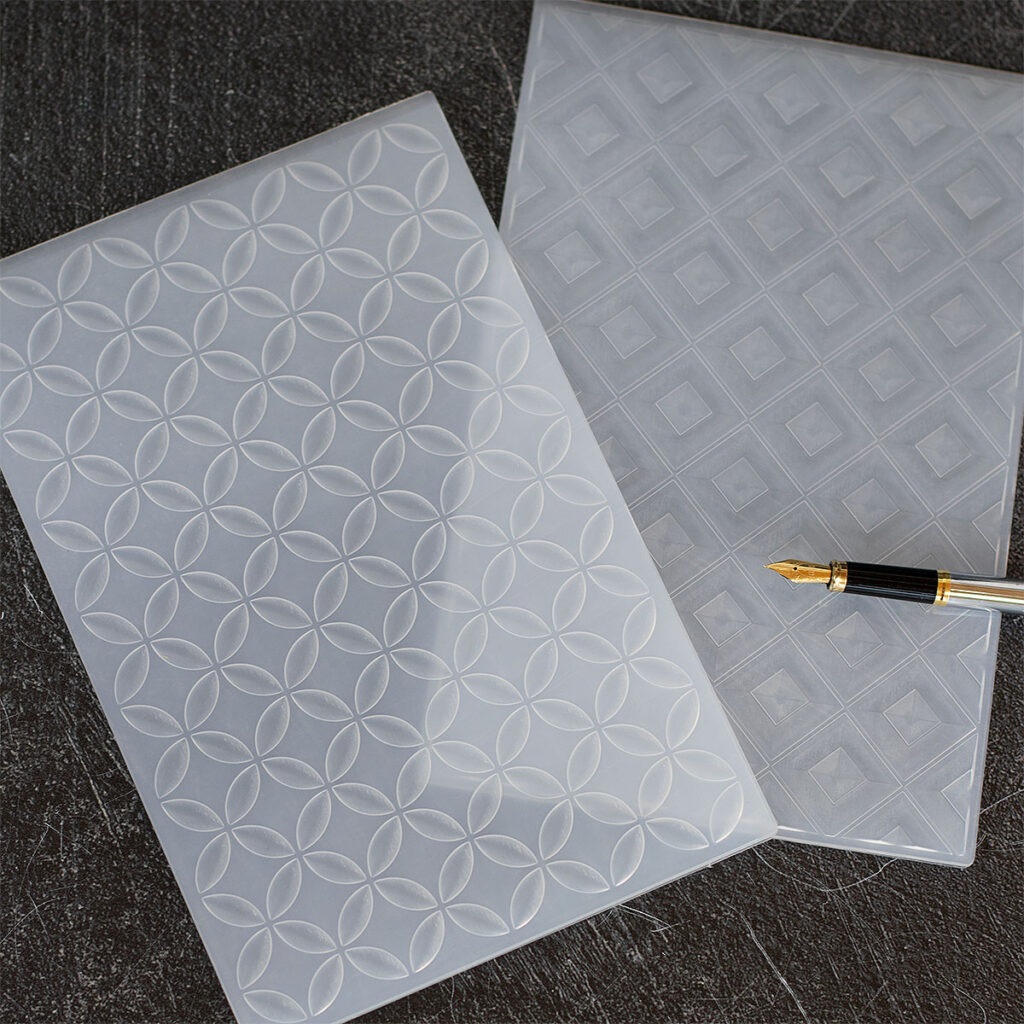
I added a black background panel and then I glued these to the card bases.
To finish, I embellished using the new Peach Opalescent Sequins By Spellbinders that actually look golden.
The sentiments are from the Sentiments Strips Reverse Sympathy (pre-printed).
The slimline card also features a die-cut sentiment “hugs” that was made using Big Scryty Hugs wafer die by Simon says Stamp and Matte Gold Mirror Cardstock.
That’s all for today.
Thanks for stopping by.
Bibi
Thirsty for more?
Supplies
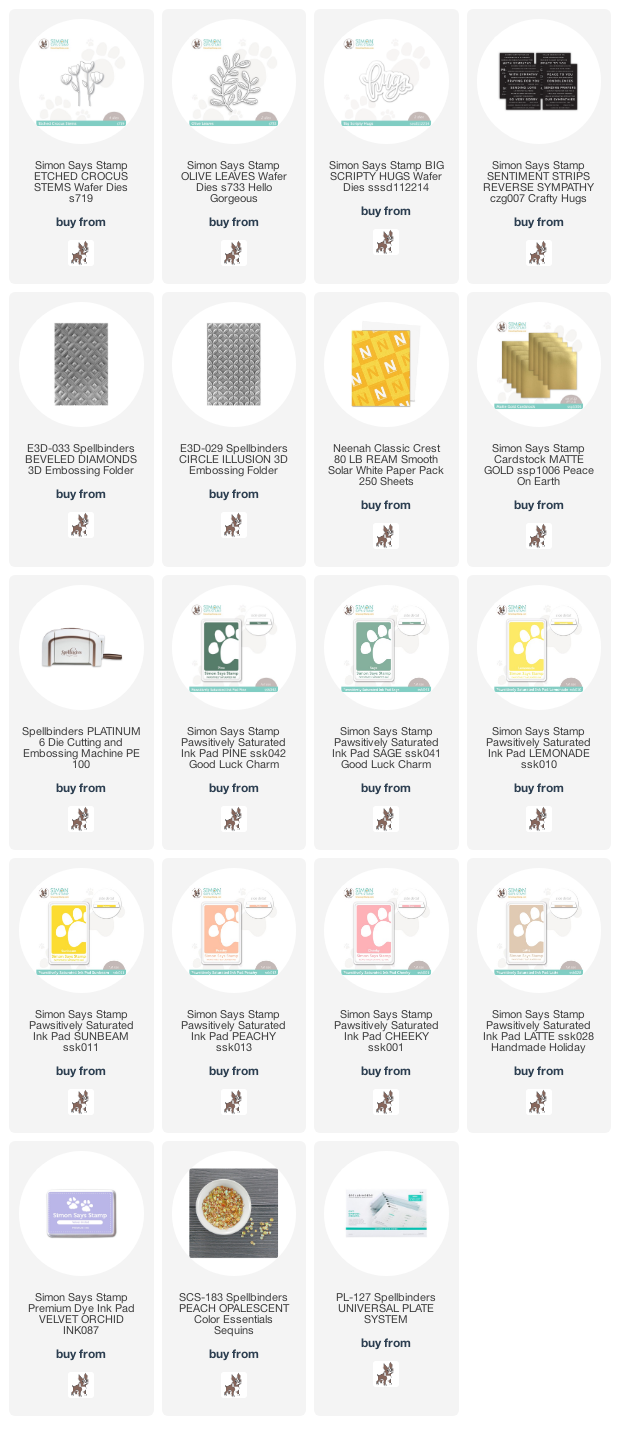
Affiliate links apply at no extra cost to you. Thanks for your support.


Such beautiful cards, Bibi!
I would love to give this a try.
Love the soft colors!
Absolutely Stunning cards!!!!!
These are gorgeous, Bibi! Thanks for sharing!
Lori S in PA (USA)