
Hello there, I thought to pass by to share a couple of die-cutting and paper piecing tips using the new Be Bold Color Block Merry Christmas die by Spellbinders.
I’m loving this die-cutting concept… It is super cool!

Be Bold Color Block Merry Christmas die will create fantastic Xmas slimline cards and you chose how much detail you want to add.
What is cool about these dies is that you don’t really need many supplies to complete your cards.
You will need:
- A large format die-cutting machine will be ideal as the die is 8-1/4″ inches long.
- Note : A standar die-cutting machine.
- Coloured cardstock in different colours.
- Pearlescent and Glitter cardstock to add accents.
- Nuvo Deluxe Adhesive.
- You can also embellish with some Xmas small die- cuts and gold pearls.
Color Block Merry Christmas 2 Ways

Detailed paper piecing
Glue even the smaller die-cuts available with a simple but effective tip.
- Stick Press n’ Seal behind the card stock then die- cut the paper. This is a sticky plastic that will keep the die-cuts in place.
- It is very important to run the cardstock “only once” ( just once please) on the die-cutting machine to be able to easily remove the die-cuts from the Press n’ Seal ( this will tend to stick to the die- cuts and that will give you extra work- not fun).
So to make a card like the one below, Press n’ Seal is a must.
You can also spray a piece of cotton fabric and spray it with temporary spray adhesive instead to make a sticky sheet [In the video here I show you how to do this using fabric instead of Press n’ Seal]

Speddy Paper Piecing over Solid Background

For speedy projects, use a piece of colored cardstock for the background and add only the die-cut letters over.
This takes a fraction of the time required for the card above ( detailed paper piecing) and the difference is not as noticeable!

For this card, I used a Lemon Lustre Pearlescent cardstock in the background.
First, cut the backing piece, which is slightly small than the rectangular cutting line of the die (I believe I cut the panel 3-1/2″ x 8- 1/4″ inches).
I had a small piece of that paper so I had to jiggle things a little bit.
- Notes : Although is not an imposible task and it can be done, there is a risk to damage your project when attempting to cut around the edges of the paper pieced pannel once finished.
- If you are going to cut around the edges of your paper pieced panel, please make sure that the glue is completely dry before trimming the panel.
There is a similar slimline die with the word Love and it is called Be bold Color Block Love You.
I’ll be sharing ideas with this die too soon…
Thristy for more ?

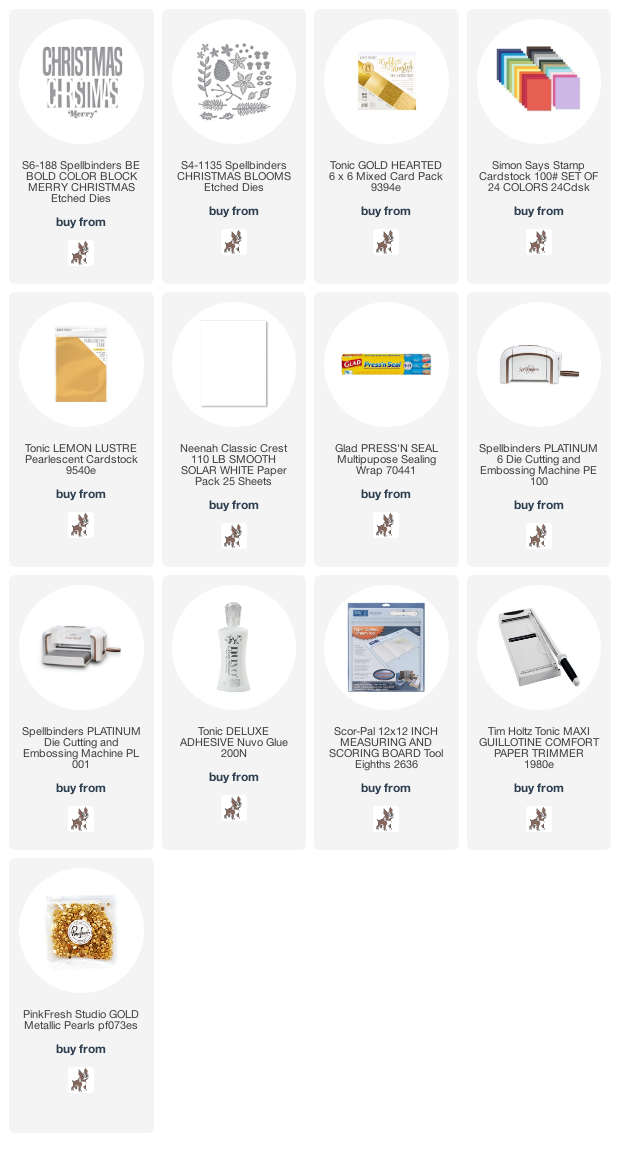
Supplies
Affiliate links apply at no extra cost to you . Thanks for your support.


Leave a Reply