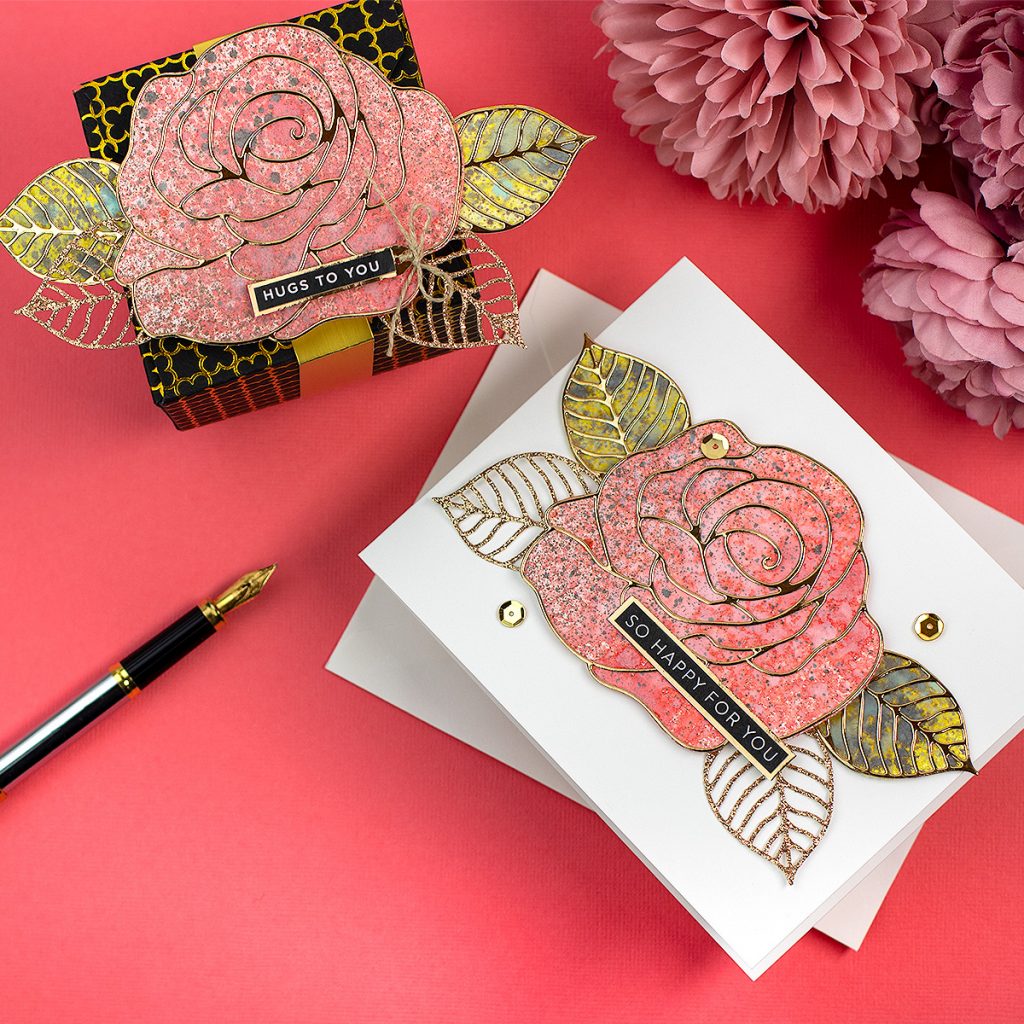
Hello, for today I made two easy projects to share with you using Detailed Rose Wafer Die by Simon Says Stamp and Distress Sprays.
The more I try Distress Sprays the more I like them! They are awesome to easily and effortlessly add color to papercraft projects.
DETAILED ROSE WAFER DIE

So Detailed Rose wafer Die is the protagonist of my post today.
This is a 4 PCS die set that includes the silhouette of a gorgeous large rose and a leaf plus die to cut out the backing panels.
The die-cut backing piece for the rose would allow you to apply a variety of colouring techniques or paper piecing and to give your artwork a nice finishing touch, you can simply adhere to the rose silhouette over.
Yes, you can use only the rose silhouette or the intricate die-cut alone if you wish and the rose can be used in different projects
The rose die measures approximately 3″ x 3-14″ inches. The leaf is approximately 1″ x 2″ inches.
EASY DISTRESS OXIDE SPRAY COLOURING

To make the projects in the post today, I first, die-cut the backing panel of the rose and leaf out of Neenah 80Lb cardstock.
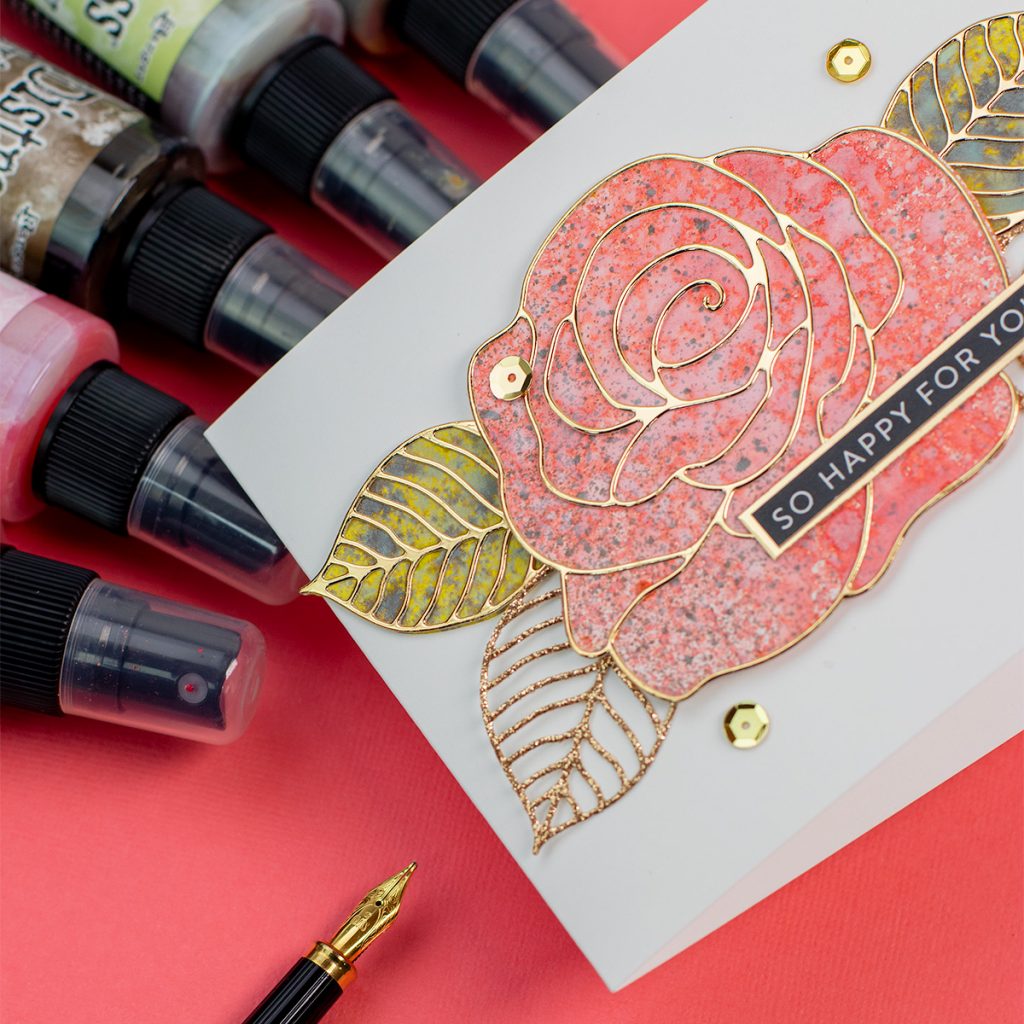
- Next, spray the backing panel of the rose using Spun Sugar Oxide and Barn Door Oxide Sprays.
- For the leaf use Old Paper and Crushed Olive Oxide Sprays.
- Allow to dry or use a heat tool to speed the drying process.
- When the die cuts are dry, apply a little bit of Walnut Distress Oxide Spray to add dark speckles.
Done!
All you have to do is to use liquid adhesive to adhere to the silhouette of the rose and leaf to create endless compositions.

TIPS
- Use gold mirror, gold satin, and gold glitter cardstock to add a touch of elegance to your projects.
- Use Simon Says Stamp Sentiments Strips to create easy and quick banners, and do not forget to add a piece of gold mirror card at the back of the sentiments for extra beauty.

DETAILED ROSE BOX MAKING
- First, I used a piece of Golden Quatrefoil -Black Foiled cardstock that measures 8-1/4″ x 8-1/4″ inches.
- Using the envelope punch board, I punched and scored at 2-1/2 ” inches around the corners of that piece.
- Then, I shaped the box by cutting the side flaps and gluing them in place.
- Next, I cut a 3/4″ x 11″ striped of Gold Satin Cardstock and I wrapped it around the box to create the band. I used a glue dot to glue the band ends.
- I used dimensional pads to adhere the rose topper to the band (only) so that it can be removed to open the box with ease.
- To finish, I added a banner using a pre-printed sentiment from Sentiment Strips Reverse Grad
- Embellish with sequins or Gold Fashion Embellishments.
DETAILED ROSE CARDMAKING

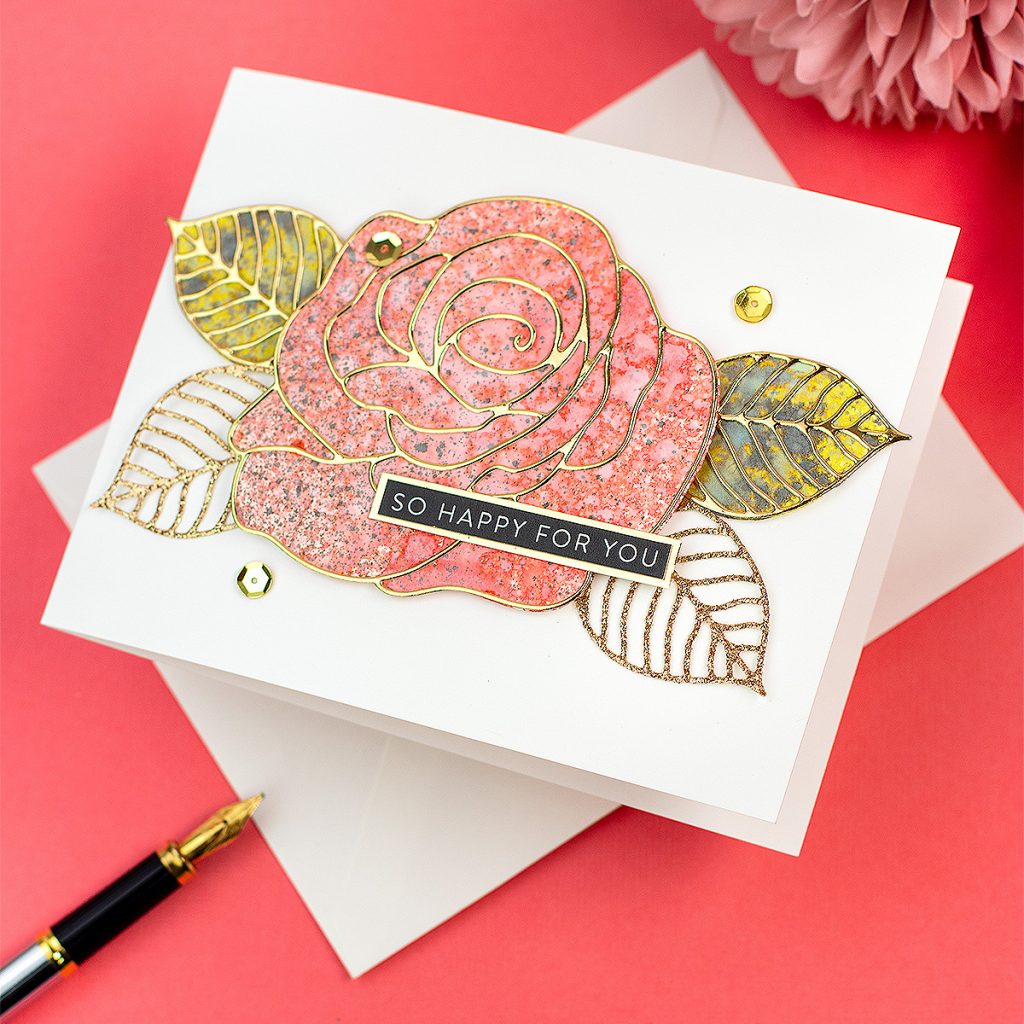
Here I wanted to show you how the rose and leaves will fit on the front panel of a C6 card ( 5-1/2″ x 4-1/4″ inches)
I added a banner using a pre-printed sentiment from Sentiment Strips Reverse Love

That’s all for today.
I hope you enjoy these ideas.
Happy crafting

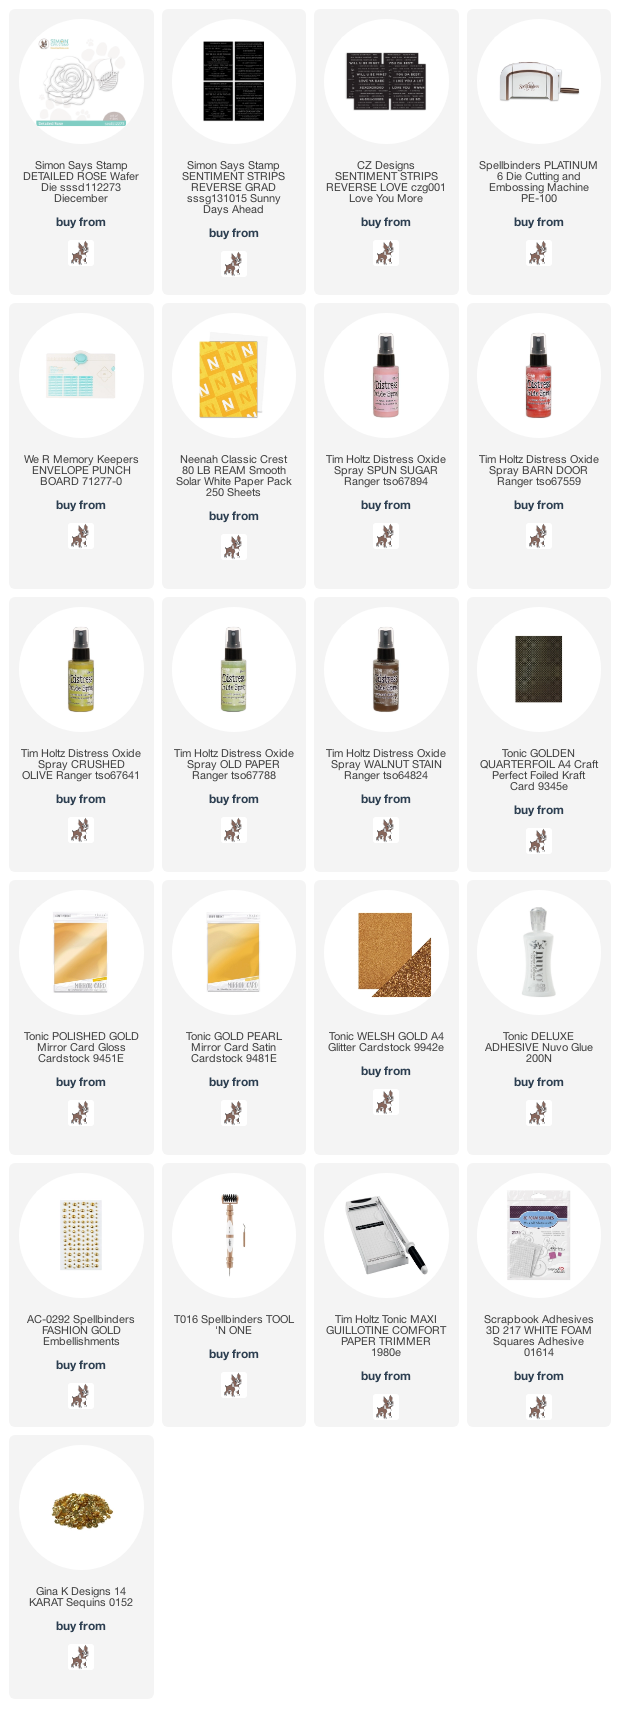
SUPPLIES LIST
Affiliate links apply at no extra cost to you. thanks for your support.


Leave a Reply