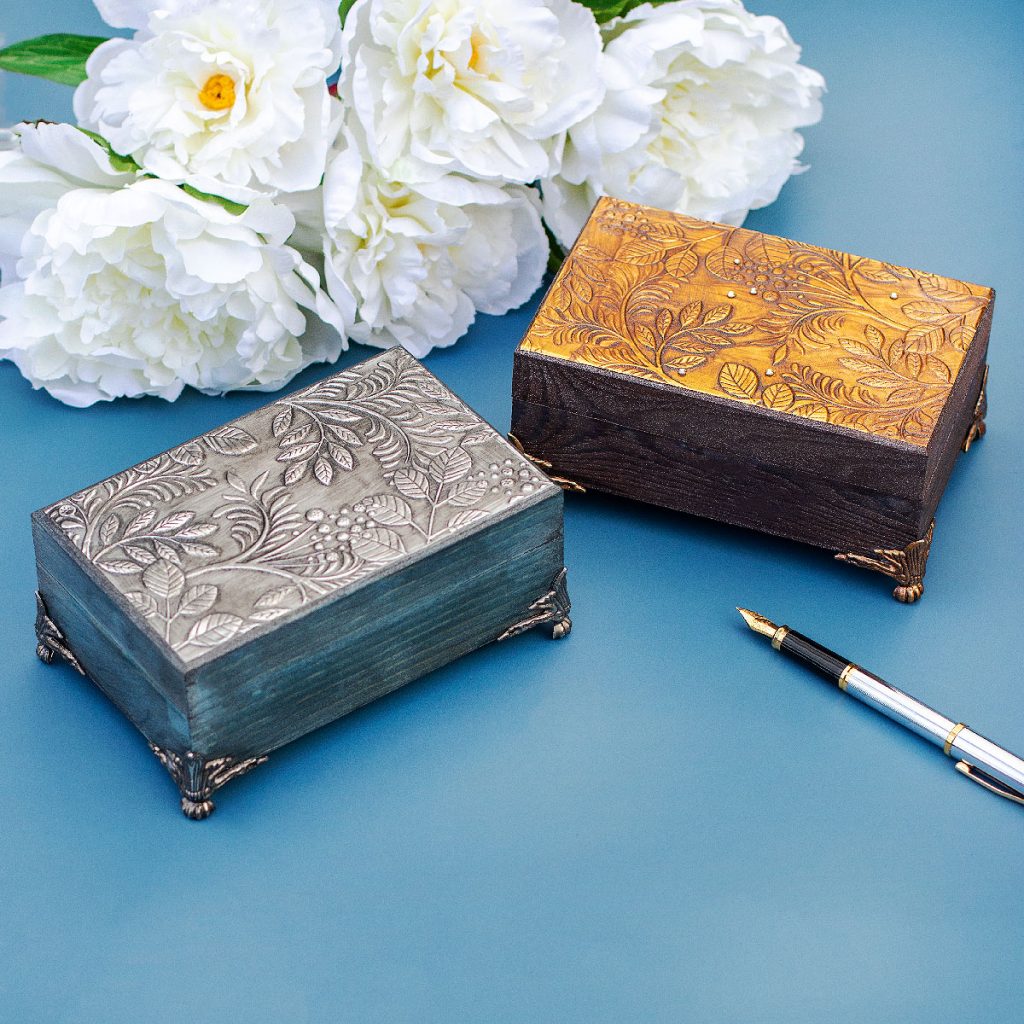
Hi there, for today I made something a bit different to share with you using the new 3D Vine Canopy embossing folder by Simon Says Stamp.
I was wanting to do this for a very long time also to use my neglected Craft Perfect Metal Sheets.
From Embossing Folder to Jewellery Box
Watch a Video Tutorial to learn how easy is to make these jewellery boxes using papercraft or cardmaking supplies you might have at hand.
Any of the gorgeous 3D embossing folders by Simon Says Stamp will allow you to create easy and quick metallic decorative pieces for different projects!
Embossing Metal Sheets
Over 20 years ago, I made loads of similar crafts with my mum. She has been my inspiration today.
My mum was a crafty bee. One day she arrived home all excited about a new craft she had learned. It is called “Arte Mexicano” a fancy name for “Repujado en Aluminio- Embossing Aluminium”.
[If you google the words “Repujado en Aluminio” you will find loads of ideas and inspiration]
“Embossing Aluminium” consists of tracing a pattern/design on the back of a very thick aluminium sheet using a pencil, then hand emboss the design using a stylus or Blending Stumps.
- Each design is made to fit a specific object ( size – shape) e.g a frame, a box, a cross, a flower base, etc.
- Once the embossing is done, it is necessary to add plasticine at the back ( debossed areas) to preserve the volume or raised areas.
- Using a special adhesive, this artwork could adhere to the specific object it was designed for.
- To add a vintage look patines are applied over the metal.
Back in the 90s we would never imagine having 3D embossing folders … This is such amazing technology that we might take for granted now but back then crafting required a whole set of skills. Nowadays our tools make everything easier for any skill level…
Embossed Jewellery BOxes
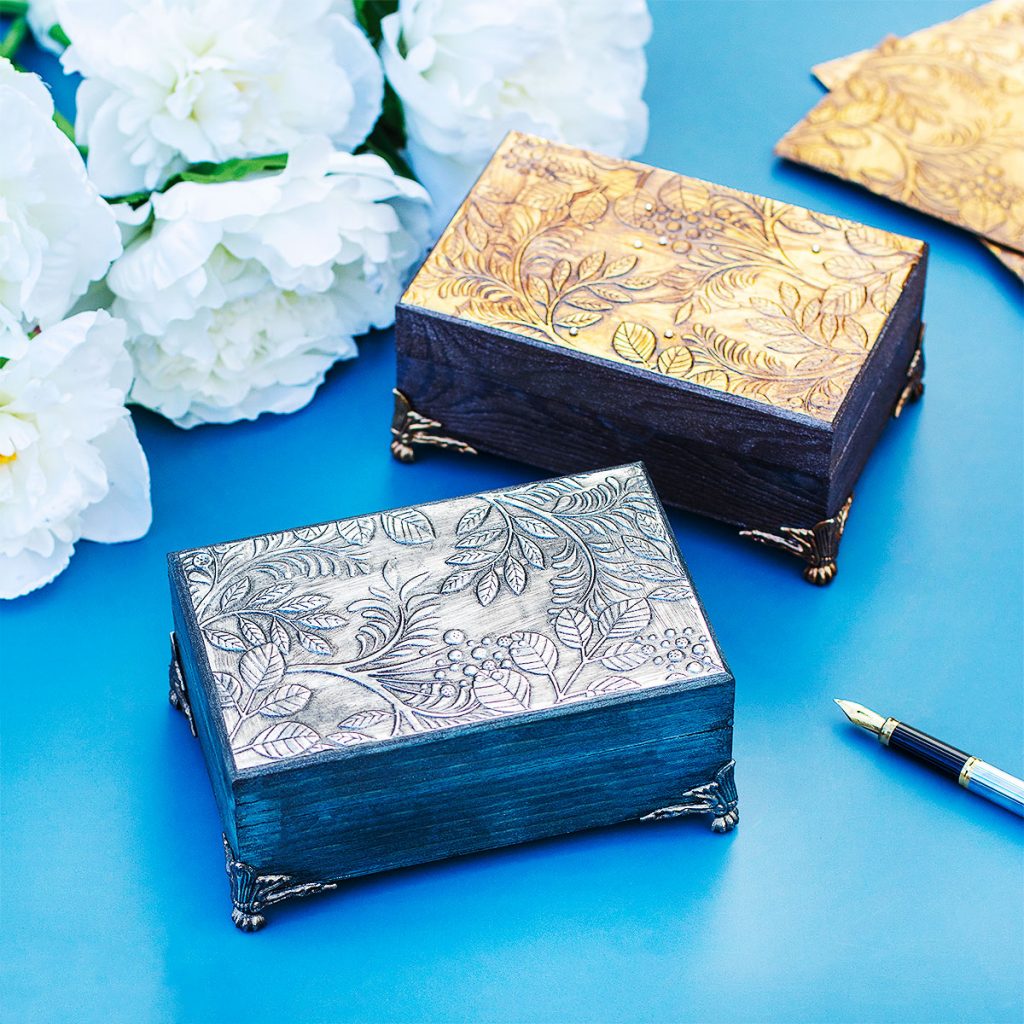
So I thought in making a couple of jewellery boxes using what we have available today.
If you are keen to go beyond papercraft and card-making, this will make beautiful and affordable handmade gifts for friends and family.
Plus this will allow you to use supplies you might have in your stash in a very different way.
Jewellery Box Making Process
- First, you will need a wooden box no larger than 5-1/2 x 4-1/4 inches.
- Yes, you can make a larger box and try to align the metal sheets’ edges.
- You can also make smaller boxes
- The boxes can be any shape.
- Then, you need to paint the wooden box using distress ink pads or sprays and Nuvo sparkle sprays.
- To seal the color you need to apply some kind of varnish or sealer.
Once the box is painted I started working on the metallic decorative topper.
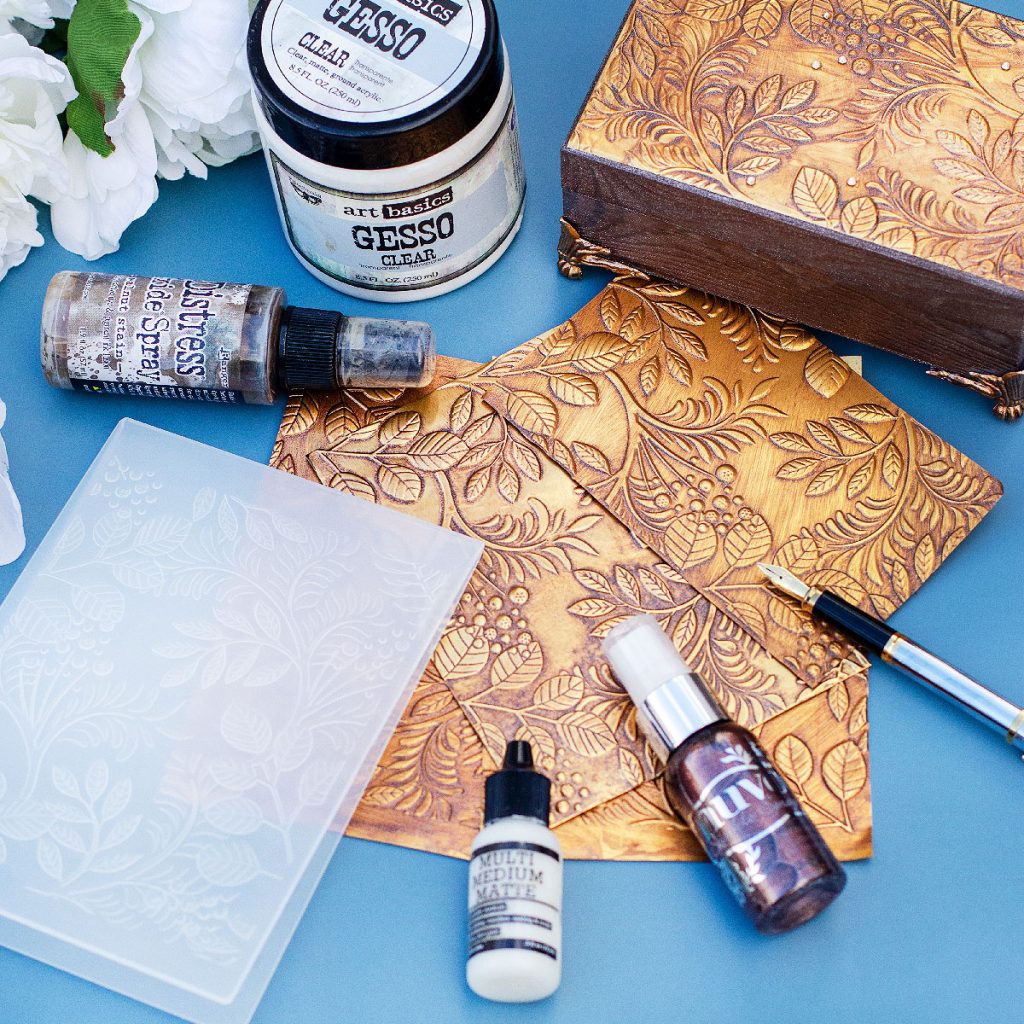
I used Craft Perfect Metal Sheets . These are 0.07mm thick ( very thin).
- First, I trim or die-cut the metal shim to fit the size of the project.
- In this case, I used a guillotine to cut an 8.5cm x 13.5 cm piece ( the size of the box)
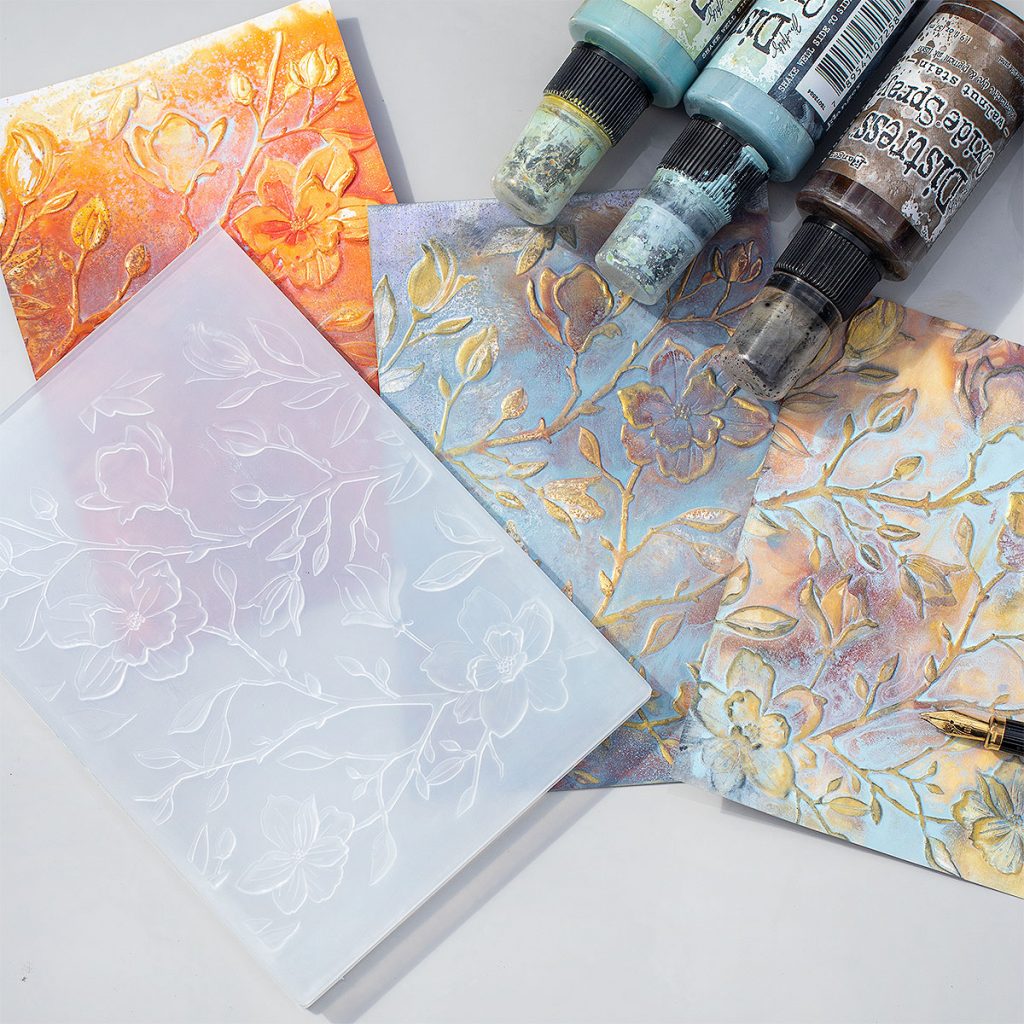
- Then, I embossed the piece using the new 3D Vine Canopy embossing folder by Simon Says Stamp.
- As the metal shim will resist any water-based paint, I applied Gesso over the metallic embossed piece and allow it to dry.
- Next, I applied Distress inks and Nuvo Sparkle to add a vintage look and to make the embossed image pop a little bit more.
- To adhere the metal piece in the wood I used Multi Medium by Ranger.
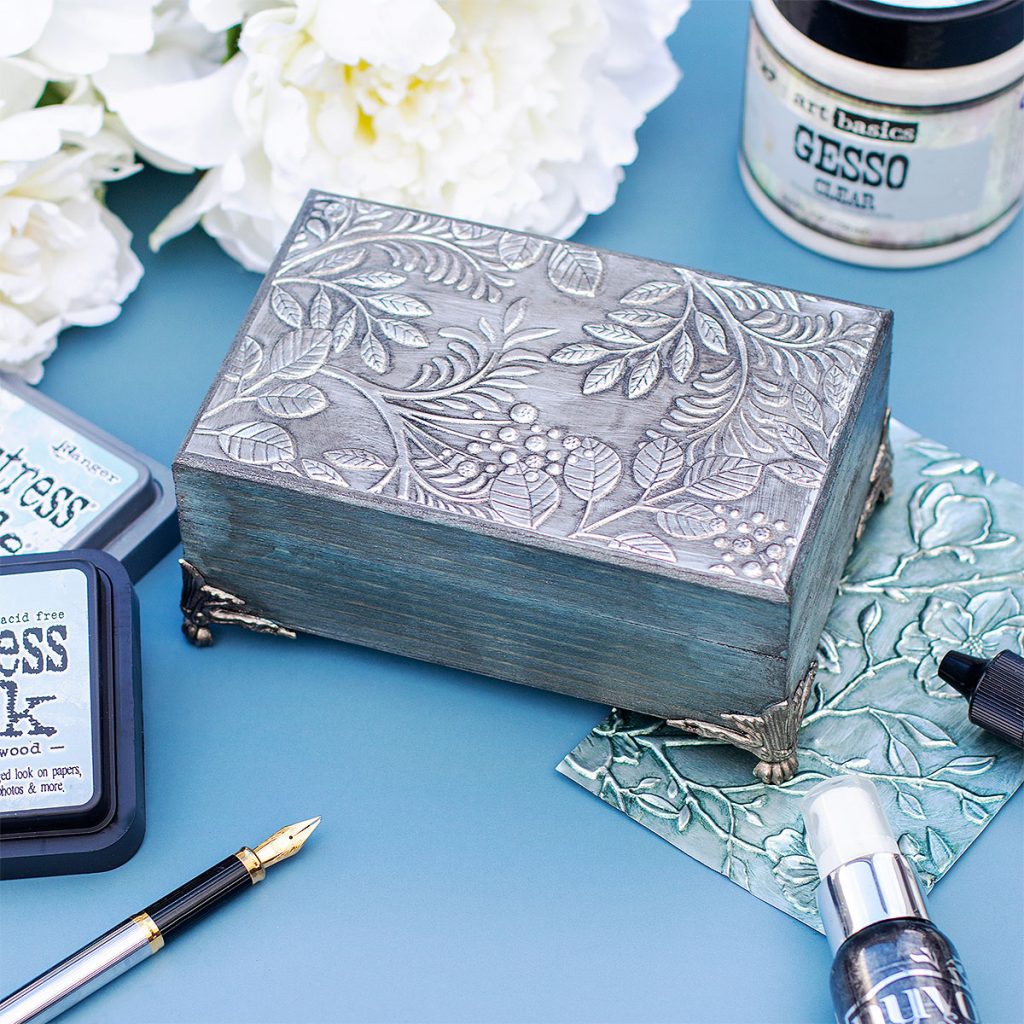
For the blue box I used:
- Silver Metal Sheet + Gesso + Morning Fog Nuvo Sparkle.
- To add color to the wooden box I used: Speckle Egg Oxide Ink, Weathered Wood Distress ink, Moring Fog Nuvo Sparkle, Black Sooth Distress Ink.
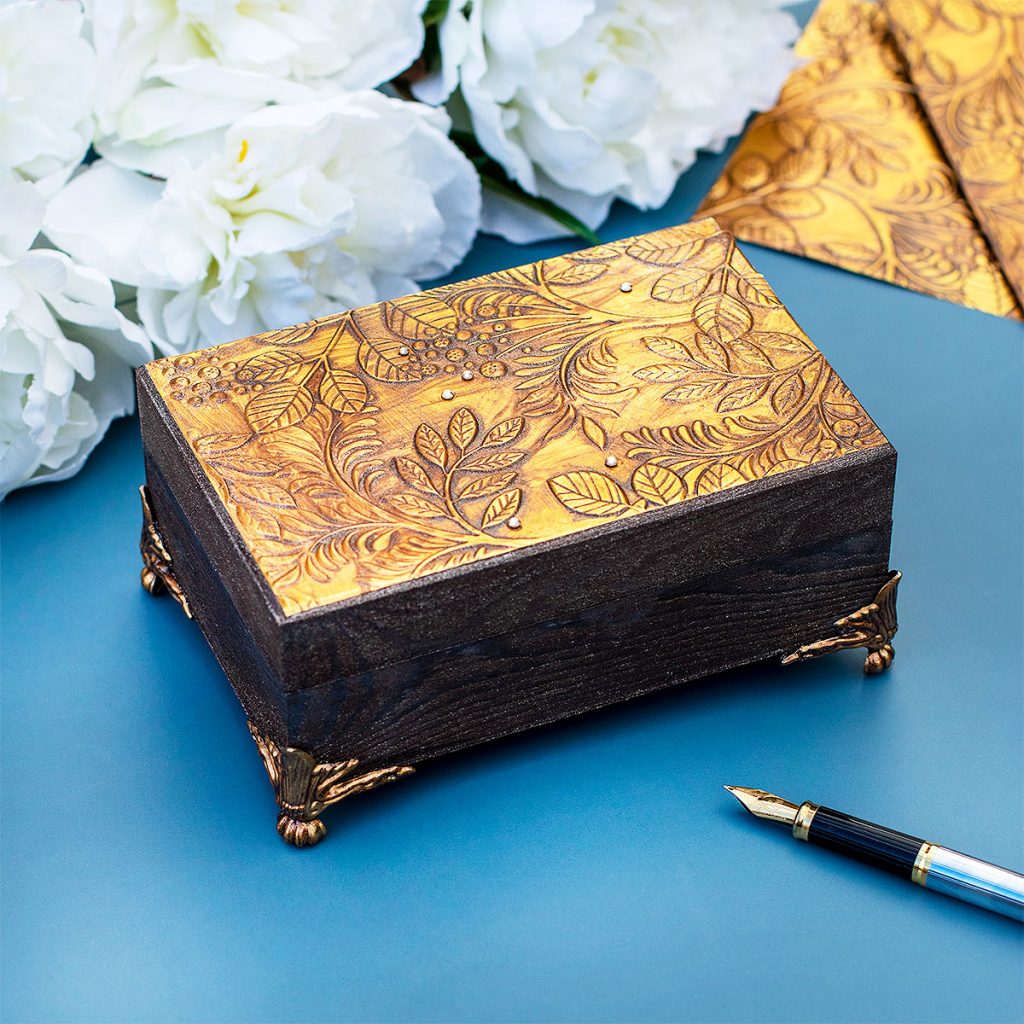
For the brown box I used
- Gold Metal Sheet + Gesso + Cocoa Powder Nuvo Sparkle.
- To add color to the wooden box I used: Waultnut Stain Oxide Spray +Cocoa Powder Nuvo Sparkle.
I tried to add gems also using Multi Medium by Ranger to adhere them but I think they are no necessary.
Thirsty For More?
That’s all for today.
Thank you very much for stopping by.
I hope you enjoyed this post
X Bibi
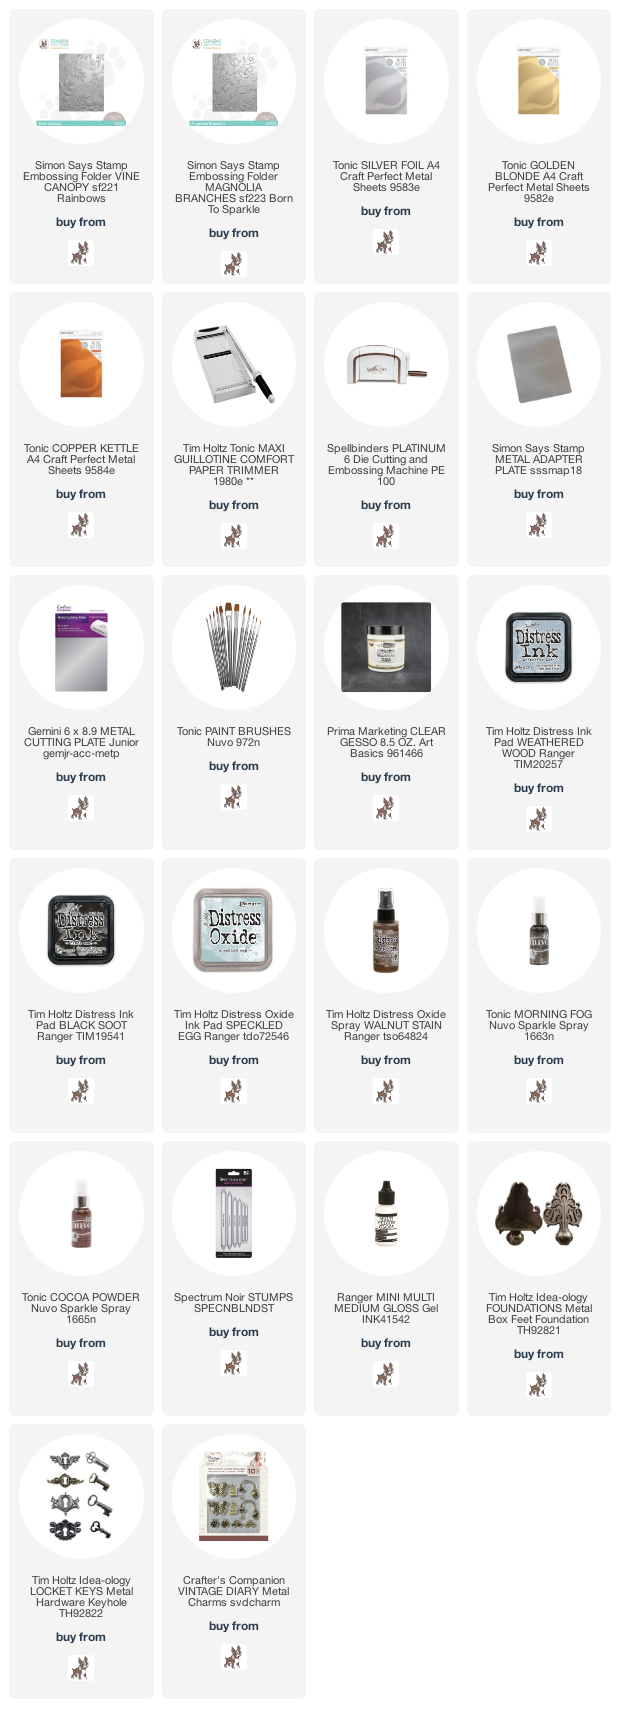
Supplies List
Affiliate links applies at no extra cost to you. Thanks for your support.




Beautiful!
Love the boxes. I was wondering, since you seemed to be very gentle when adhering the embossed metal sheet to the top of the box, is this something one would have to be very careful not to flatten the embossed sheet on top of the box once the project is complete or is it durable once completed?
Hi, thank you. Yes, as with any embossed piece it needs to be treated with care. I would say that metal sheets are more endurable than embossed cardstock. If you look for extra endurability you can add plasticine at the back but I don’t find this necessary. x