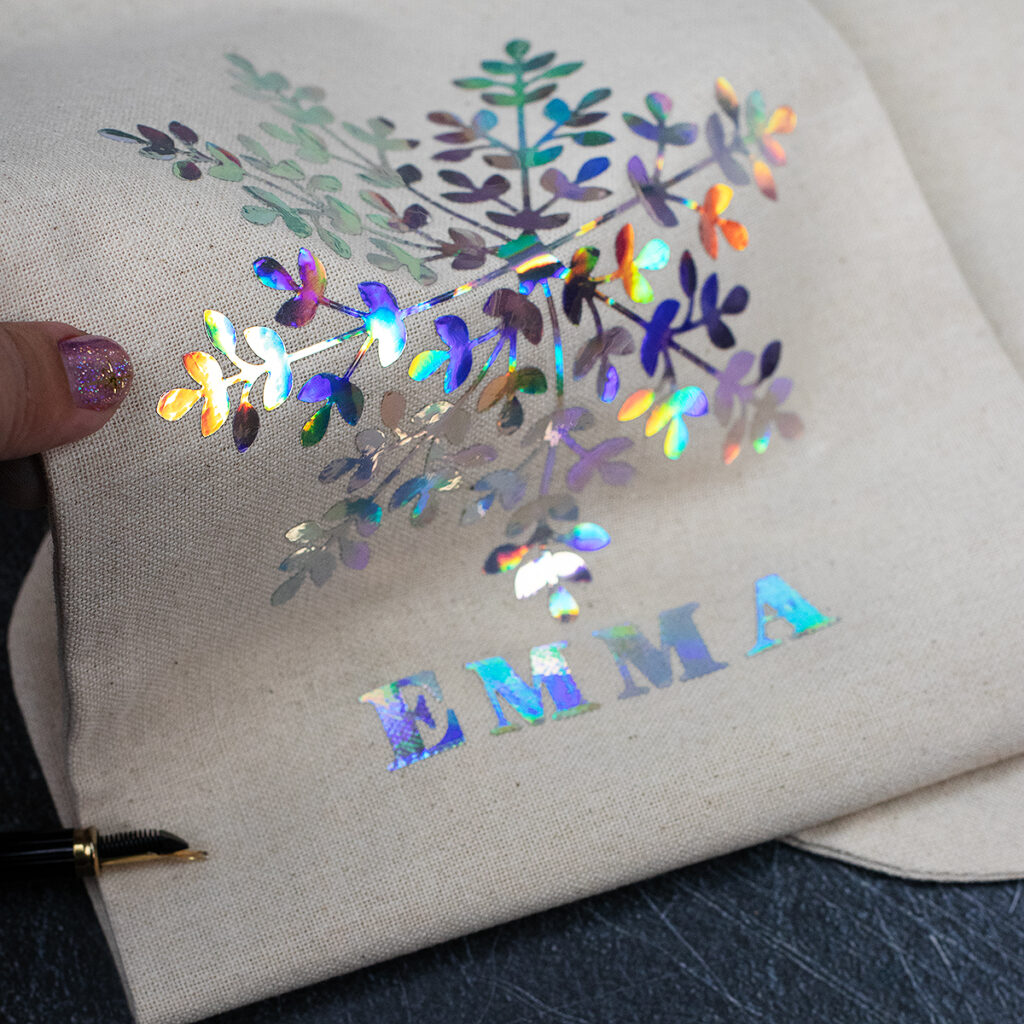
Hello there! It has been time to share alternative ideas using our cardmaking supplies and today I’m going to show you how to use dies to create Die-Cut Iron-On Vinyl Appliques.
This is easy and quick and you can use the appliques over fabric, wood, paper, or any material you can apply heat on.
I had the curiosity to try this for a long time… I’m loving the results!
Die-Cut Iron-On Vinyl Appliques
Supplies Used:
- Snowflake Card Creator
Large format intricate die is perfect for this type of project. - Delicate Snowflakes die set
4 small snowflake die designs for smaller projects - Uppercase Alphabet Die Set
- Spellbinders Die-cutting machine
- Simon Says Stamp Metal Adapter Plate or any listed in the supplies list.
Indispensable for cutting the vinyl plastic liner. - Lint roller
- Material to transfer the vinyl ( fabric, wood etc)
- Iron-On Vynil (I used an unbranded sample)
- Iron ( I used an inexpensive craft iron)
- Baking paper
***Note: The holographic iron-on vinyl I used to try this, was given to me as a sample. The sheets are unbranded and cost £1 each so this can be a very inexpensive material to work with dies as well.
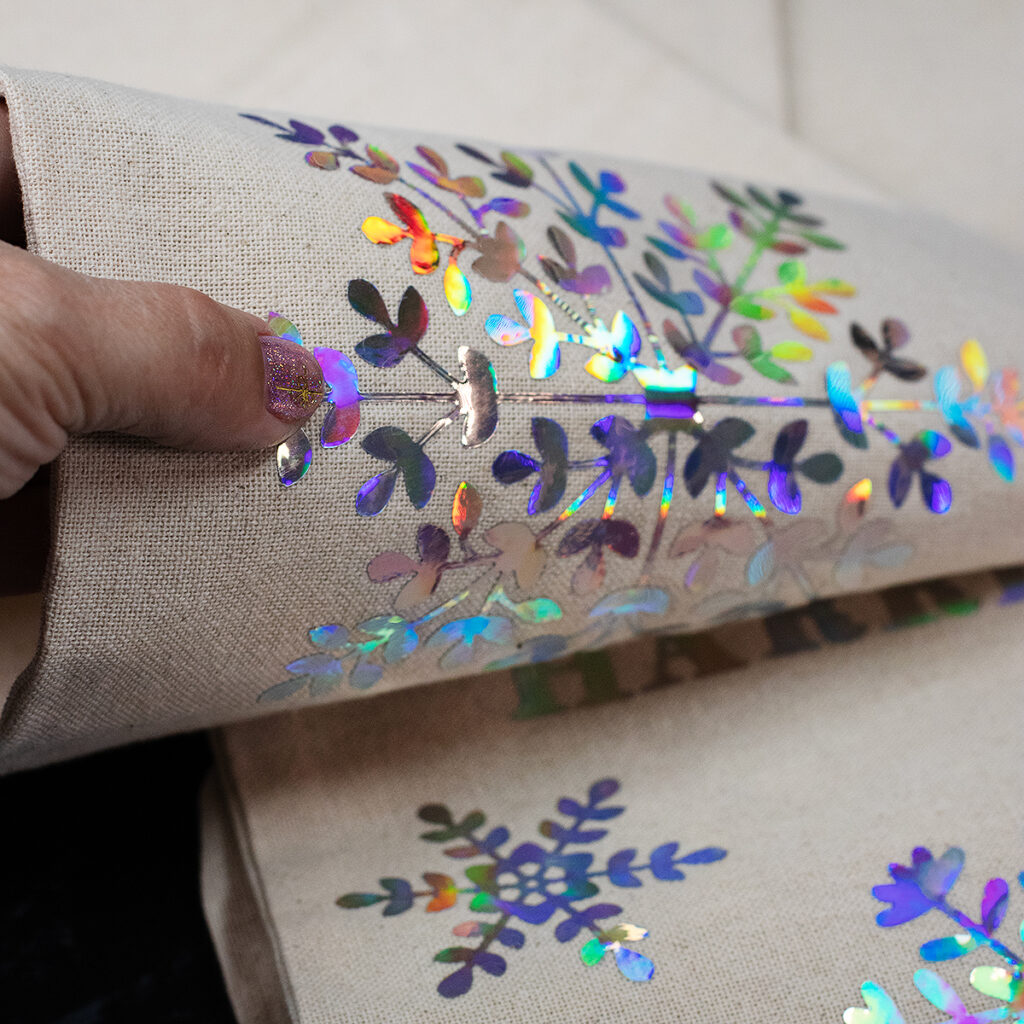
The Process
So there is no need to buy any fancy additional machine… You just need the iron-on vinyl and the metal plate to be able to cut through the plastic linen of the vinyl.
STEP BY STEP
- Die-cut the iron on vinyl just like die-cutting paper.
The right side of the vinyl should be facing the die.
Underneath the vinyl place a metal shim. - Preheat your iron. Set your iron on medium/ high heat.
- Pass a lint roller over the material you are going to be using to remove fibres or dust.
- Place the die-cut over the material with the right side facing up.
The iron-on vinyl has a heat-proof plastic cover or liner that will protect it from burning, however, I would recommend using baking paper or wax paper over it for extra protection.
- Place the iron over, applying medium pressure for 20 seconds.
Repeat if needed.
***Do a small test and check if you can apply the iron directly over the Vinyl as I did in the video. - All the pieces cool down and remove the plastic cover or liner.
Done!!!!
Die-Cut Snowflakes Iron-On Vinyl Appliques
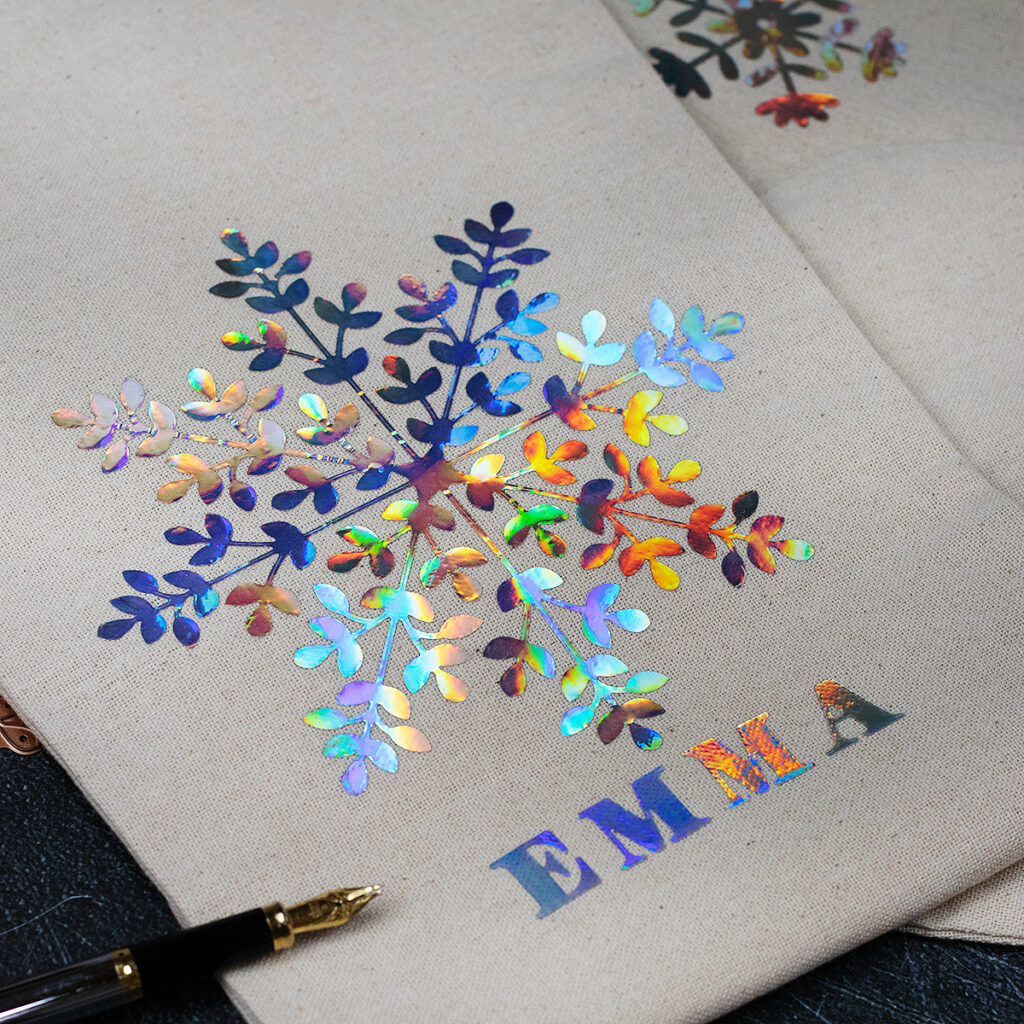
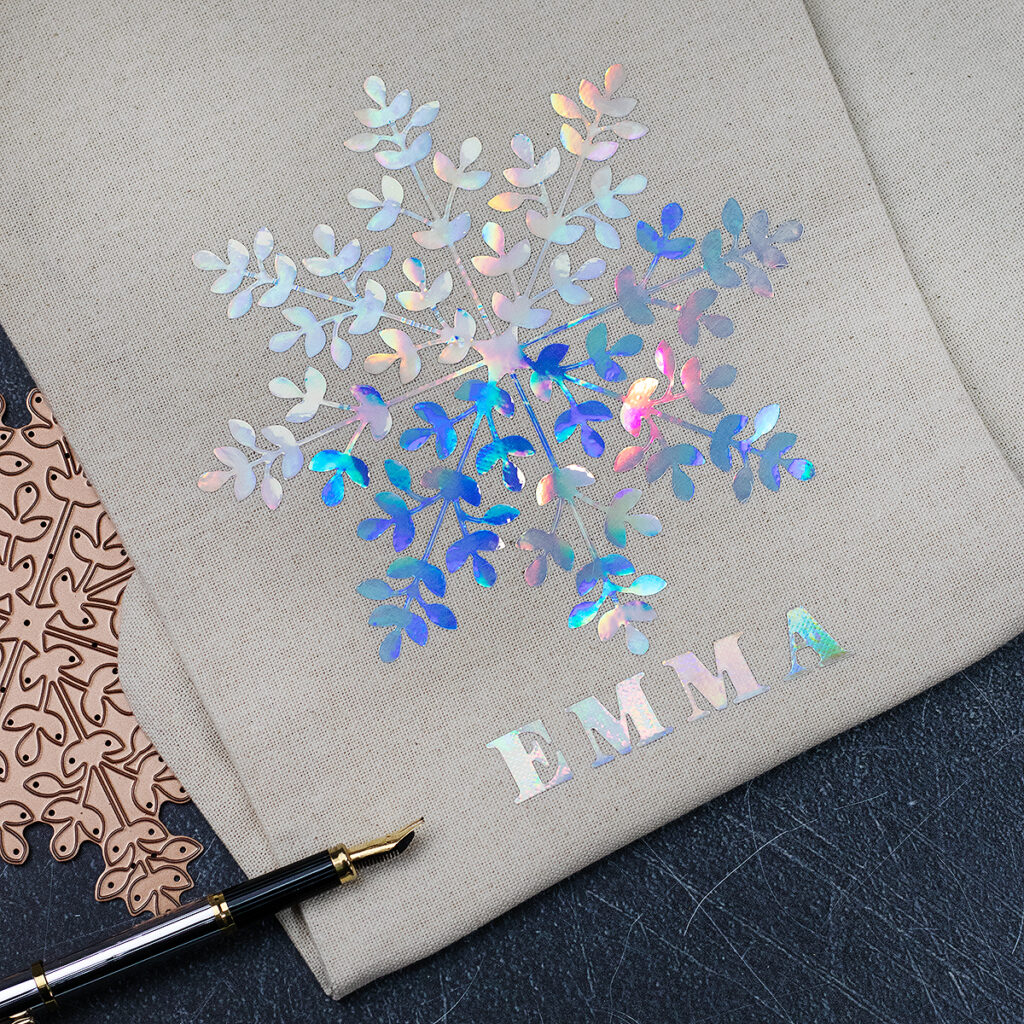
So for this experiment, I used the very detailed snowflake produced by the Snowflake Card Creator.
This is a 5-3/4″ snowflake so it is gorgeously LARGE!
Due to its size, it is perfect for creating appliques for t-shirts, pyjamas or home decor. e.g. cushions or decals.
After die-cutting the vinyl using this large snowflake, it can be a little bit time-consuming to remove the negative pieces. It took me 4 minutes
So it is ideal to use a Spellbinders Tool n’ One to remove the vinyl from the die, making sure the linen doesn’t separate from it.
You can also make little cuts to release the excess of paper with ease.
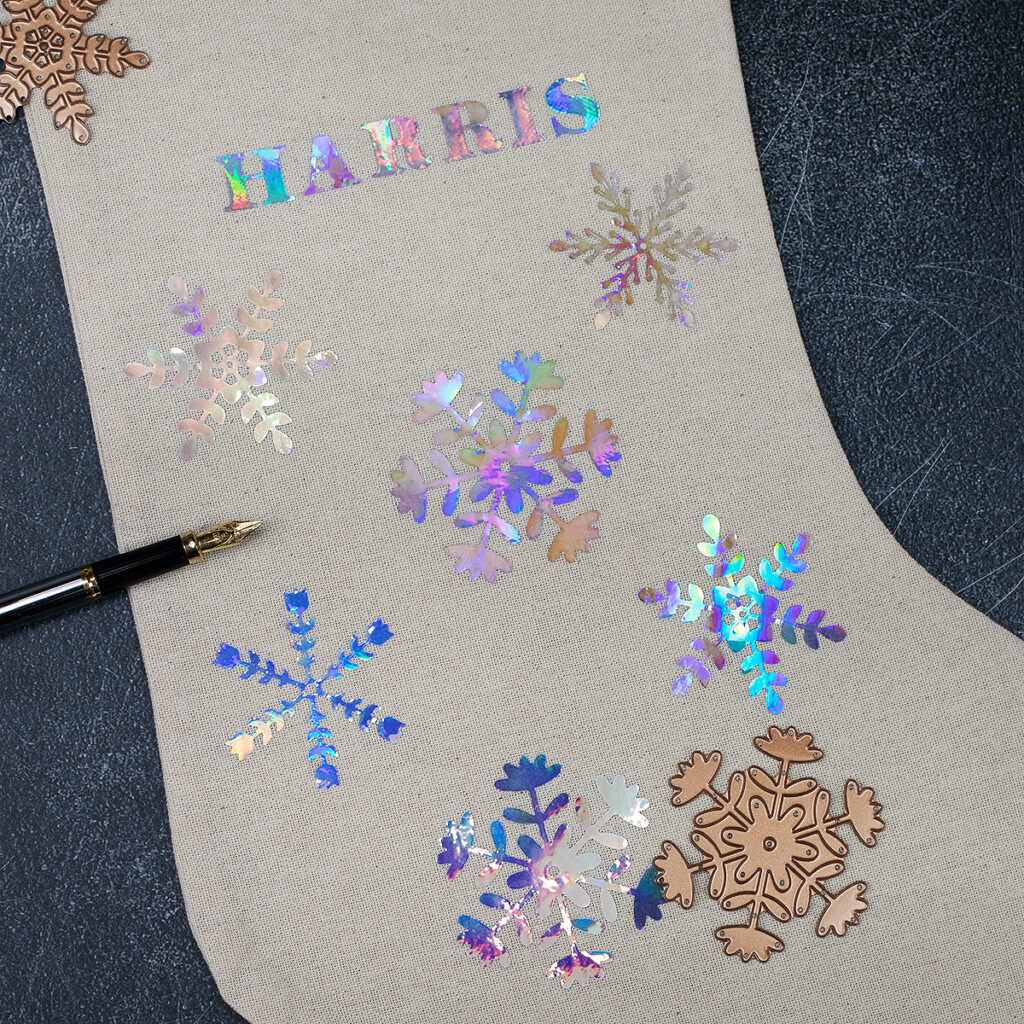
I also used the Delicate Snowflakes die set.
This will cut 4four different snowflake designs and because these aren’t intricate it will be easier and faster to handle the die-cuts.
To personalize these projects, I used the Spellbinders Uppercase Alphabet Die Set.
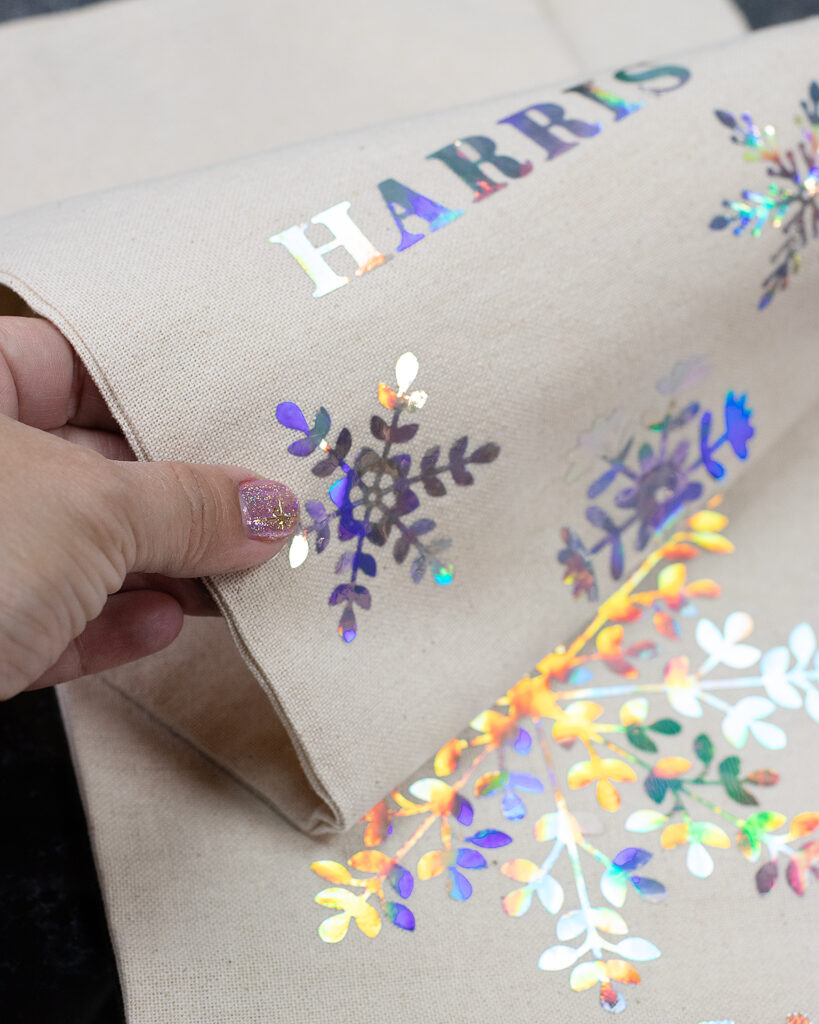
You can use any die, any iron-on vinyl colour, for any occasion project.
The sky is the limit!!
Let me know in your comments how you will use this technique.
Thirsty for more Alternative Ideas?
That’s all for today.
Thanks for stopping by. X Bibi
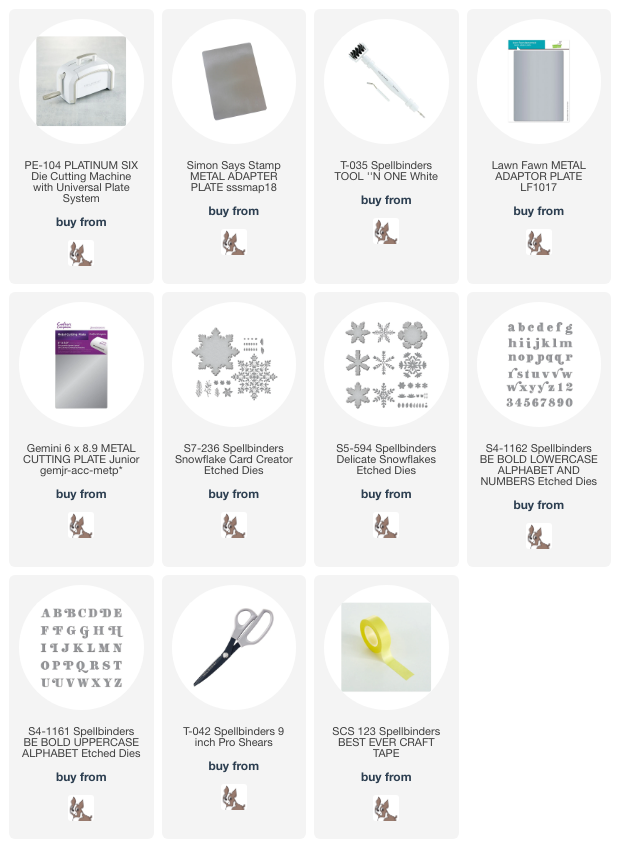
Supplies
Affiliate links apply at no extra cost to you. Thanks for your support.


Leave a Reply