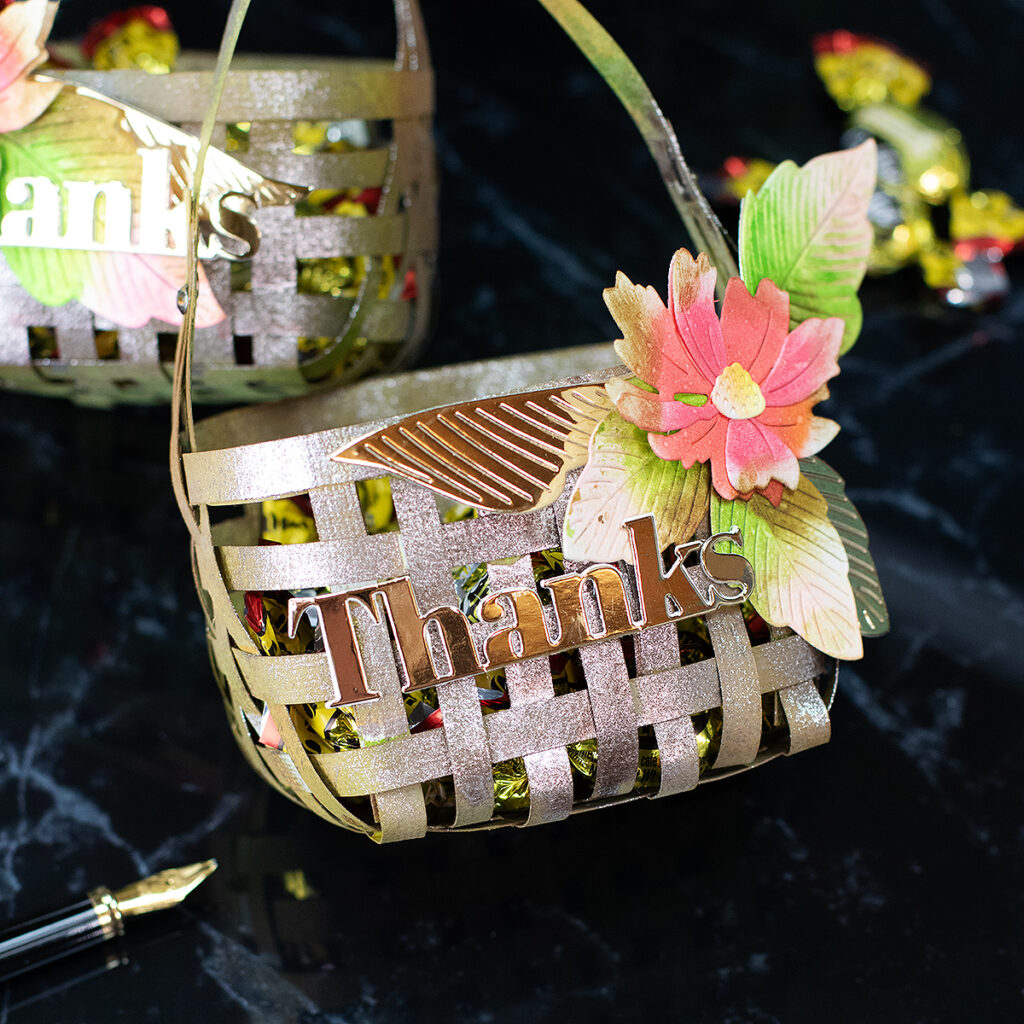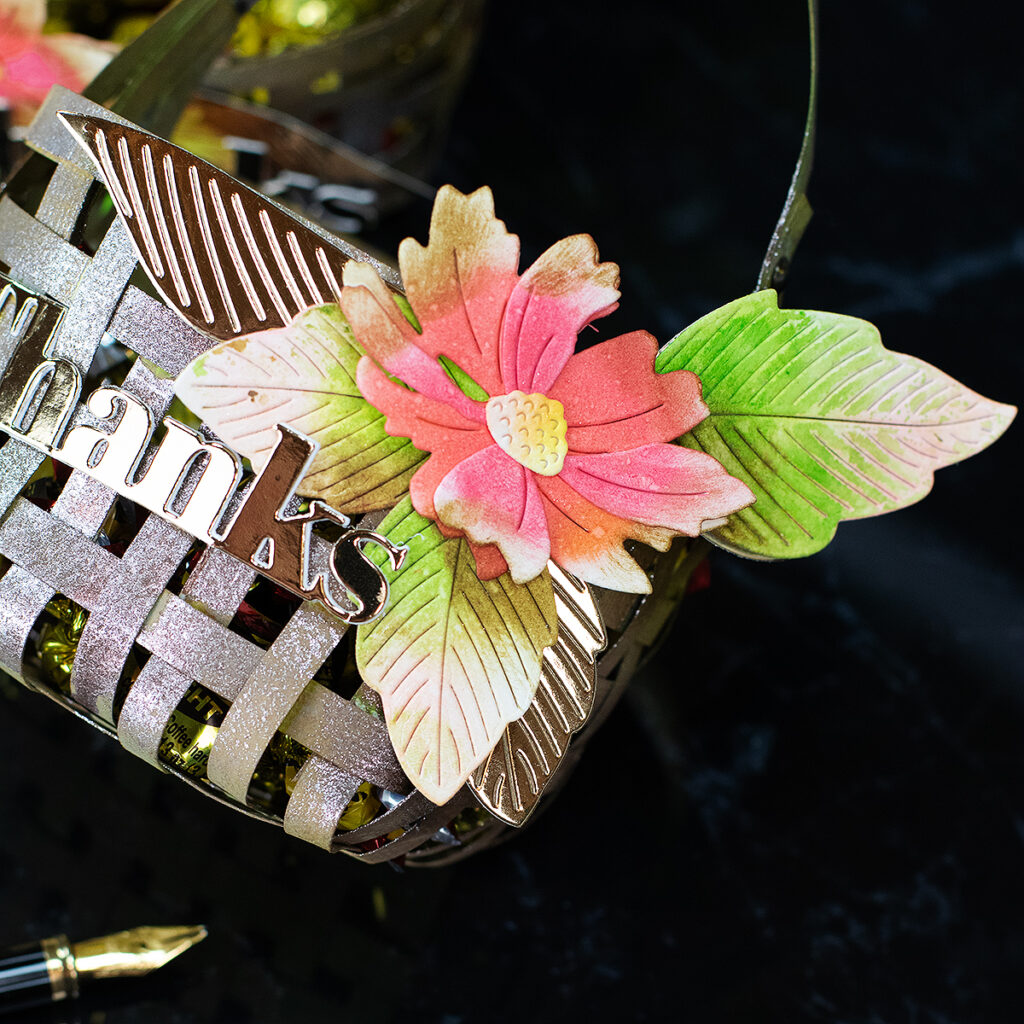
Hi crafty friends, I always enjoy playing with a piece of paper and exploring possibilities. This time, I ended up making Mini Paper Woven Baskets – Treat Holders.
After making my previous project here, I couldn’t take my mind off this idea.
Perhaps a little idea for Thanksgiving?
I hope you like it!
Woven Paper Basket Recipe

These baskets measure about 3″ x 2-1/4″ you can make them in any size.
Once you make a few of them you will be mass-producing and they are supper affordable and super cute.
- You are going to need an A4 sheet of canvas texture cardstock 80lb and cutting tools.
To decorate this project, I used 3 die sets:
- To add colour to the basket I used distress Sprays:
Stain Peeled Paint, Oxide Peeled Paint, Oxide Walnut Stain, Oxide Rusty Hinge. - I also added a hint of Nuvo sparkle available in different colours ( these are gorgeous)
- To add colour to the flowers I used Distress Inks:
Festive Berries Oxide, Ripe Persimmon, Twisted Citron, Rustic Wilderness, Fossilized Amber.
The Process

The video below is not a tutorial but it illustrates the process.
It took me about 15 minutes to make the baskets and playing with inks and dies took me about 1 hour.
What you see in the video
- You are going to need an A4 sheet of canvas texture cardstock 80lb.
- This type of paper is thinner and more malleable.
- You need to cut 1/4″ stripes along the length of an A4 sheet of cardstock.
- There is no need to cut the paper length at all. Except for the basket handle stripe which can be a bit thicker and of any length of your preference.
Weaving the Baskets
- To start weaving the paper, place 7 stripes of cardstock in a row. Make sure they are spaced in a 3-inch wide area ( each 1/4″)
- Weave 5 stripes of cardstock, leaving 1/4″ gaps between them and affix them in place using glue to create the basket base.
- Once this is done wave 4 stripes across one of the 7 stripes side. Then glue the end of each of these stripes together, making a paper circle or a band as I show in the video. These will be essential parts of the basket side panels.
*** Note: I found this to be the easier and quicker way to complete this type of project but there are various ways to get this done. - Use tape over the 7 stripes of paper in which you wave these circular stripes or bands to prevent them from falling off.
- Fold the 4 corners of the basket base to give shape to the sides.
- Now you can start weaving the stripes that are sticking out the base into the circular stripes at the side.
- Finish by glueing and securing everything with glue.
- Add the handle.
- Cover the top raw edge of the basket with stripes of cardstock you might have left. Add one in the front and one inside to cover the raw edges.
- All the paper stripes are the same size.
- Decorate. (Alternatively, you could paint the baskets)
Done!
Thirsty for more?
That’s all for today. Thanks for stopping by. X Bibi
Supplies List
Affiliate links apply at no extra cost to you. thanks for your support.


Leave a Reply