
Hello everyone, I’m passing by to share a detailed tutorial to get crafty with the Snowflake Pop-Up from the Spellbinders Bibi’s Snowflakes Collection.
Bibi’s Pop-Up Snowflake Tutorial
Tips:
- Use thin cardstock (up to 250 grams) to die-cut all the pieces of the pop-up snowflake.
- You can use a variety of papers, such as glitter, mirror gloss, or mirror velvet cardstock.
- For the pop-up mechanism, I would advise using 250 grams of smooth cardstock.
- When assembling the 3D snowflake, make sure to glue all the die-cut tabs facing the snowflake branches. This will allow your snowflake to move properly.
- After attaching the pop-up mechanism to the card base, use panels or die cuts to cover the mechanism tabs that will be showing at the front and back of the card base.
This will allow you to easily and evenly glue the panels in place, achieving a neat finish. - The last step is to glue the snowflake inside.
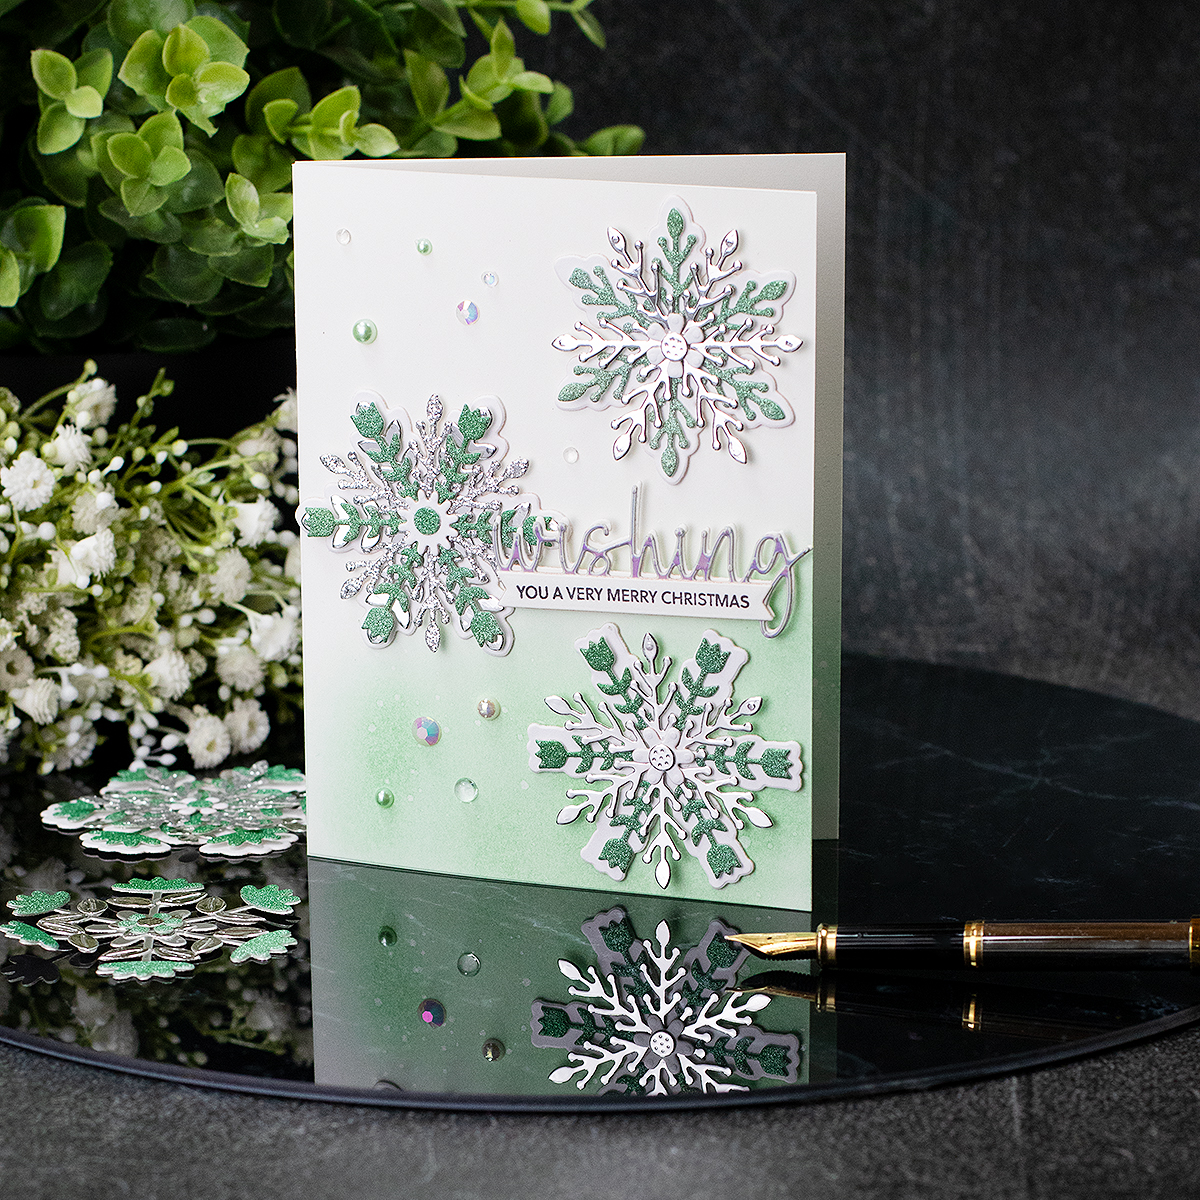
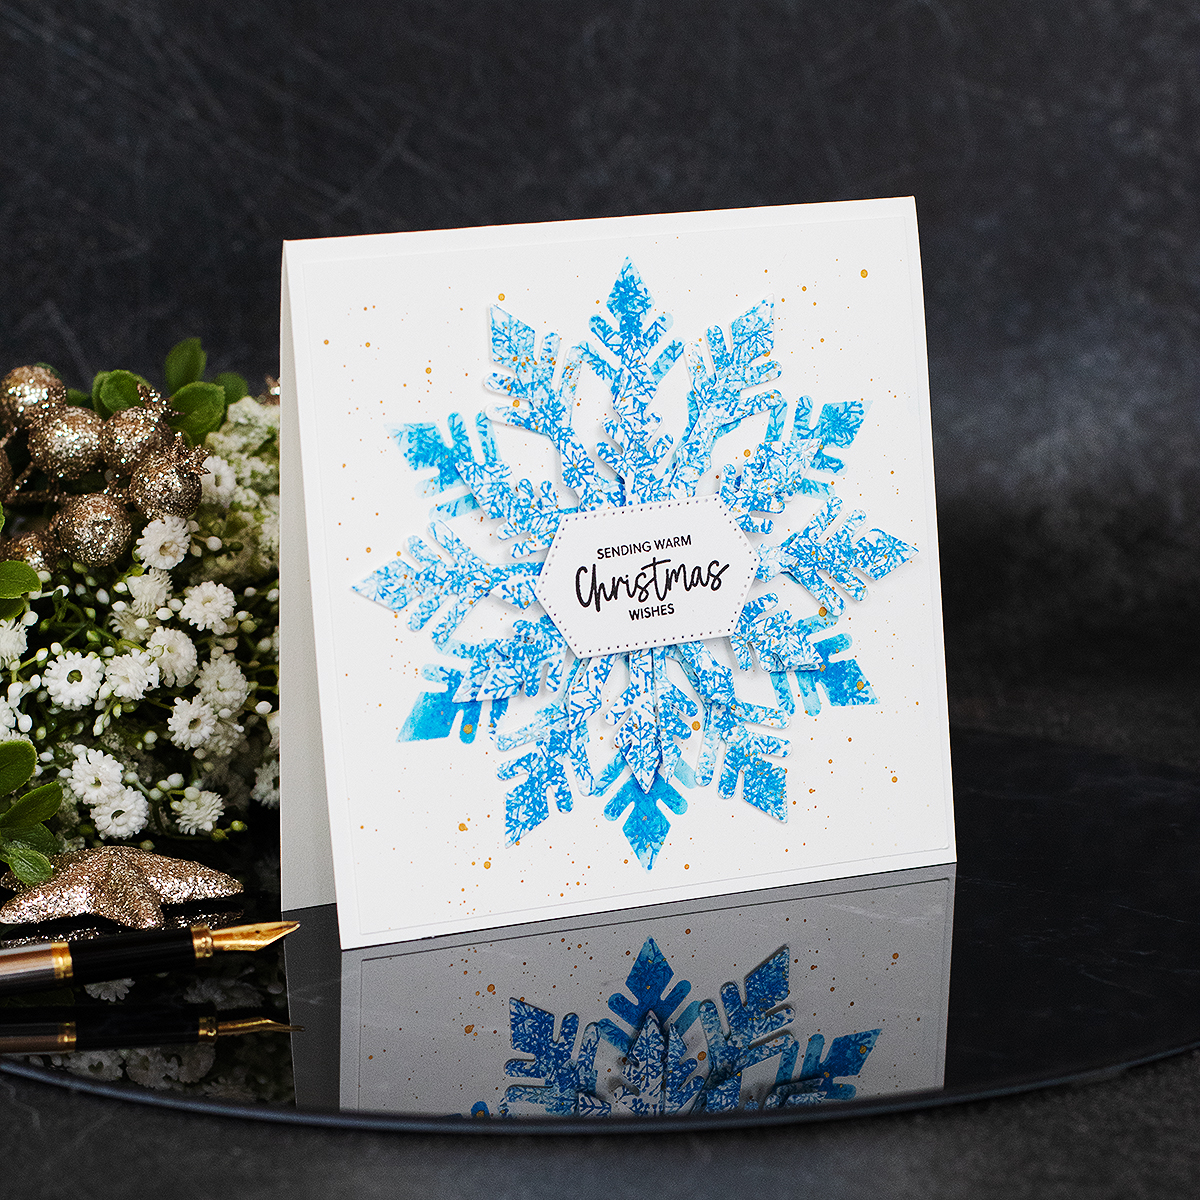
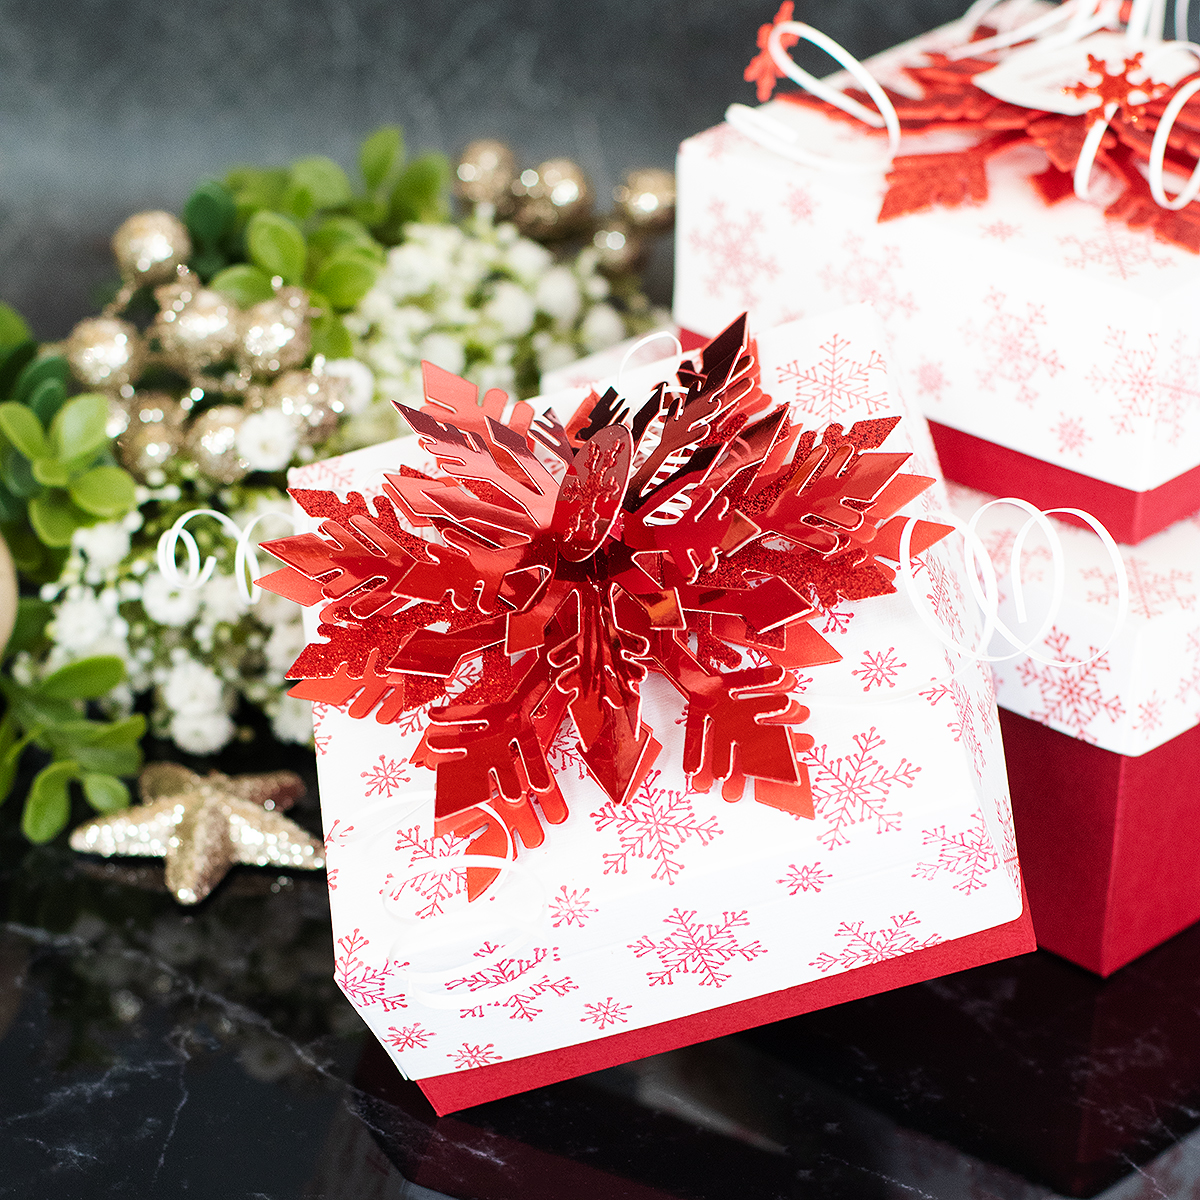
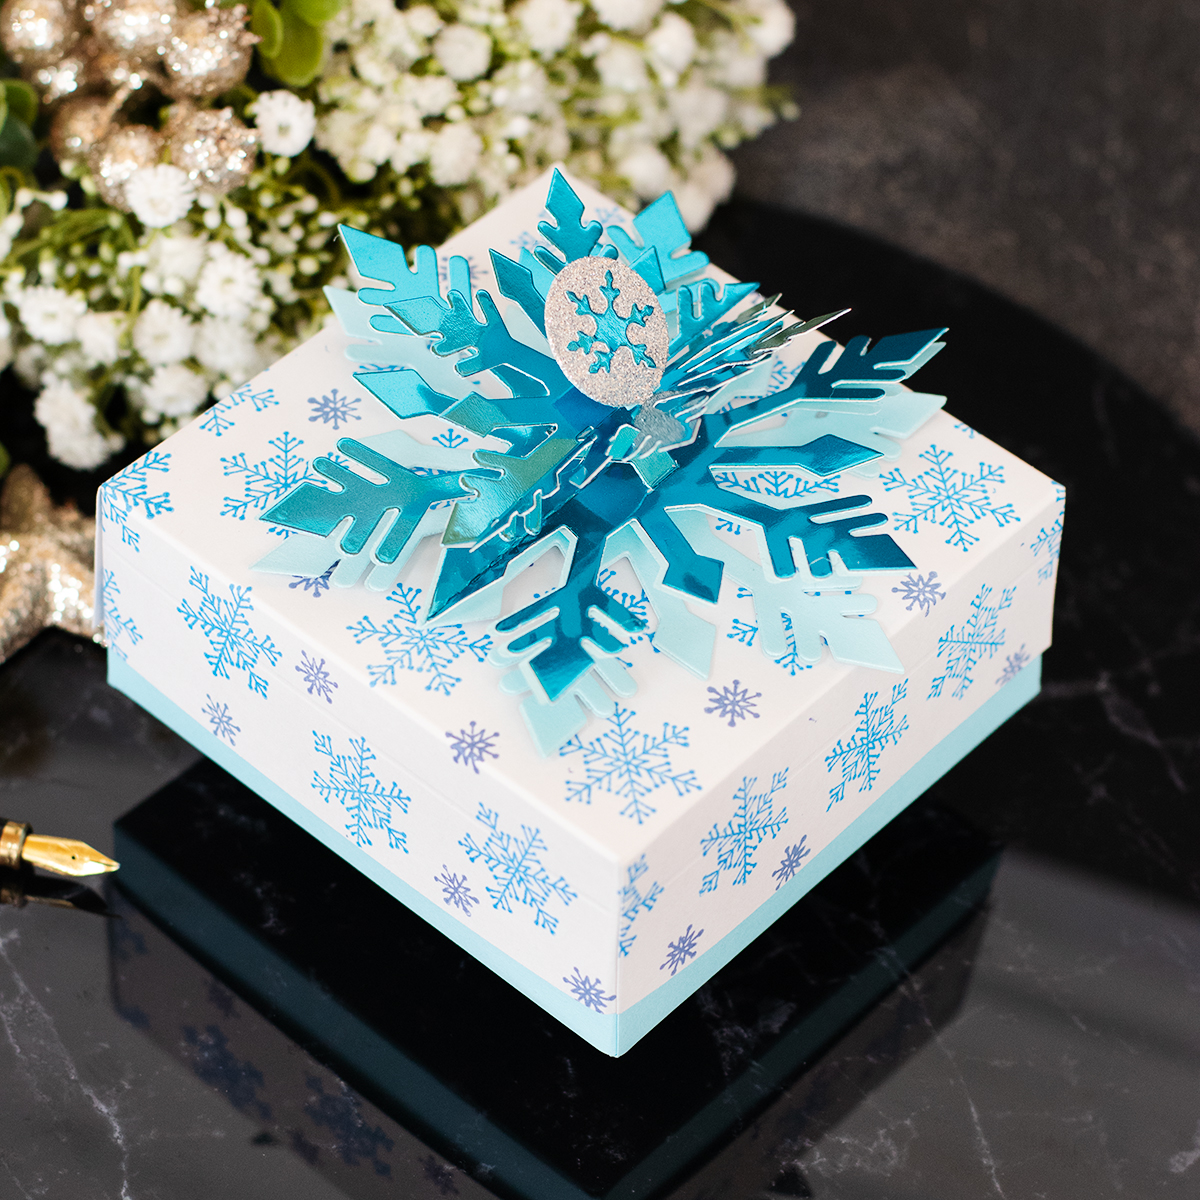
You can use the pop-up snowflake dies to create card toppers.
For the card sample in the video, I used the Delicate Snowflakes die set, which includes 4 different layered floral snowflakes designs that you can also use to decorate the front panel of the pop-up.
The sentiments were made using dies from the Snowflake Wishes stamp and die set, which includes 3 die-cut banner words and 27 stamps to stamp banners that match the words.
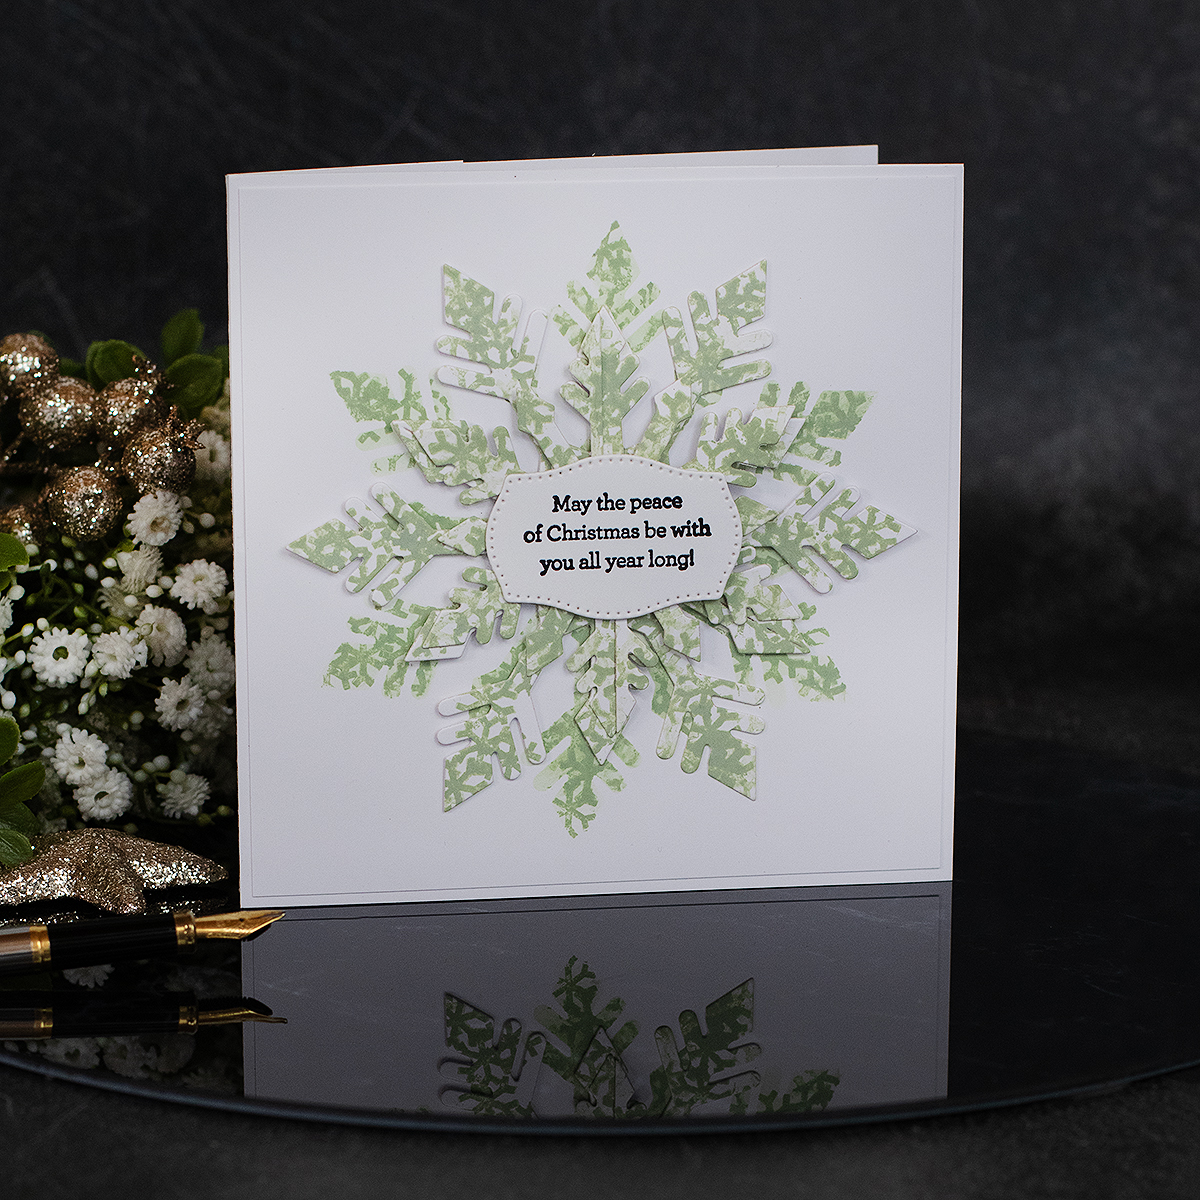
We also added the Pierced Mini Labels Die Set, this will allow you to create alternative projects such as cards and box toppers, using dies in the pop-up snowflake die set.
As you can use the labels to cover the slits created by the dies as shown in the sample below
Extra Ideas
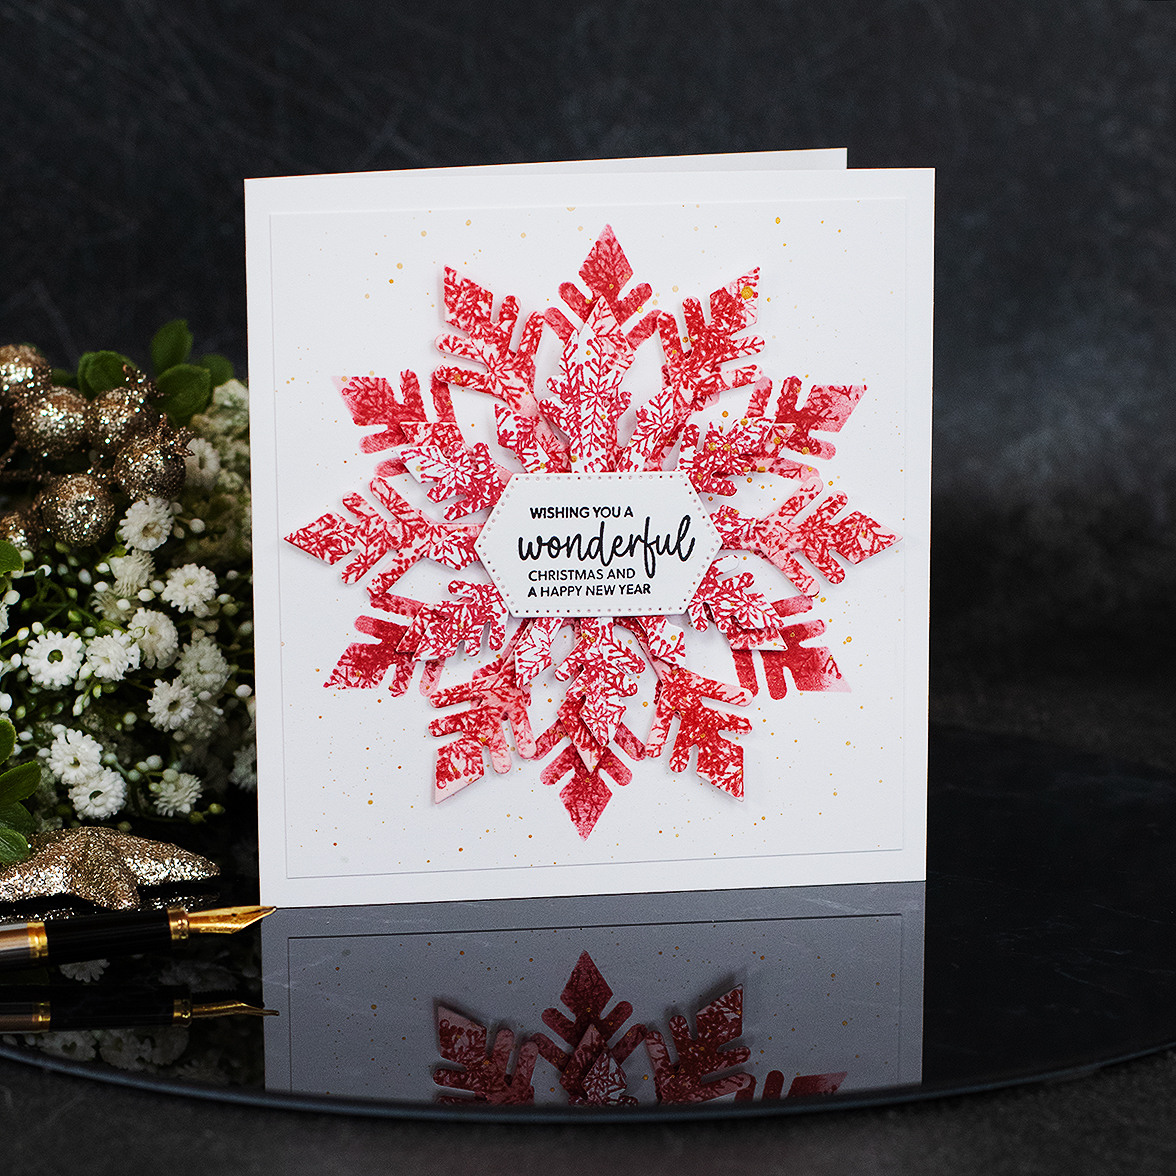
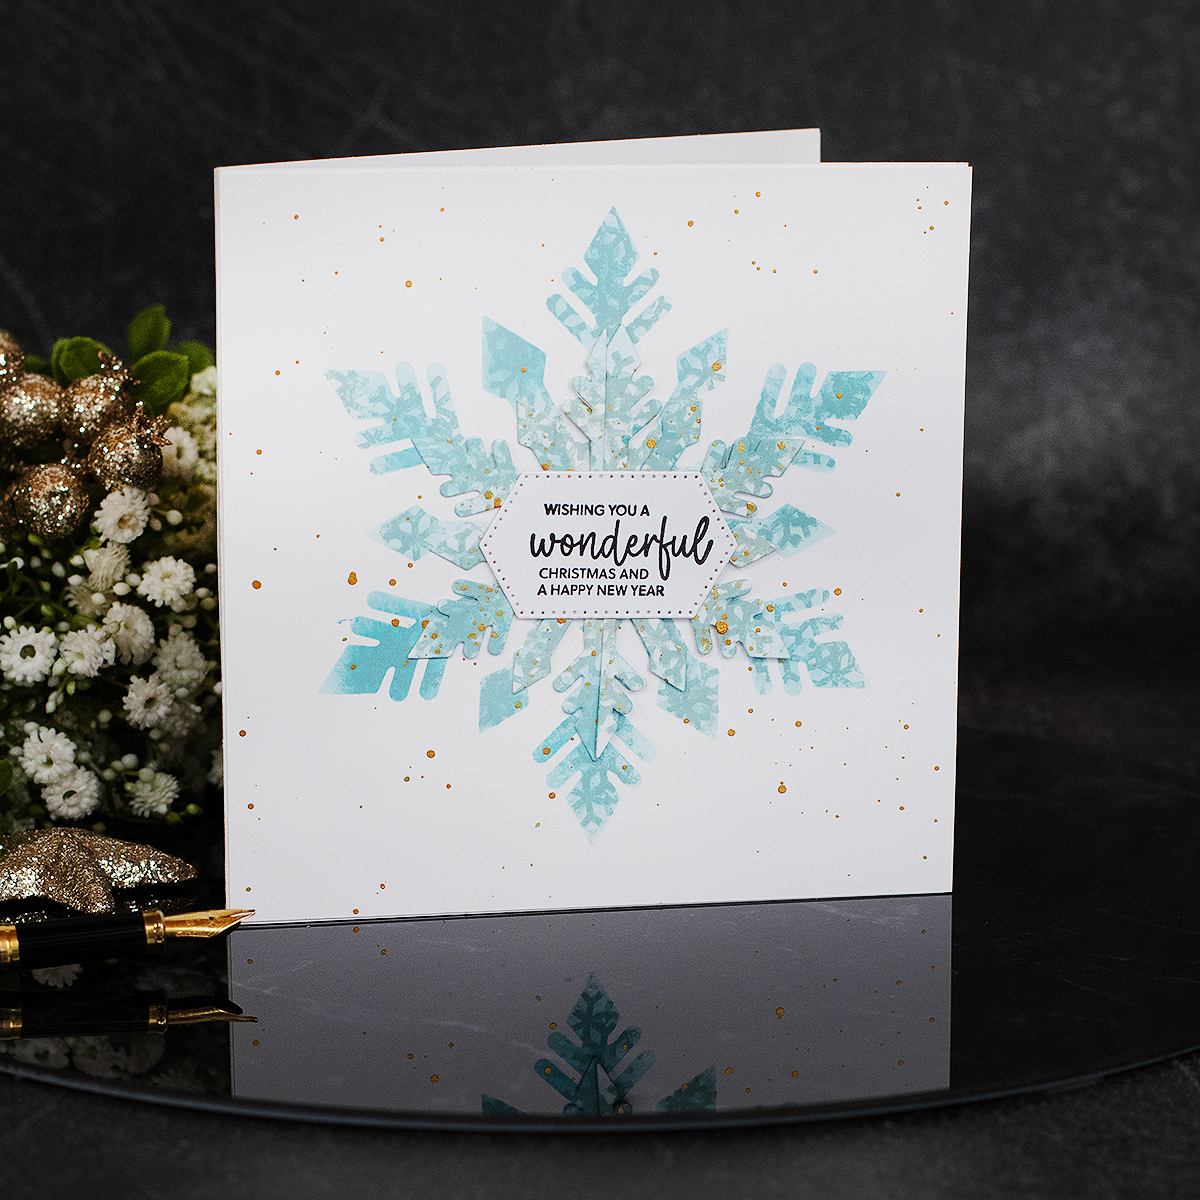
Here you can see extra ideas made using Bibi’s Snowflake Pop-Up die set.
Have a look at the video below
That’s all for today.
I hope you like this post.
Thanks for stopping by!
X Bibi
Thirsty for more?
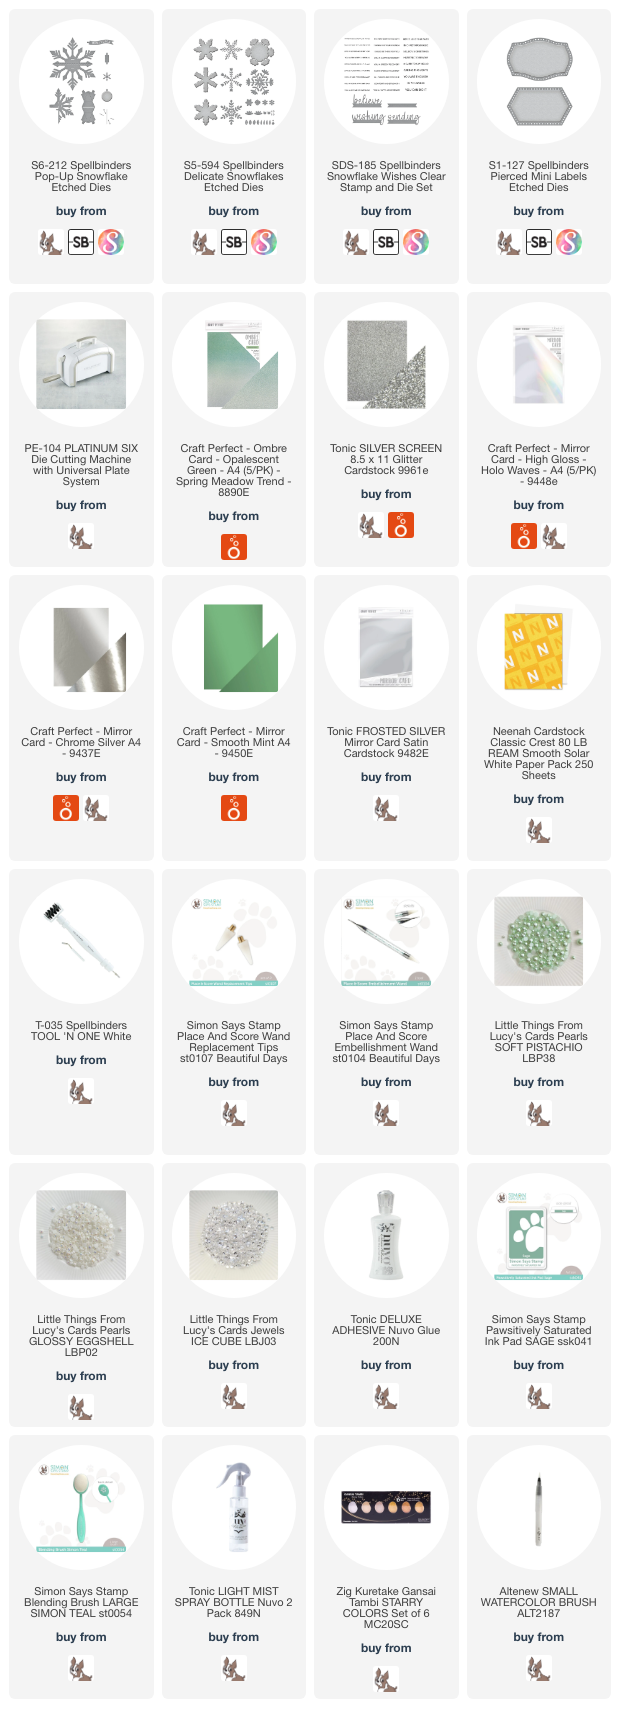
Supplies List
Affiliate links apply at no extra cost to you. Thanks for your support.


Nice Blog Snowflake Online Training