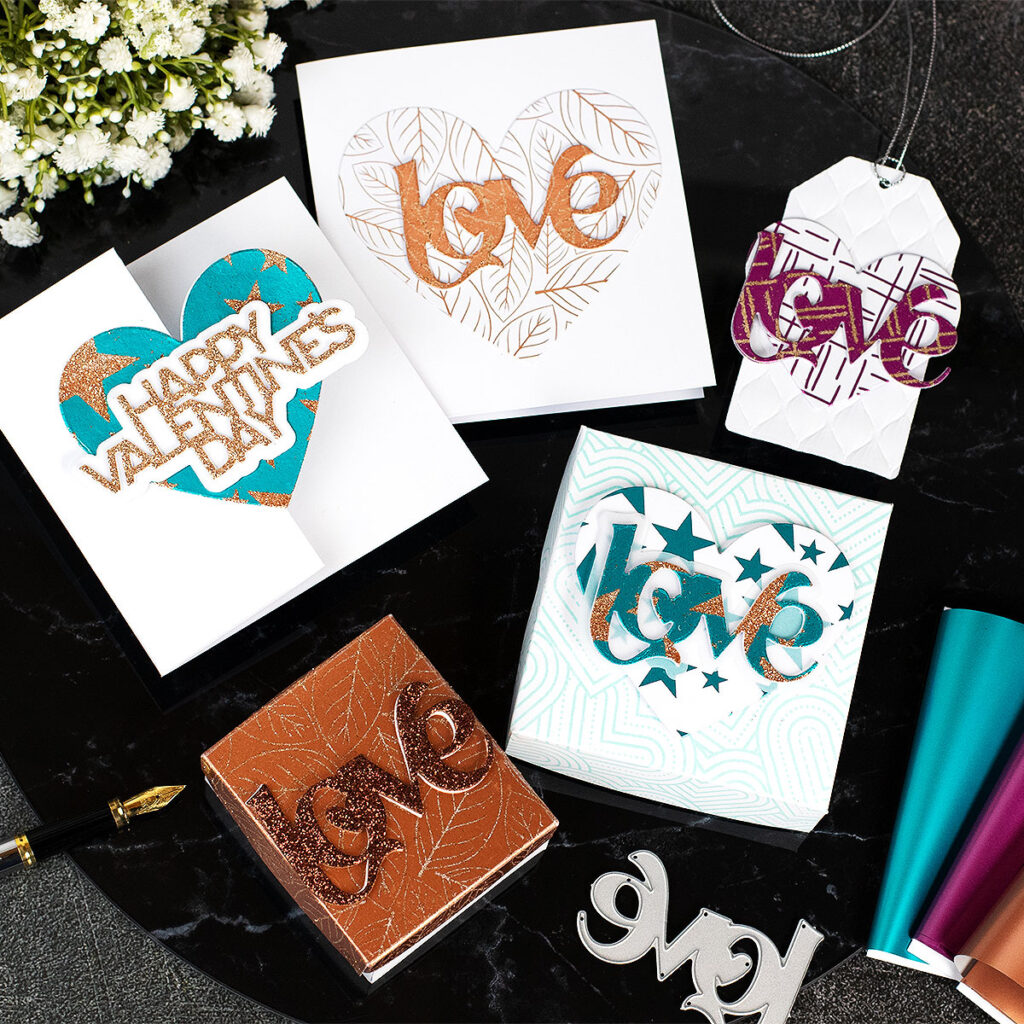
Hi crafty friends, I’m passing by to share more Wow Fab Foil ideas also using new supplies from the Simon Says Stamp #ssshugs release.
This time I used WOW Fab Foilers Pattern Arts which are printed 250 grams sheets that will allow you to easily add foil using a laminator or your Minc Machine.
Yes, the Fab Foils will also stick to double-sided tape or double-sided adhesive sheets and this will also allow you to use the negative foiled pieces.
You can use the positive and negative foiled images to create die-cut words, toppers, or backgrounds… Here I have very basic ideas and samples…

Projects Recipe
- Fancy Love wafer dies.
- Simple Valentine’s Day wafer dies.
- Jumbled Hearts Background Stamp.
- Nested tags
- Essential Hearts die set
- Aqua fab foil.
- Sepia fab foil.
- Fuchsia fab foil.
- Fab Foilers Sheets.
- Double-sided adhesive sheets.
- Gold glitter.
- Minc Foil Applicator Machine
- Spellbinders Die Cutting Machine.
***Find the complete supplies list at the bottom of this post …
Fab Foils 2 ways
Way 1 – Using a laminator
- First, you will need to heat up the laminator. I used the Minc Foil Applicator Machine (setting 3) which is medium to high heat.
- Then, I put the fab foil over the Fab Foilers Pattern Arts and I placed the paper with the foil in the Minc Transfer Folder.
- Next, I run this through the machine!
- I removed the backing of the foil from the paper and it was done!
The foiling was perfect!
Way 2 – Using Double-Sided Tape
- Yes, Fab foils will stick to double-sided tape or double-sided adhesive sheets.
- So I decided to use the foiled leftovers or the negative foiled image I got from the process above.
- To do this, I applied double-sided adhesive sheets over a piece of cardstock.
- Then, I removed the backing paper from the adhesive and carefully placed the leftover foil over it.
- It is important to be aware that the backing of the foil needs to be removed and by doing this you will notice that only certain areas of the double-sided sheet will be covered by the patterned foiled piece.
- This means that the adhesive sheet will be shown in the negative areas of the images.
- To cover the sticky areas of the panel paper, I applied glitter.
In that way, I got 2 panels out of a foiling sheet. Cero waste!
#ssshugs San Valentines’s Day Cards and Boxes

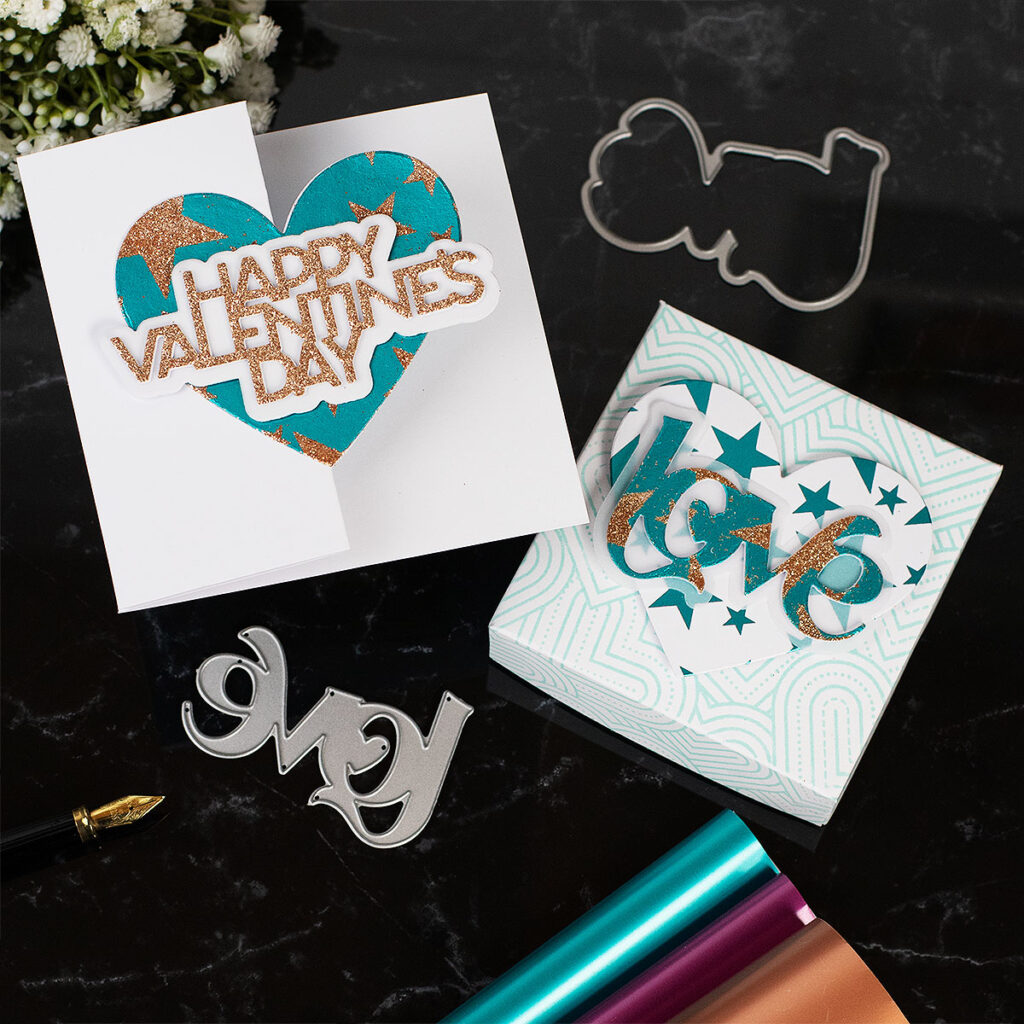
This is a 4 x 4 inches Z-fold card.
Made using the new Aqua Fab Foil.
I used the negative foiled piece to create a topper.

This is a 4×4 inches box made using a scoring board.
I stamped the lid piece using the new Jumbled Hearts Background Stamp and Surf Pawsitively Saturated Ink.
The topper was made using the Aqua Fab Foi positive and negative foiled pieces.

For this super simple 5×5 inches card, I used the new Sepia Fab Foil.
I made a super simple topper using the positive and negative foiled pieces.
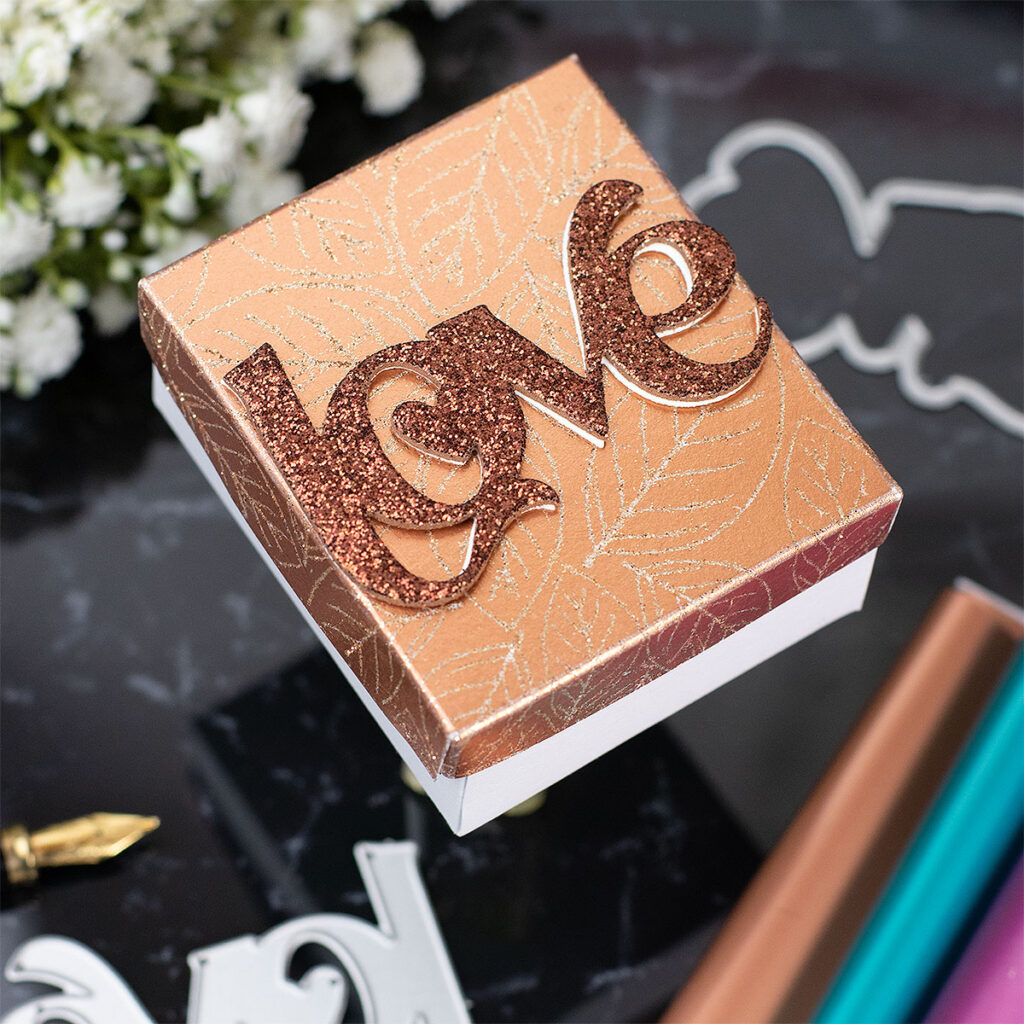
For the lid of this mini box (3 ” x3-1/2″ inches), I used the Sepia Fab Foil negative foiled piece.
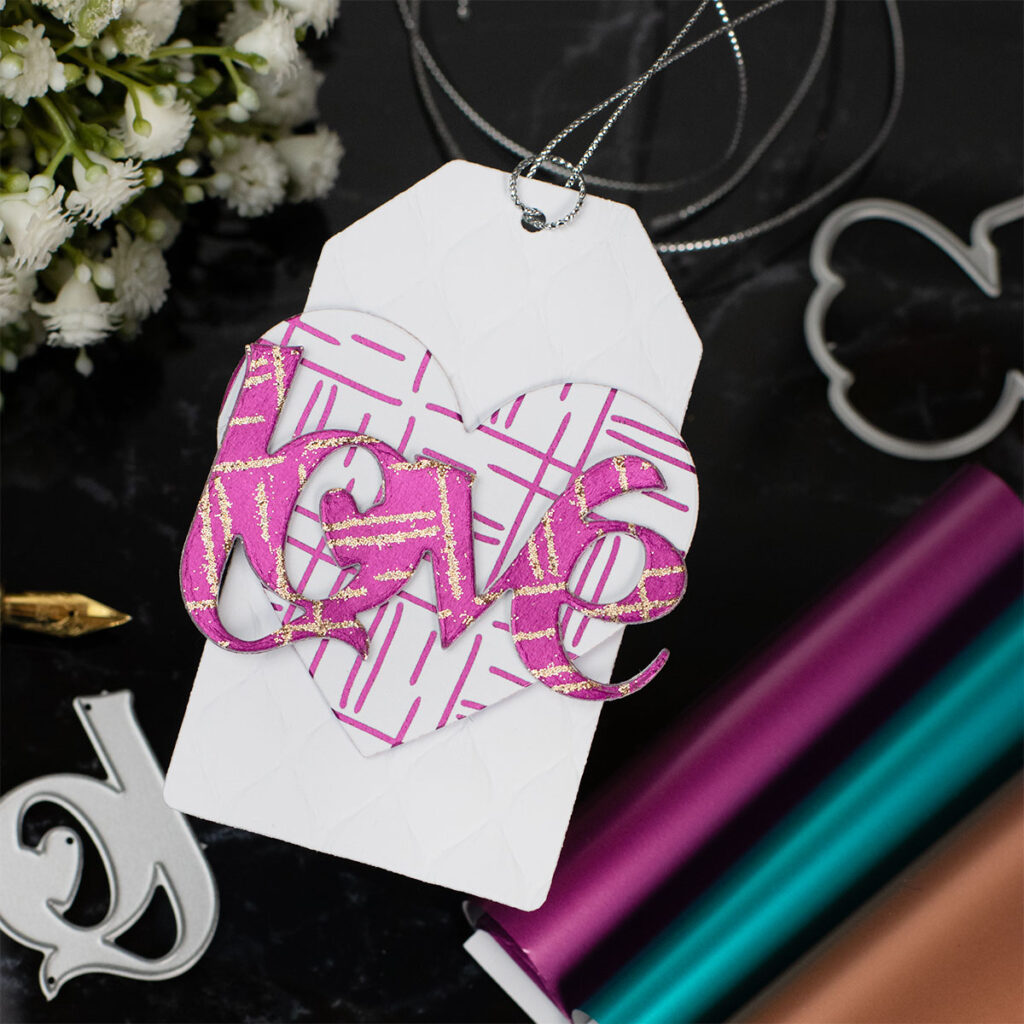
This tag was made also using the Fuchsia Fab Foil positive and negative foiled piece
Thirsty for more?
You can also add fab foils to your projects using:
- Stencils and Tacky When Dry Gel Medium – Watch the Instagram reel here.
- Stamping and heat embossing using Wow Bonding Powder – Watch the Instagram reel here.
Find more easy wow fab foils in my blog posts below:
Explore the New #ssshugs release by Simon Says stamp
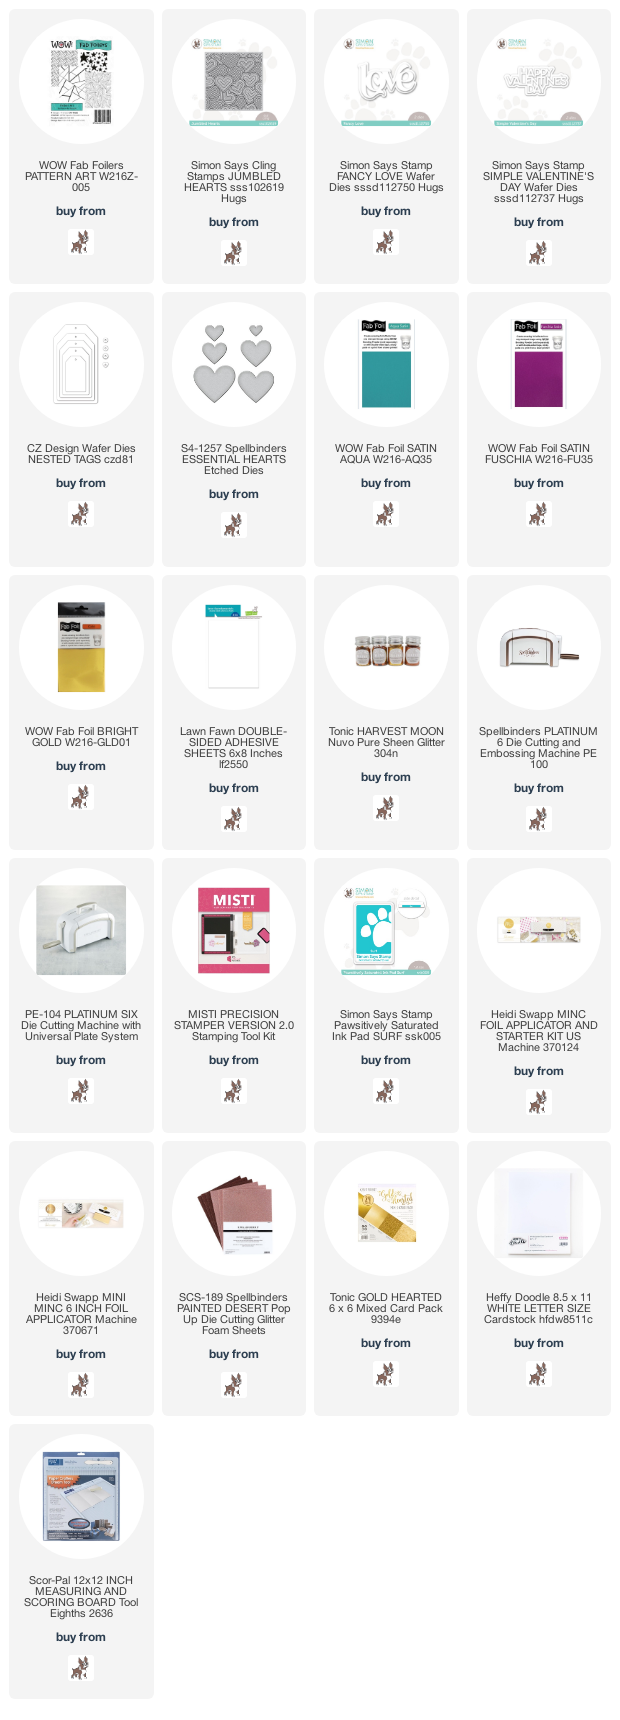
Supplies
Affiliate links apply at no extra cost to you. Thanks for your support


Wow, Bibi! You’ve showed a plethora of ways to use these materials. Great cards! TFS –
Lori S in PA