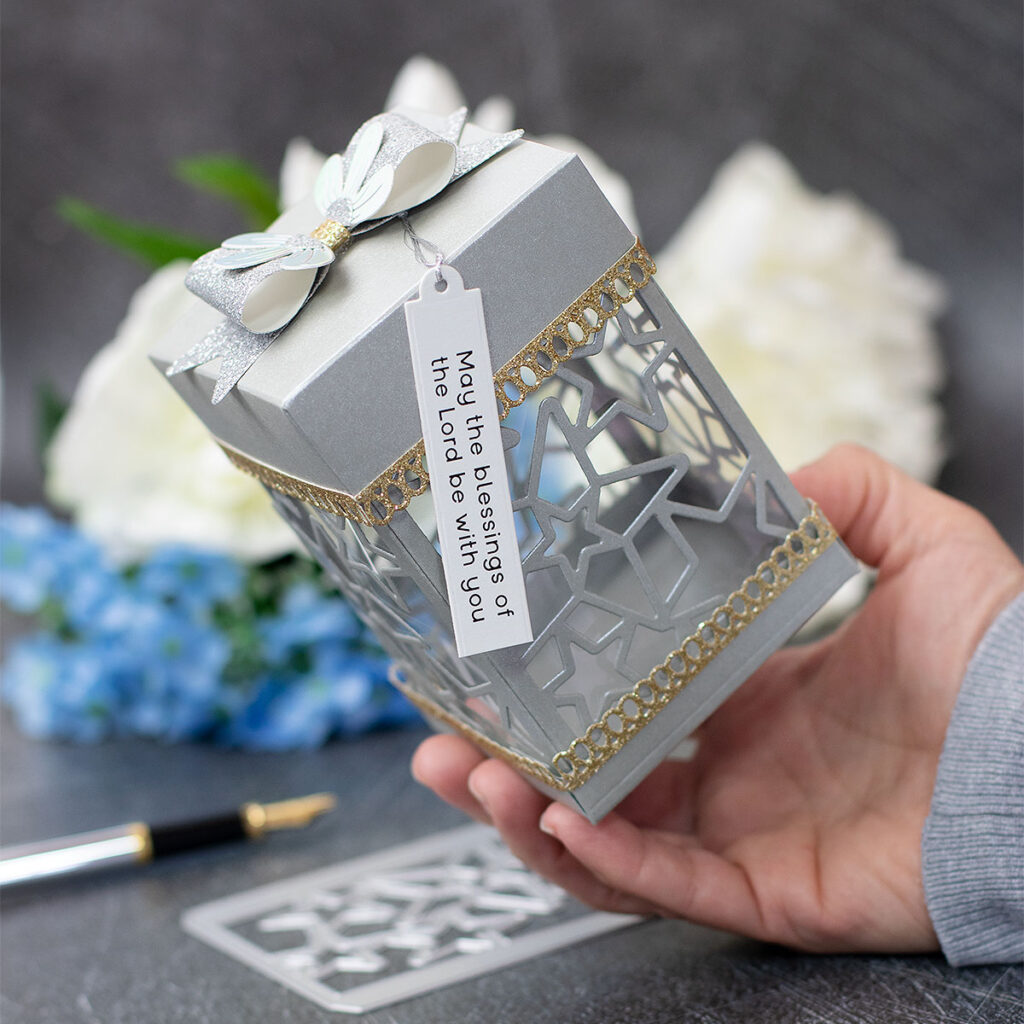
Hello crafty friends, I received the Basic Box Card Stars Wafer dies from the Yay you Release and all I couldn’t think was at Xmas.
However, this gift box idea is very generic and can be used for any occasion.
Depending on the paper end embellishments this project will look completely different.
Gift Box
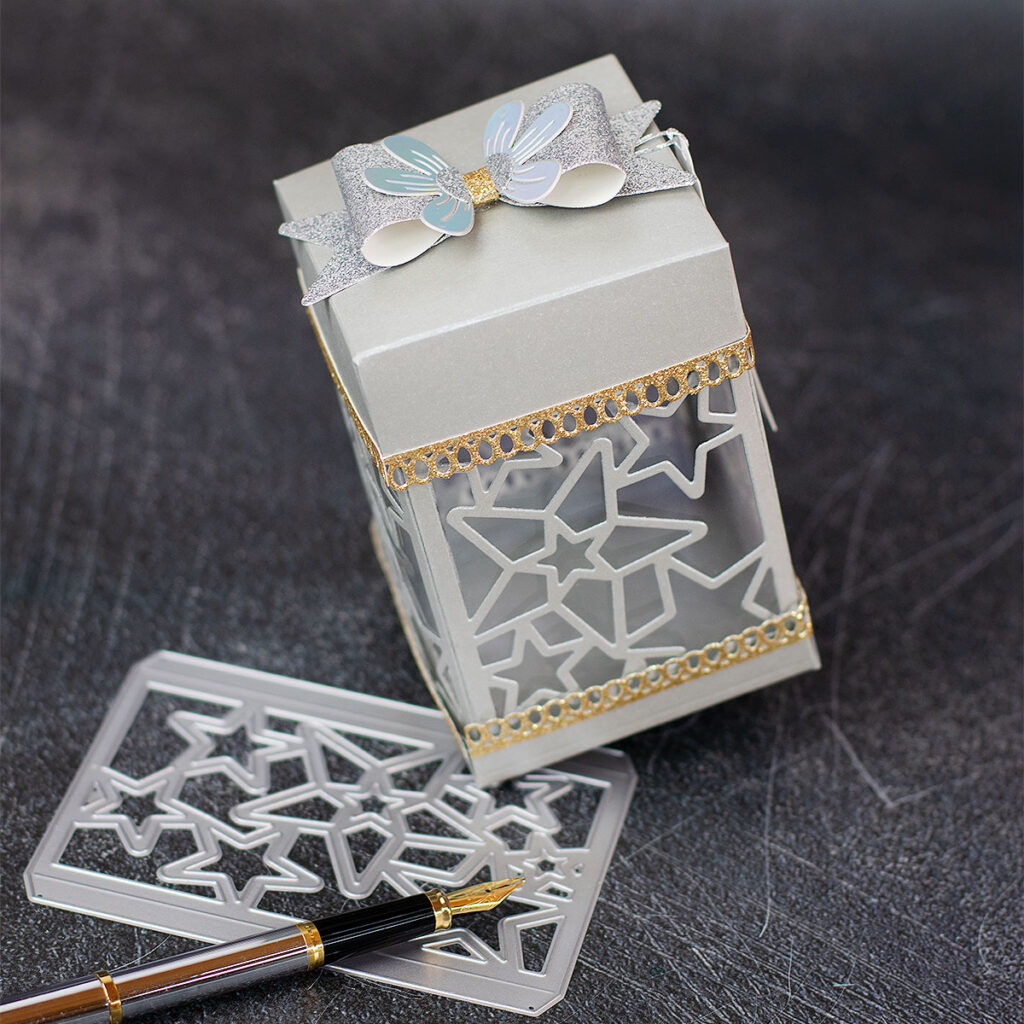
This gift box measure 4-1/4 x 2-3/4 inches.
To make it I used the following supplies:
- Basic Box Card Stars Wafer Dies (box panels)
- Sentiment Strips Easter ( preprinted sentiments)
- Create a Fluter and Flower Bow ( Bow)
- Create a Slimline Border ( gold decorative borders)
- Sentiment Labels Etched Dies 9 to die cut the tag)
- Spellbinders PLATINUM 6 Die Cutting and Embossing Machine
Paper:
I take my time testing different paper options. I always go for metallics as is an easy way to add a luxurious look and feel to any project.
So I used paper included in 2 key paper pads I always have in my stash :
For the box I used papers below from these paper packs and also acetate:
- Lunar Silver Pearlescent Cardstock
- SILVER SCREEN A4 Glitter Cardstock
- Holo Waves
- Gold Dust
- Lawn Fawn ACETATE Clear Sheets
*** Find a complete list with clickable links and thumbnails at the end of this post.
Box Making Process
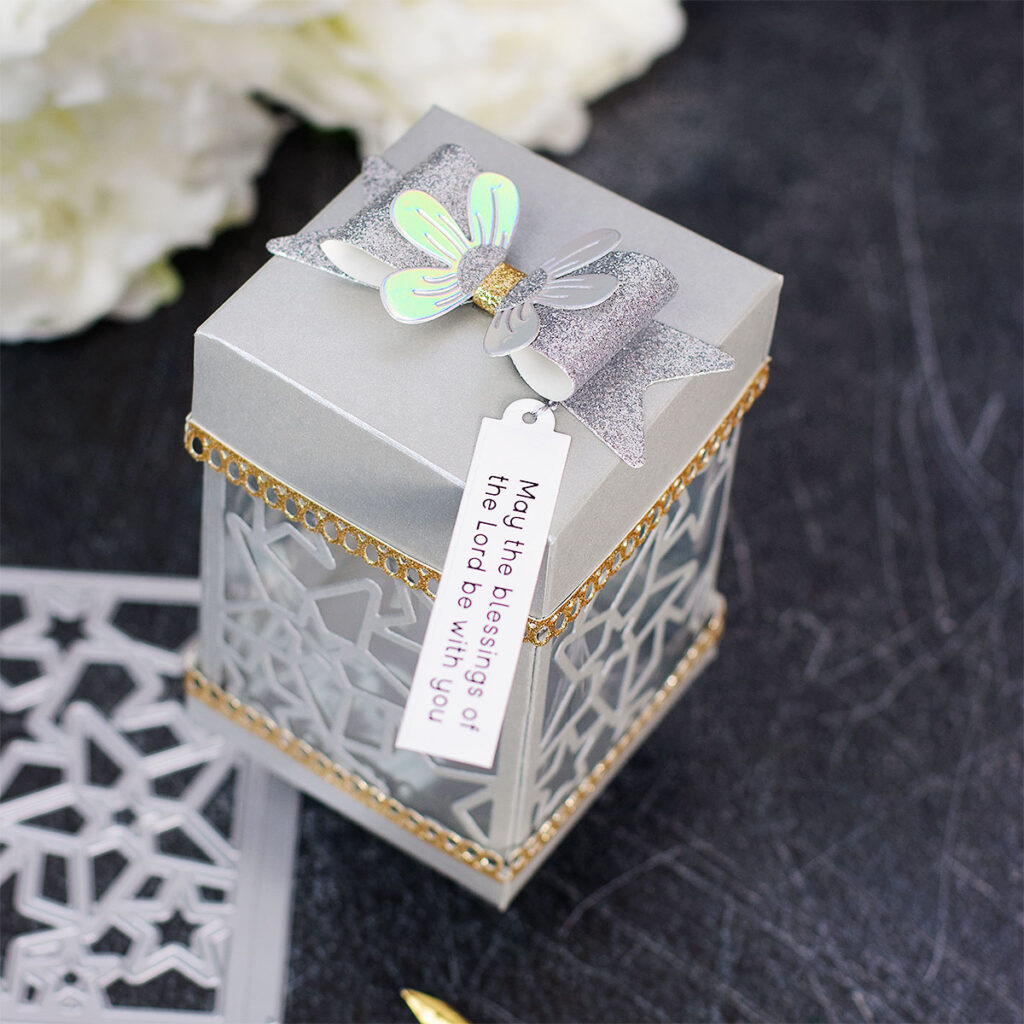
- First, I die cut 4 panels for the box using the Stamp Basic Box Card Stars Wafer Dies out of Lunar Silver Pearlescent Cardstock.
- I glue the flap of each panel together and I added acetate behind each panel to make it more sturdy and pretty.
- For the bottom part: I trimmed a 3-7/8″ square piece also out of Lunar Silver Pearlescent Cardstock.
- Then, I scored at 1/2″ inches around the edges.
- I cut the corners of the piece and shaped the box base to then attached it to the bottom part of the box.
For the Box Lid
- First, I trimmed a 4- 7/8″ square piece also out of Lunar Silver Pearlescent Cardstock
- then, I scored at 1″ inch around the edges to make a lid.
- I cut the corners of the piece and shaped the lid.
Finishing Touches
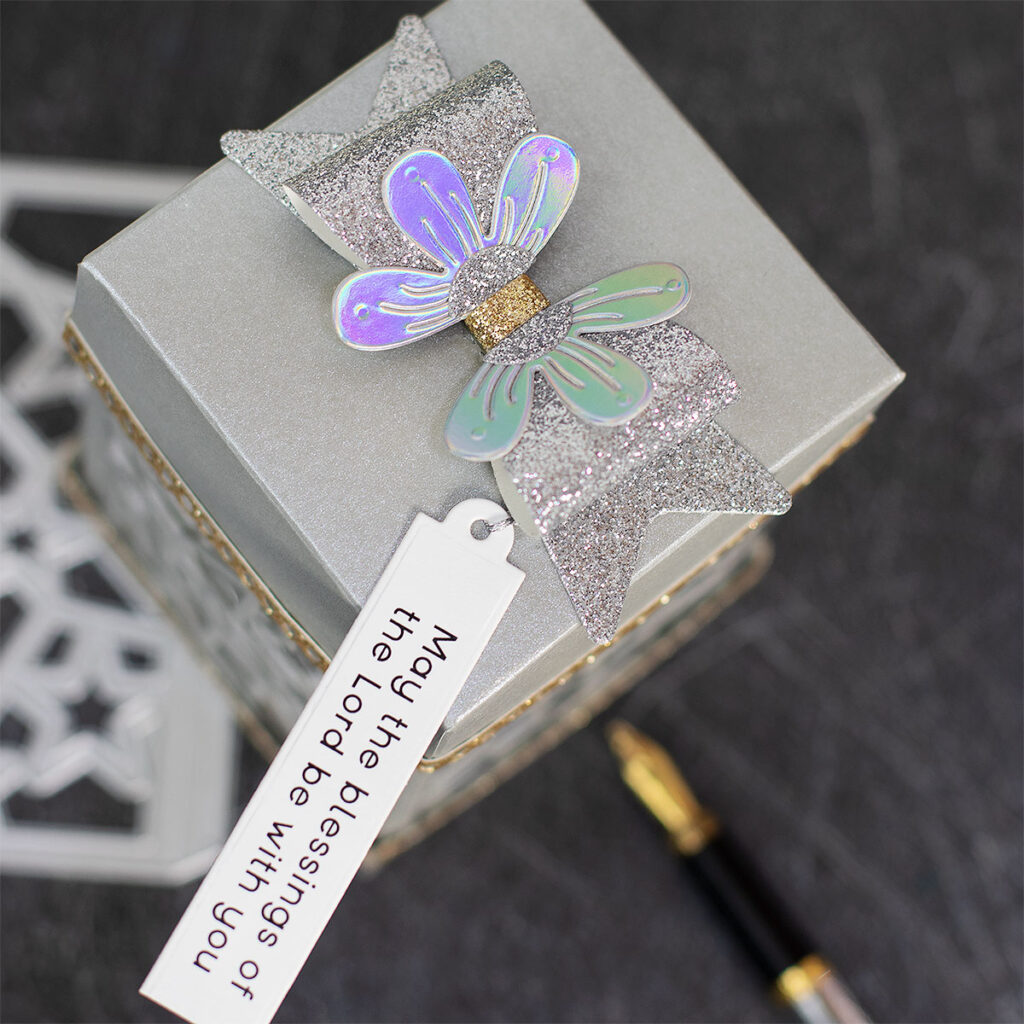
- To embellish the box, I made a bow using the Create a Fluter and Flower Bow.
- I die-cut a gold trim using a die from Create a Slimline Border to cover the raw edges of the top and bottom lid.
- Scor-Tape 0.125 Inch and Tonic Deluxe Adhesive were great adhesives to put this project together.
Bonus project
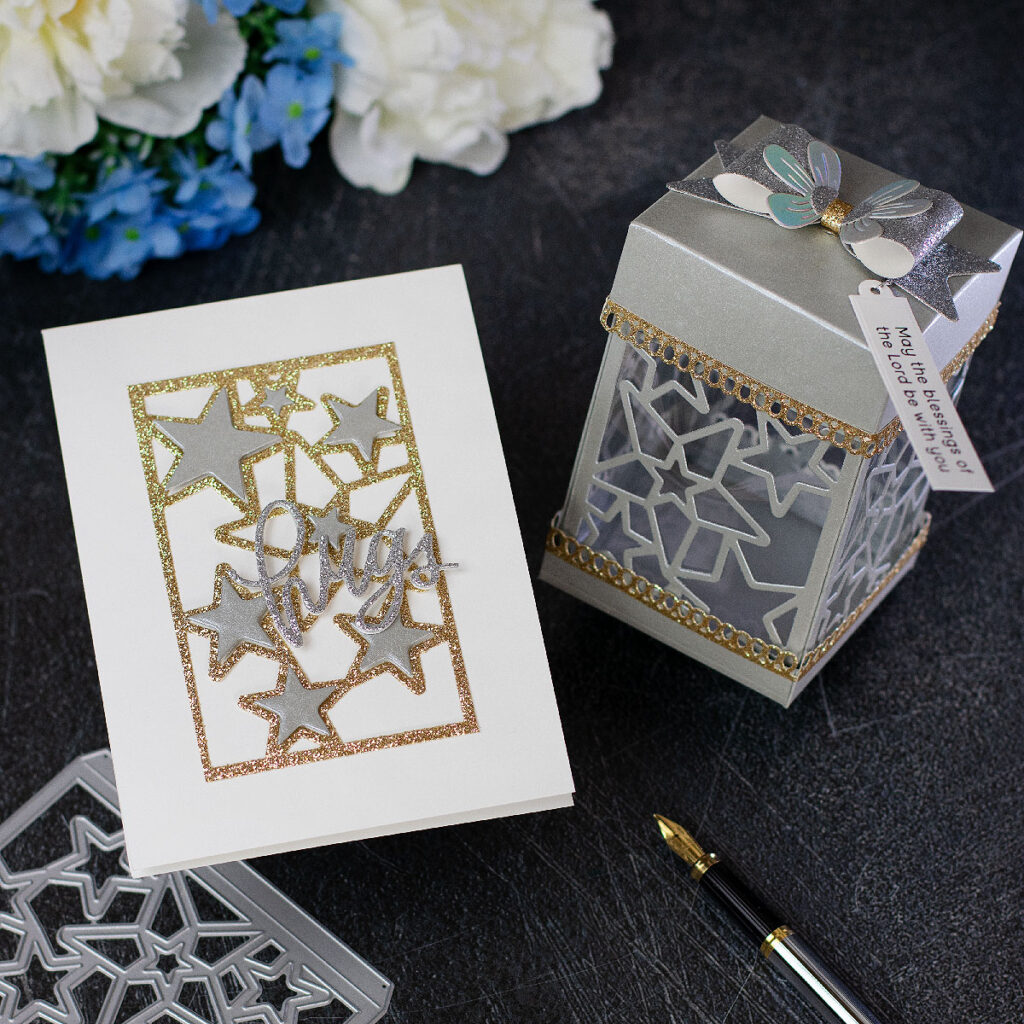
I decided to put this super quick card together using elements I got left when attempting to make the box.
- So I first trimmed the flaps of the gold glitter die-cut made using the Basic Box Card Stars Wafer Dies.
- Then, I made a C6 top fold card base using Nenaah 80lb cardstock and I glued the golden silhouette over.
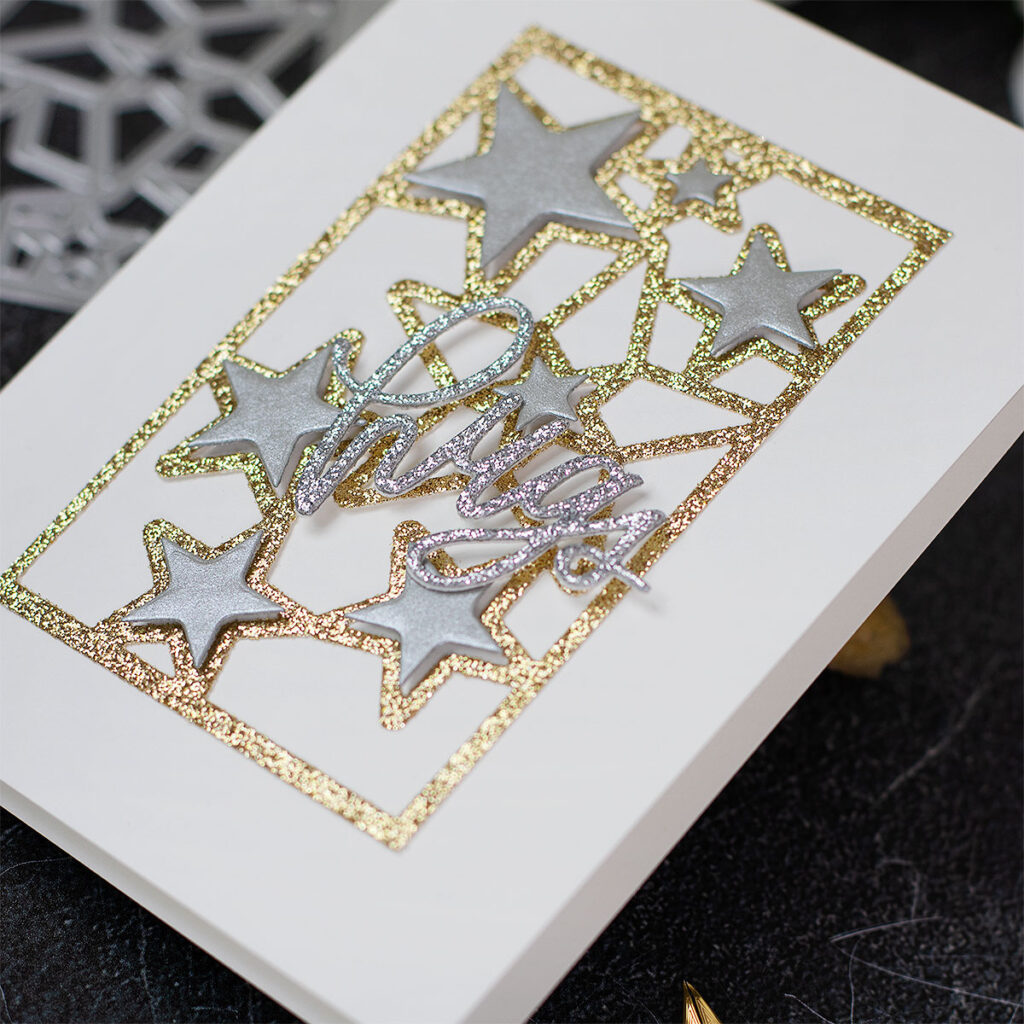
- Using foam pads I adhere the silver stars into the gold glitter cardstock silhouette.
- Then, I die-cut 3 times the sentiment “Hugs” using the Big Script Hugs Wafer dies. One out of glitter silver cardstock and 2 out of white cardstock.
- To finish, I glue the sentiment over the dimensional stars.
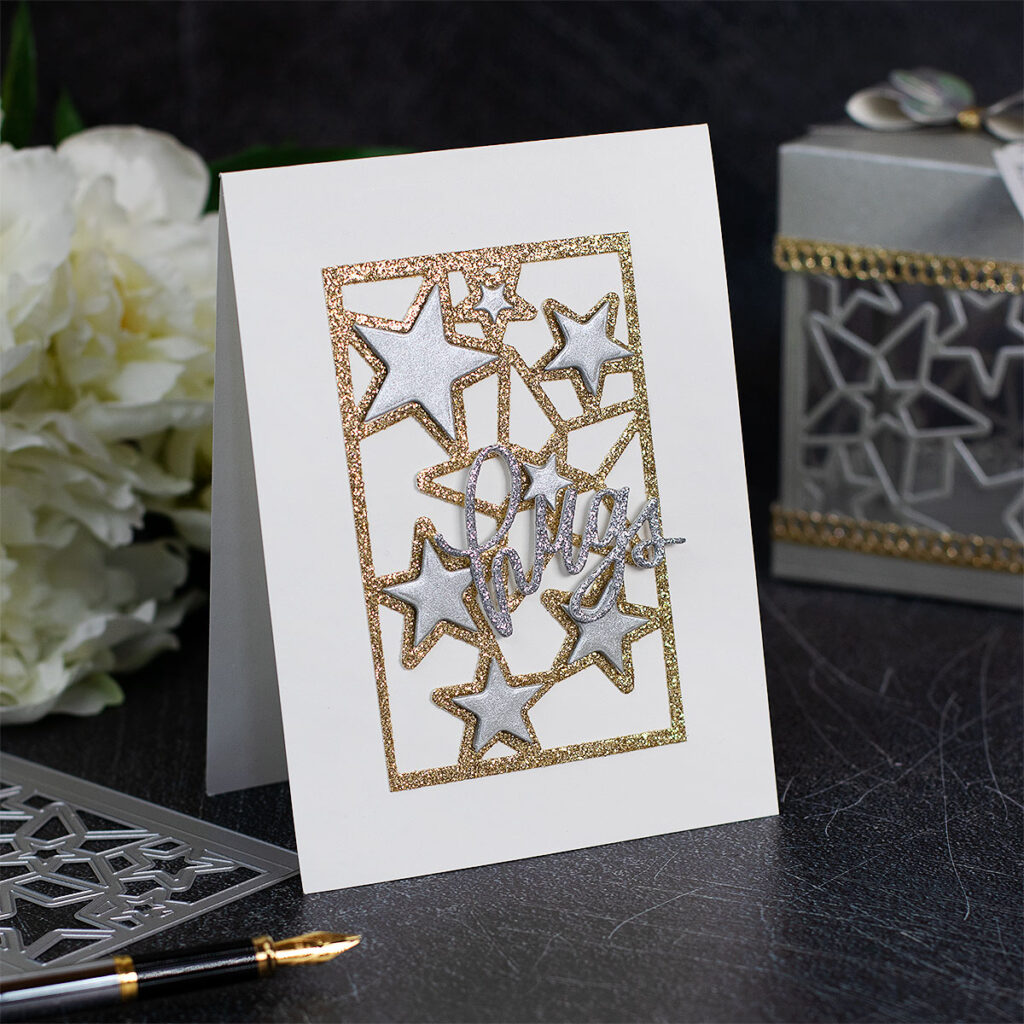
That is all for today.
I hope you’ve enjoyed this post.
X Bibi
Thirsty for more?
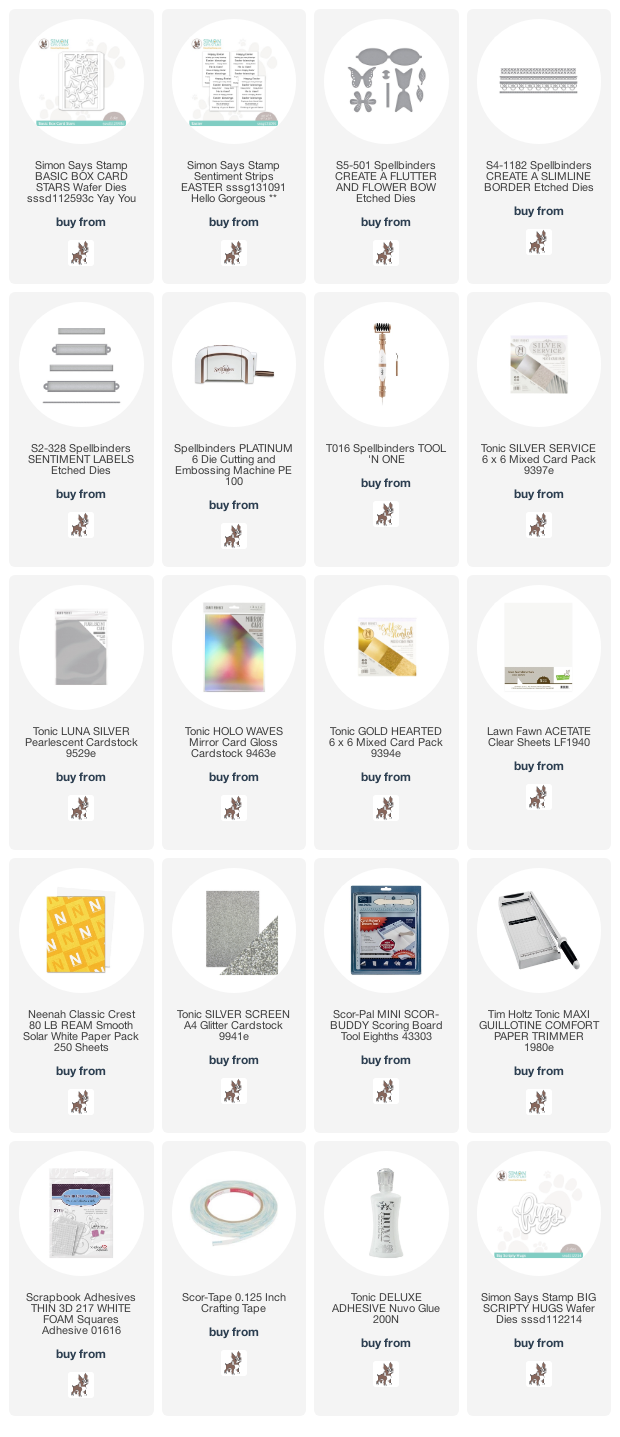
Supplies
Affiliate links apply at no extra cost to you. Thanks for your support.


These are the great ideas!!