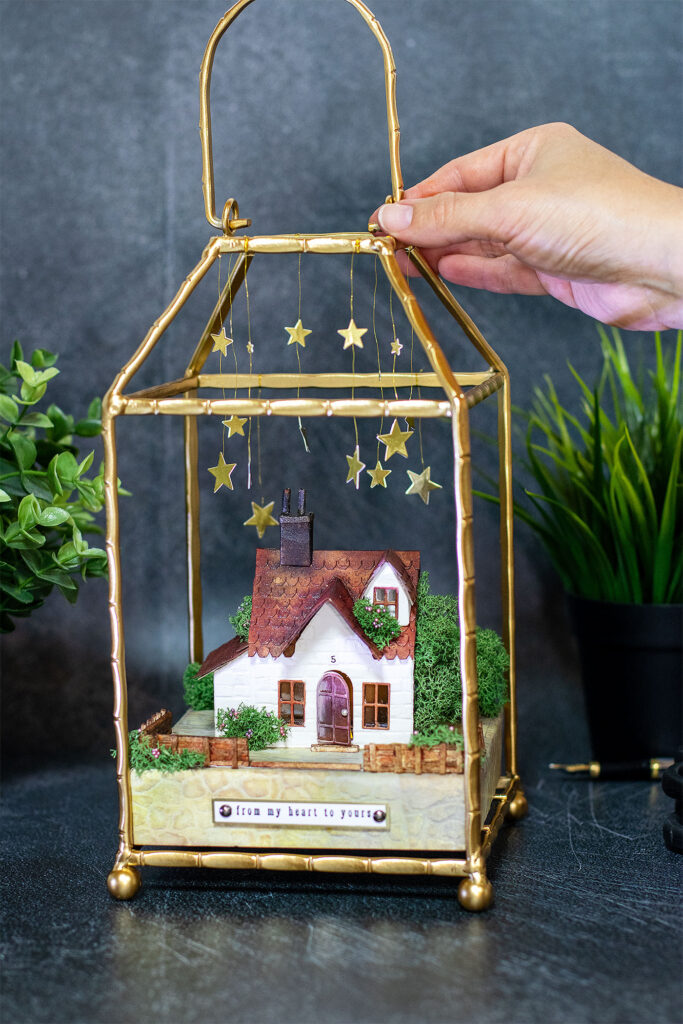
Hello crafty friends, for today I made another little paper cottage using the Tim Holtz Village die collection.
This collection is endearing and if you haven’t got yours check it out… it is available on the Simon Says Stamp online store on Black Friday with a 15% off here!
Tim Holtz Village die collection
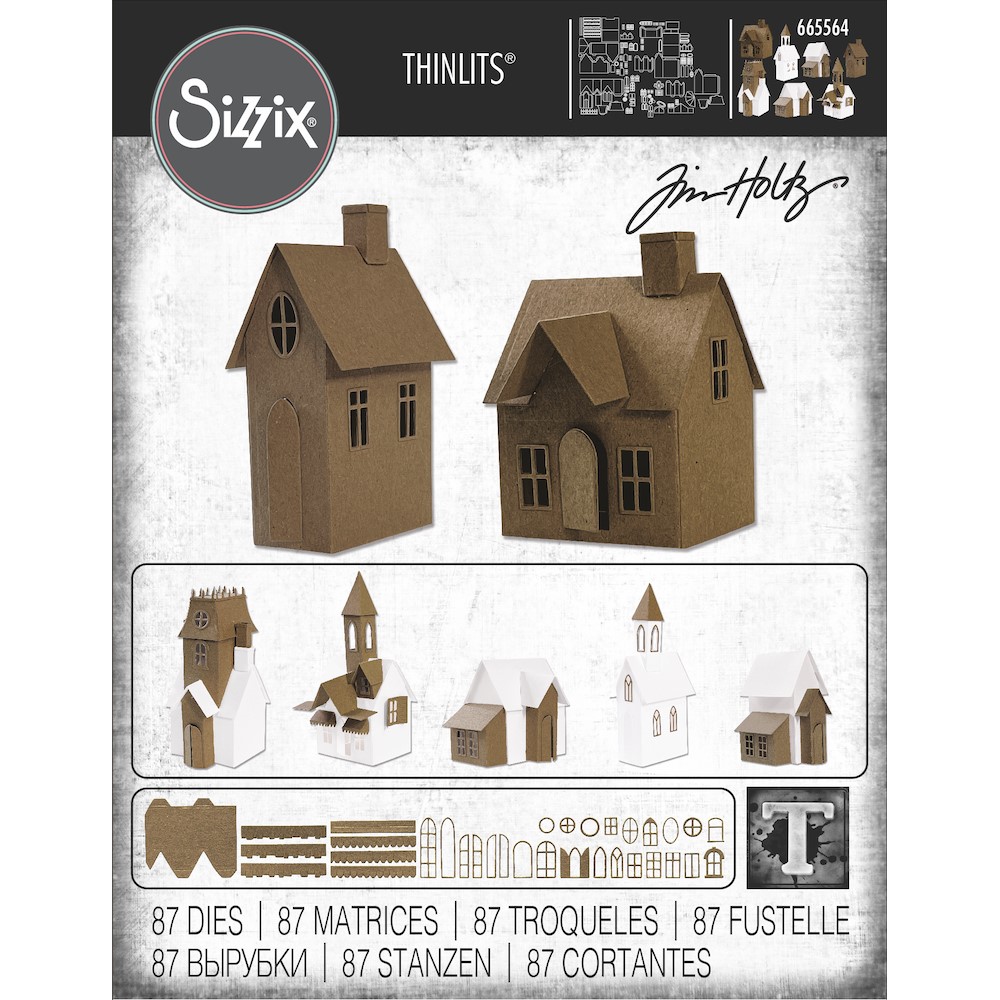
The Tim Holtz Village die collection includes 87 dies that you can mix and match to make different paper buildings/ Boxes.
I allow myself to feel like a real builder when using these dies…My hands looked like if I was a real builder too lol…
Making the Cottage

The walls
- I first die- cut 2 sets of walls out of white cardstock.
- One set was adhered together to make the main walls of the house and the other was used to create decorative panels.
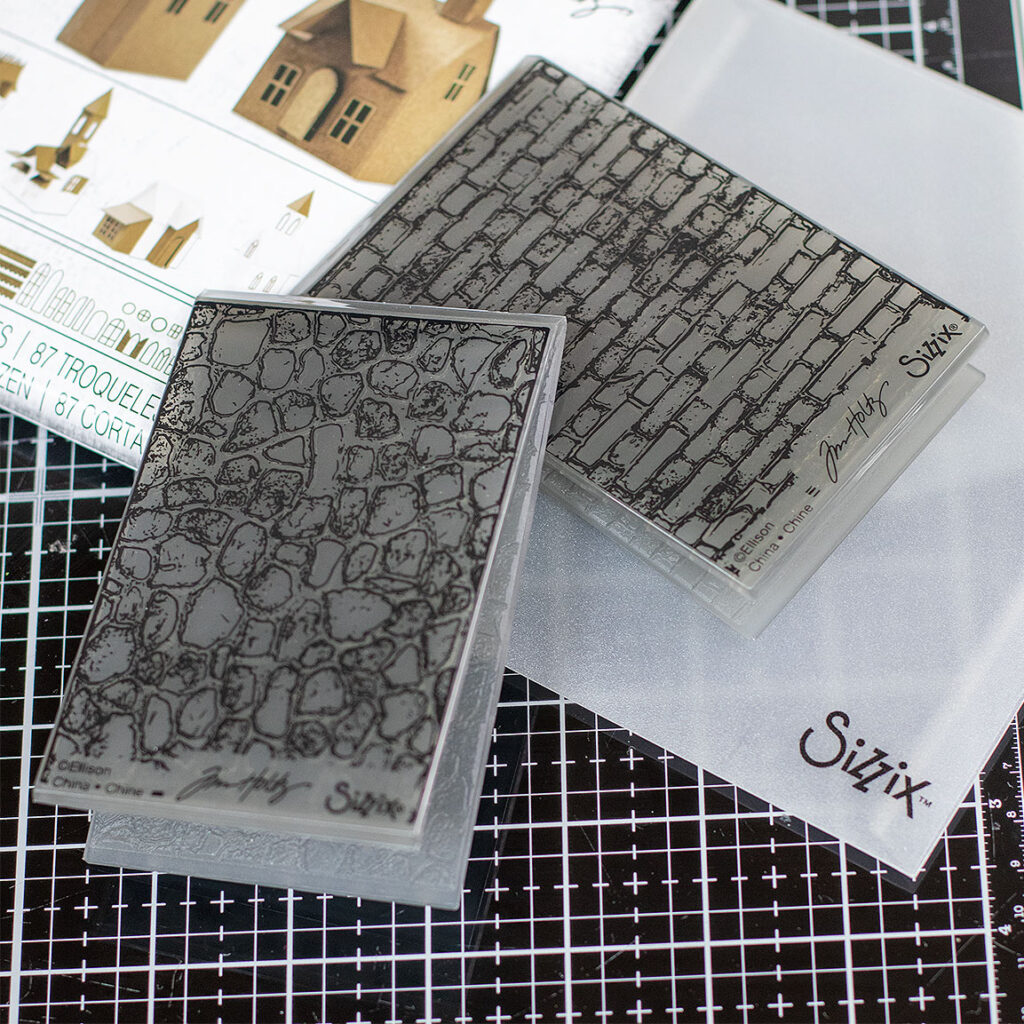
- I used Mini Brickwork 3D embossing folder to emboss the wall pieces.
Roof and chimmney
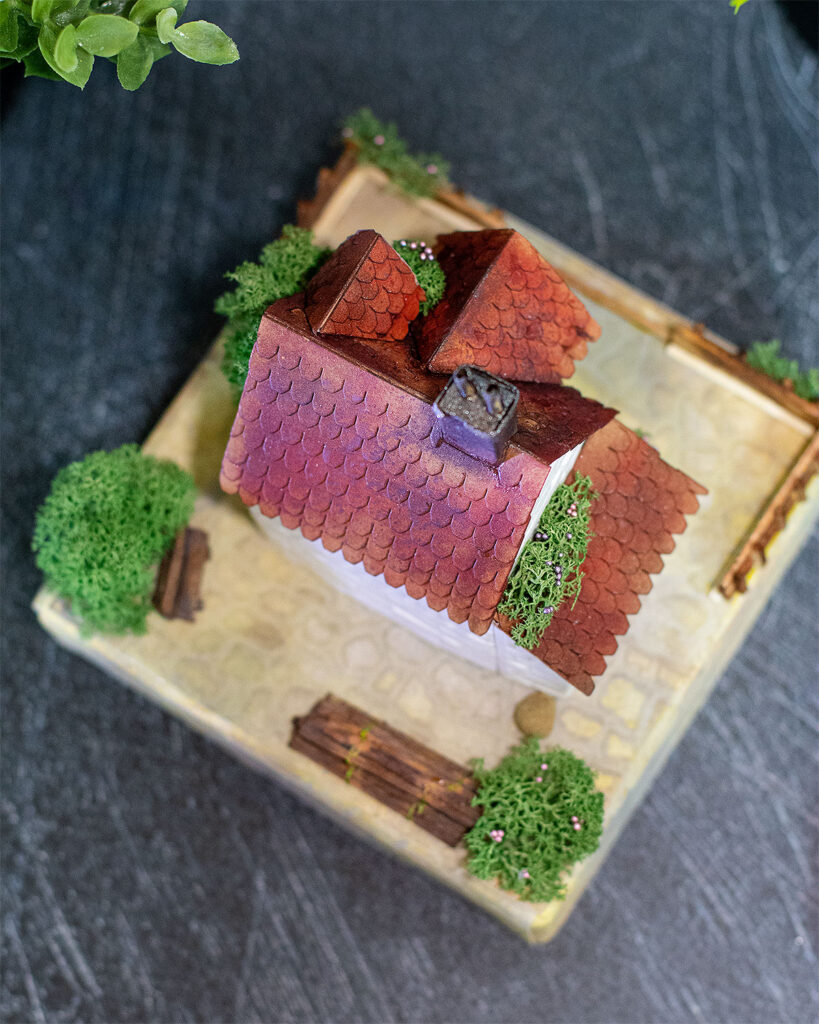
- After gluing the main roof piece to the cottage walls, I glued the chimney.
- I believe is important to glue the chimney first and then the roof tiles over to get a nice finish.
- To cover the chimney gap. I trimmed and fold a small rectangular piece of cardstock
- Before gluing this piece in place, I pierced 2 tiny wholes using a handheld 1/16 ” circular punch.
- Once in place, I inserted two DIY small paper cilinders and using liquid glue, I glued them in place.
- To add colour, I used a small brush and Nuvo Morning Fog Sparkle Spray + Rusty Hinge Oxide Paint.
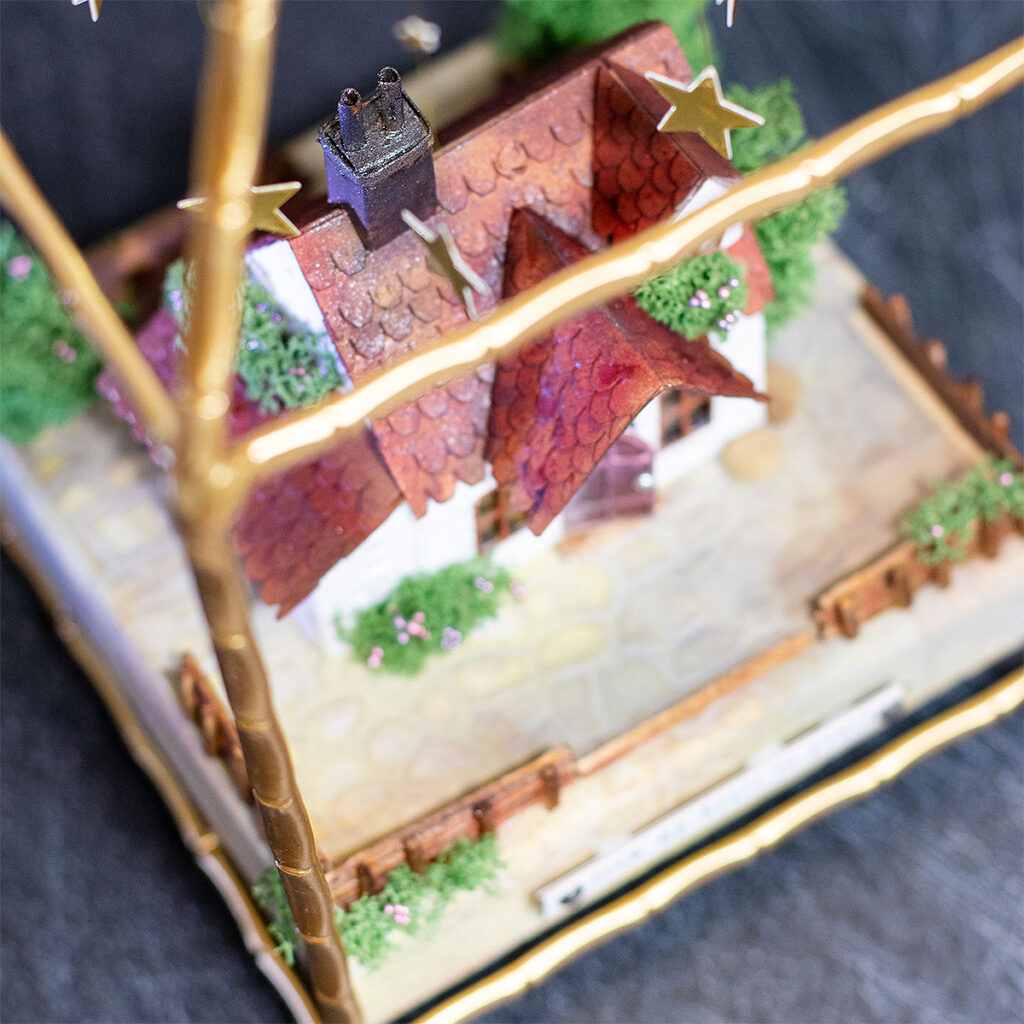
- I die-cut the roof pieces out of kraft cardstock.
- To add tectire and interest, I splattered the die-cut roof tiles using Walnut Stain, Fired Brick and Black Soot Distress Inks diluted in water.
- Once dried , I applied Tea Dye, Rusty Hinge Oxide, Gathered Twigs Distress inks using SSS blending brushes.
- To add the red finishing, I applied a heavy coat of Fired Brick Distress Ink.
- Once the pieces where glued to the roof, I also used a small brush to apply Walnut Staing and a hint of MORNING FOG Nuvo Sparkle Spray to add shimmer and darker areas.
Windows and Doors
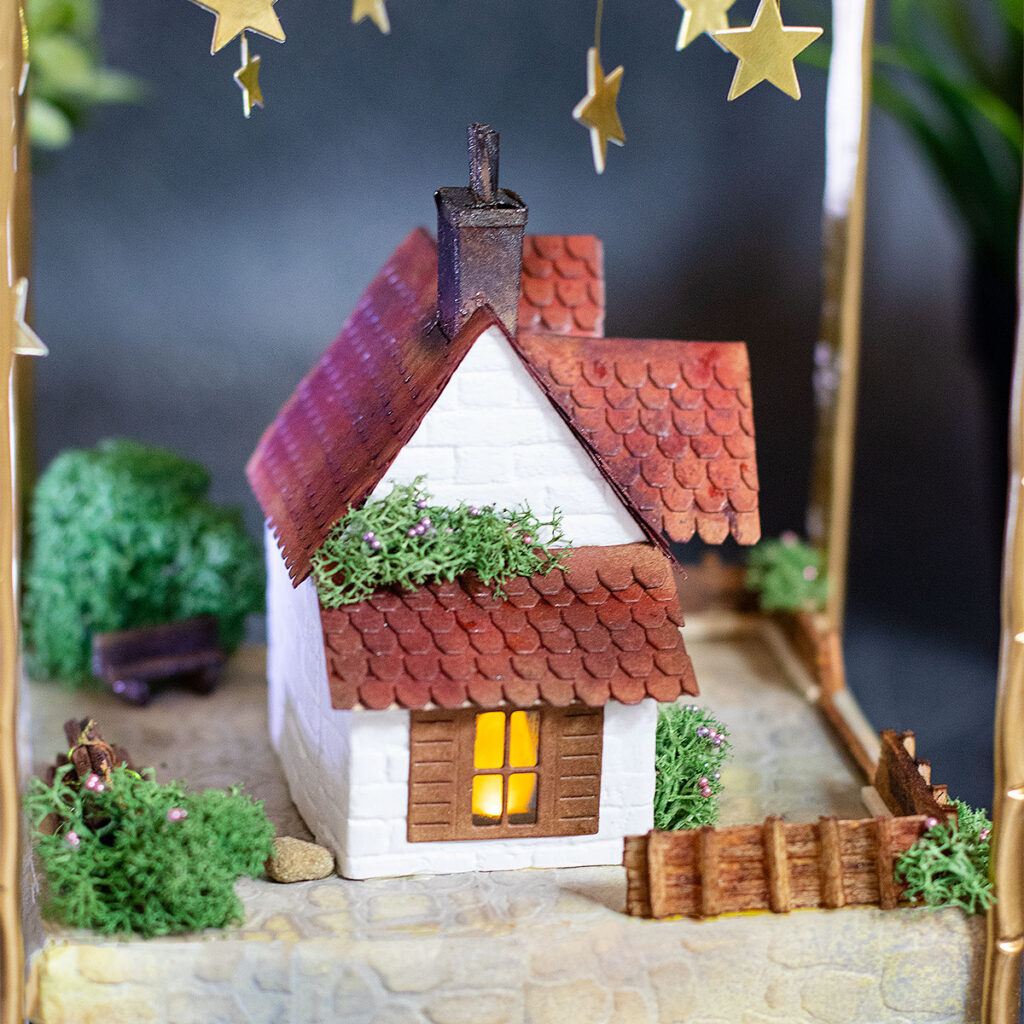
- I also die-cut the windows and doors out of kraft cardstock and I used the same ink colours used to add colour to the roof.
- They look more brownish than redish as I used less Fired Brick Ink.
- Behind the windows, I added acetate ( recycled packaging from Simon Says Stamps Embossing Folders)
These super cute houses are actually boxes. I will say so.
The Display Unit
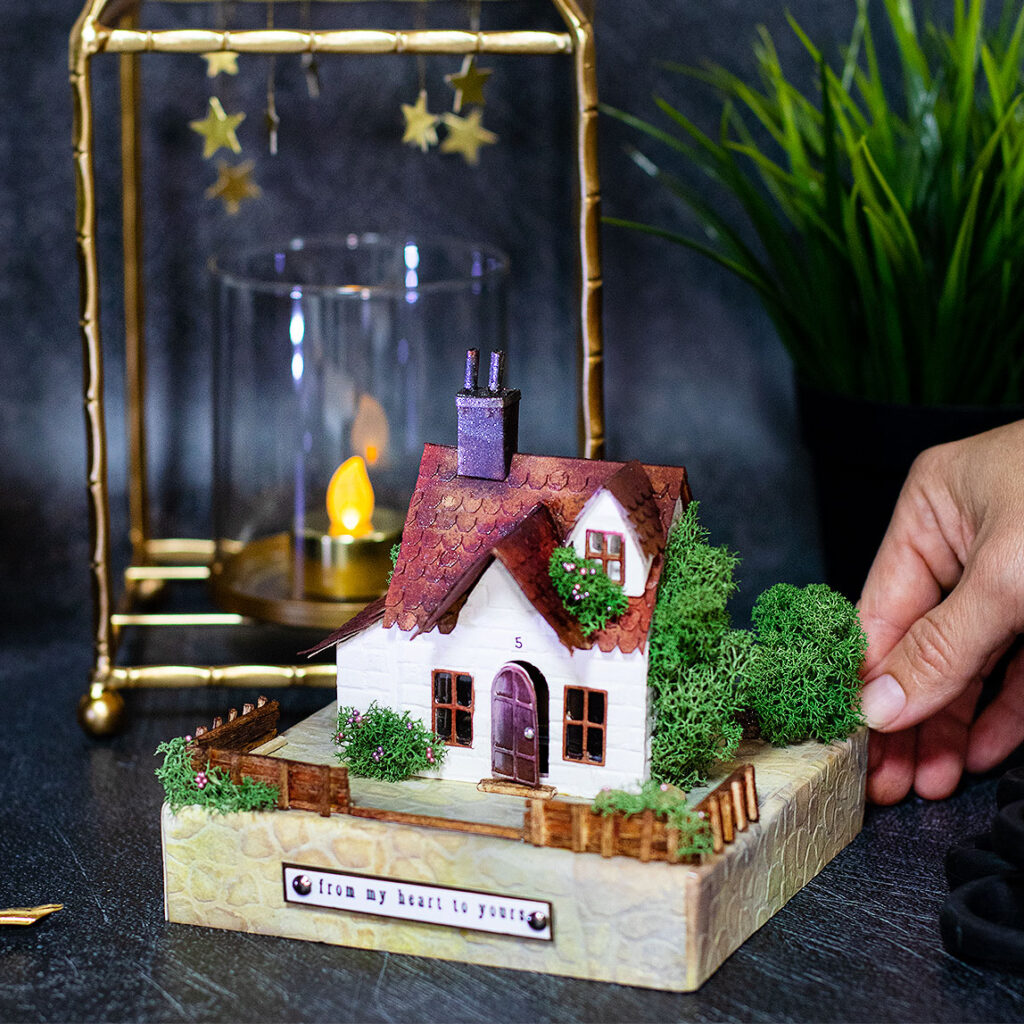
So actually, you can use them as packing for small gifts or sweeties.
Depending on the amount of detail and work you put on them you can use them as a decor element and they will make an adorable gift.
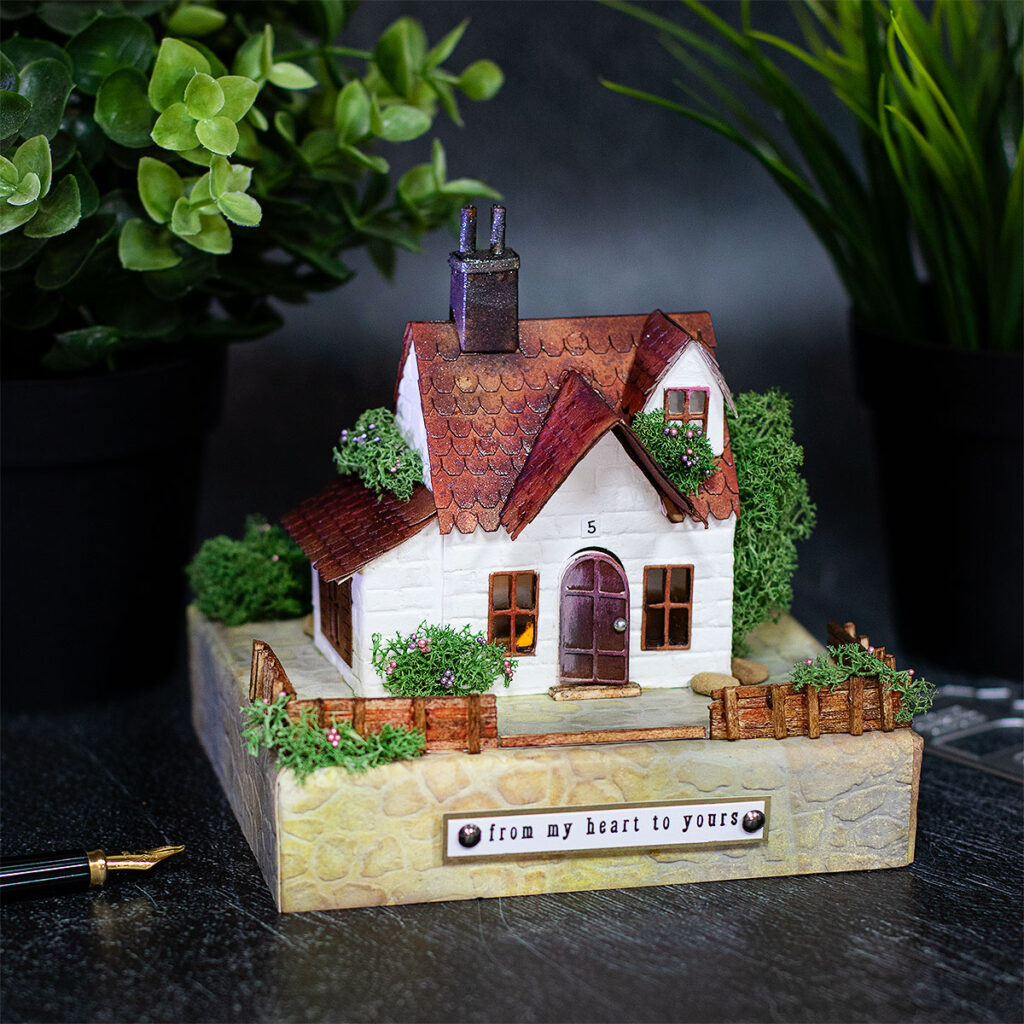
One of the things that got me thinking is how to display this type of project.
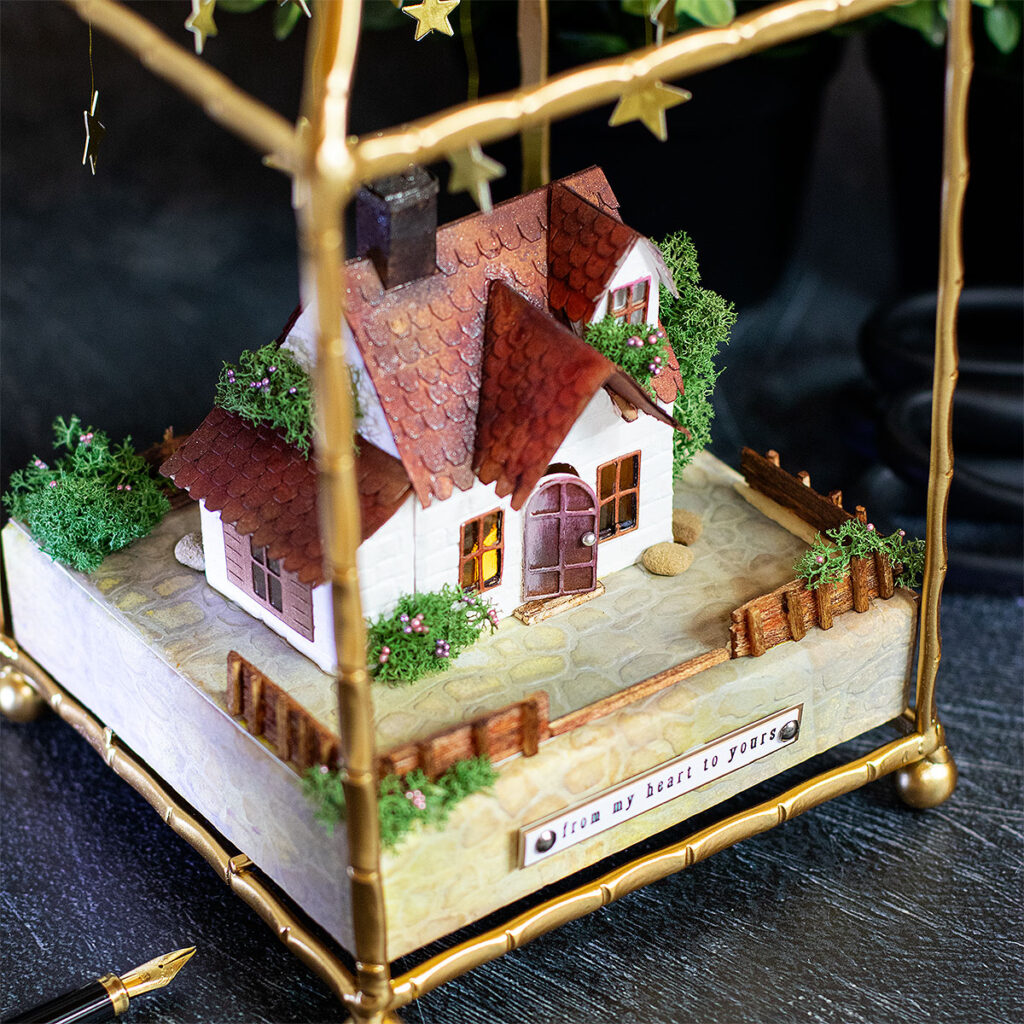
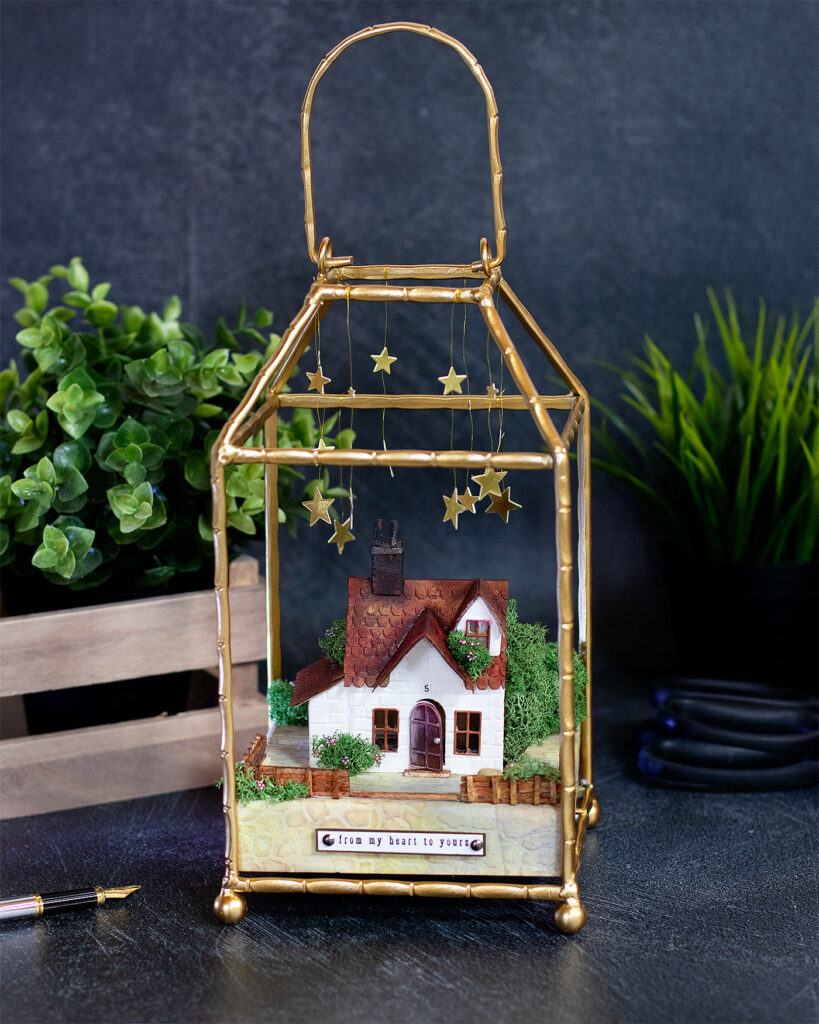
When browsing my local stores, I found that candle holders or metallic lanterns are ideal display units for these buildings.
They also will protect the project acting as a shield around them plus you will be able to see the project front but also the back allowing you more room for creativity.
To mount the little buildings to a candle holder/ lantern, it is necessary to create a cardboard “base”. I like to use a thick grey board to make it.
Creating a Cardboard Base
- To make the 5x 5 inches square base in the pictures, I used 600 grams grey board.
- The base is 1″ inch tall.
- Using a guillotine, I trimmed the pieces for the base.
- Then, I die-cut a circle in the top piece to insert a tealight.
- Next, I glued the pieces together using liquid glue and I reinforced the folds by adehering stripes of 300 grams white cardstock.
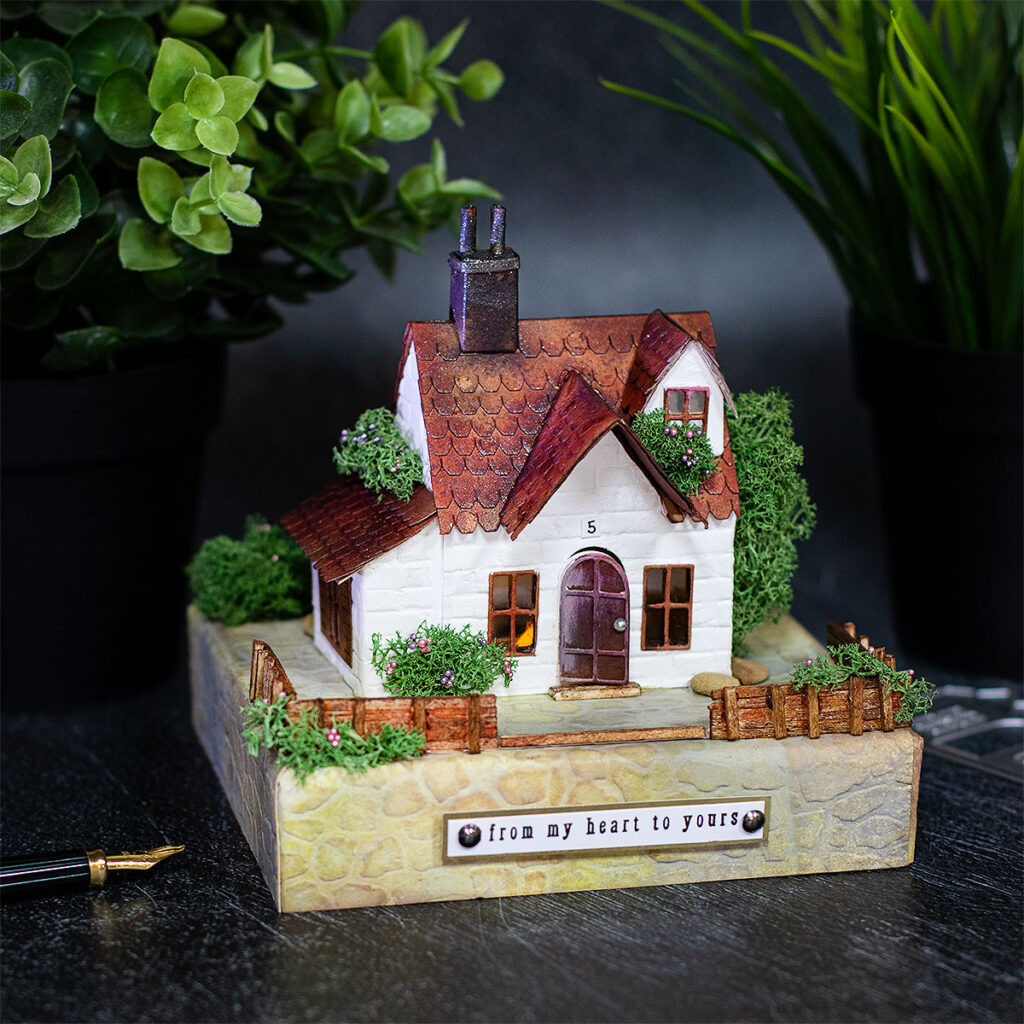
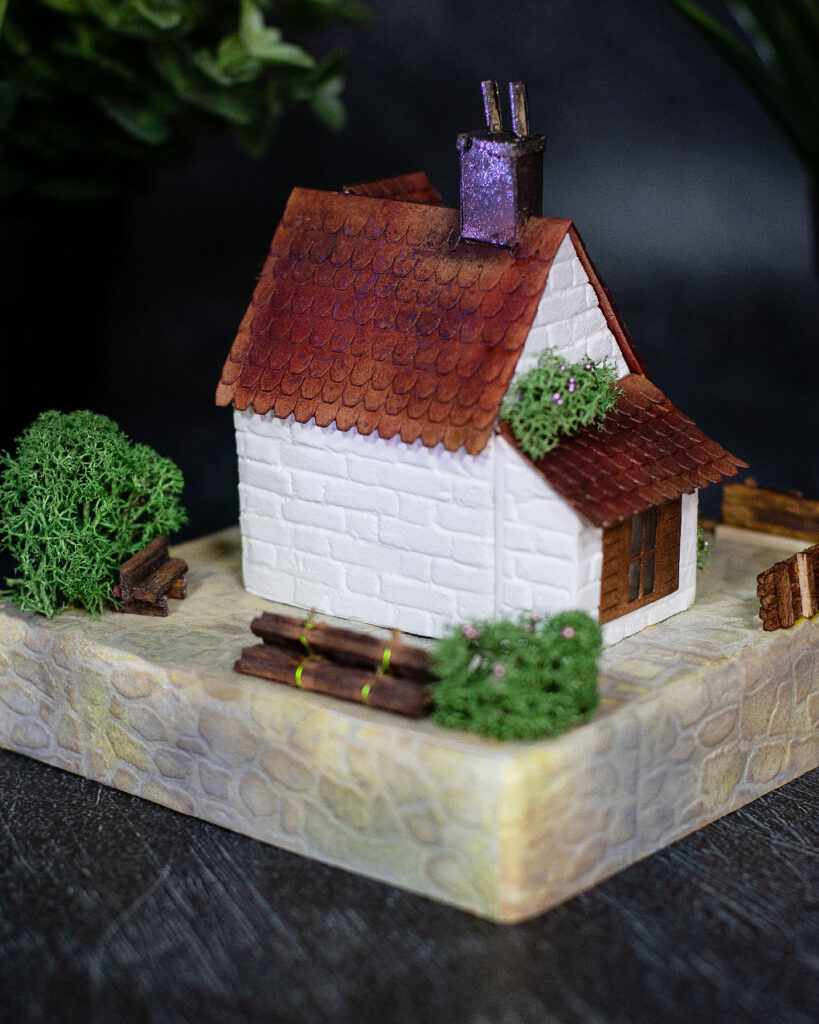
- I covered the base using cardstock previously embossed using Mini Cobbler Stone 3D embossing folder and coloured using Distress Inks.
- The cobbler stone pattern looks beautifu in warm tones. So to add colours to the embossed paper, I applied a hint of Scattered Straw Oxide Ink , Peeled Paint Oxide Ink, Gather Twigs Distress Ink.
- I leave white areas ( I didnt cover the whole pioece with any pf these ink colours).
- Next, I sprayed a little bit of Hickory Smoke Distress Oxide Spray and loads of clear water.
- The water makes the inks run into the crannies of the embossed image, blending all the inks and oxiding the ink all at the same time.
- When the pieces where dry, I passed over an ergonicm brush ( flat brissels) inked with Frayed Burlap Distress Oxide ink, this make the stones pattern more visible.
Love is in the Details
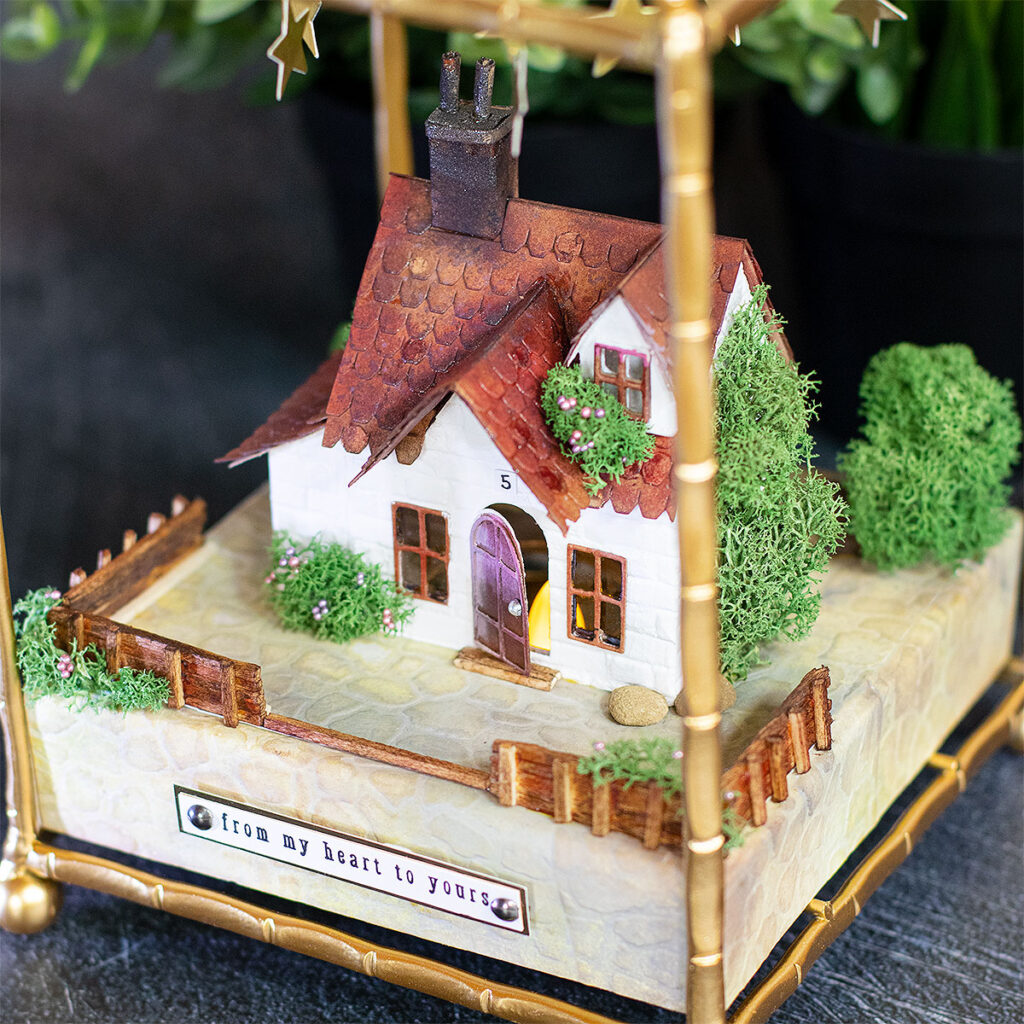
As part of the scene, I made my own fences, a bench, and a pile of wood logs.
I bought a big pack of small wooden sticks for £1 in my local craft store.
These are affordable and you can make as many different decorative elements as your imagination allows you.
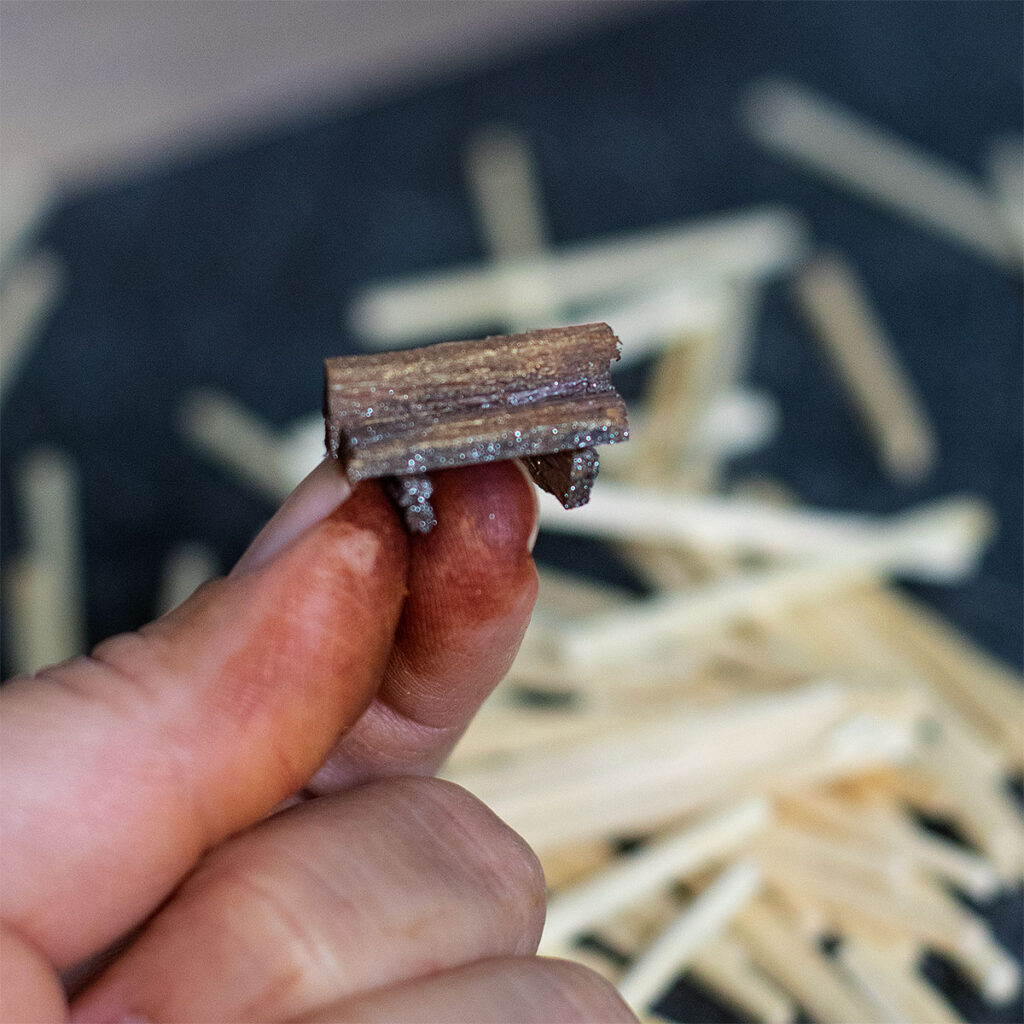
My DIY wooden accents look very crooked and imperfect but they add character to the cottage scene.
Aww was the first thing my family said when they saw my mini bench. It made me smile.
To make them I simply glued ( piled up) wooden sticks and once the glue was dried, I applied the following Distress Inks colors :
- Gather Twigs Distress ink.
- Walnut Stain Distress ink.
- Fired Brick Distress ink.
- Rusty Hinge Paint ( over the wire areas or corners to make it look rusted).
Greenery
A very important finishing touch is the greenery.
From all the choices to add some greenery to these projects, I’m loving Quality Moss, so easy to use and you can use liquid glue to adhere it in place.
Plus is real moss so it adds a realistic look that is hard to get with other supplies.
The Sentiment
The sentiment is also important, you can add a banner with any greeting or quote.
I used a message from the SSS Mandy’s Flowers stamp set ( sadly retired now), stamped it on white smooth cardstock using Verfine Onyx Black ink.
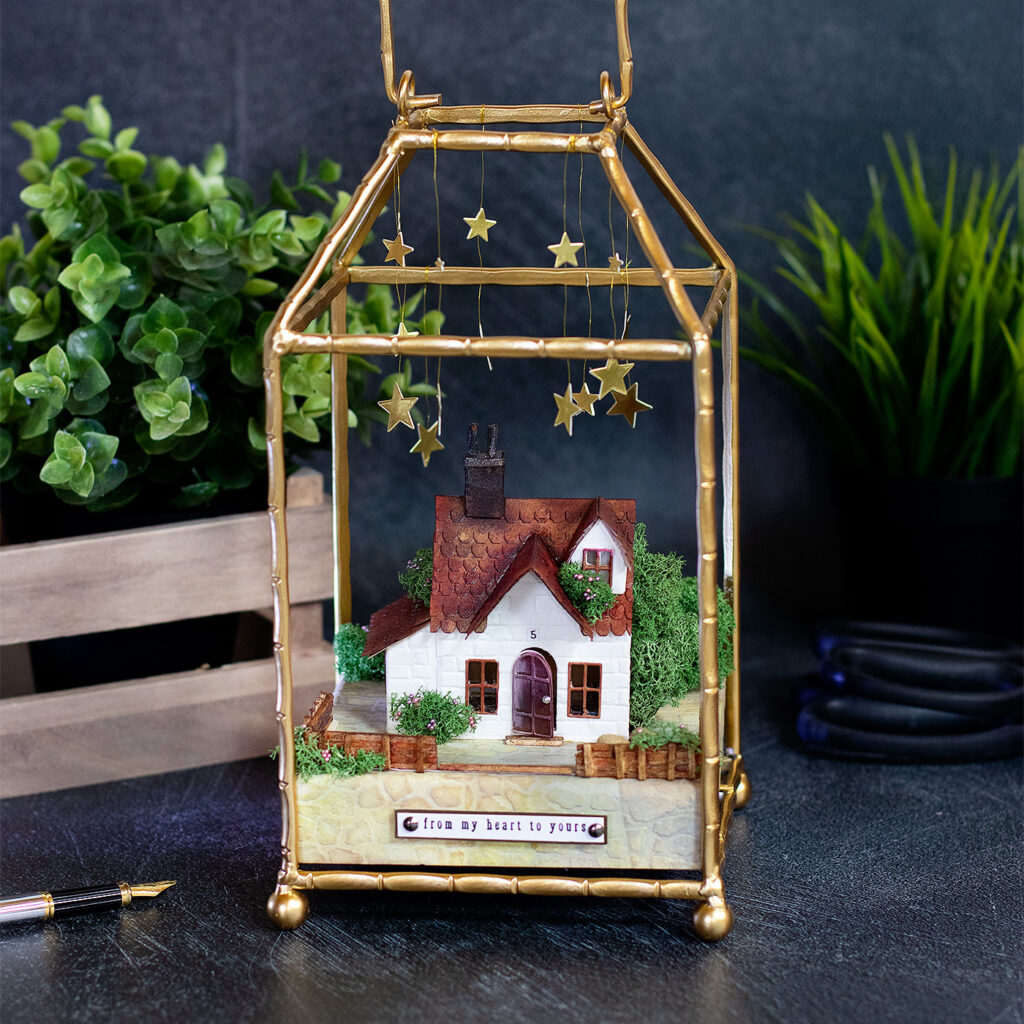
Last but not least, I also added small gold die-cut stars. I used a gold thread to hang them from the top part of the holder.
To die-cut the stars for this project, I used the SSS You are a Star wafer die and SSS Matte Gold Cardstock.
Thirsty for More?
Check My Cottage #1 idea here. I used different ink colors and a few different decorative elements and embossing folders.
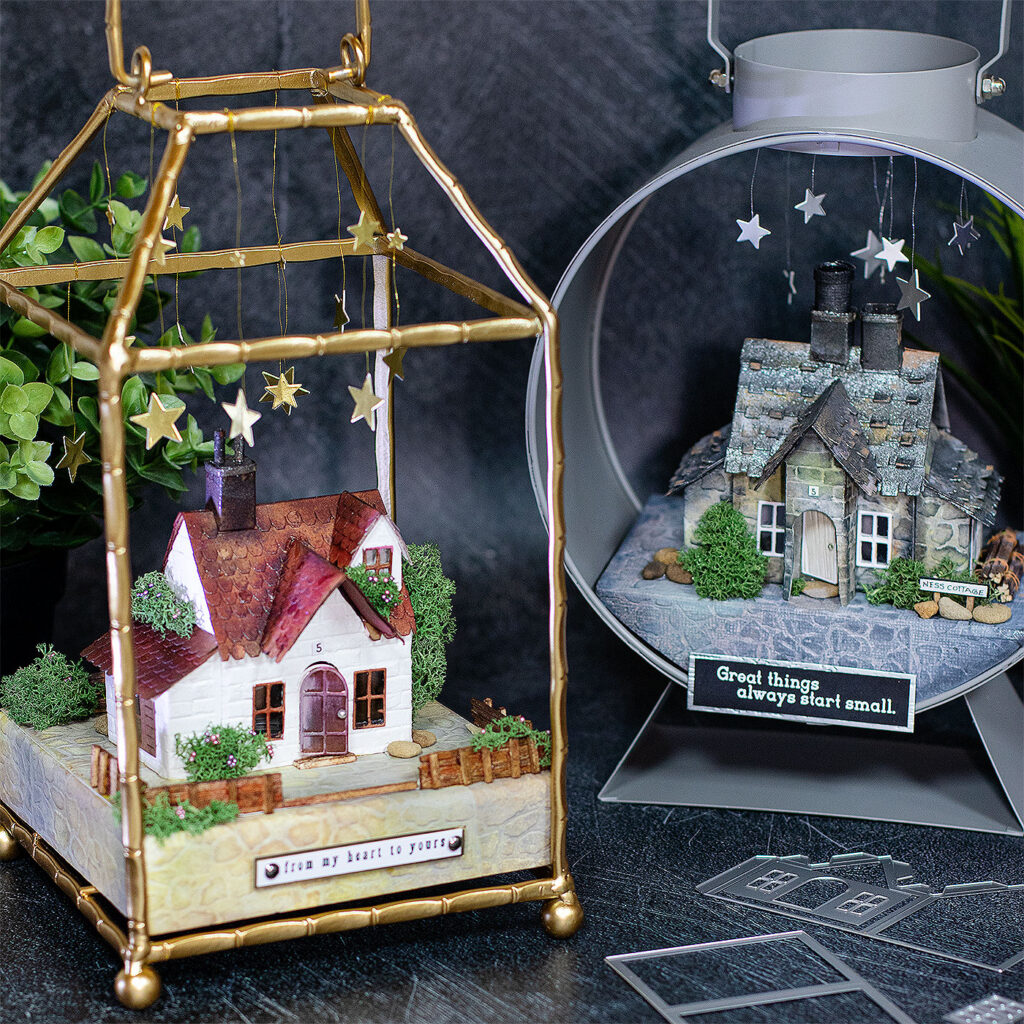
It is impressive how the project can change by using different ink colors
Watch the video tutorial
That’s all for today.
I hope you’ve enjoyed this post.
x Bibi
Supplies


Another fabulous project Bibi, very inspiring. Is the candle holder another bargain find from B&M?
thank you Sue, yes. I got this new one in B&M too 🙂
I just love your houses! My friend and I are just getting into making houses with this die set. Yours are very inspirational. I got some GREAT tips that are super helpful from your video! One question – what is B & M? Is that a UK store? I love the idea of setting the little houses in a lovely, special setting to really showcase them. I especially love the circular one! Thanks so much for sharing your processM
Hello , yes B&M is an Uk store. You can also create the stand using grey board or try to fin something alike. hugs.x