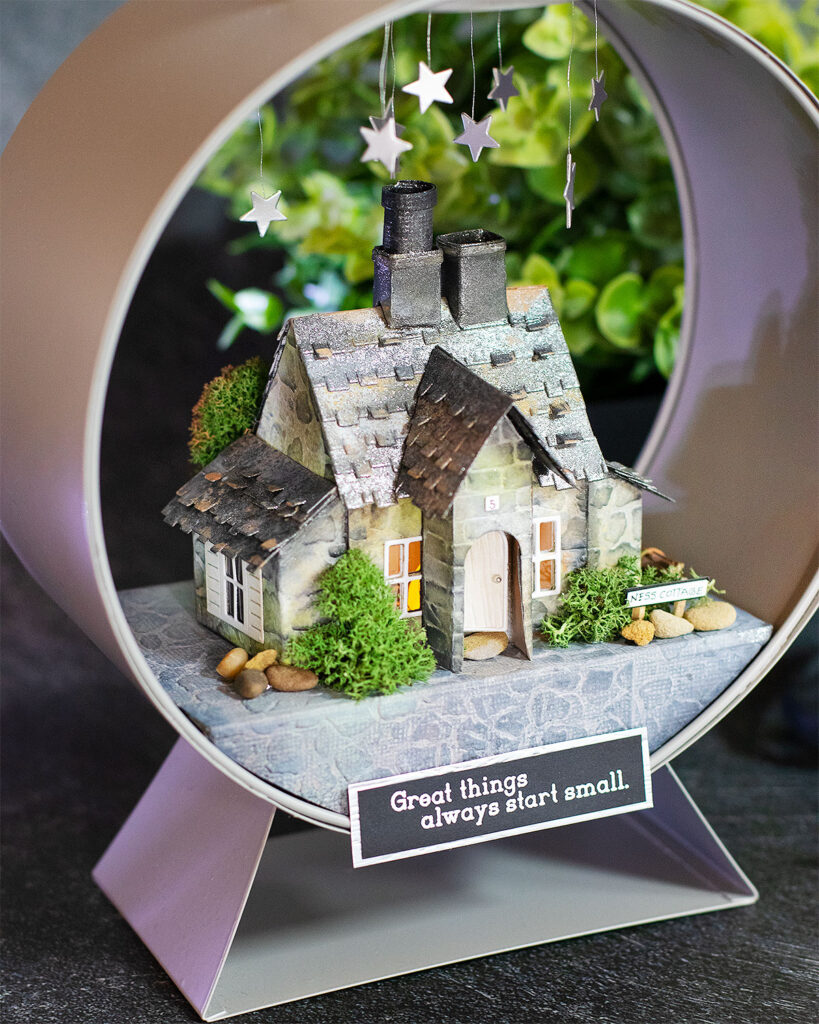
Since I saw the new Tim Holtz Village Collection I have been obsessed.
It is the end of the month and my allowance for crafty goodies was over at the beginning of the month lol.
This is a massive die set so the price is a little bit high and I was thinking if I should do the investment.
I’m not kidding… I found myself at 4 am dreaming of this set and trying to put myself away from buying it.
I couldn’t sleep until I bought it… We crafty people are odd!
Watch the Video…
Tim Holtz Village Collection
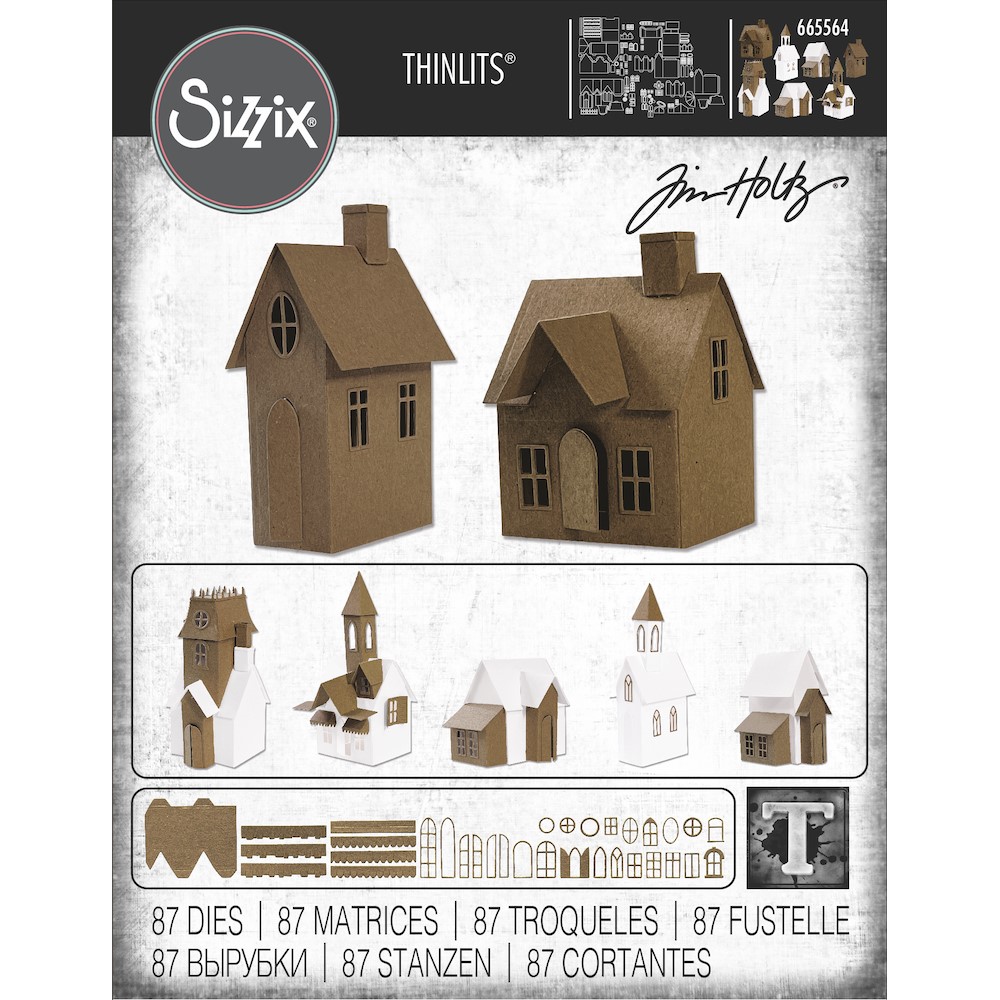
- The massive die set contains 87 cutting dies.
- Designed to create small buildings such as houses, curches, towers, barns.. or anything else with the help of your imagination.
- It includes the foundations for the buildings and loads of decorative elements = differnet doors, windows, roof styles, chimeys.
- You get 2 dies of certain parts of the building to cut in one go all the pices required.
- There are coordinating 3D embossing folders to add texture to the different parts of the budings after die-cutting.
- If you want to deocrate the buildings using embossed panels, you will required to 2 pieces of each wall ( 1 for the base, 1 to emboss and decorate).
STORAGE
As this die set has some pieces, I first tried to identify them.
Then, I grouped them according to the shapes they cut.
- Main Panels – Walls.
- Windows.
- Doors.
- Roofs.
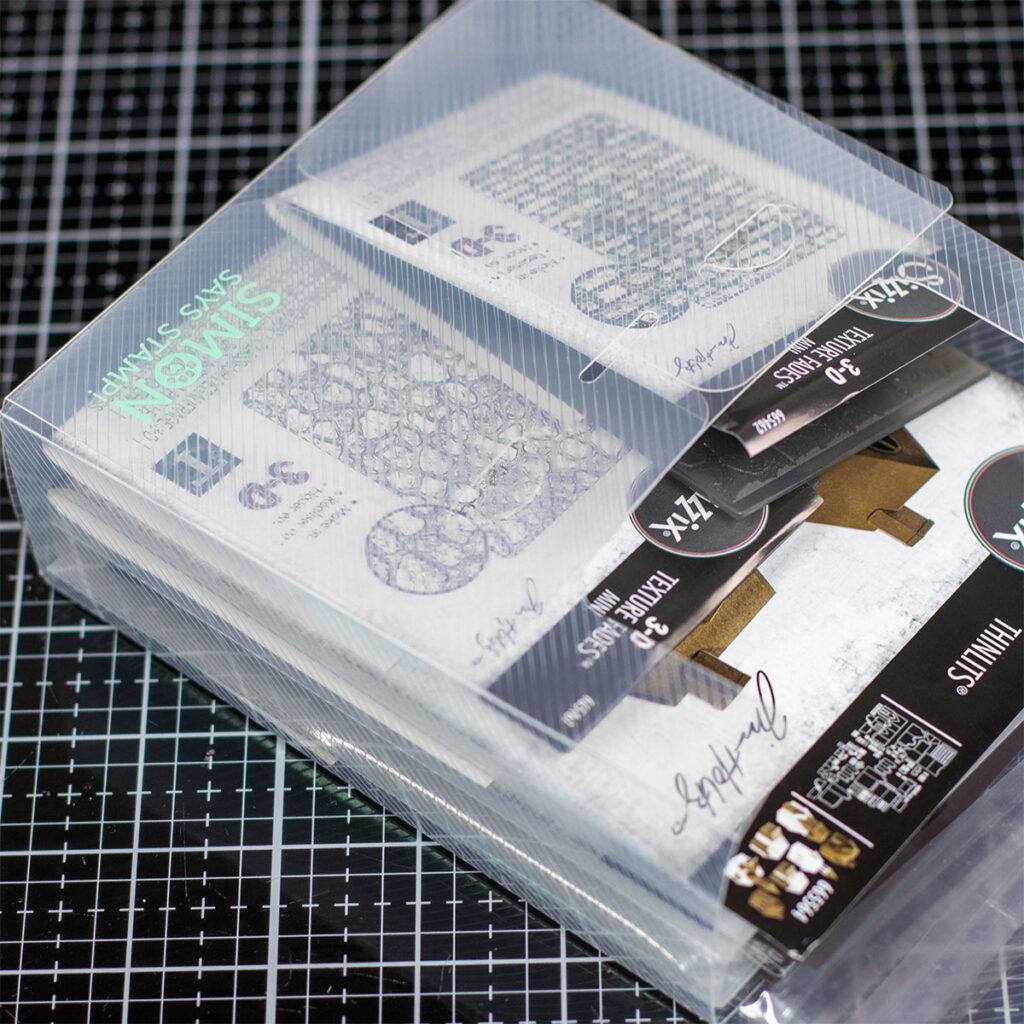
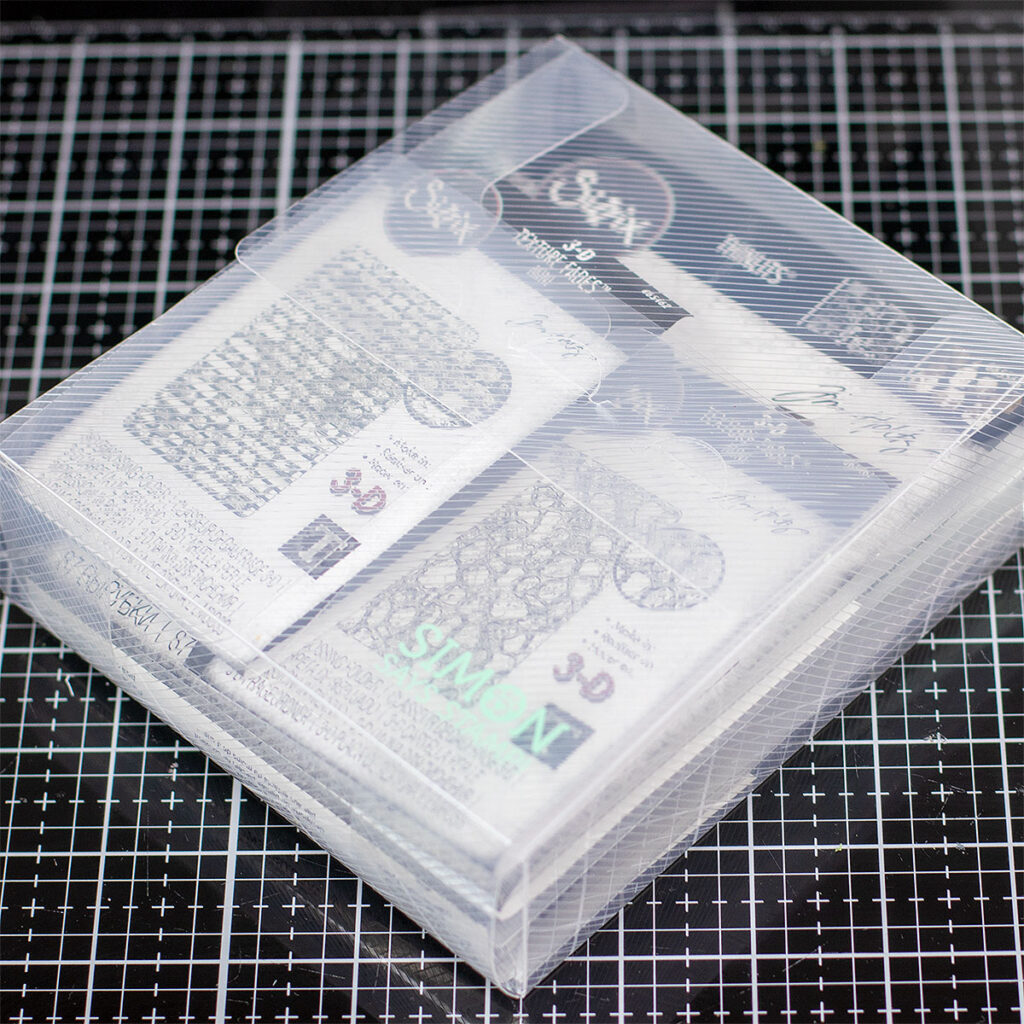
I placed them on magnetic sheets, and I used a Simon Says Stamp PAWSITIVELY EVERYTHING STORAGE.
In that way, I can keep the dies and the mini embossing folders all together in the same place.
4 steps + tips to Create with Tim Holtz Village Collection
Step 1. die- cutting
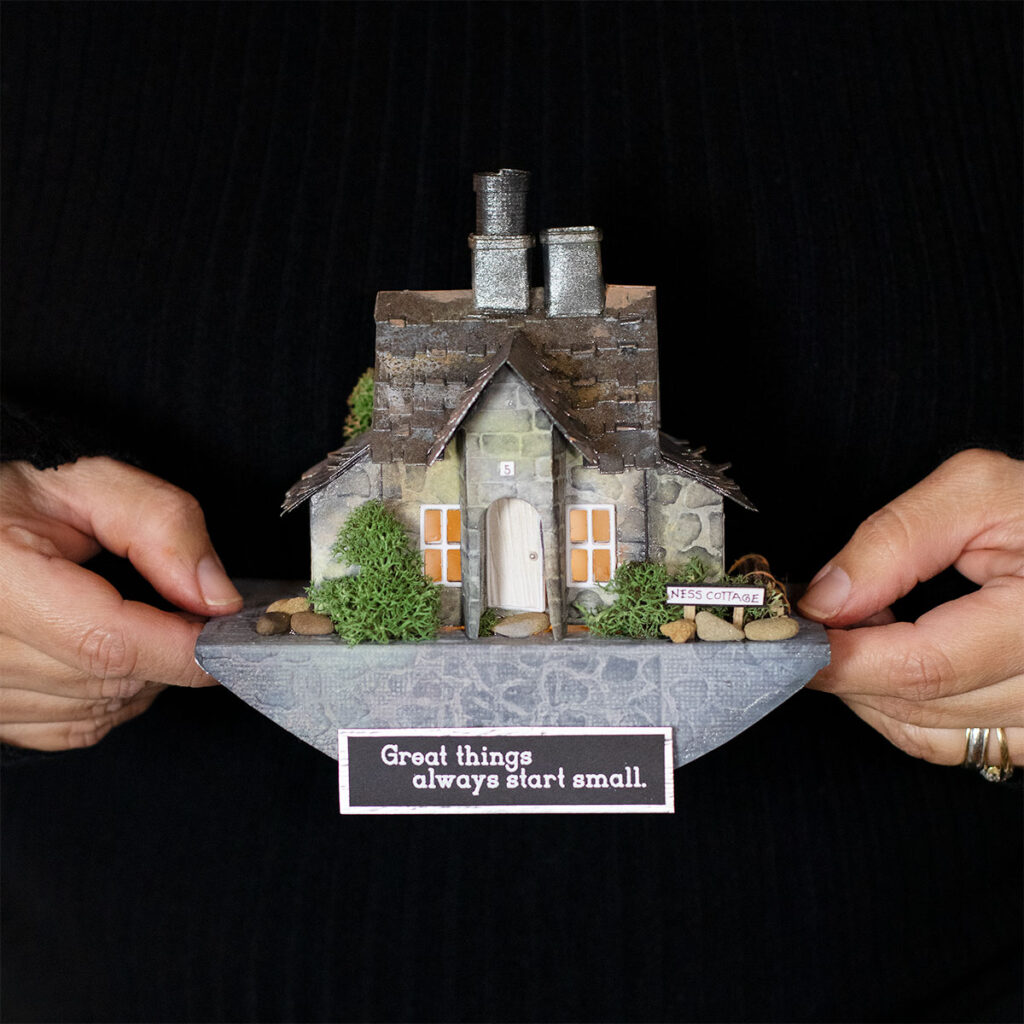
I die-cut almost all the pieces for this project out of white cardstock – 300 grams.
- Then, I choose the “window and door frames” and I used low-tack tape to hold the dies in place while die-cutting.
- I did not remove the tape that was holding the dies together as I need to cut the same panels twice (one for the fundation of the building and the other to decorate it).
*** Die-cutting Time Saver Warning: for easy window and door fitting make sure to use the dies that will cut the “frames” and not the outer line.
If you cut a gap instead of a frame, then you can add acetate behind the windows and adhere the frames over, this might require another type of fixing to glue doors in place.
Step 2. aSSAMBLING THE Foundations
I would advise starting assembling your house from the walls to the roof.
Once you have the walls assembled. You will be able to identify the placing for the other pieces.
Step 3 . decorative panels
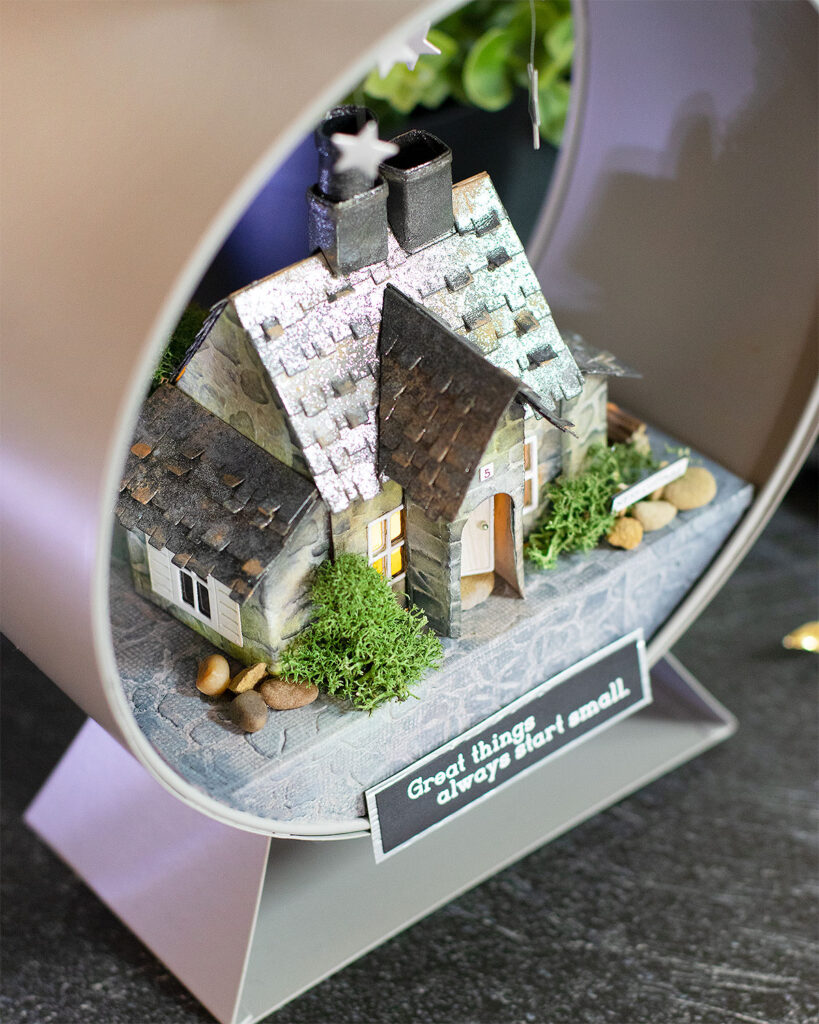
After the main building is assembled you can add decorative panels over.
- To do this, I used the other set of wall die-cuts (mentioned in step 1)
- I trimmed all the flaps of these pieces .
- Then, I embossed the die cuts.
- I used COBBLESTONE 3D Texture Fades Embossing Folder for the walls and for the entry, I used BRICKWORK 3D Texture Fades Embossing Folder.
- To complete the roof, I also die-cut the roof tiles ( I didn’t embossed or add texture to these pieces)
- Barely noticeable for the silver panel behind the sentiment, I also used LUMBER 3D Texture Fades Embossing Folder (I have this one in large format).
Tim Holtz Mini 3D Embossing Folders
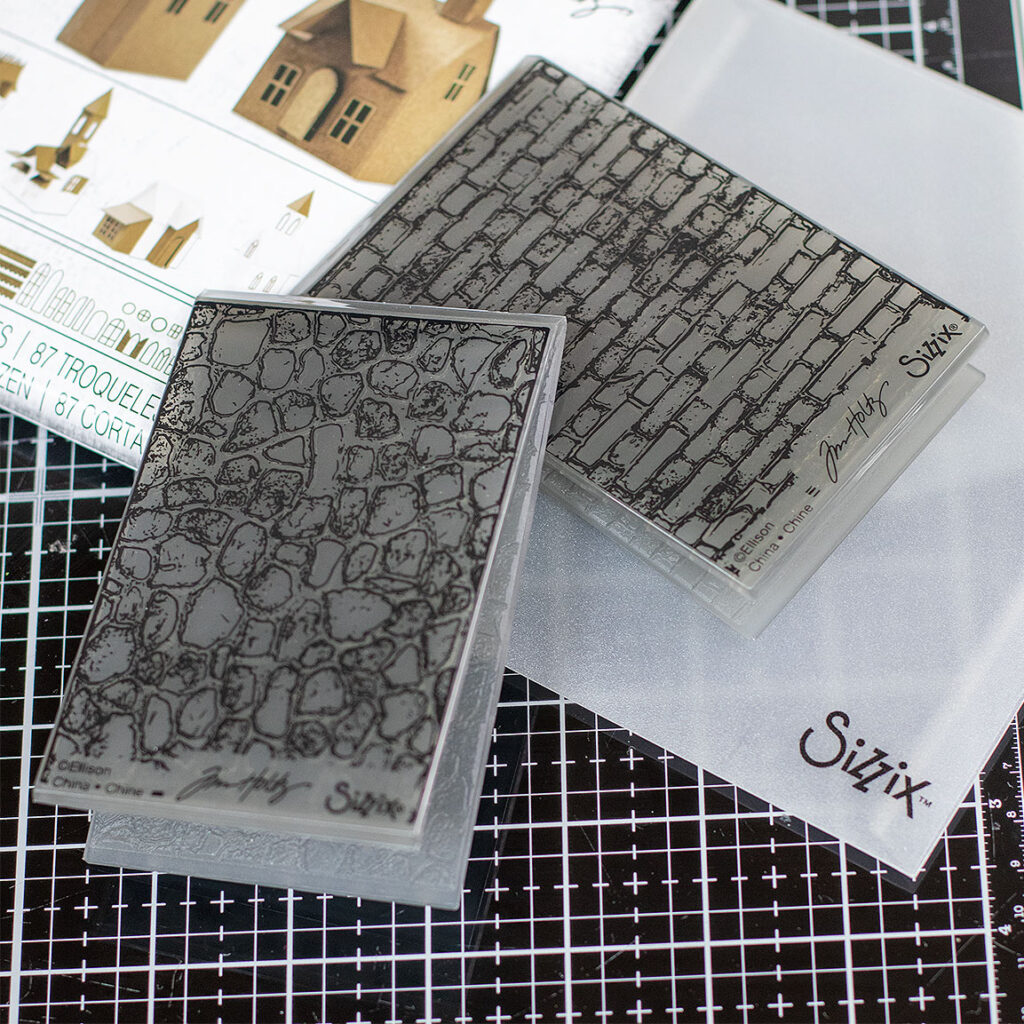
This is the list of the mini embossing folders that coordinate with Tim Holtz Village Collection.
- BRICKWORK 3D Texture Fades Embossing Folder .
- COBBLESTONE 3D Texture Fades Embossing Folder .
- LUMBER 3D Texture Fades Embossing Folder
How to Use 3d Embossing Folders
- To emboss the paper using 3D embossing folders, you might need a metal shim ( this also depends on your die-cutting machine)
- I do have a Spellbinders Platinum 6″ .
- So I place the folder on the main platform ( no cutting plates are used). Then, I place an A4 sheet of 240 grams cardstock folded in half over the folder, and then I placed the metal shim over it.
- Next, I run this throught the die cutting machine
- Voila! The embossing was done.
Step 3 . Adding Colour
Inks – Mediums Used:
- SCATTERED STRAW Distress Oxide Ink
- FRAYED BURLAP Distress Oxide Ink
- PEELED PAINT Distress Oxide Ink
- WALNUT STAIN Distress Ink
- BLACK SOOT Distress Ink
- HICKORY SMOKE Distress Oxide Spray
- WALNUT STAIN Distress Oxide Spray
- OLD PAPER Distress Oxide Spray
- RUSTY HINGE Distress Oxide Spray
- CRACKLING CAMPFIRE Distress Spray Stain
- RUSTY HINGE Distress Paint
- MORNING FOG Nuvo Sparkle Spray.
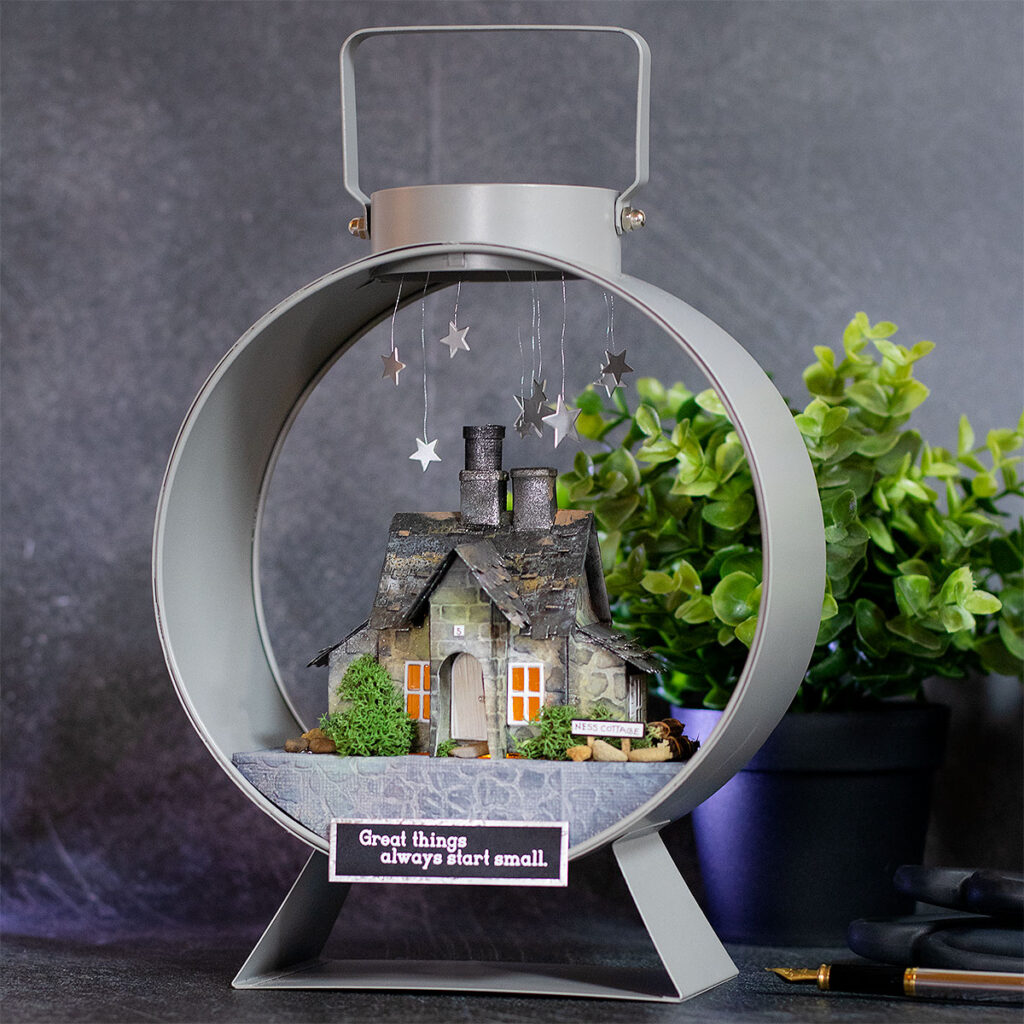
To add colour to the embossed die-cuts, I used yellow, brown, green, black, orangy ink colors, MORNING FOG Nuvo Sparkle Spray, and RUSTY HINGE Distress Paint.
I decided to use Distress Oxide inks because they are opaque (creamy), and they add a realistic look and feel to different parts of the building.
It is very important to apply black (dark) ink from the edges to the center of the pieces using a flat ergonomic brush as it helps to reveal or accentuate the raised areas of the embossed pattern on the paper.
The Walls
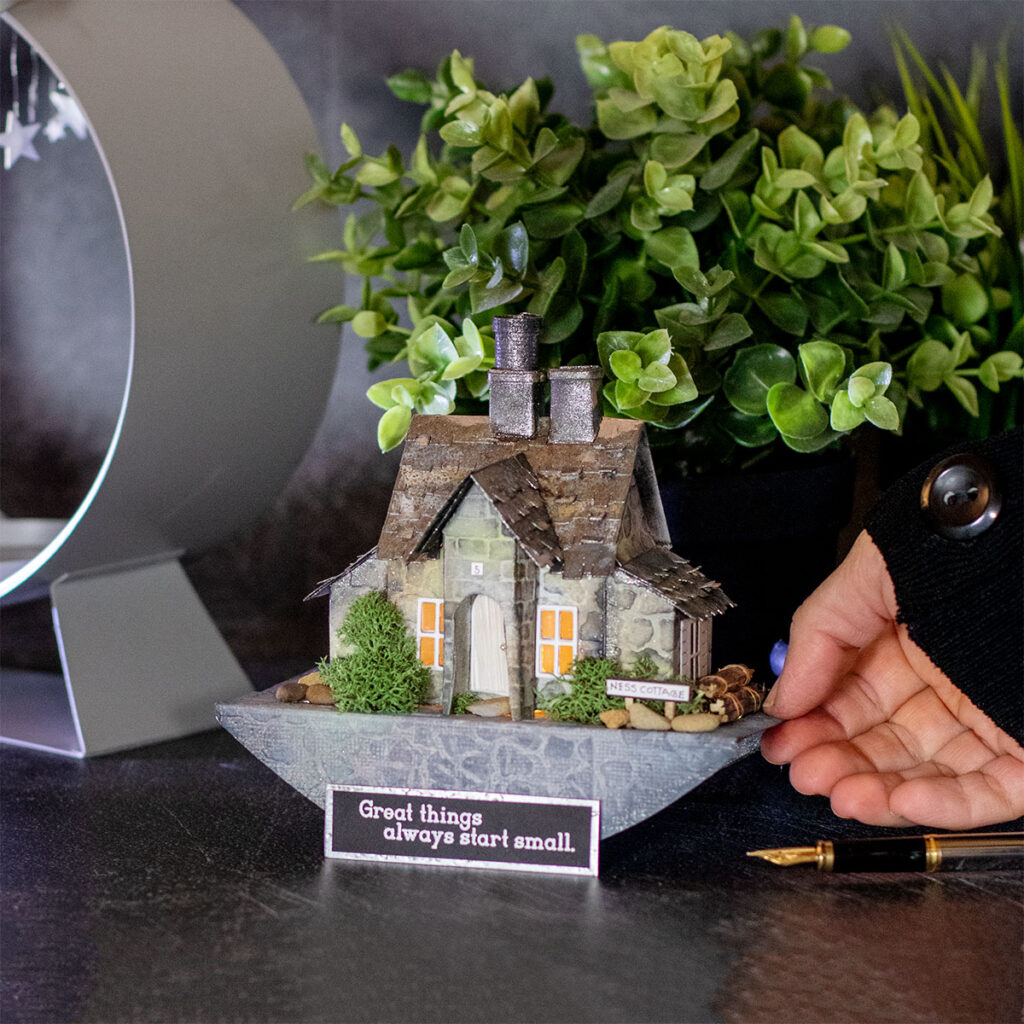
Using SSS blending brushes, I applied a hint of each ink listed below over the wall panels die-cut out of white cardstock – 300 grams.
- SCATTERED STRAW Distress Oxide Ink
- FRAYED BURLAP Distress Oxide Ink
- PEELED PAINT Distress Oxide Ink
- WALNUT STAIN Distress Ink
- I leave white areas (I didn’t apply ink all over the pieces)
- Then, I sprayed water.
- Next, I applied a little bit of Hickory Smoke Distress Oxide Spray over the pieces. This grey ink blends nicely with the inks applied previously.
- To finish, I applied BLACK SOOT Distress Ink over the embossed panels using a flat ergonomic brush.
The Roof
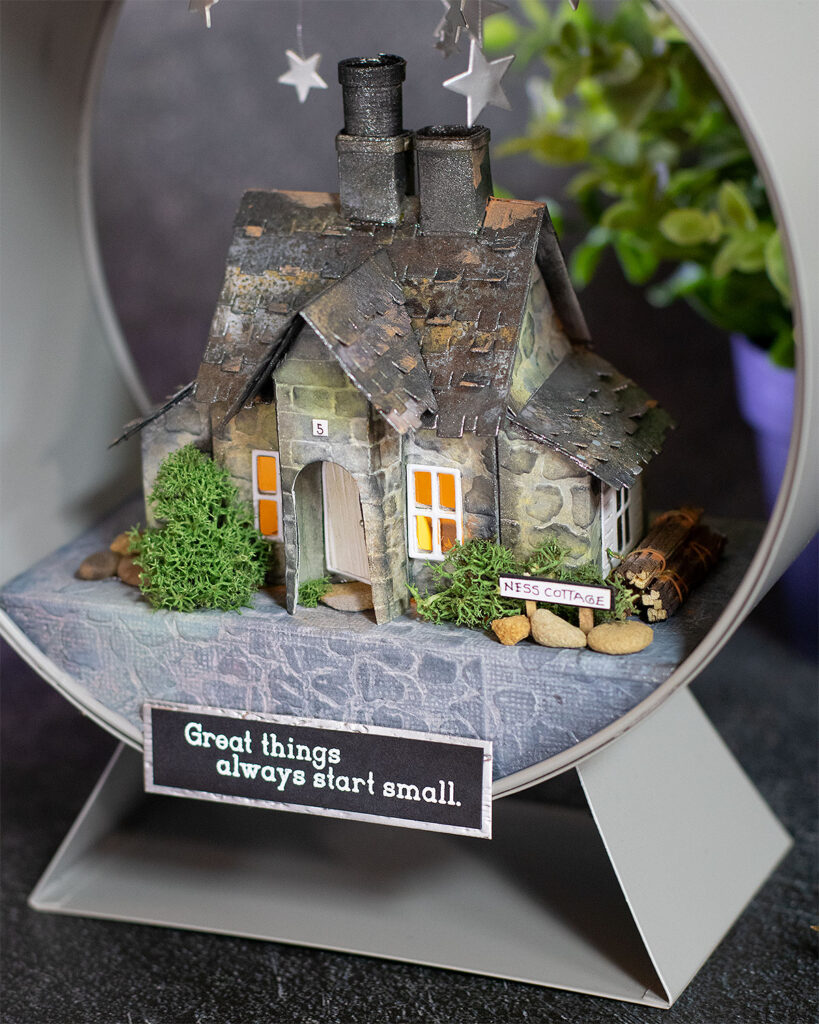
First applied BLACK SOOT Distress Ink over the die-cuts made out of white cardstock – 300 grams.
Then, I applied a little bit of OLD PAPER Distress Oxide Spray and RUSTY HINGE Distress Oxide Spray.
I allowed this to dry and then I applied MORNING FOG Nuvo Sparkle Spray. This adds an incredible shine to the paper hard to catch in pictures but it is stunning.
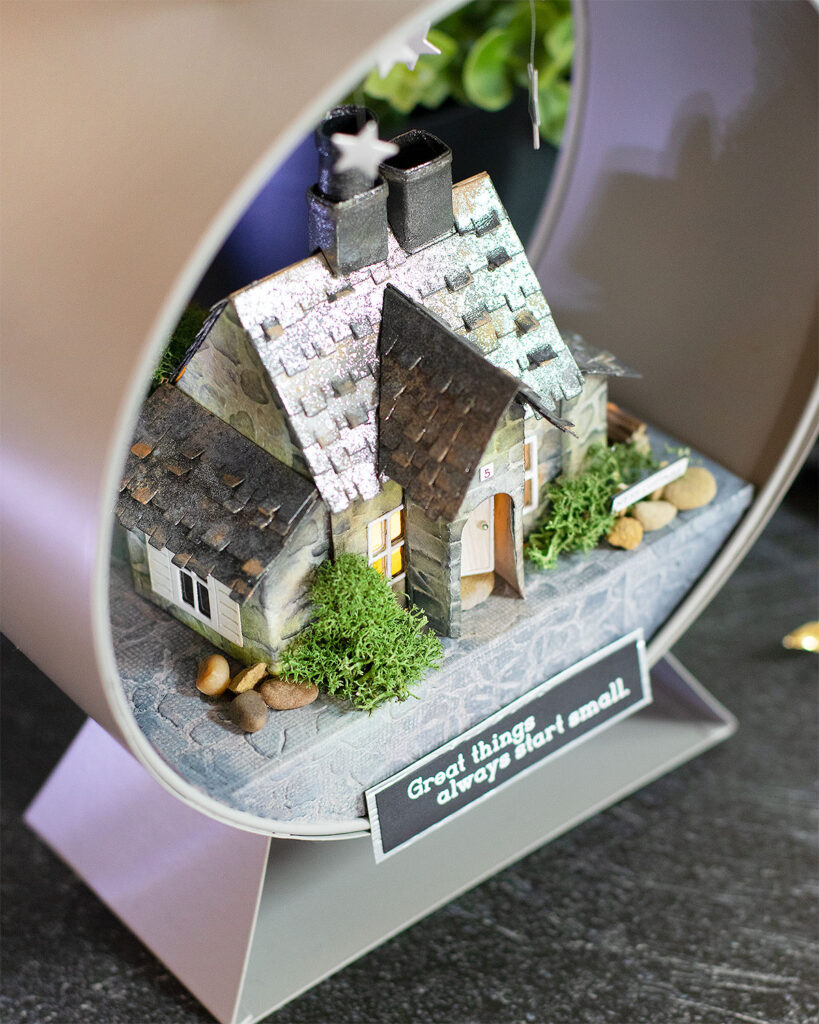
Using the ink from MORNING FOG Nuvo Sparkle Spray I also painted the edges of the roof or any tiny visible gap seen between decorative panels.
As MORNING FOG Nuvo Sparkle Spray is very opaque and tends to cover the distress inks and sprays, I applied RUSTY HINGE Distress Paint over some roof tile and chimney to add some contrast.
DIY Details
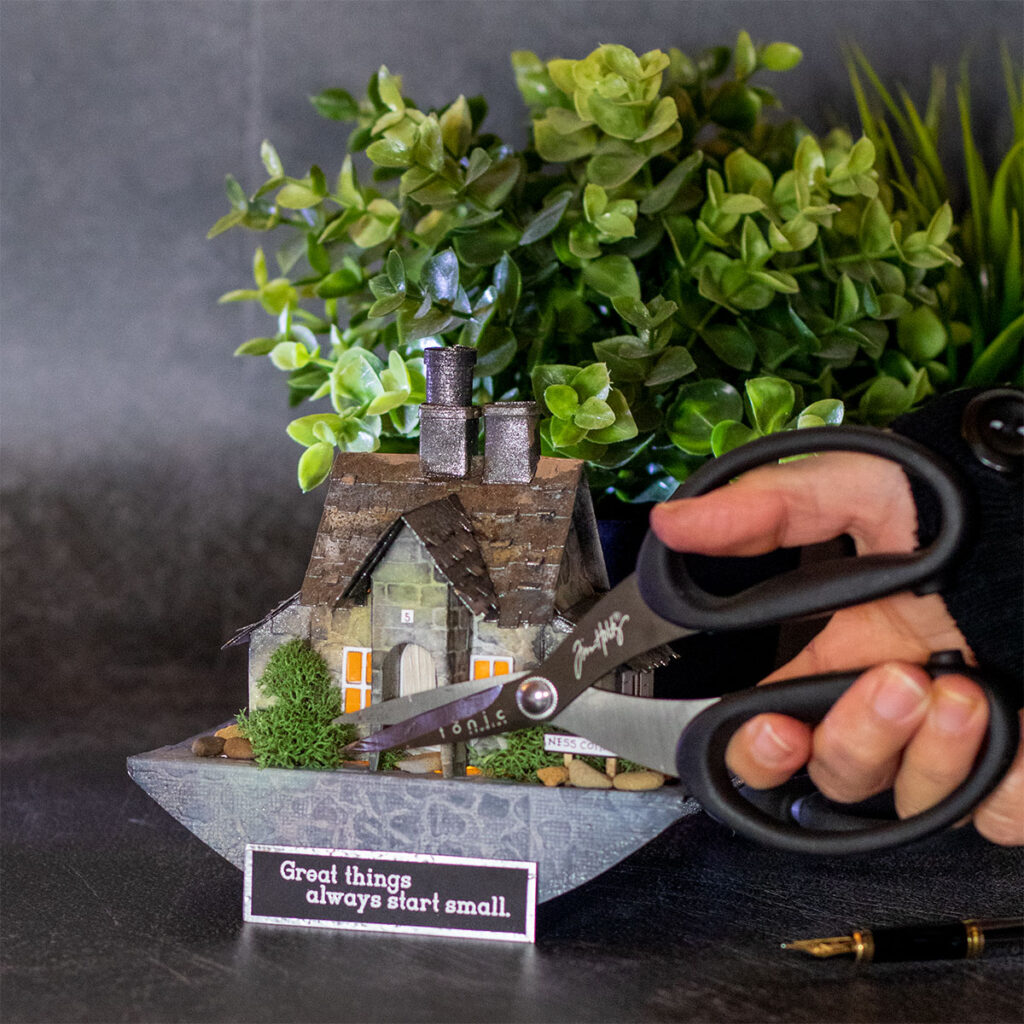
I literally didn’t have anything to do this… but I was lucky to have found moss very similar to the moss you can find here.
Using only the moss, I made little bushes and a little tree.
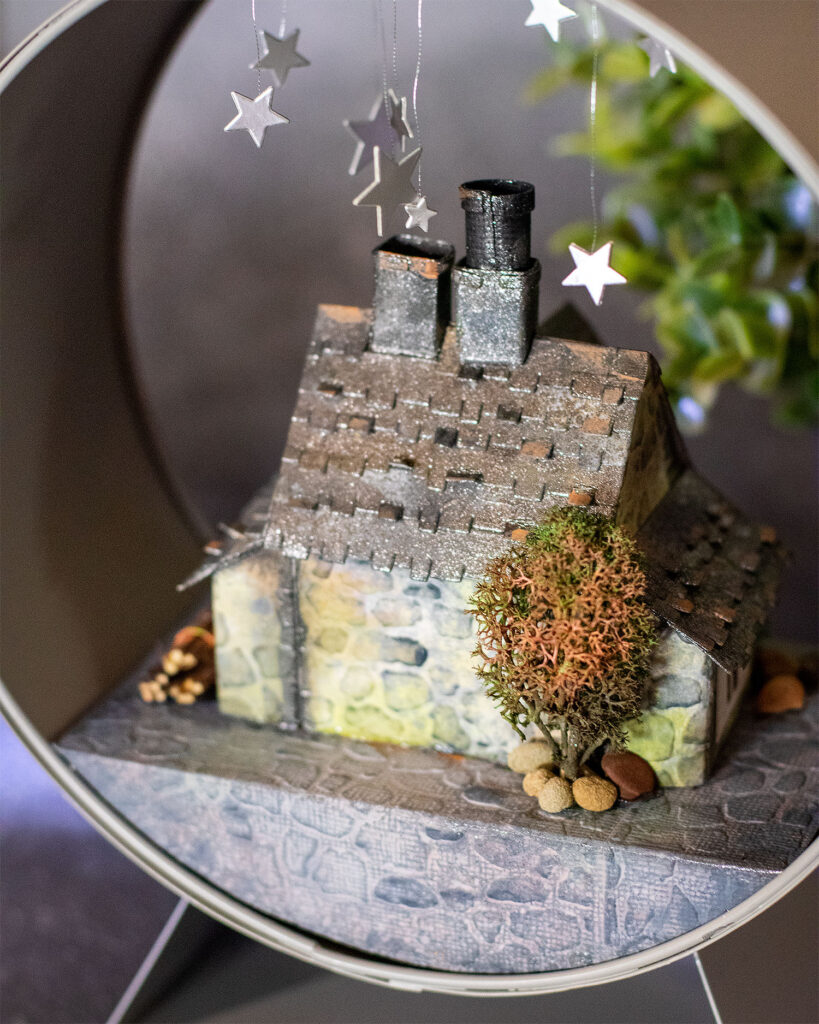
To add a hint of color to the tree at the back of the cottage, I applied RUSTY HINGE Distress Paint and CRACKLING CAMPFIRE Distress Spray Stain
I added little stones around it to make it more sturdy.
I also found some little wooden sticks in a craft shop and I used a wire to tie some of them together.
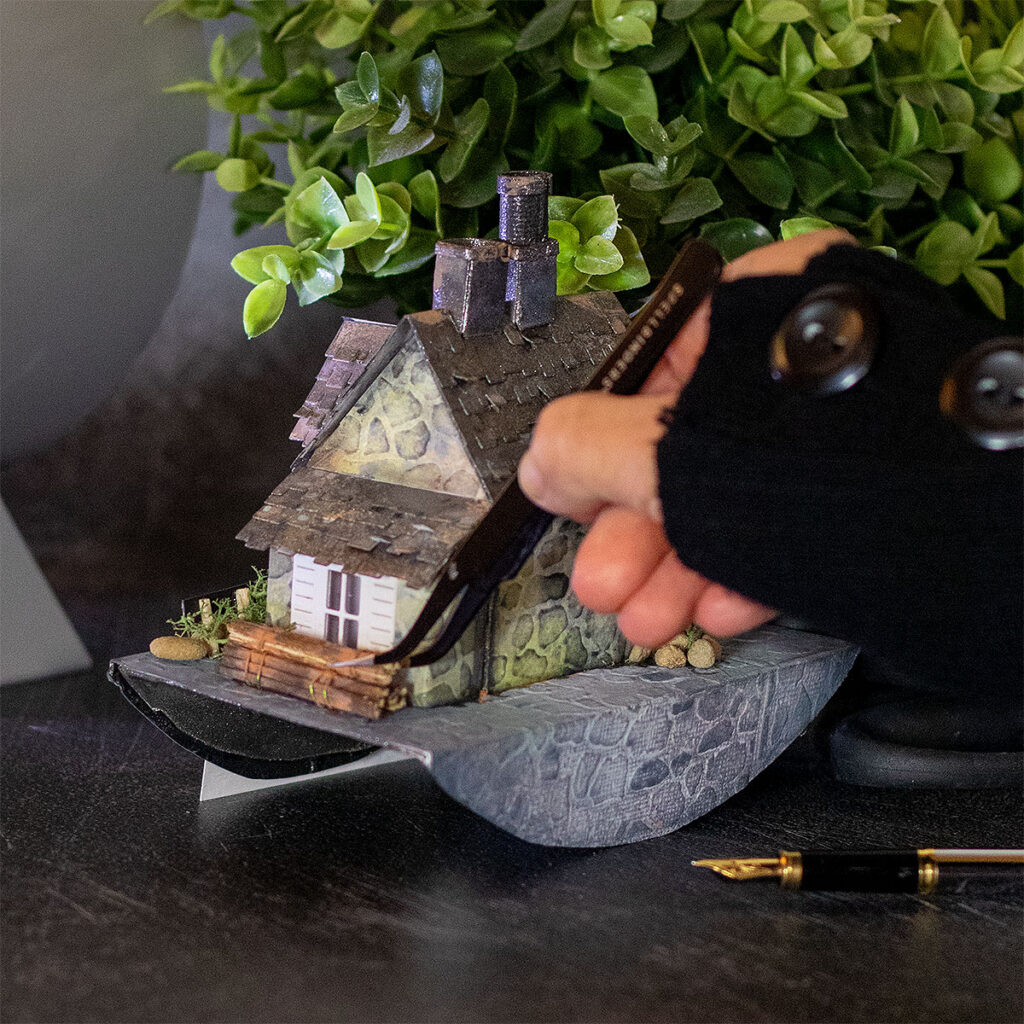
For the circular chimney, I used a piece of black cardstock and I rolled it to make a cylinder.

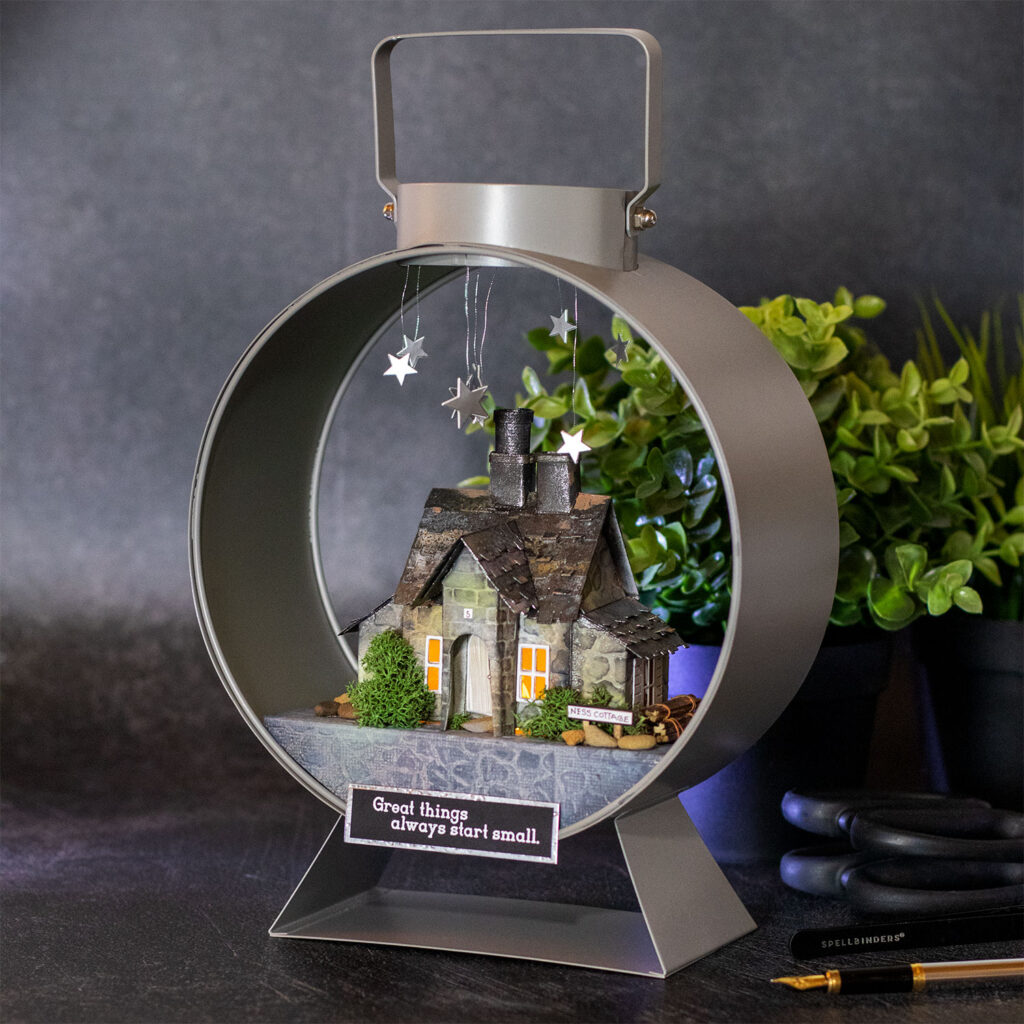
I found a grey metallic candle holder in a local shop called B&M. It was on sale because it included a glass vase that was broken. So only cost me £1.50!!!
To be able to fit the building on it, I had to DIY a semi-circular stand using Media Board ( very thick).
I covered the stand using a piece of black cardstock embossed with the COBBLESTONE 3D Texture Fades Embossing Folder and I applied the fallow inks
- HICKORY SMOKE Distress Oxide Spray
- SCATTERED STRAW Distress Oxide Ink
- FRAYED BURLAP Distress Oxide Ink
- PEELED PAINT Distress Oxide Ink
- WALNUT STAIN Distress Ink
- I sprayed water and to reveal the embossed pattern I applies Black Soot Distress ink
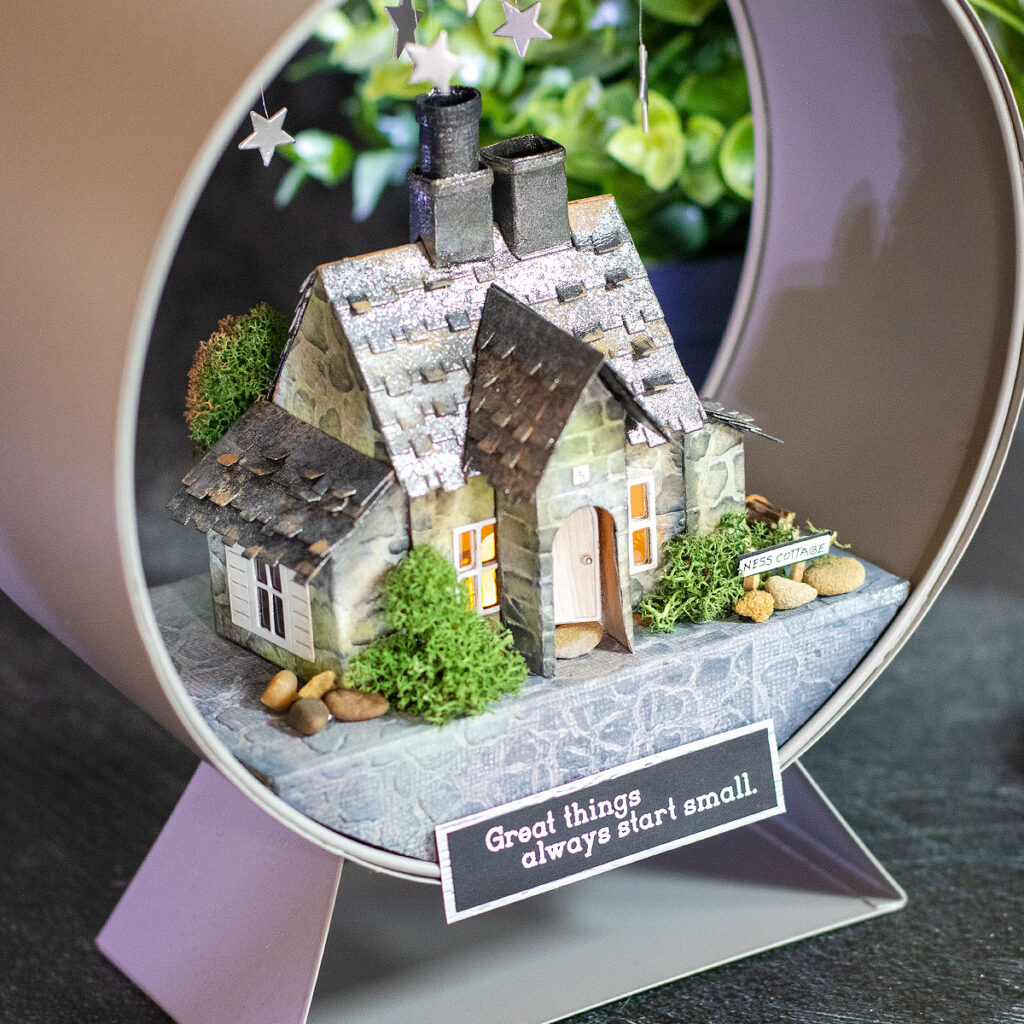
Because the cardstock used for the base is black, its appearance is slightly different from the cottage walls ( made out of white cardstock)
I used Nuvo deluxe adhesive and UHU glue to adhere to all the pieces.
The sentiment is from the CCCC Big and Bold MIGHTY ACORN stamp set.
To make the little stars, I used a You are a Star wafer die.
I love it! I had so much fun creating with Tim Holtz Village Collection.
The Source Inspiration

Emma Williams’s Haunted Cottage inspired me to create using this collection. I’m a big fan of her work!!
Thirsty for more Tim Holtz?
Check video- post here to make the cards below
Supplies
When you shop using any of the links in my blog. I earn a small commission at no extra cost to you. Thanks for your support.


Came here from the Addicts site. This is truly lovely, you have done such a good job on it. I shall certainly be scouring B&M, Home Bargains and HomeSense for similar display items – it is great! But your colouring is perfect – really subtle and realistic. Thanks so much for sharing.
This is fabulous!!! I just got the set yesterday and I wondered about using the Simon Says Stamp boxes to store it. Thanks for reading my mind!!!
Its soooi Beautiful. I get the set on Yesterday too and was looking for ideas and saw yours. Fabelous.
Your little cottage is absolutely perfection! I fell in love with your thumbnail and immediately clicked to read more.
Thank you for all the pictures and valuable information about how you created this gem. Your time saving tip is brilliant! It really makes the assembly easier.
You have a new follower about to binge read all your blogs lol
Thank you so much for your kind comment.. to make things even better I’ll be publishing a video tutorial next week. x
I adore your cottage. It reminds me of Edward and Bella’s cottage in The Twilught Saga – nestled in the woods with lanterns lighting the front door. I’m such a “romantic soul”!
Thank you for your inspirational work.