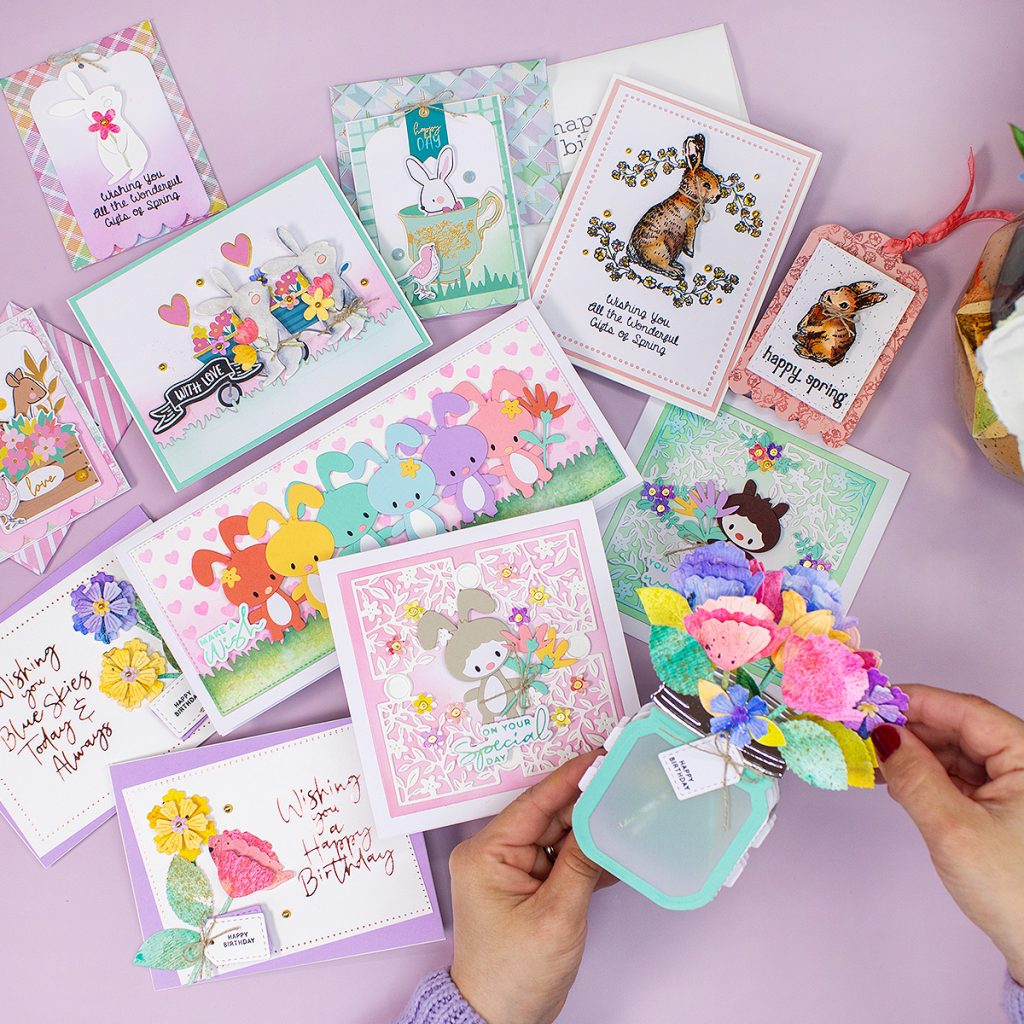
Hi crafty friends, I had a crazy crafty session with the Spellbinders March Kits.
I got all the kits this month and I made 12 birthday and other more generic projects for you today.
Spellbinders Kits in this post
Watch these project moving in the video here!
LARGE DIE
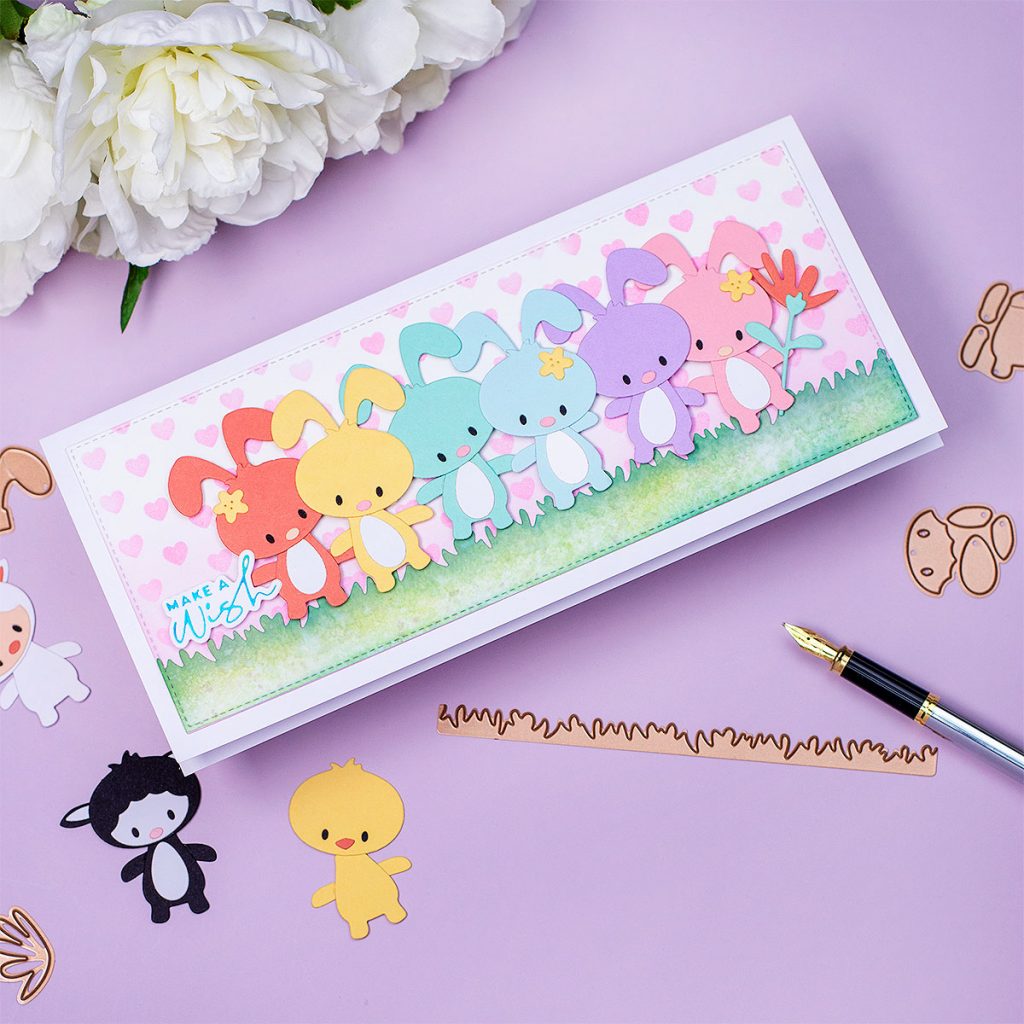
The Large Die of this month is called Spring Together with Lever Pull and it will create a super cute interactive card but for today I made a super easy slimline card.
This card measures 9 x 4 inches and it is not interactive.
Spring Together with Lever Pull is a very clever die set as with the same dies and a few extras you will be able to create 3 main characters: a chick, a bunny, and a sheep.
The set also include scene building dies such as grass, clouds and flowers.
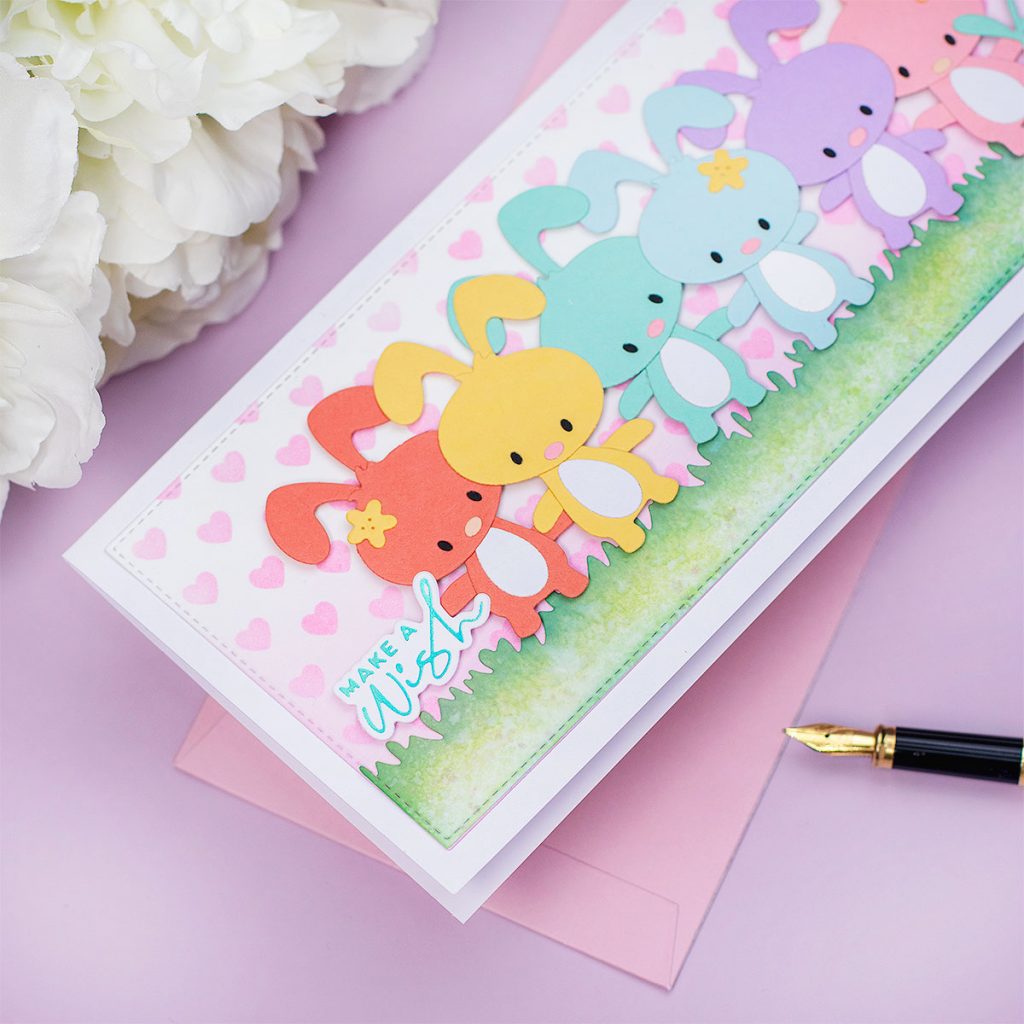
- First, I die-cut the background I used the Stitching Slimline Trio die set.
- To add a decorative pattern to the background, I used the heart stencil from Simply Duo Stencil and Kitsch Flamingo Distress Inks.
- I also added a hot foiled sentiment made using and Yana Special Sentiments hot plates and Teal Hot Foil.
- For the grass portion, I first die-cut the piece then I used a combination of Peeled Paint and Cracked Pistachio Distress Oxide Inks.
- To add texture to the grass section, I also mix of these green inks with water and I splattered the paper several times.
SMALL DIE
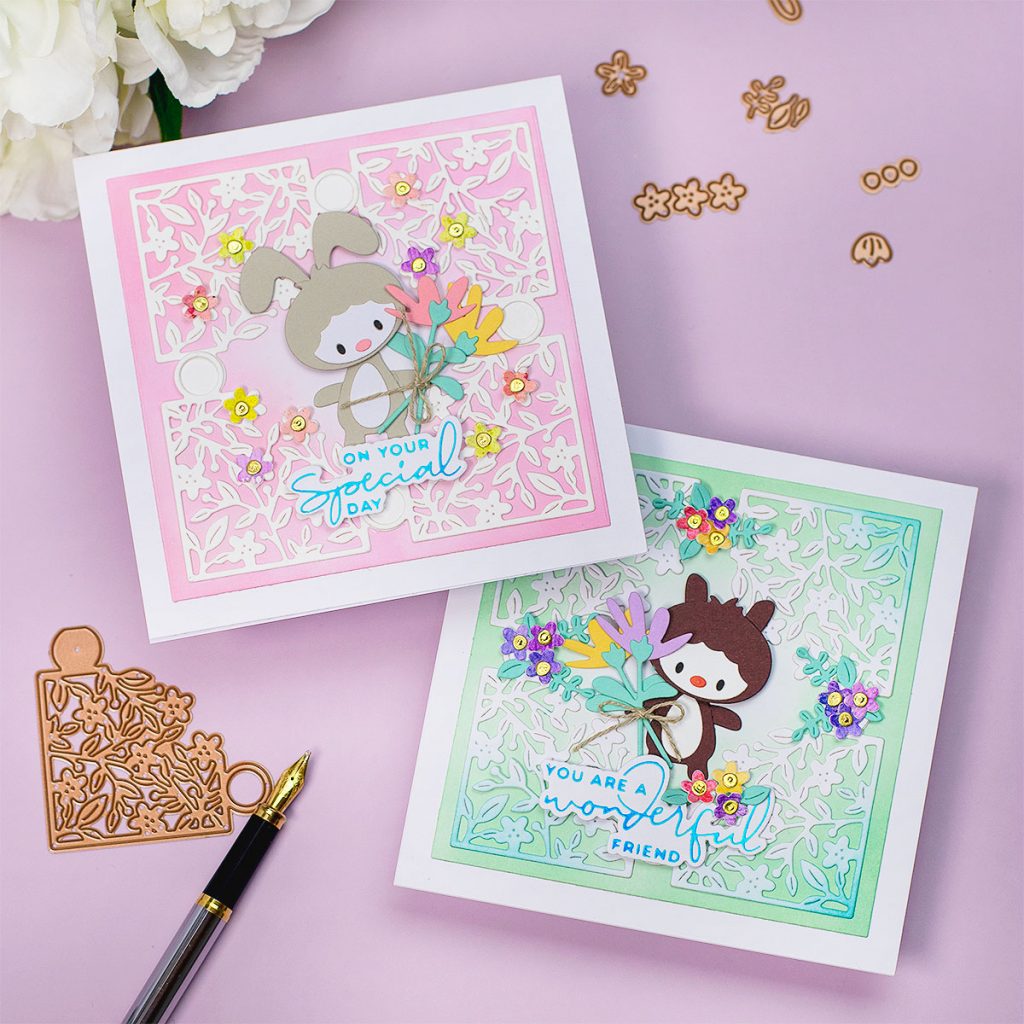
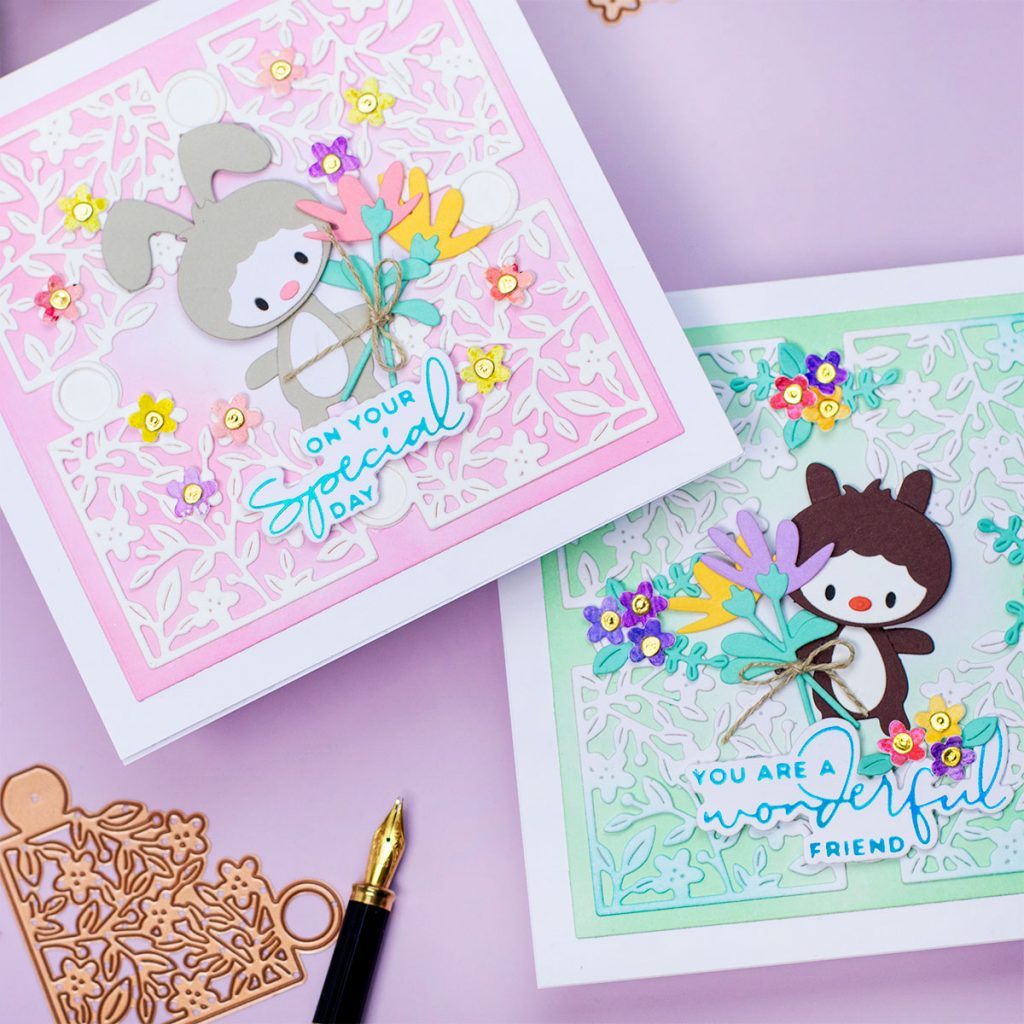
The Small die this month is called Spring Flowers Card Creator and I made a couple of 5×5 inches cards to show the intricate corner die-cuts it produces.
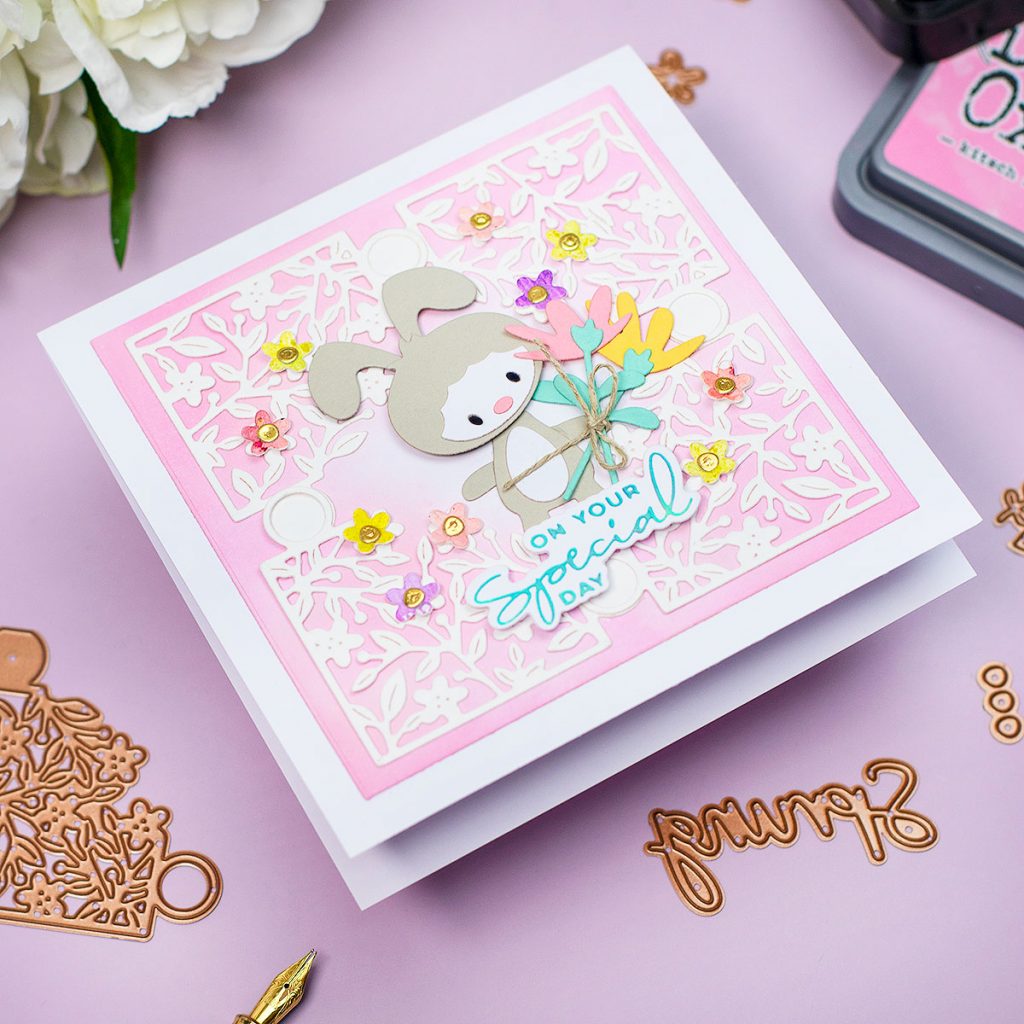
- To make this card, I die-cut a piece of cardstock using the larger square die from Candlewick Squares die set.
- Then, using a blending brush I applied Kitsch Flamingo Oxide Distress Ink over the edges.
- Next, I glued the die-cut corners made using the small die of the month.
- Using liquid glue, I adhered the little bunny and the embellishments over the panel.
- To finish, I glued the panel onto a 5x 5 inches card base.
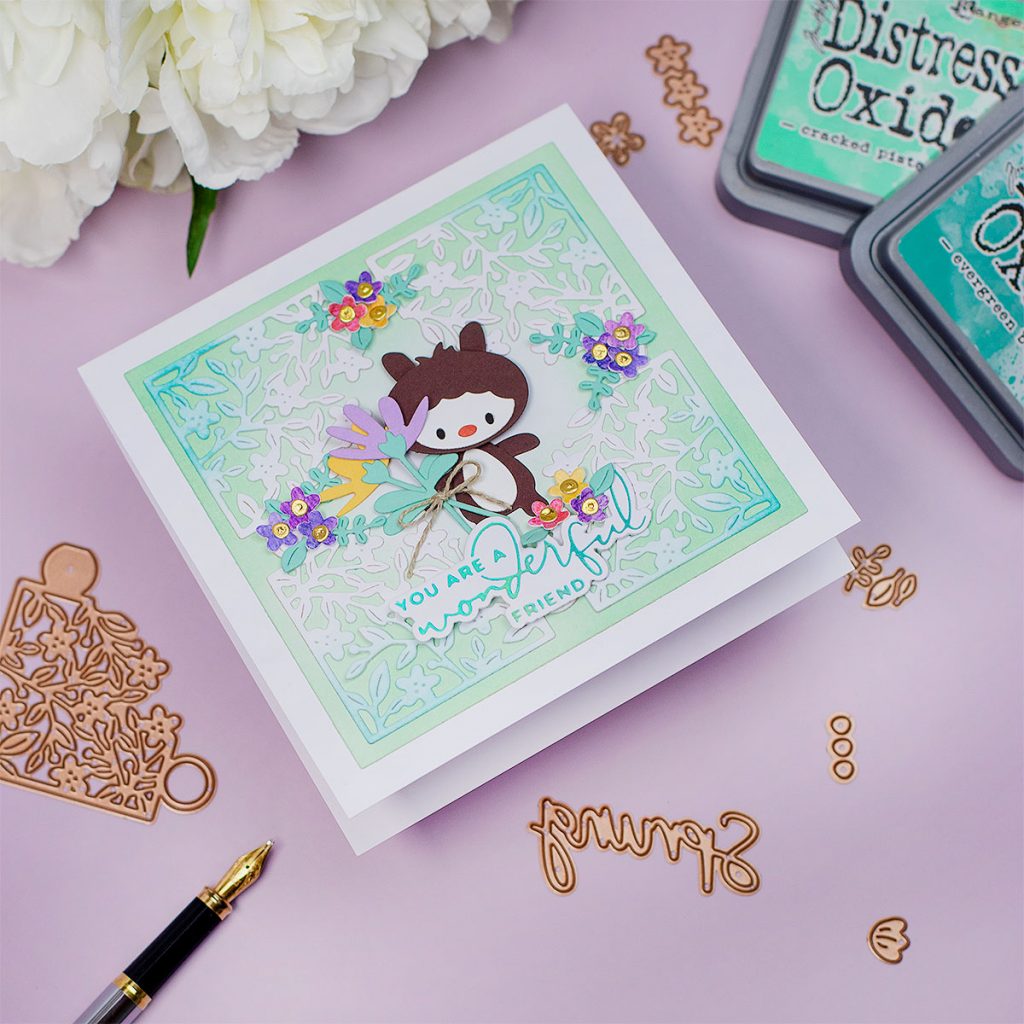
For this card, I made the same as for the card above but I used Cracked Pistachio Distress Oxide Ink over the edges of the backing panel.
I also inked the intricate die-cut corners using Peacock Feathers Distress Ink before adhering them onto the panel.
I also added hot foiled sentiments using Yana’s Special Sentiments and Teal Hot Foil.
AMAZING PAPER GRACE KIT OF THE MONTH
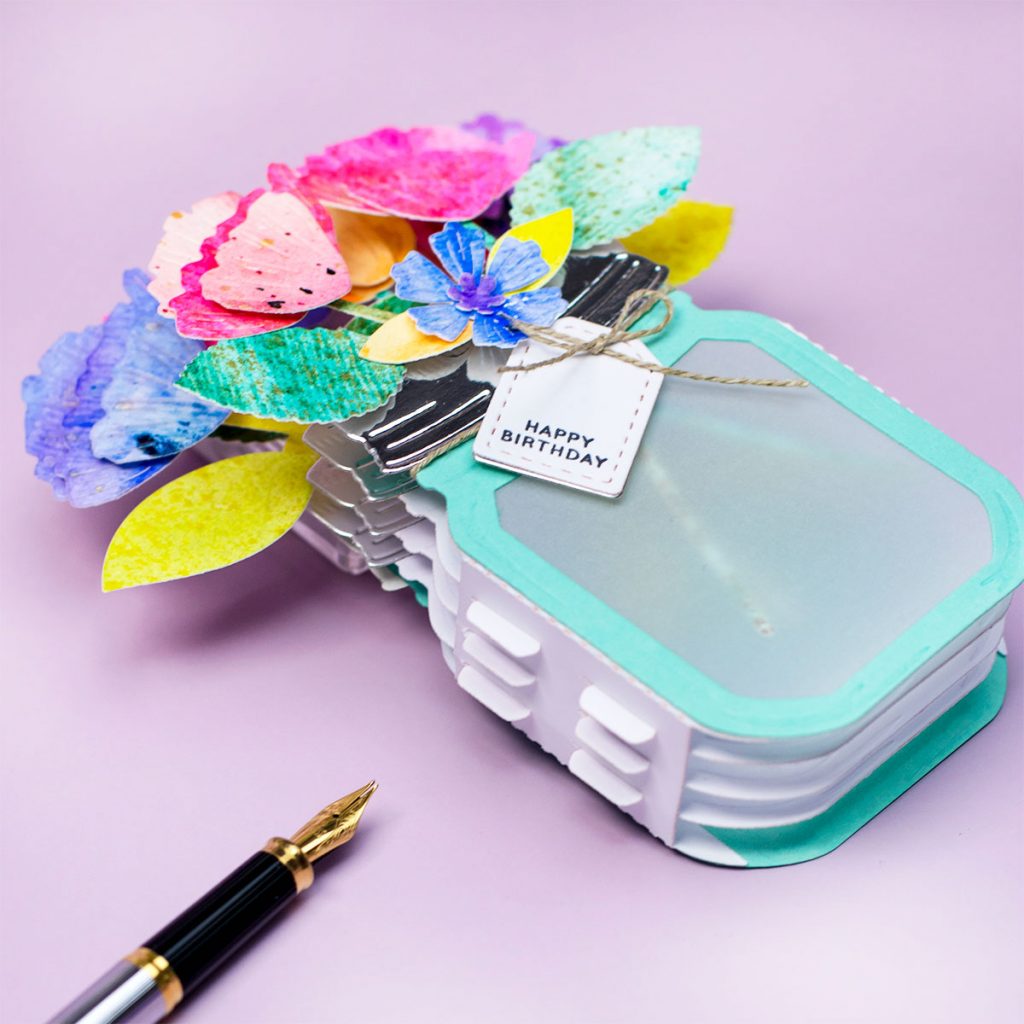
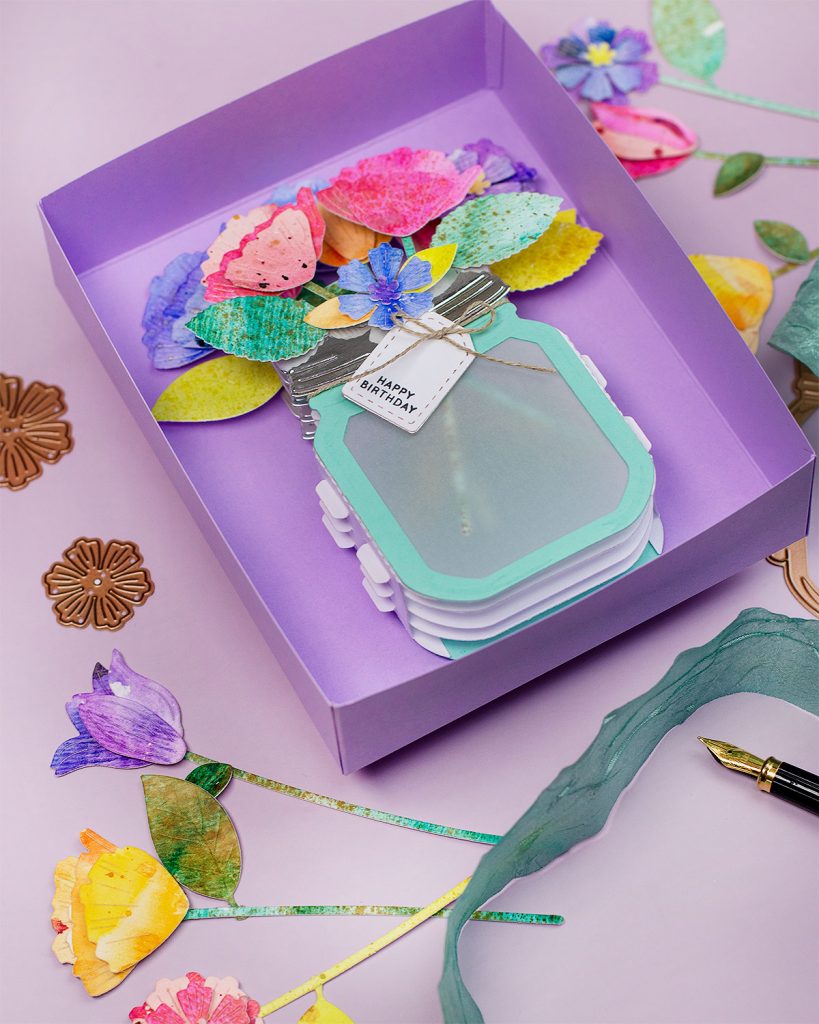
The APG ( Amazing Paper Grace) Kit of this month introducing a new beautiful Manson Jar design to the 3D Vignettes line.
The card finished measures about 6″ x 4-2/2″ inches and it will fit in a 5″x7″ inches envelope.
The jar shape alone measures 2-3/4″ x 3-/2″ inches.

As any vignette designed by Becca Feeken for Spellbinders it fold flat for easy mailing
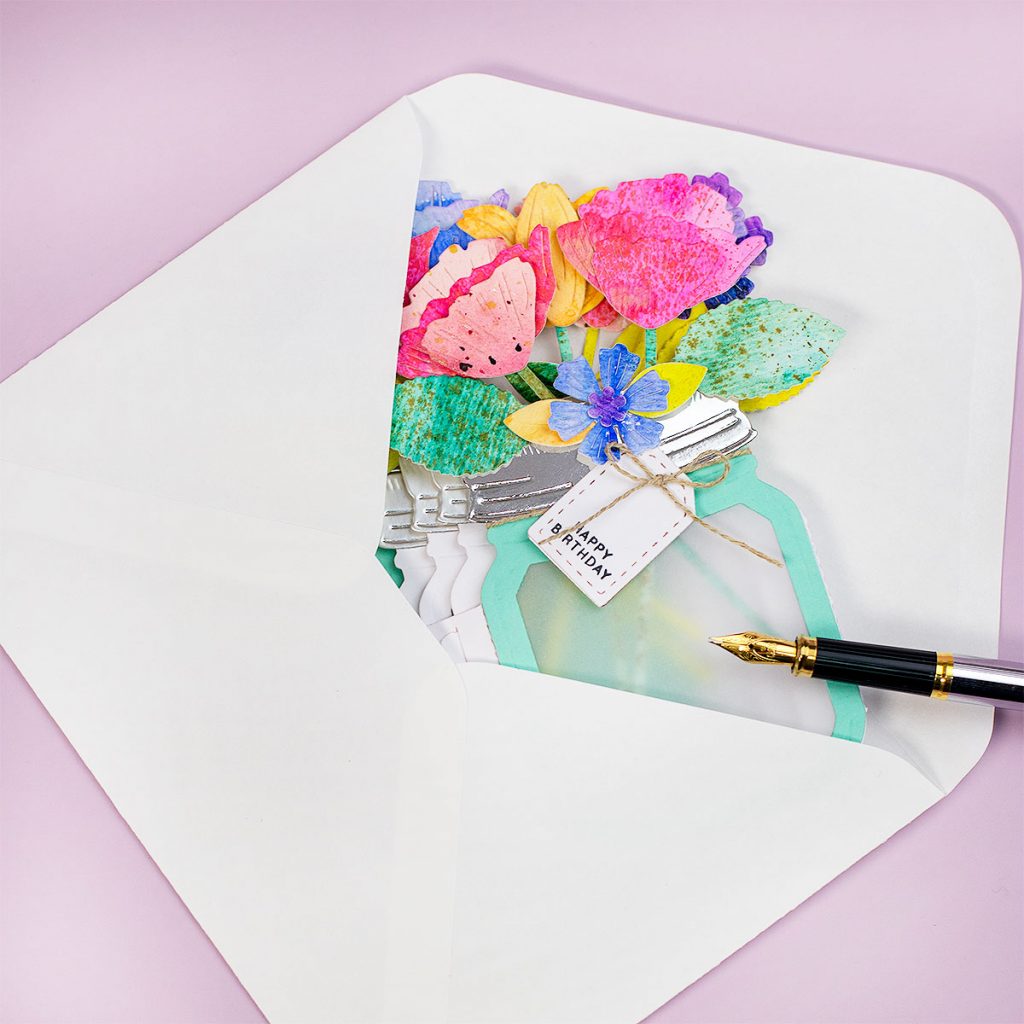
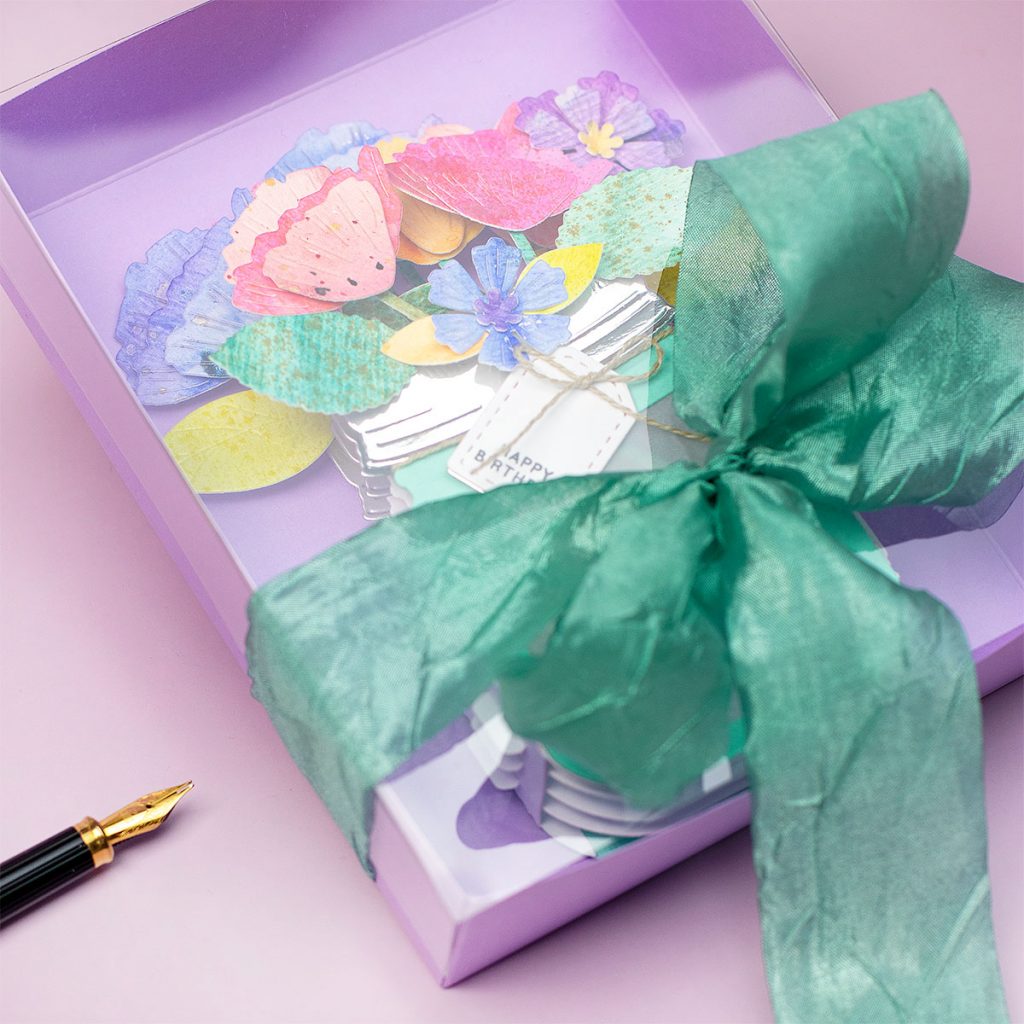
You can also make a quick and easy matching box to handle the card yourself to the recipient.
This is so darling!
Mini 3D Vignette Floral Mason Jar
- The APG die set of this month includes 16 dies
- 3 main dies to create the Vignette- card base
- 6 floral and leaves to create stunning layered flowers to decorate the jar or to be used individually.
- 1 mini stitched tag die.
COLOURING KEY IDEA FOR YOU
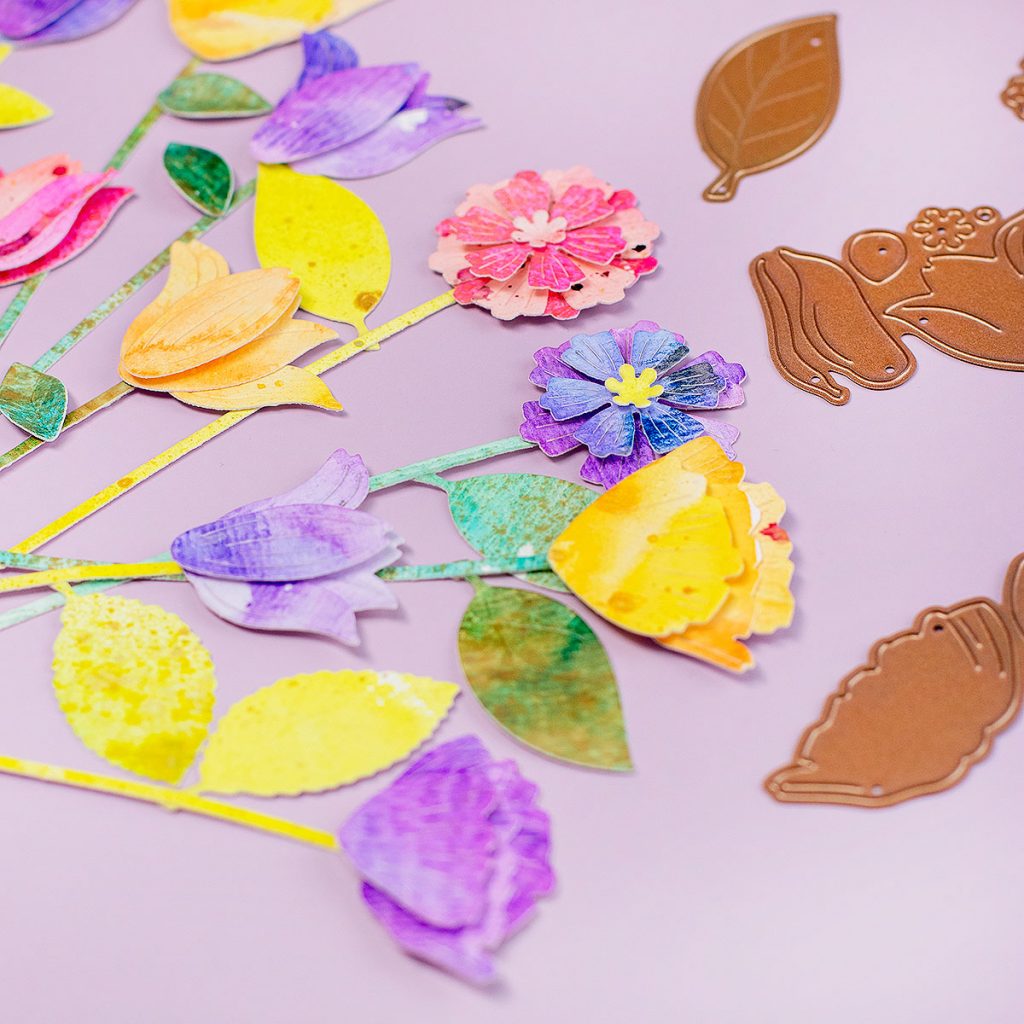
Create beautiful die-cut flowers by making your own coloured paper!
- First, apply 2 or 3 washes of any water-based ink or paint over the watercolour paper in the most uneven way possible.
- Allow drying between washes.
- When the paper is completely dry, splatter mica mist sprays, sparkling or metallic solutions, Distress sprays, dark paint, or white acrylic paint.
- Next, die-cut the paper and enjoy assembling the flowers using dimensional foam pads for extra dimension.
Top Tips
- Use affordable watercolour paper and paints to do this.
- Leave white gaps when applying the paint over the watercolor paper.
- Drop-in darker ink or paint colours while the paint is still wet.
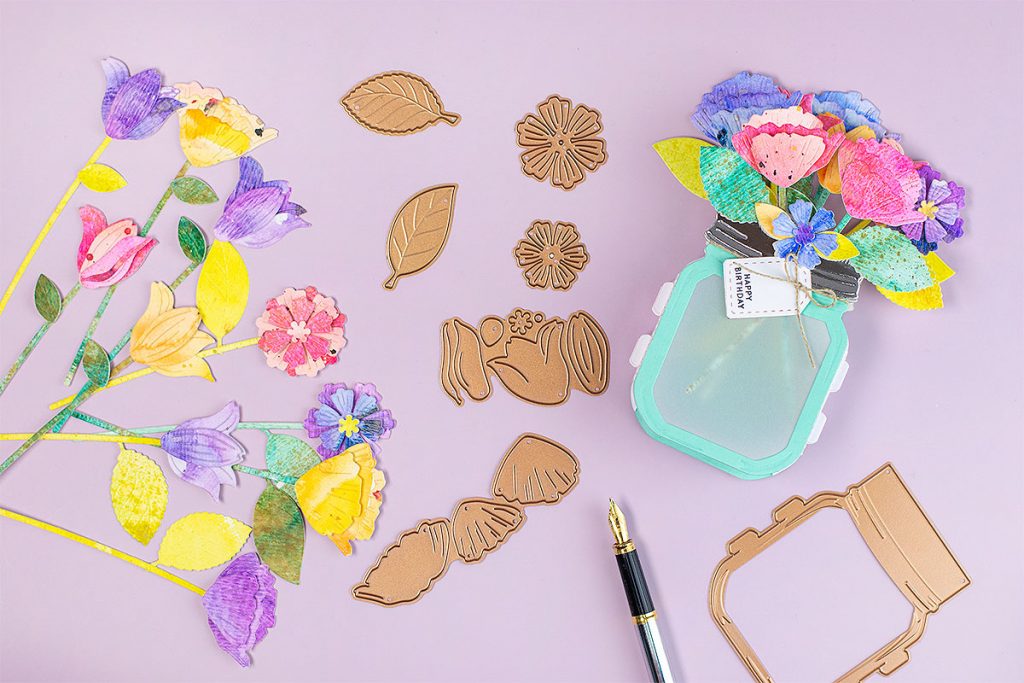
I used Tonic’s watercolor paper that is affordable textured watercolor paper.
This paper is not great to do watercoloring and stamping but it is great to do this or mix media backgrounds plus is easy to die-cut.
My watercolour paint options to do this are Arteza or Altenew watercolour paints because they are affordable and the colours are gorgeous.
Arteza watercolor paints are at the top of my list for affordability and great quality watercolor paints and they come in 2 presentations:
- Tubes [ available in the USA here / UK -Europe here]
- Pans [ available in the USA here / UK -Europe here]
HOT FOIL

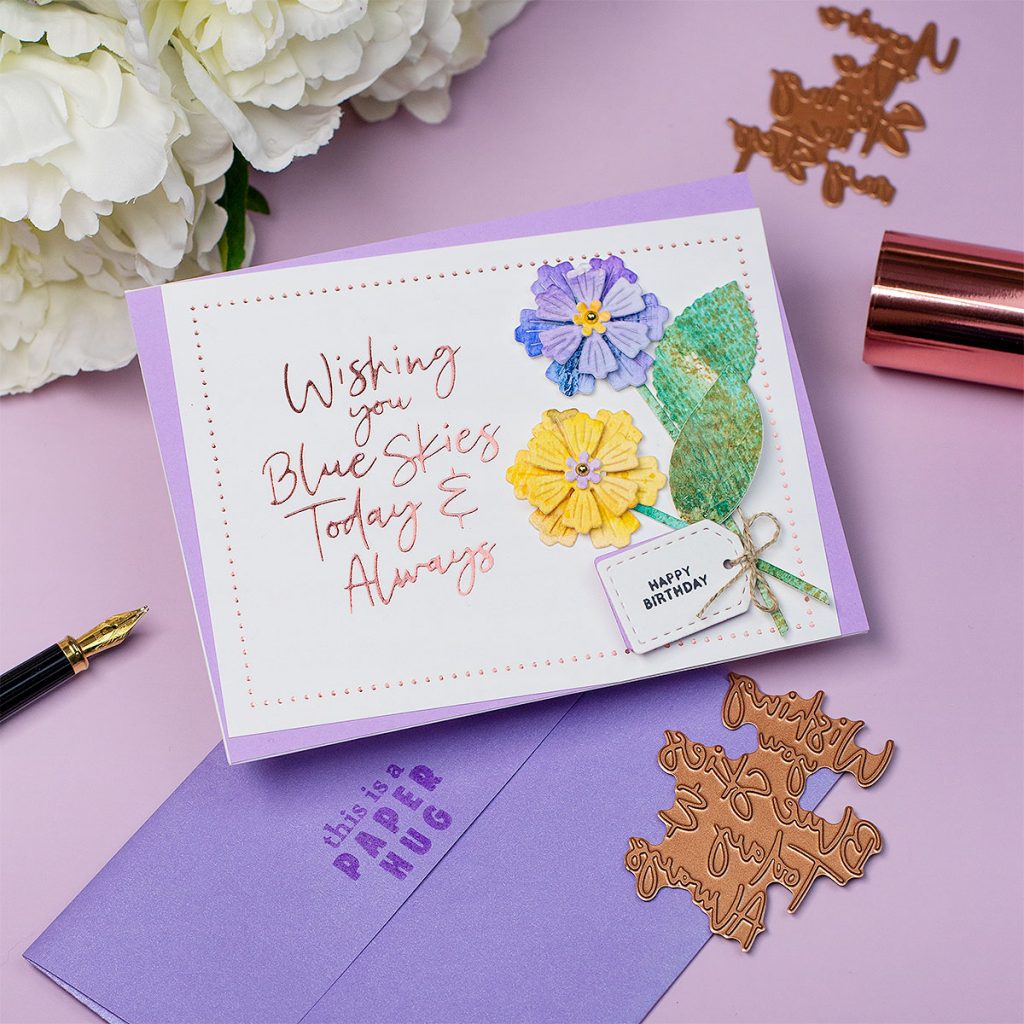
The Hot Foil kit this month includes 5 large scrip sentiments and Rose Gold hot foil.
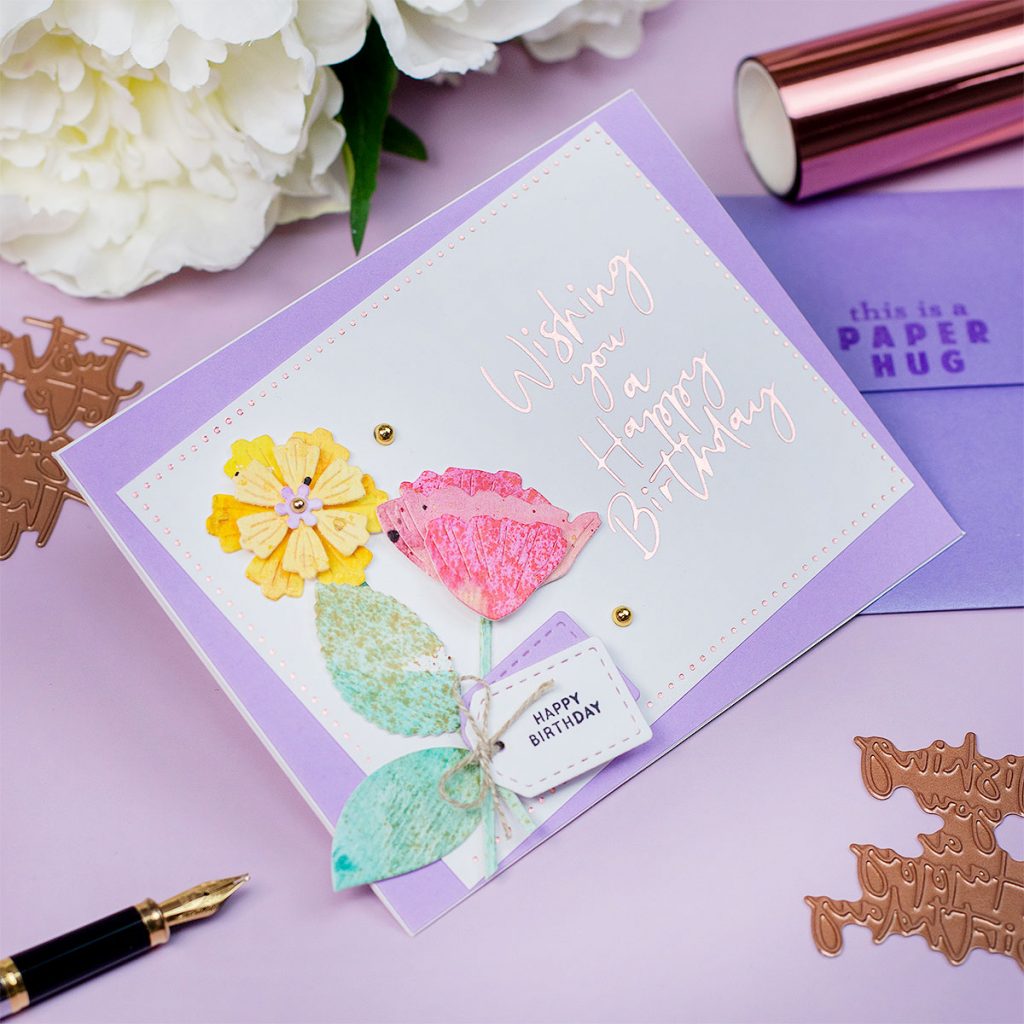
I made a couple of super simple cards also using Essential Glimmer Rectangles Hot Foil Plates to add a decorative frame.
To use Glimmer Plates I use the Glimmer Hot Foil System and the Spellbinders Die Cutting Machine.
To decorate, I used some flowers I got left from the APG project above.
CARD KIT
SPELLBINDERS CARD KIT OF THE MONTH
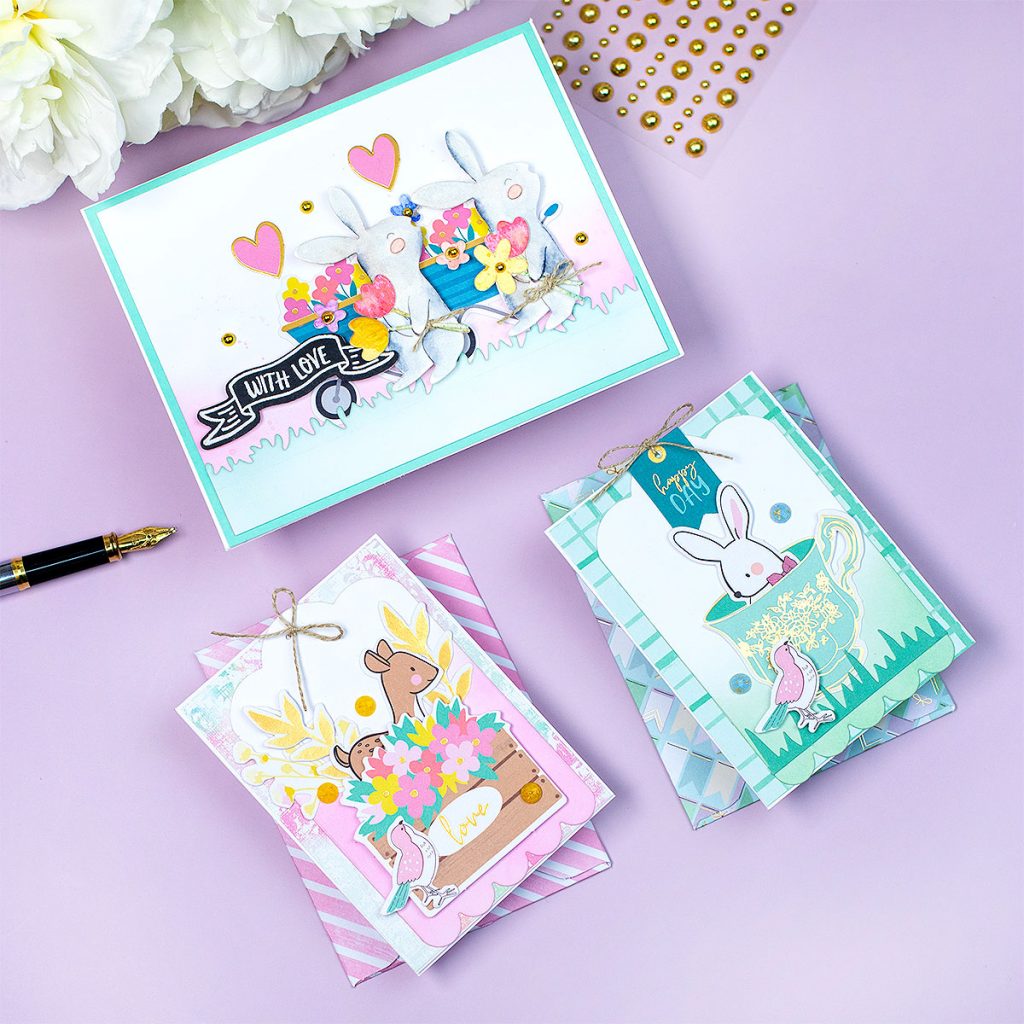
“Celebrate Spring“ , the card kit of this month includes:
- PCS die set.
- 6 PCS stamp set.
- 6×6 inches paper pad ( 40 sheets – 20 designs, 2 sheets each design).
- 1 pack die-cut shapes
- Cardstock.
- Adhesives.
- Card bases and envelopes.
- Sequins.
- 3D Stickers.
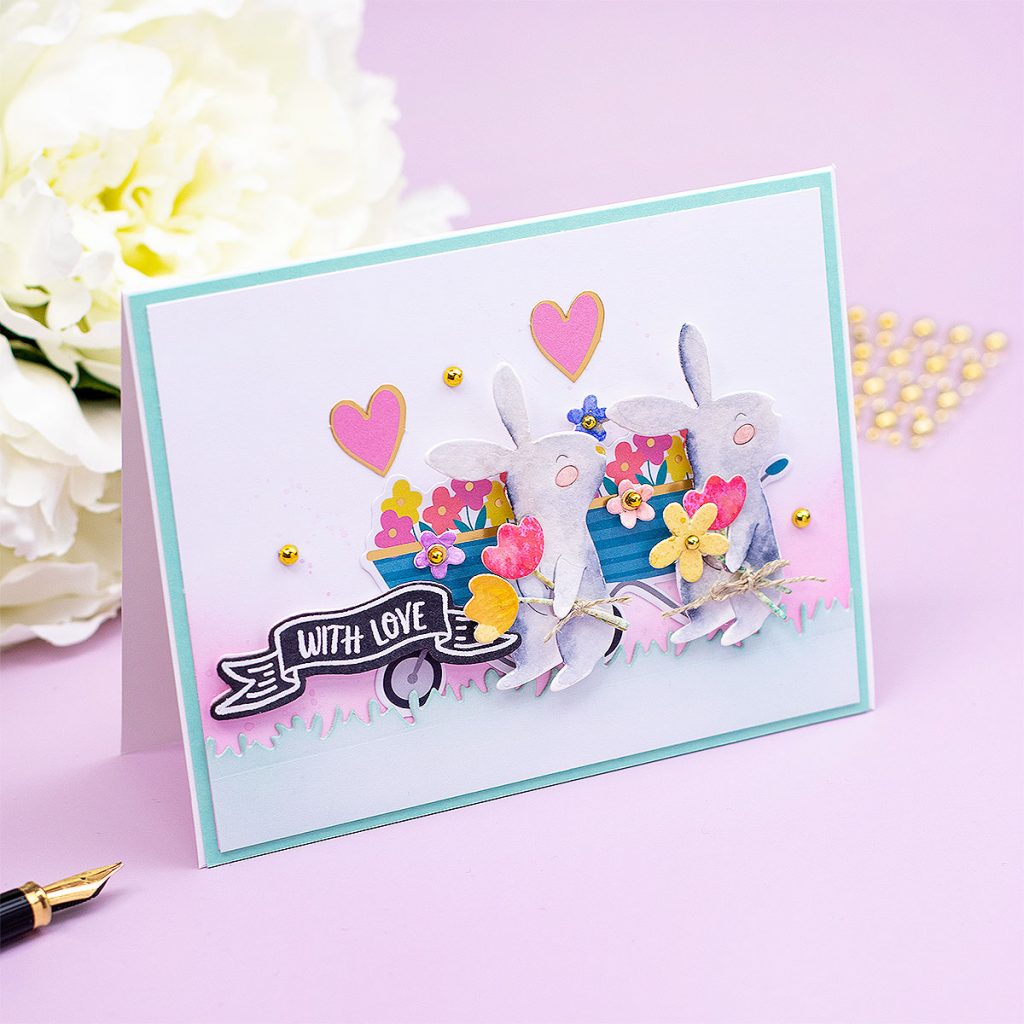
I made 4 simple projects to share ideas with you.
- A C6 card using the die set in the kit.
- 3×4 inches mini cards and envelopes using die-cut shapes and paper in the paper pad.
- To make the envelopes I used an Envelope Punch Board.
STAMP OF THE MONTH
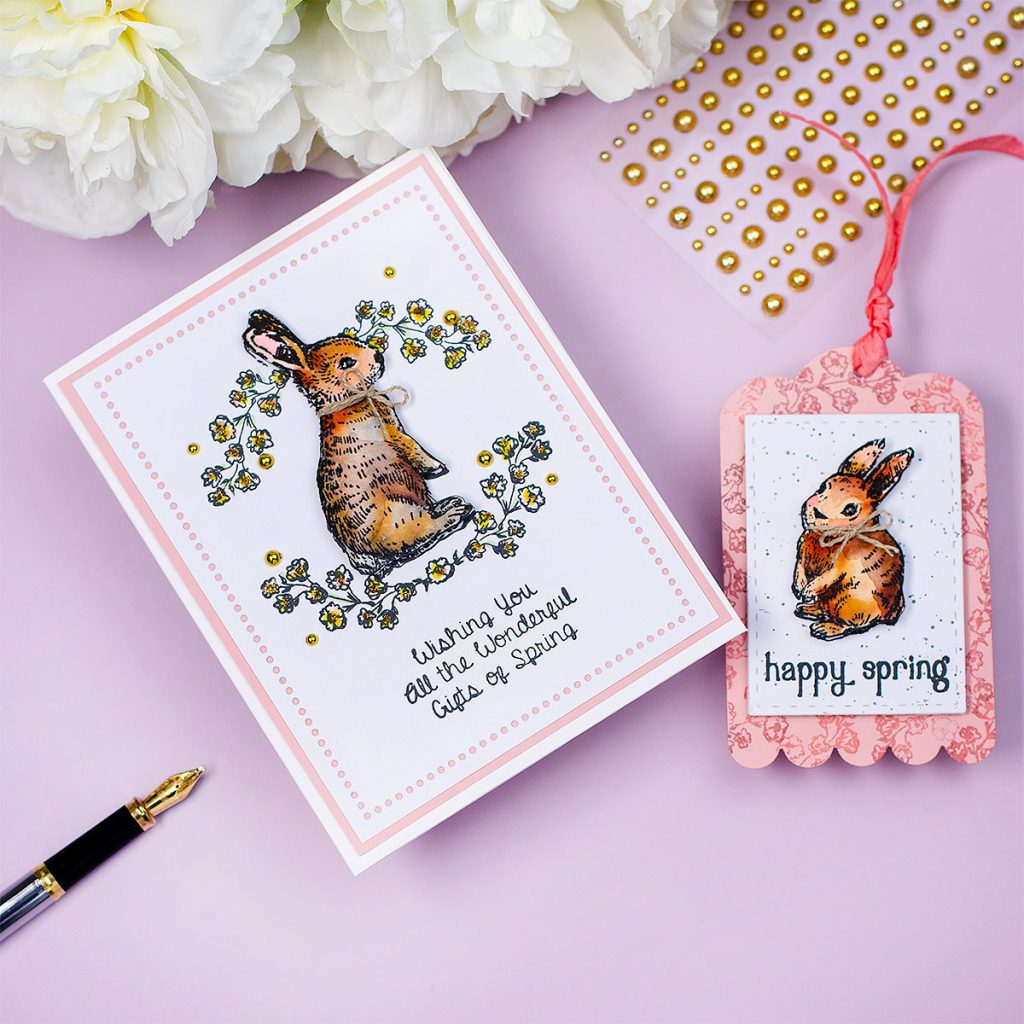
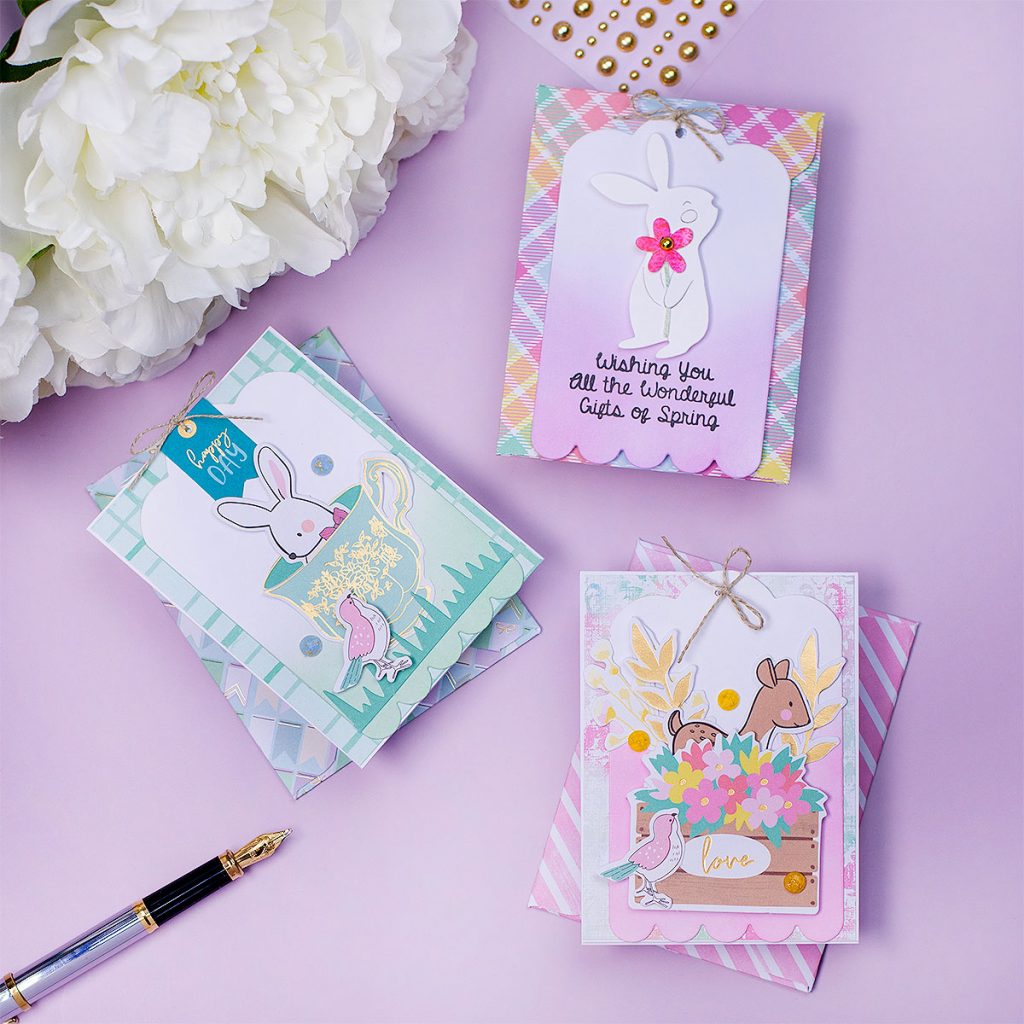
Last bit not list, here are 2 ideas using Wonderful Spring the Spellbinders Stamp of the Month.
This is a 6x 4 stamp set that includes 11 individual stamps.
3 bunny images, 4 florals and 4 sentiments.

To make this card:
- First, I stamped the bunny using Versafine Onix Black ink on watercolor paper.
- Then I added colors using Zigs and I fuzzy cut the image using scissors.
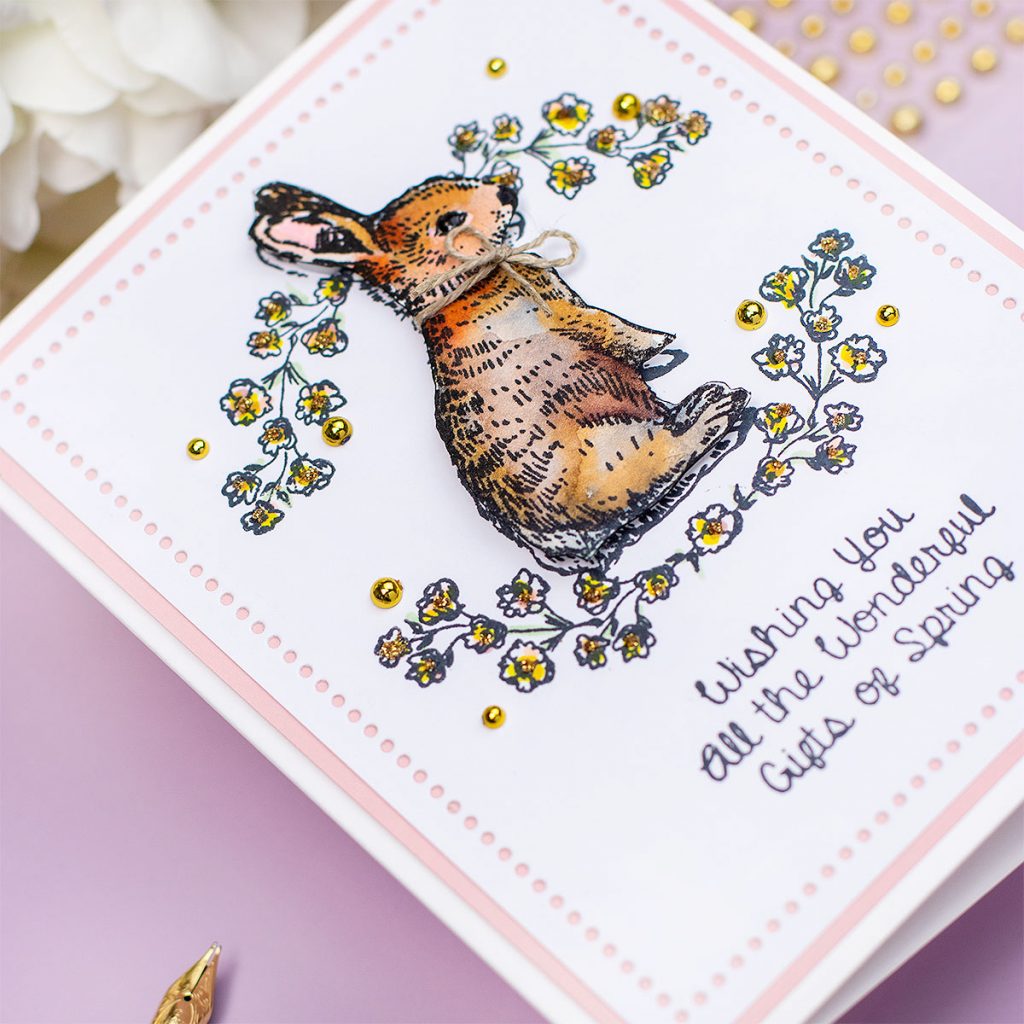
- I die-cut the backing panel using Essential Rectangles die set to add a decorative die-cut edge.
- Then I stamped the florals and the sentiments using Memento black ink.
- I added color to the tiny flowers using Copic markers.
- To finish I stamped the bunny over the colored panel and I foam mounted the bunny over the stamped image.
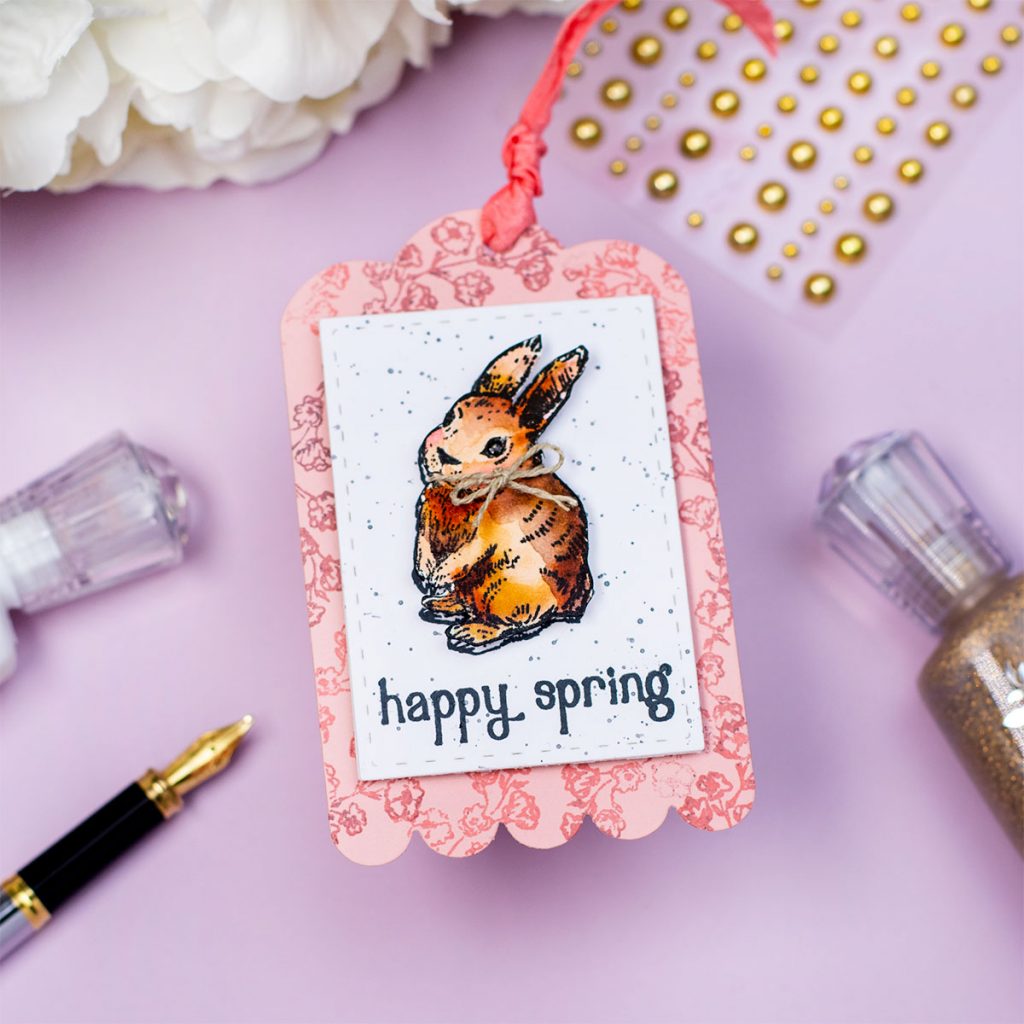
I also made this tag using an image and a sentiment from Wonderful Spring the Spellbinders Stamp of the Month.
- To die-cut the tag parts, I used dies from Special tags Die Set.
- Then, I did easy tone on tone stamping.
- I splattered the rectangular piece using a mix of black ink and water.
- Once the panel was dry, I stamped the bunny and the sentiments using Memento ink.
- To finish, I foam mounted the watercoloured bunny over the stamped image.
Finishing Touches
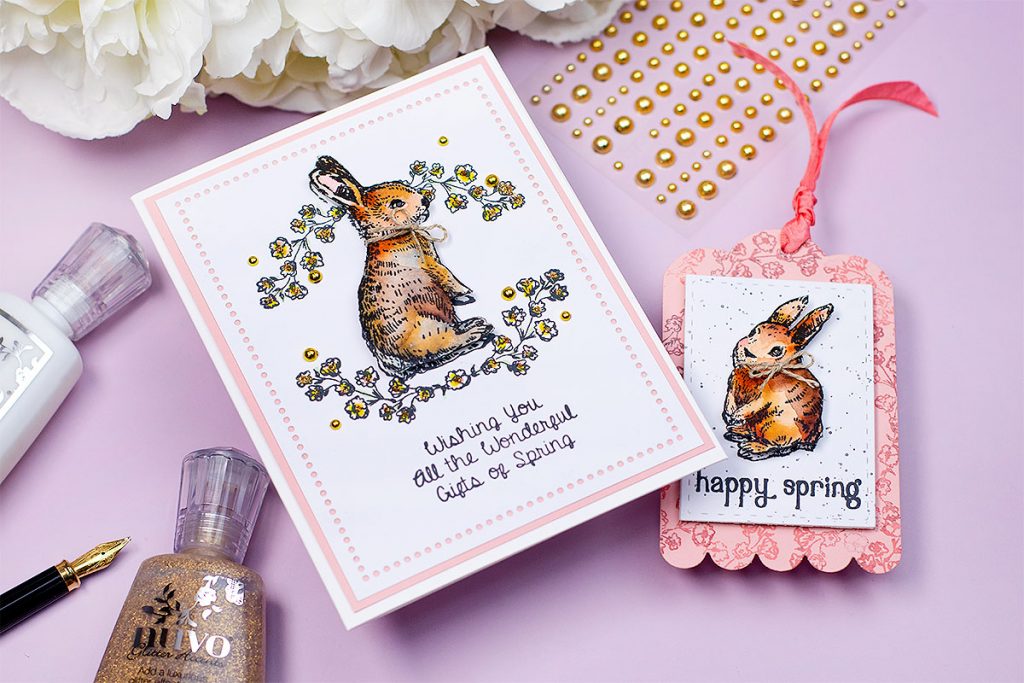
To add finishing touches to the card and tag, I used a dot of Nuvo Cristal Glaze over the eyes of the bunny and Nuvo aztec Gold Accents on the center of the flowers.
I love the shadow effect of the stamping as it adds a huge amount of value to any simple composition and it is a great resource to make any image stand out.
This totally transform the expression of the bunnies adding cuteness.
The bow made of twine is also an extra detail that make things looks a lot nicer.
Spellbinders also offer kit bundles [ Spellbinders Value Kits] that will allow you to save up to 25% on your kits.
THIRSTY FOR MORE ?
That’s all for today.
I hope you enjoyed my Spellbinders monthly inspiration.
Happy Crafting.
X Bibi
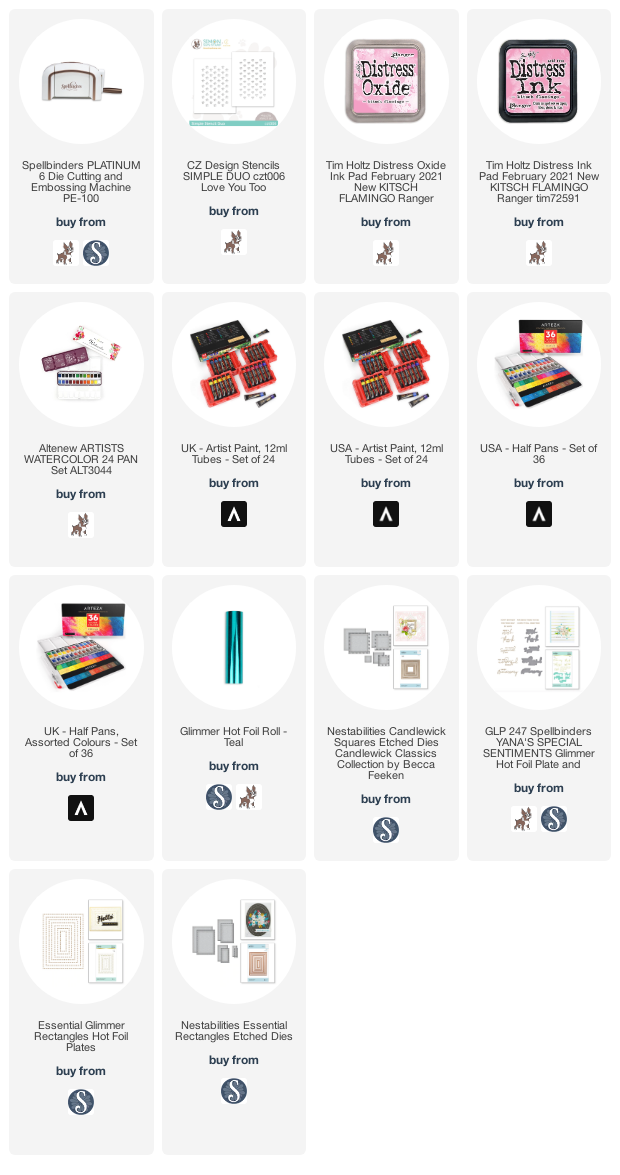
SUPPLIES LIST
Affiliate links applies at no extra cost to you. Thanks for your support.


Leave a Reply