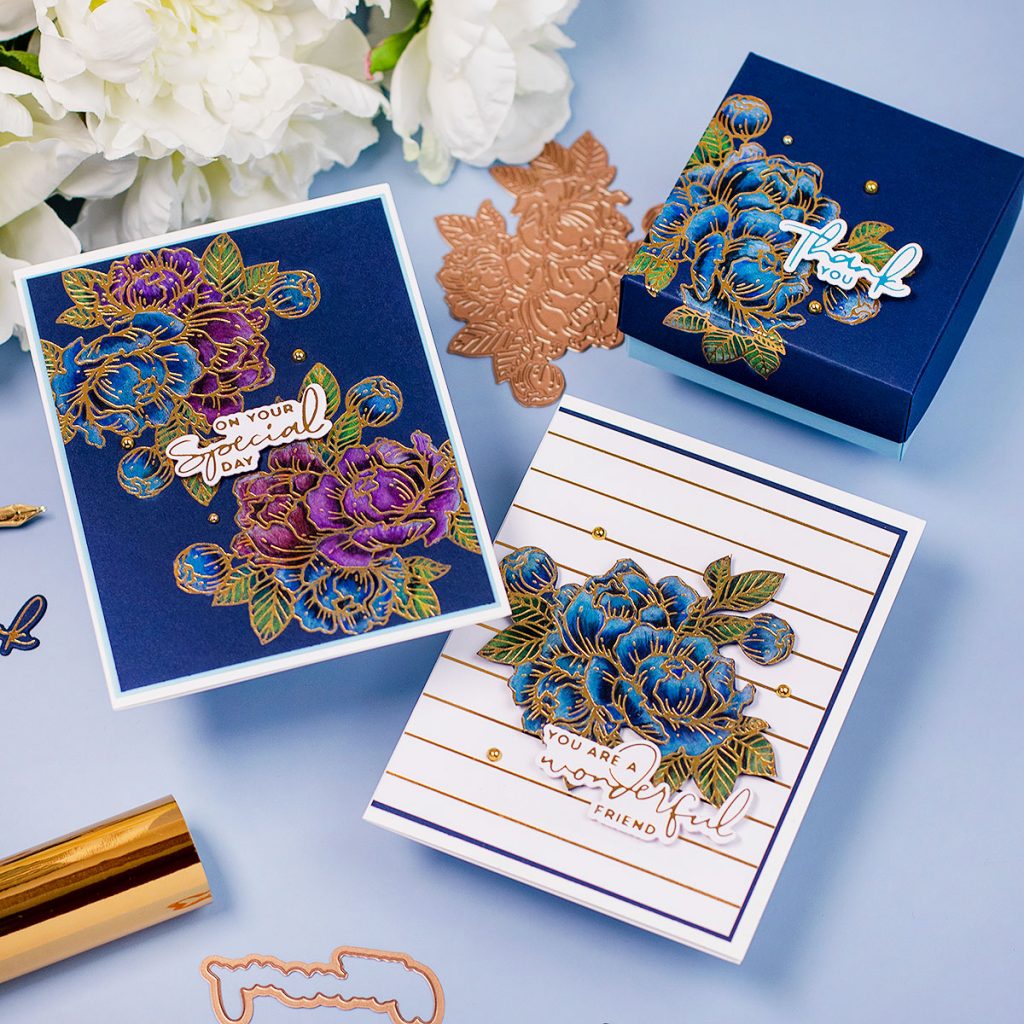
Hi there, Spellbinders invited me to share ideas and inspiration using new gorgeous hot plates from Yana’s Blooming Birthday Collection and I’m loving Glimmer Peony, the stunning sentiments, and the background plates.
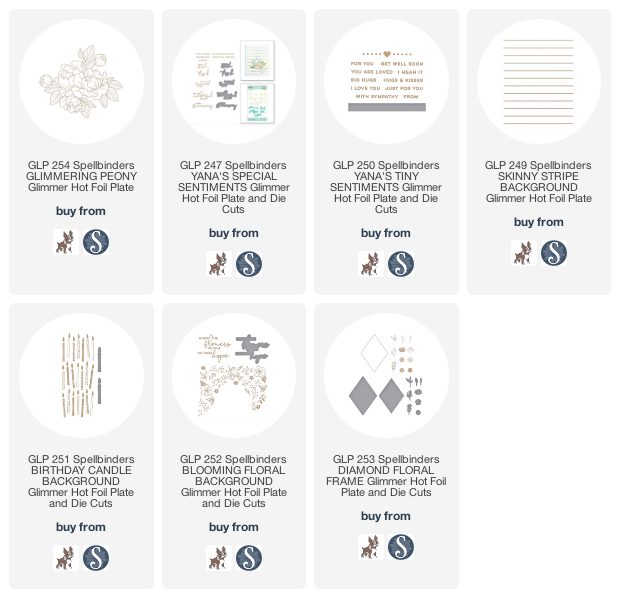
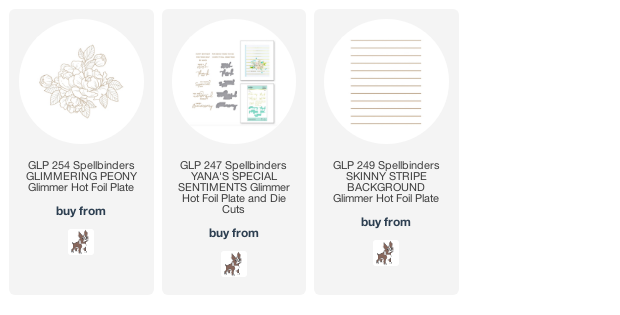
Today I’m featuring:
To use hot plates, I use the Spellbinders Hot Foil System and the Spellbinders Die Cutting Machine.
Video
Watch short video tutorial with a quick tips to get rid of over-foiling and pencil colouring instructions.
In this video post, I’m showing some of the hot foil plates that you can find in this collection
Find Complete Yana’s Blooming Birthday Collection Below
Glimmer Peony On Dark Background
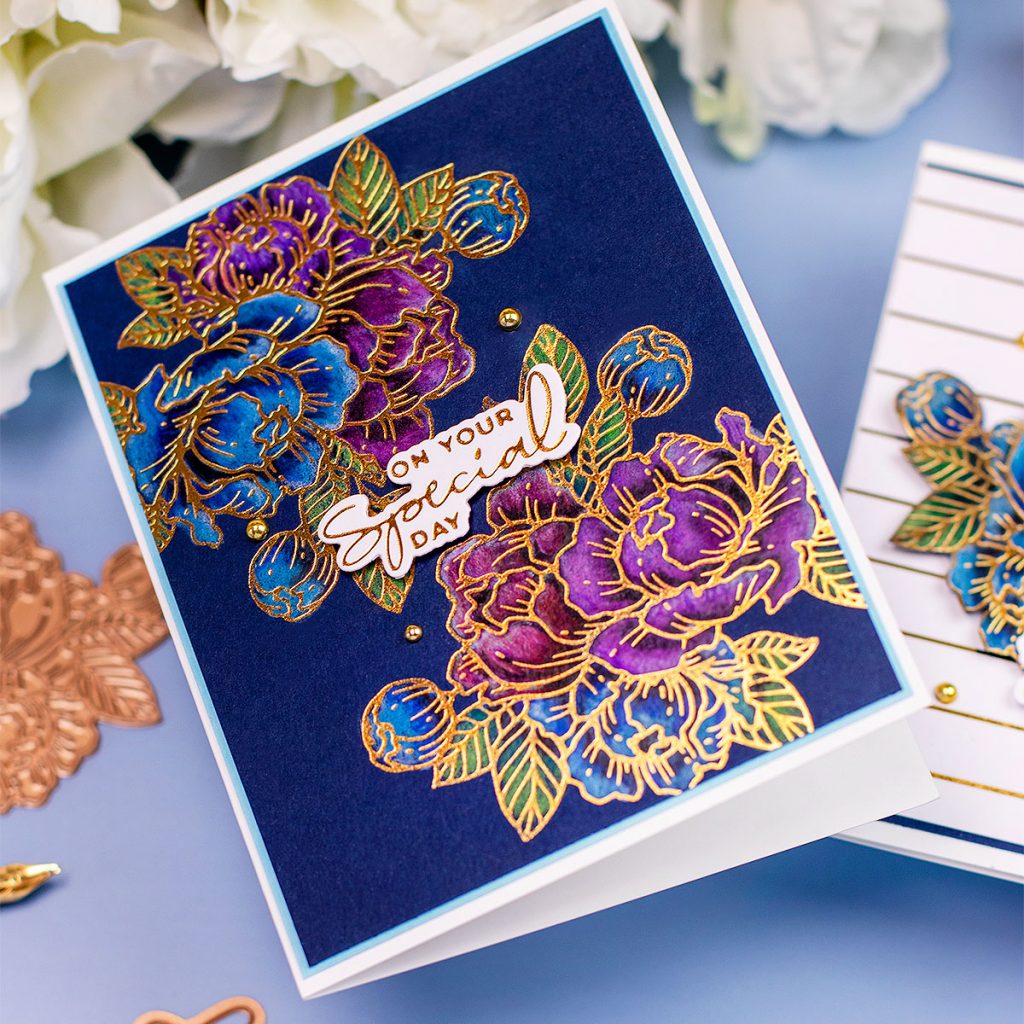
I love the look and feel of gold foil on dark backgrounds as this also allow me to apply easy colouring with coloured pencils.
- So to make this C6 card, I applied Polished Brass Hot Foil over Navy Blue Cardstock using Glimmer Peony Glimmer plate.
- To add colour, I used Arteza coloured pencils.
- I also added to this card a hot foiled sentiment made using Polish Brass hot foil and a plate from Yana’s Special Sentiments.
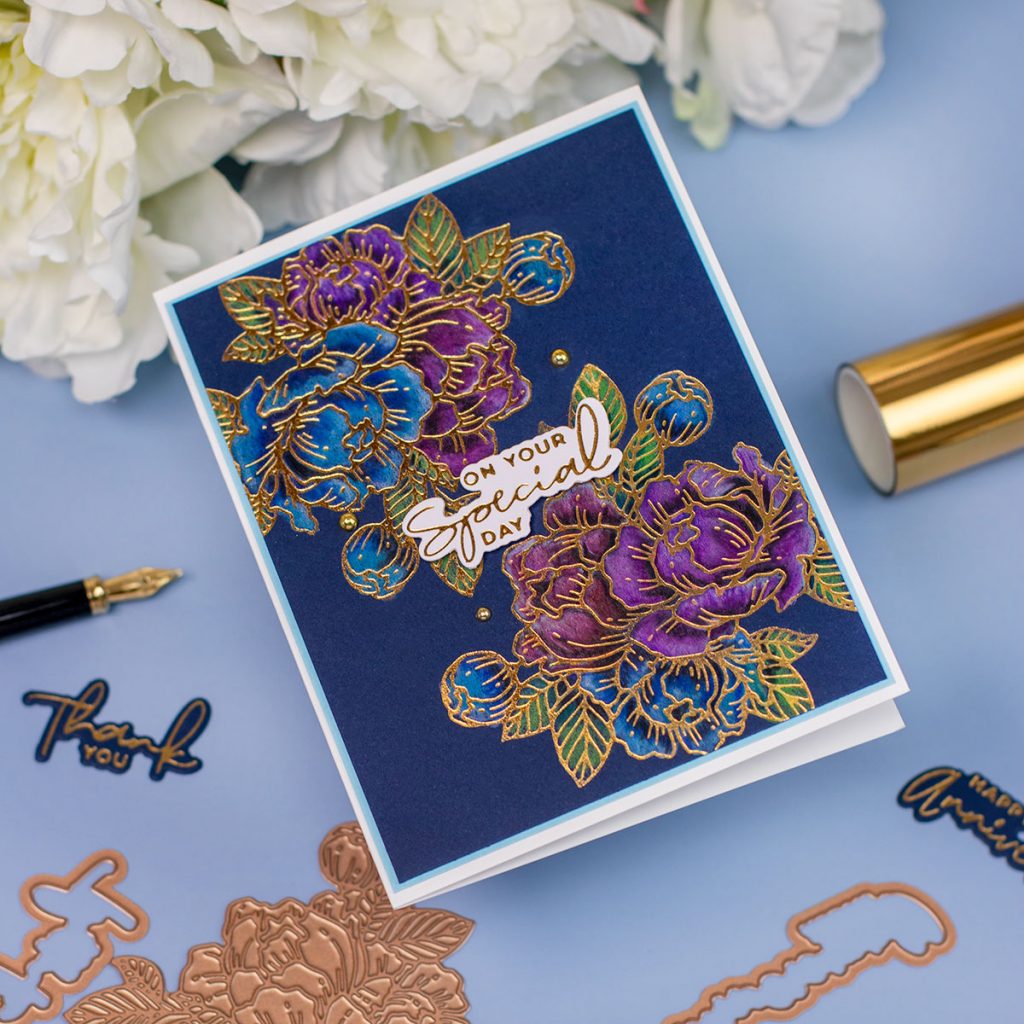
Arteza Colored Pencils are available in the UK here and in the USA here.
Glimmer Peony On White Background
I also wanted to use the image I coloured in the video above to give you an extra idea.
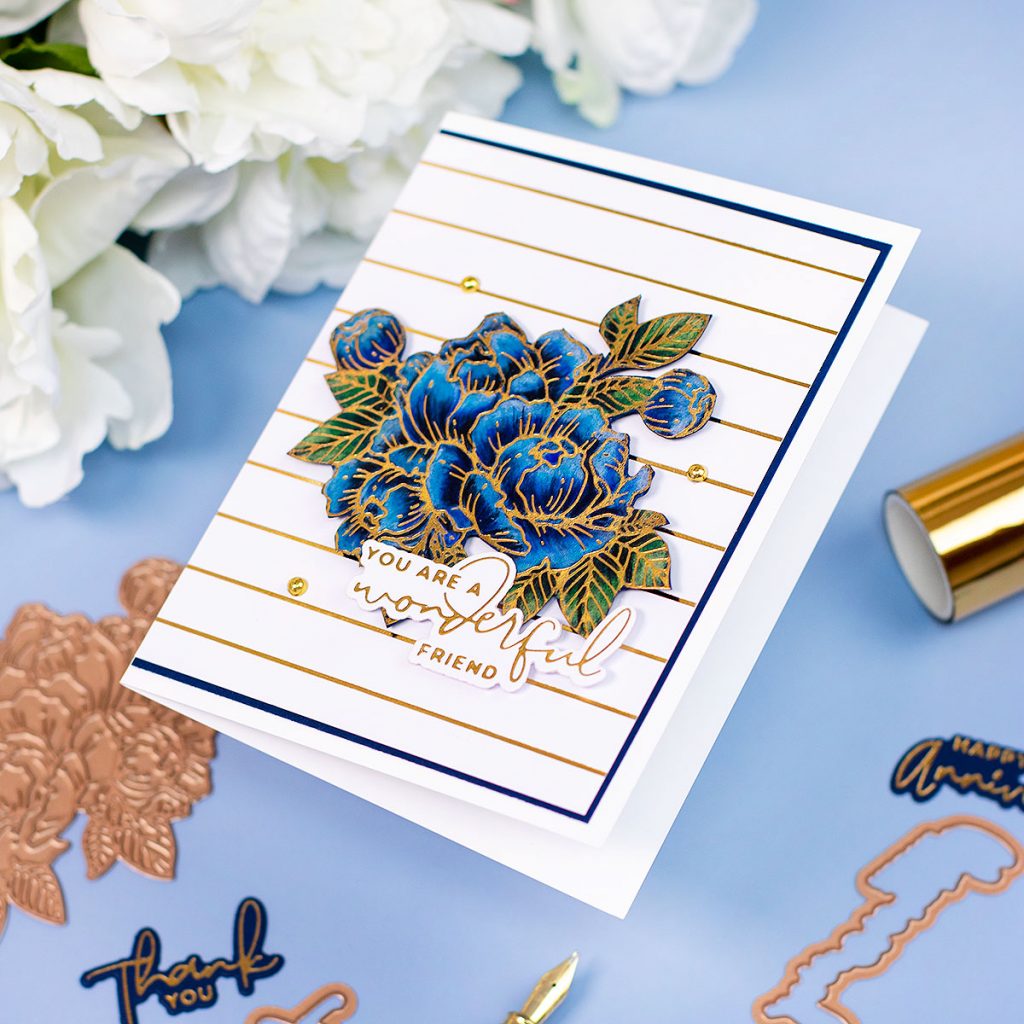
- For this C6 card, I also hot foiled the peonies on Navy Blue Cardstock and I applied colors using coloured Pencils.
- Then, I fussy cut the image using scissors.
- I use adhesive foam pads to adhere the peonies over a hot foiled striped background made using white smooth cardstock, Polished Brass hot foil, and Skinny Stripes Background hot plate.
- The sentiment was made using Yana’s Special Sentiments and Polished Brass hot foil.
Glimmer Peony Gift Box
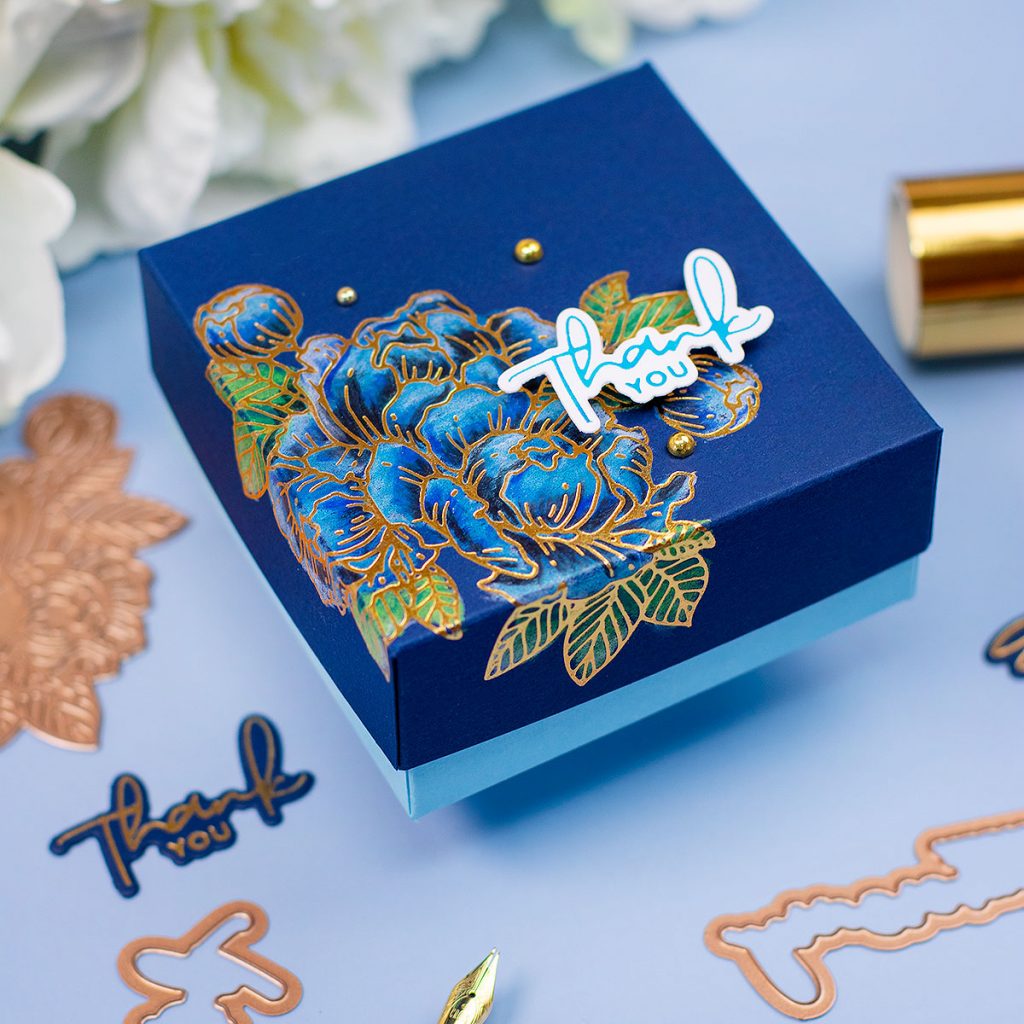
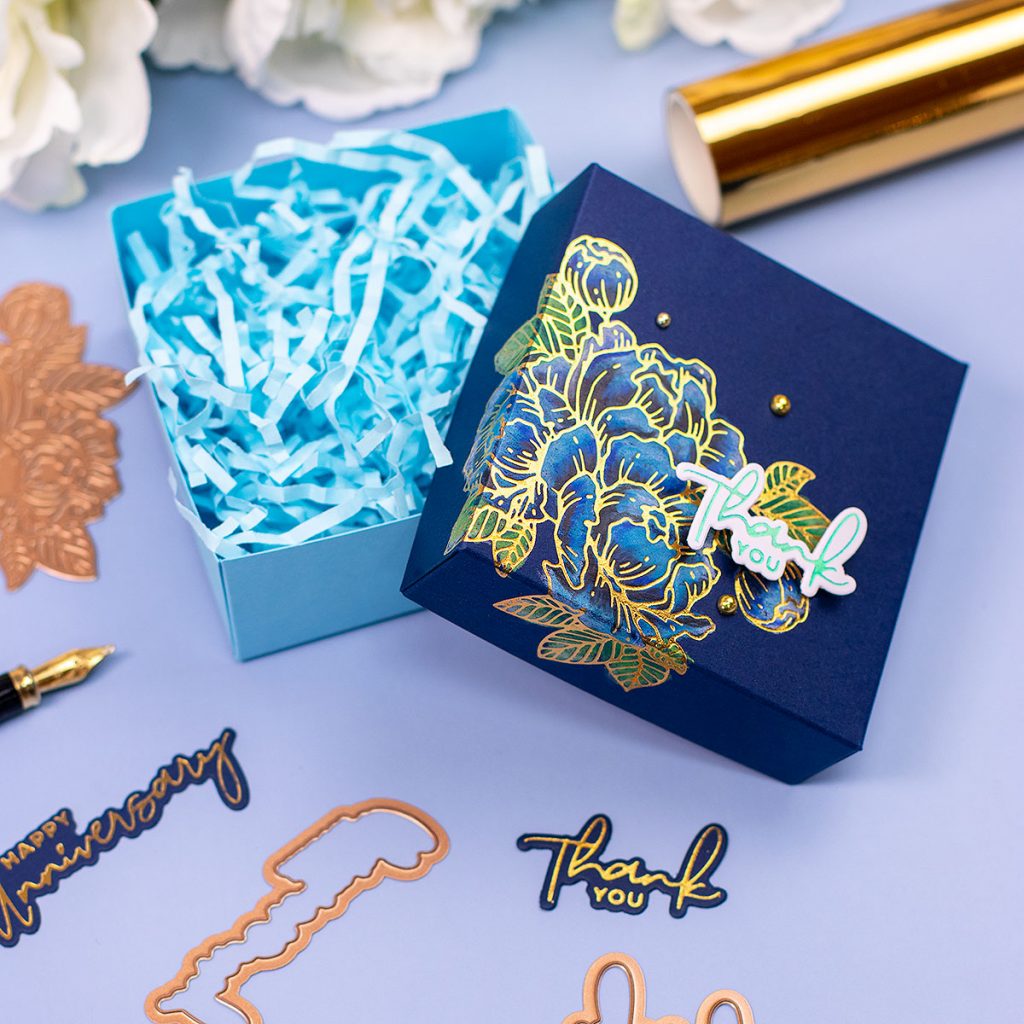
You can also use glimmer plates to decorate the side panels or the lid of 3D projects like this gift box.
The box measures 3-1/2″ x 3-1/2″ and it is 1-1/2 inches tall.
To make it I first cut 2 pieces of cardstcok
- Lid : 5-1/2″ x 5-1/2″. I scored at 1″ inch around the edges.
- Box body: 6-7/8″ x 6-7/8″. I scored a 1- 1/2″ inches around the edges.
Scoring the piece for the lid allowed me to find the right placement to apply Polish Brass hot foil using Glimmer Peony hot plate.
- Once I applied the hot foil, I also applied colours using coloured pencils.
- Next, I trimmed the corners of both pieces to create flaps and I glued them in place to shape the box.
- To finish, I added a hot foiled sentiment made using Teal Hot Foil and a glimmer plate from Yana’s Special Sentiments hot plates.
- I also added Fashion Gold Embellishments.
That’s all for today.
I hope you enjoyed this post.
x
Bibi
Thirsty For More?
Check out hot foiling tips
Check out coloured pencils tips
SUPPLIES
Affiliate links applies at no extra cost to you. Thanks for your support.


Bibi, como decimos nosotros los mexicanos, te aventaste! Todo te salio hermoso! Bellisimo!
Your cards are so beautiful! I especially appreciated your video tutorial to see how you colored on the darker paper. The results are stunning. tfs-stay well.
I know the pictures don’t do these AWESOME cards any justice, I can image how beautiful the foil is❤️❤️❤️ The stamps and dies are stunning too😃. Thanks for sharing🙏🏻