
Today’s post is all about mixing and matching supplies – featuring the Spellbinders Club Kits for June 2025.
I’m loving that cute die-cut walrus and the seagull dies included in the small die of the month: Shipmates.
***These kits are monthly subscriptions ( *** You can cancel any time) and offer great value for money.
Watch the Short Video
Wishing You Oceans of Joy
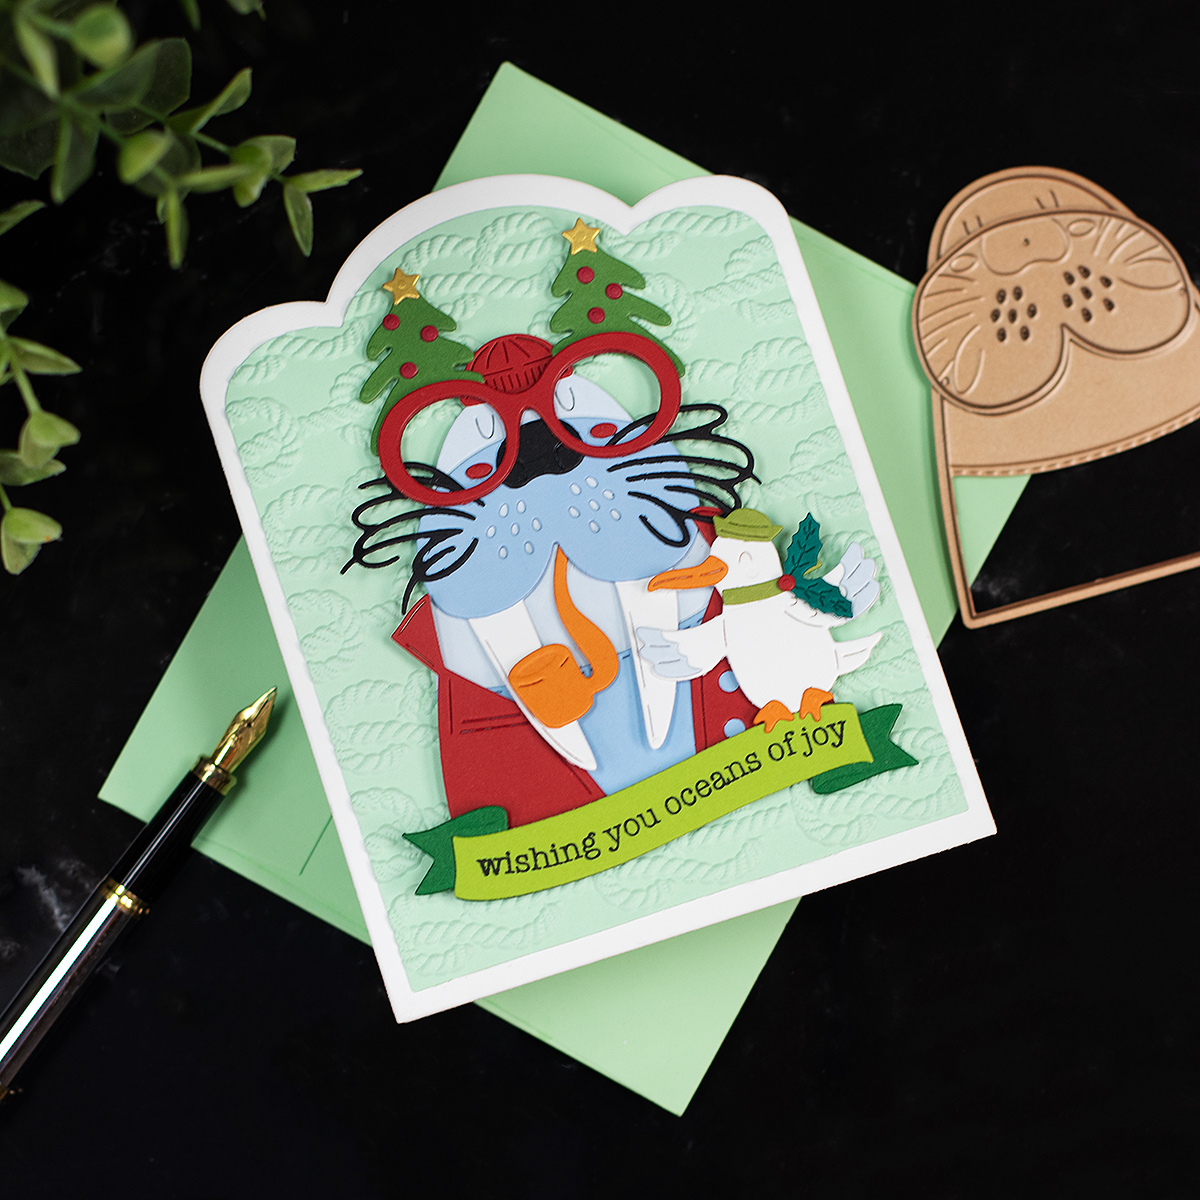
Why not create a festive Christmas card using the adorable images from the Spellbinders Small Die of the Month?
Just add Christmas Party Glasses from the Cats and Pugs Accessories, and you will be all set!
To ground your image, try adding a banner at the bottom of the panel, like I did, or use a simple shape topper to help separate it from the background.
Card Recipe
This card measures 5-1/2 x 4 1/4″ ( A2/ C6 )
- Spellbinders cardstock
- Die-cutting and embossing machine
- Walrus and seagull – Small Die of the Month
- Embossed background – 3D Embossing Folder of the Month
- Christmas Party Glasses – Cats and Pugs Accessories
- Die-cut banner from Cheerful Kittens die set
- Sentiment – Typewriter Adventure Sentiments Clear Stamp Set
- Shaped Crad Base – Scallop Labels and Tag Etched Dies

Fake it till you make it
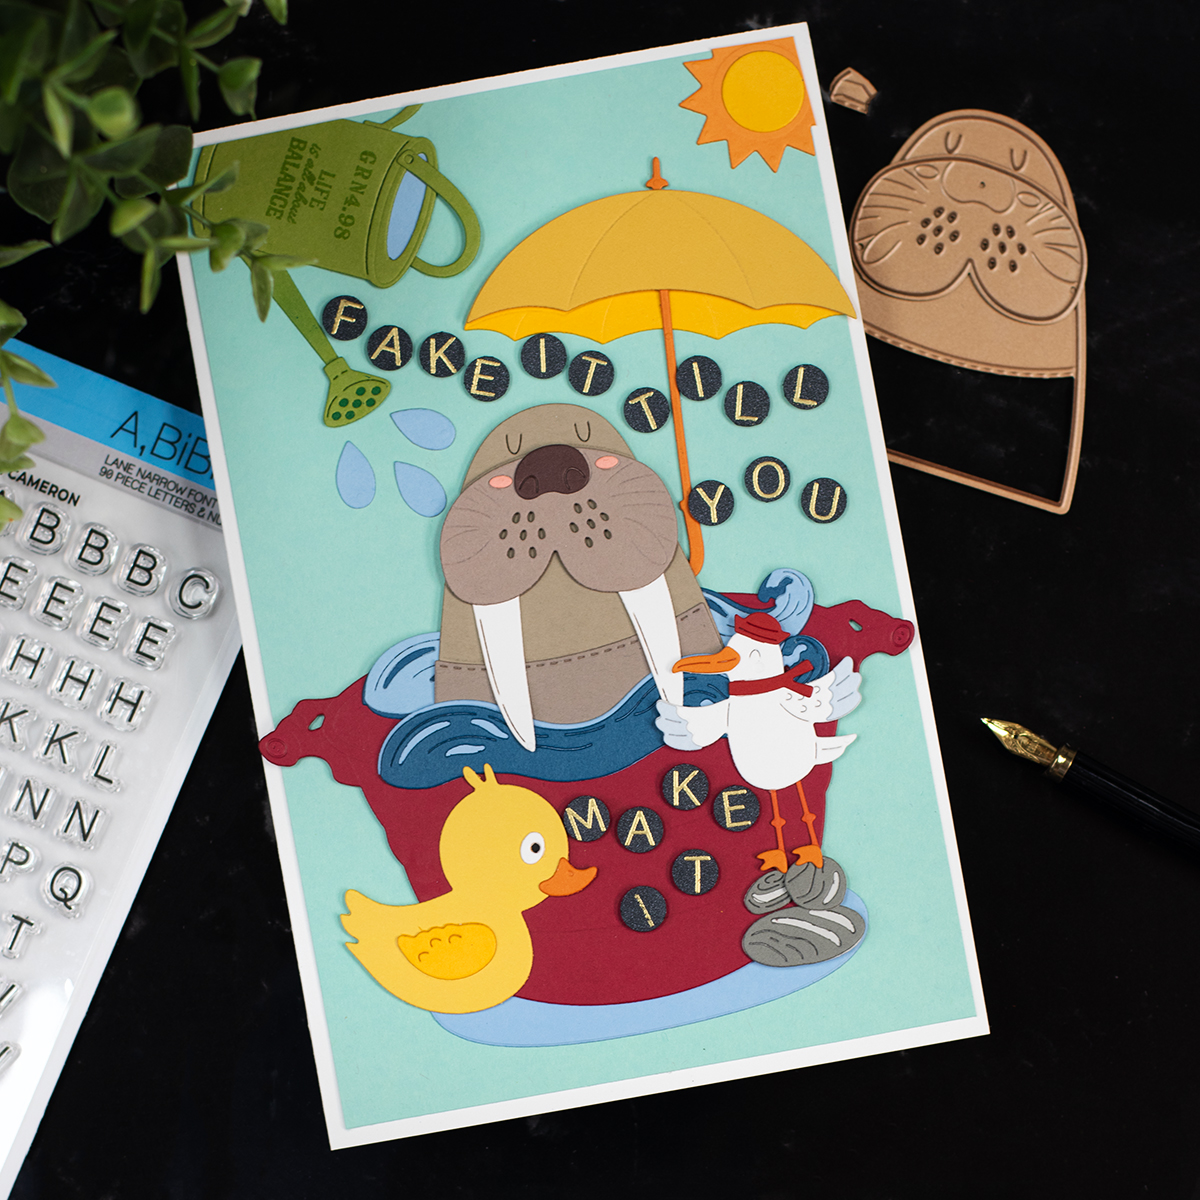
“Fake it till you make it” is a reminder to show up with confidence, even when you’re still figuring things out. It’s advice I often share with younger generations (and just as often with my peers)… though at this point, I can’t even fake it anymore, lol!
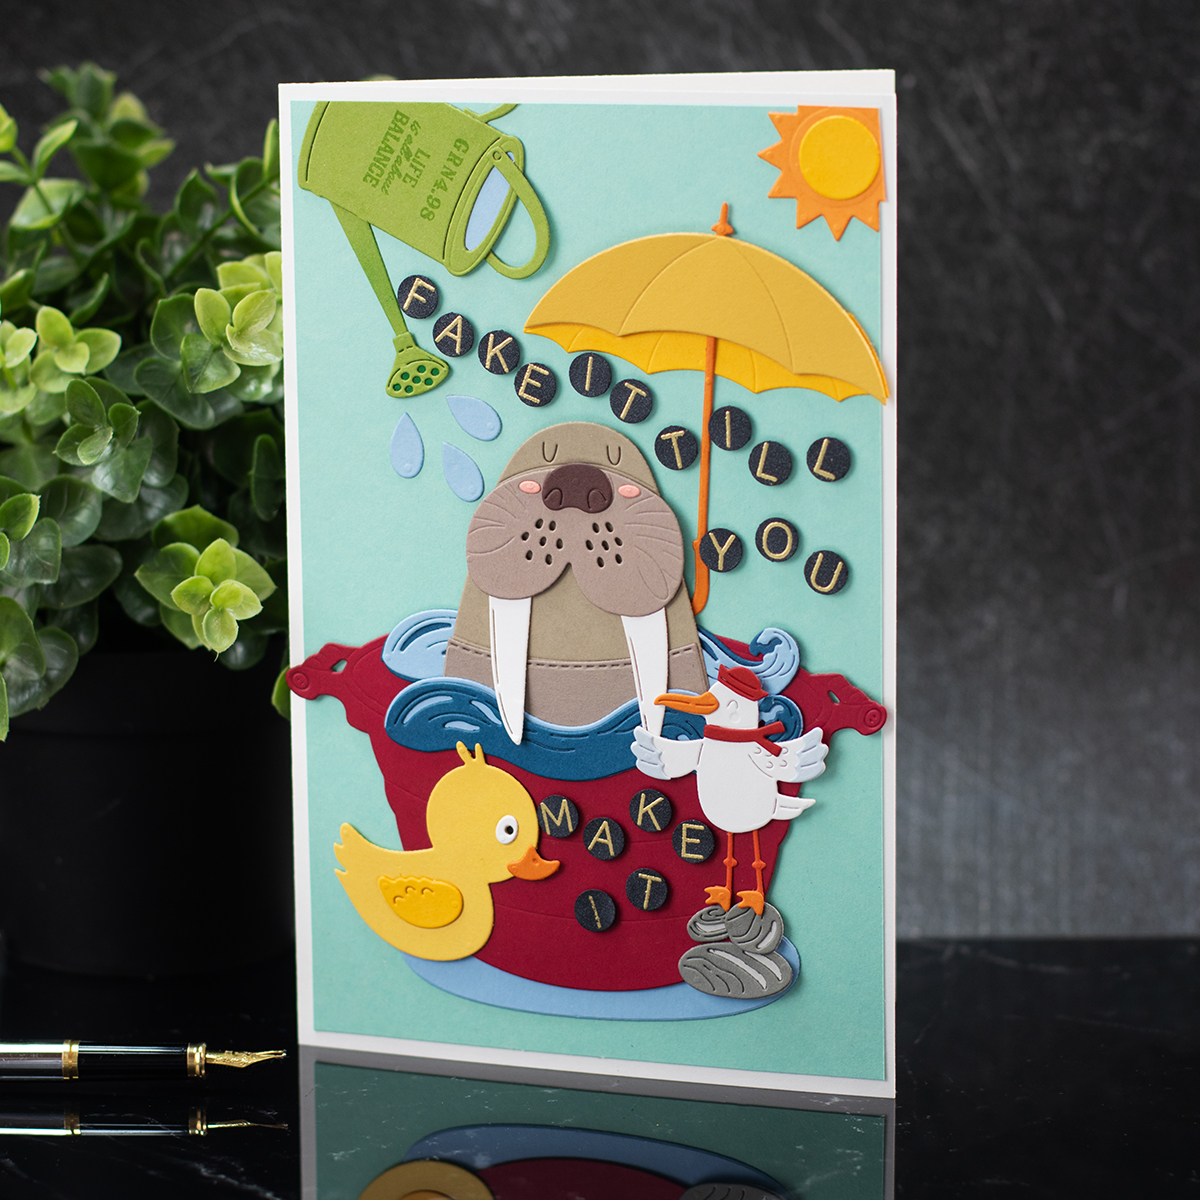
This idea made me giggle, so I brought it to life with a walrus lounging in a tub alongside a rubber duck and a cheeky seagull, all under a sunny sky and yellow umbrella, pretending to be at sea, enjoying the waves.
The rubber duck, often a symbol of childhood and playfulness, adds a fun layer of make-believe to the scene, reminding us that it’s okay to lean into imagination, no matter our age.
It’s also a little invitation to dive into your stash and mix different supplies to build a story, share a message, or craft a one-of-a-kind composition.
Oh yeah! This card is BIG – A5. So I folded an A4 sheet of cardstock in half to create the card base because I needed plenty of space to fit all the elements.
Another key element of the card is the sentiment. I used BiBi,C’s Alphabet Stamps —and I’ll admit, I usually struggle to line up individual letter stamps (or maybe I’m just too impatient to even try!).
So instead, I stamped each letter using Versafine ink over black brushed cardstock, leaving enough space between them, then applied gold embossing powder and heat set it.
After that, I punched out each letter individually.
It wasn’t too difficult, and I actually enjoyed the challenge of finding a fun way to fit the sentiment into the scene. I think it worked out!
Card Recipe
To create this A5 card and its playful scene, I used the supplies listed below:
- Spellbinders cardstock
- Die-cutting and embossing machine
- Walrus and seagull – Small Die of the Month
- Water waves, stones, and blue base for the bucket – Large Die of the Month
- Red Bucket – Nasturtium and Galvanized Wash Bucket die set
- Sentiment ” Fake it till you make it” – A,BiBi,C’s Alphabet Stamps
- 1/4 circle punch – to cut the letters
- Rubber Duck – Duck with Umbrella Etched Dies
- Watering Can – Sprinkle & Grow die set
- Sentiments/ Images on the watering can– Around the Garden Clear Stamp Set and Sign Here Clear Stamp Set
- Yellow Umbrella – Umbrella Bloom Etched Dies
Bundle and Save
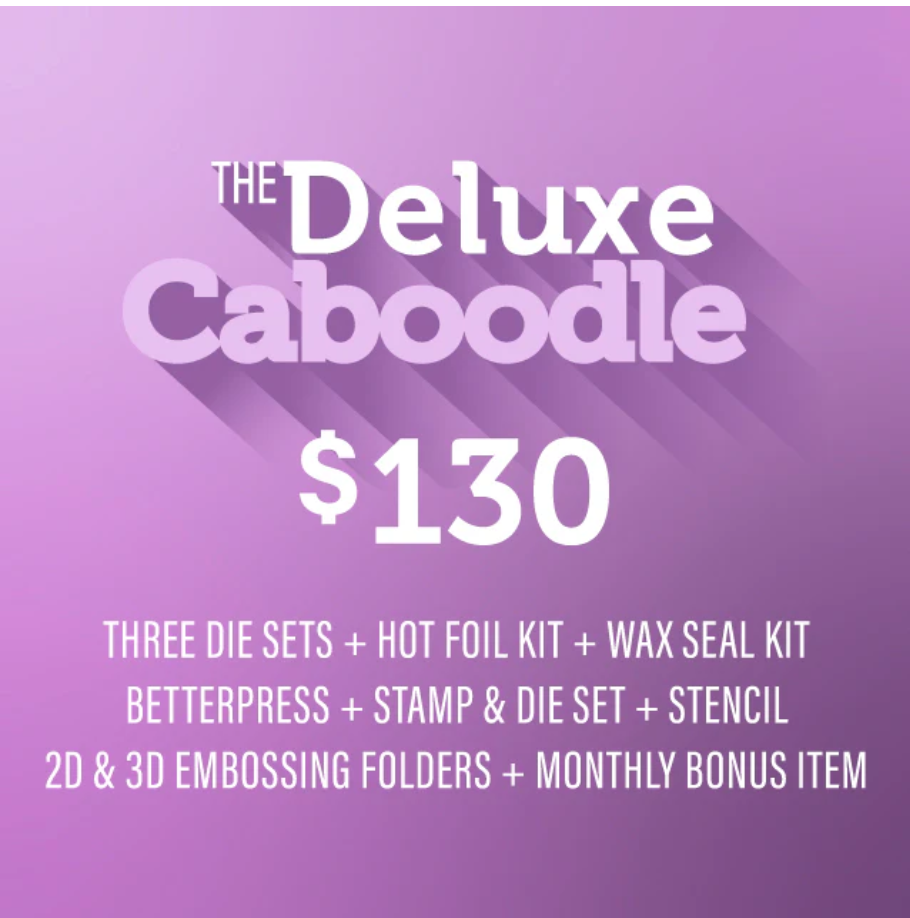
Join the Deluxe Caboodle Value Club and receive ALL TEN Spellbinders Club Kits options, plus an additional monthly BONUS item at more than 50% off the RRPP. Click Here to learn more about club membership.

That’s all for today.
I hope you have enjoyed this post.
X
Bibi
Thirsty For More?
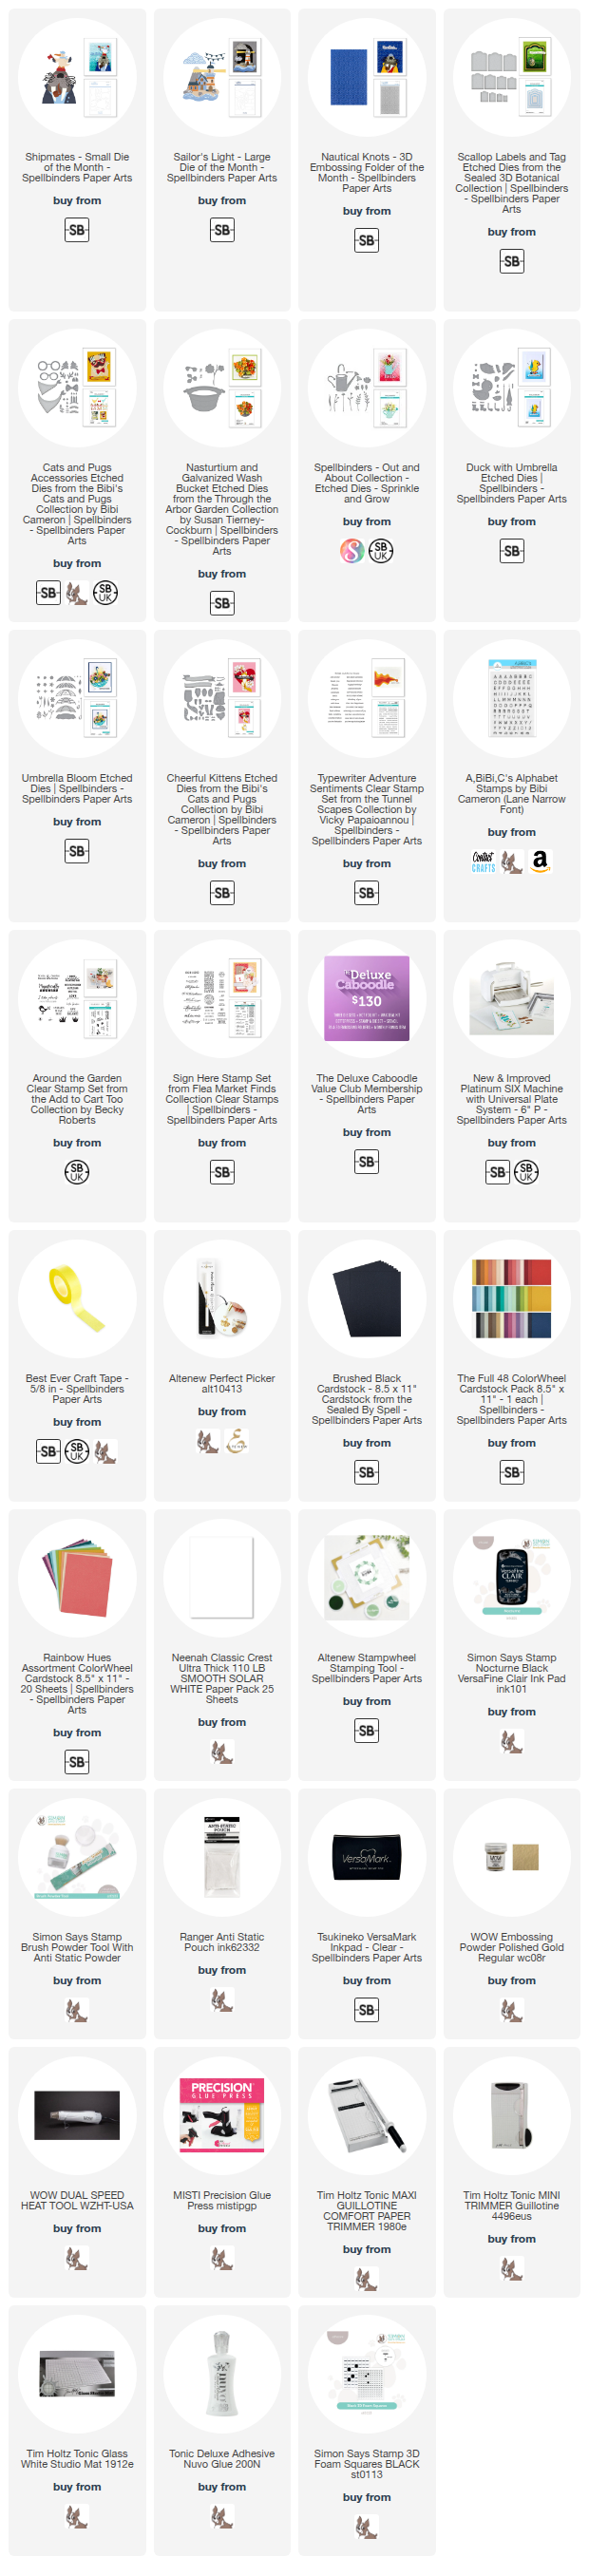
supplies
Affiliate links apply at no extra cost to you. Thanks for your support.


this is such a fun collection for birthdays or anytime I think adding an embossing folder with fish for the kittes and bones for the pups would be a great addition