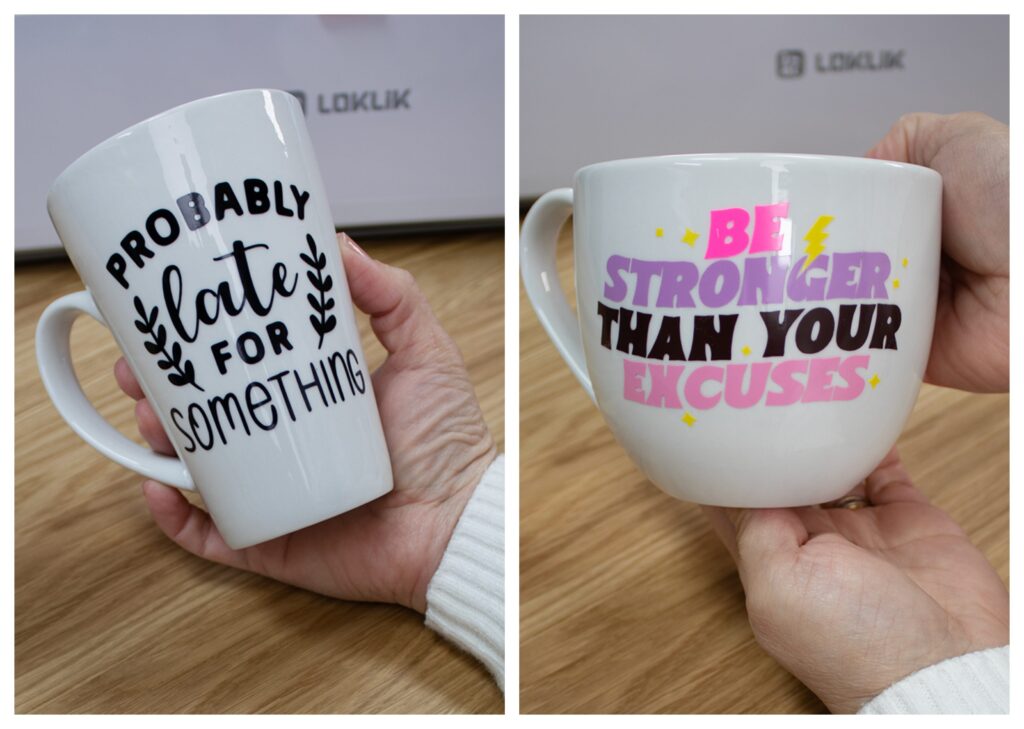
Hello crafty friends, I tried the HTVRont LokLik Cutting Machine and I’m passing by to share my first impressions and a couple of reels with the first attempts using HTVront Permanent Vinyl.
This is the second post of 2. Find the other blog post here.
Discount Codes
I also have some discount codes for you to buy the machine and material
USA CRAFTERS
Get $15 Off the Cutting Machine in the link here with the code: uscrafter
Get 15% off all materials on the HTVront website here with the code: cameron20
UK CRAFTERS
Get 15% off all materials on the HTVront online store here with the code: cameron10
****These codes expire on March 6/2024
Permanent Vinyl Mugs
So after cutting permanent vinyl and paper for the very first time with the LokLik cutting machine, I can tell with confidence that the machine cuts are sharp and very neat.
It does the job!
I had some issues with the software when trying to create other projects using the pen head… I guess that is something I have to explore.
***Note: In the video, you will see the wedding scrap collector this clever and affordable little tool is a lifesaver. It helps you to remove little pieces of vinyl stuck to the tip of your pick-up tool. Trust me, you will need that.
LokLik Cutting Blades
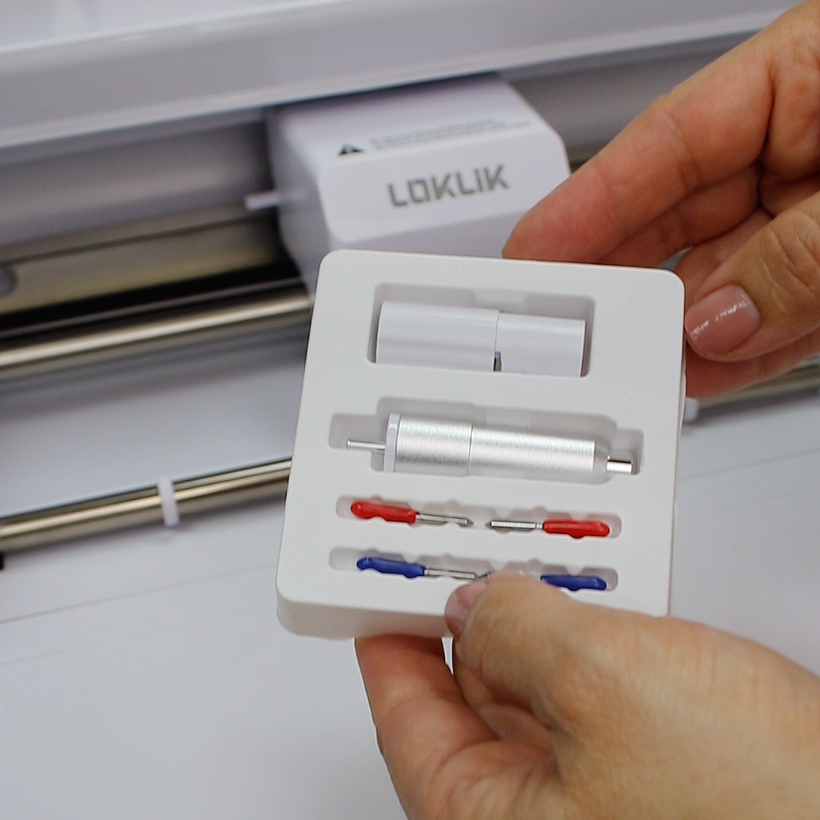
These blades are very similar to the Xtool M1 cutting blades… You will receive 4 cutting blades with the machine.
To cut vinyl you need to use the 45 degrees blades (red)
for paper you need the 65 degrees blade (blue)
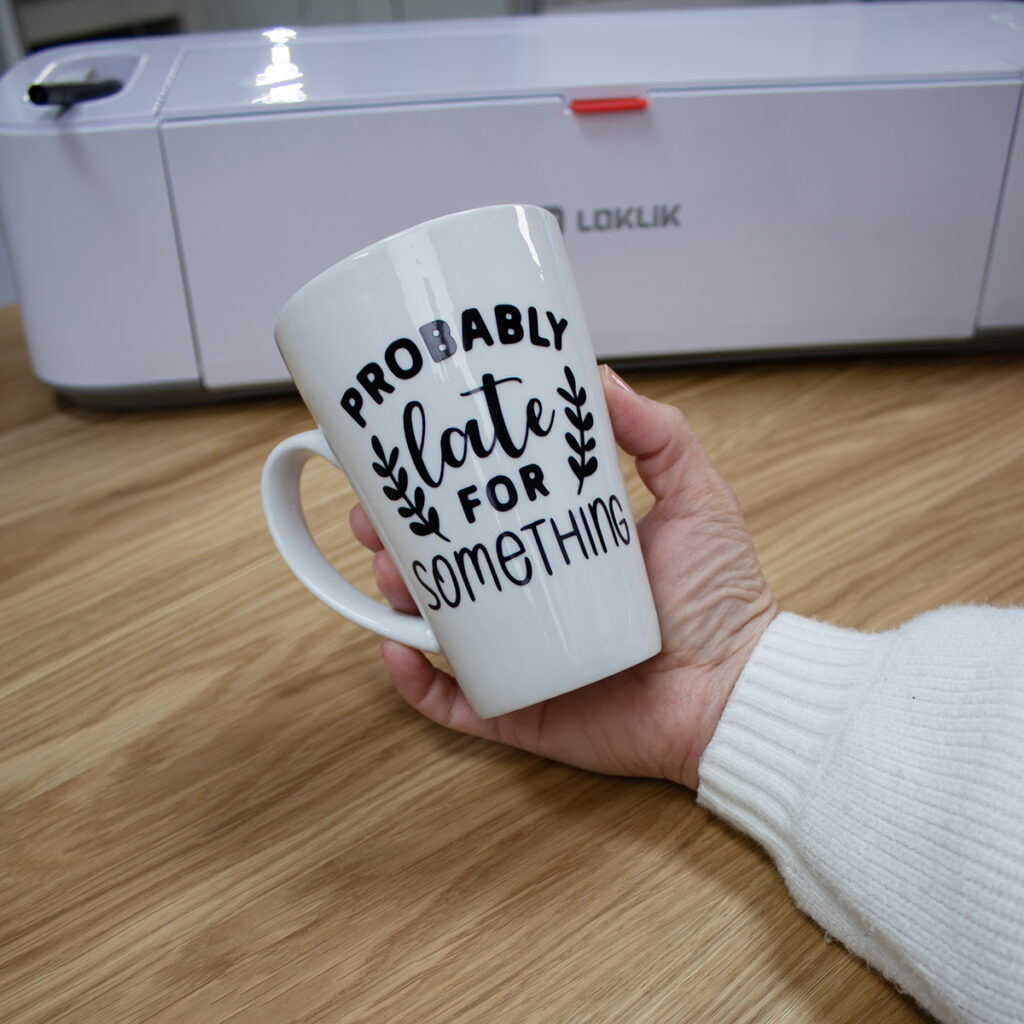
Probably Late For Something Mug
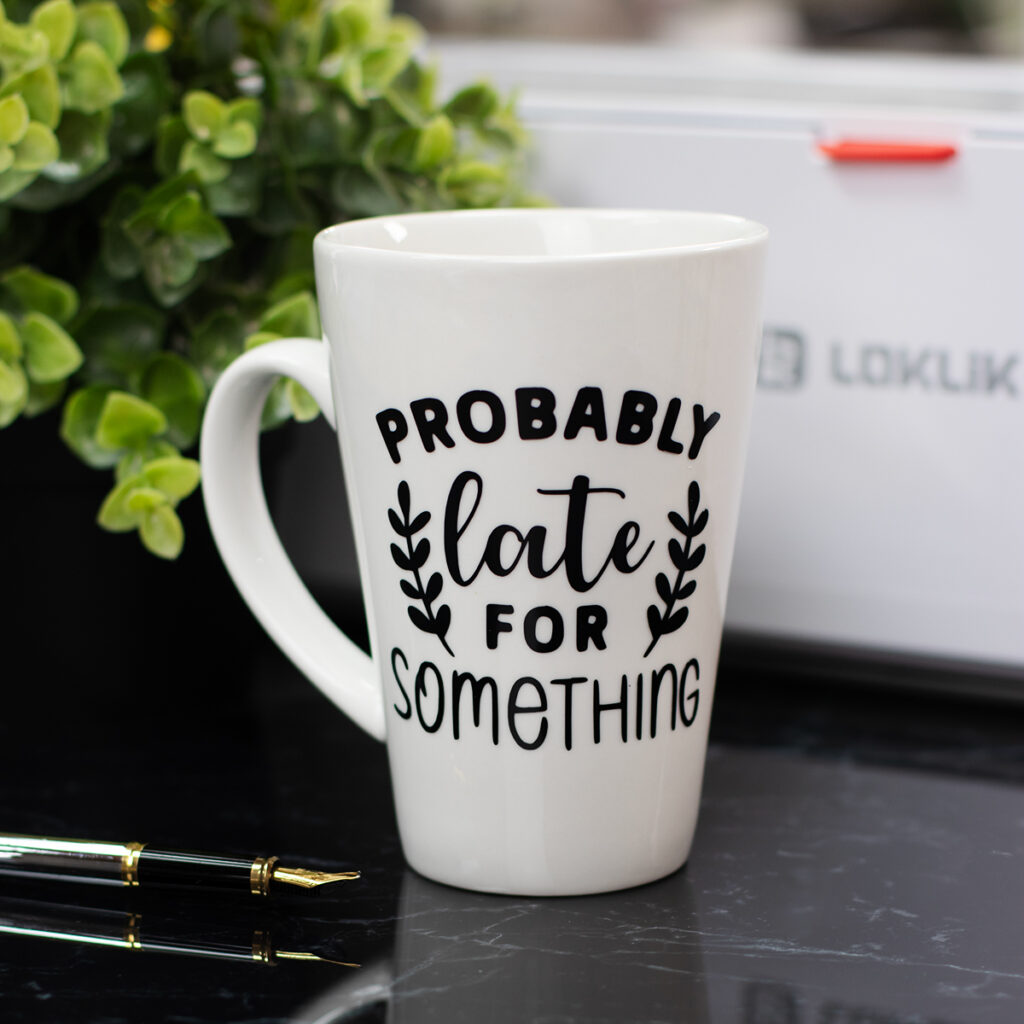
If you want speed, using one single colour of Permanent Vinyl is recommended.
It is also ideal to use fonts that aren’t so thin so removing the bits of vinyl is easier.
For this mug, I used a quote from the Free Funny Sarcastic Quotes Designs on creative Fabrica that is perfect for me: “Probably late for something”
I did not add sealer but it is recommended to add 2 or 3 thin layers of Mod Podge Dishwasher Safe Sealer and allow to dry each layer for 30 minutes to an hour.
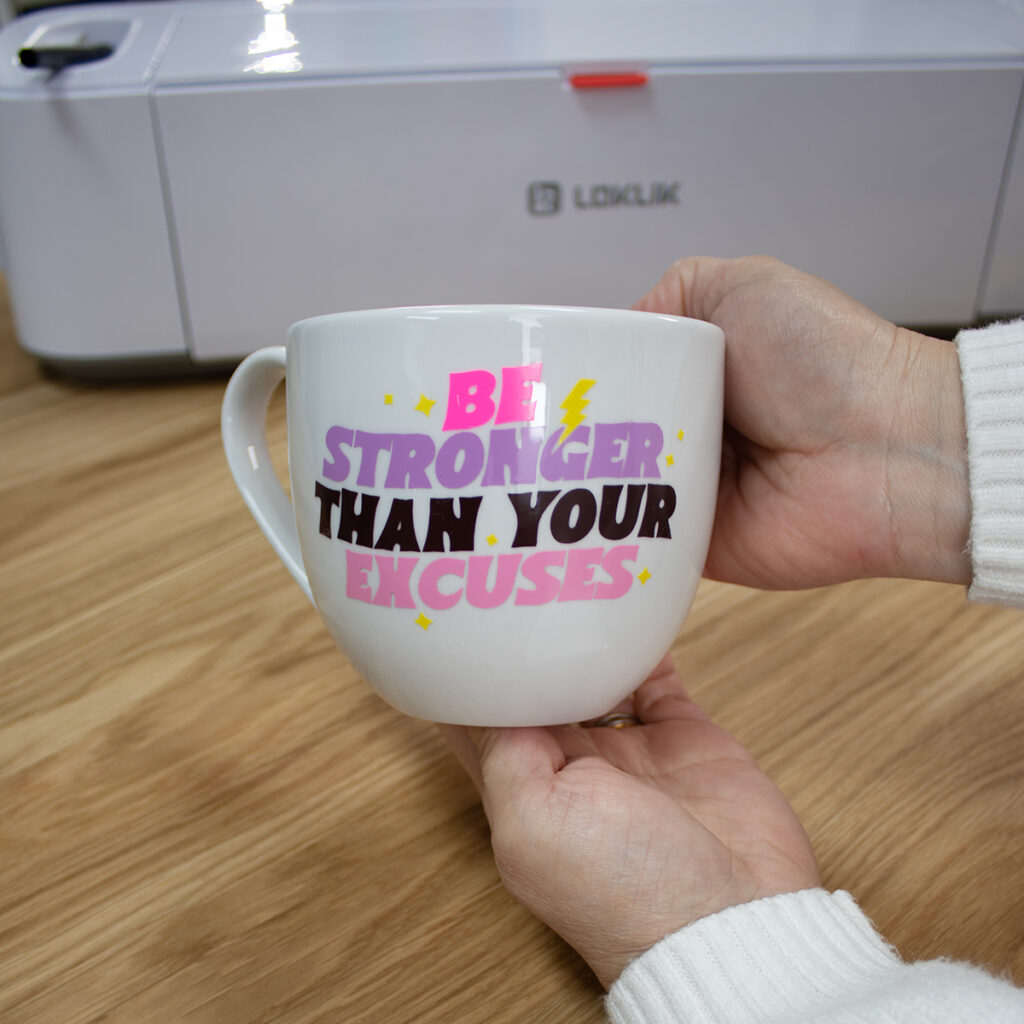
Be stronger than your excuses Mug

I also tried to cut permanent vinyl for a multicolour design.
For this, I used 5 different colours from the Permanent Vinyl Sheets & Transfer Tape Bundle of 40 sheets available at htvront.com here or Amazon UK here.
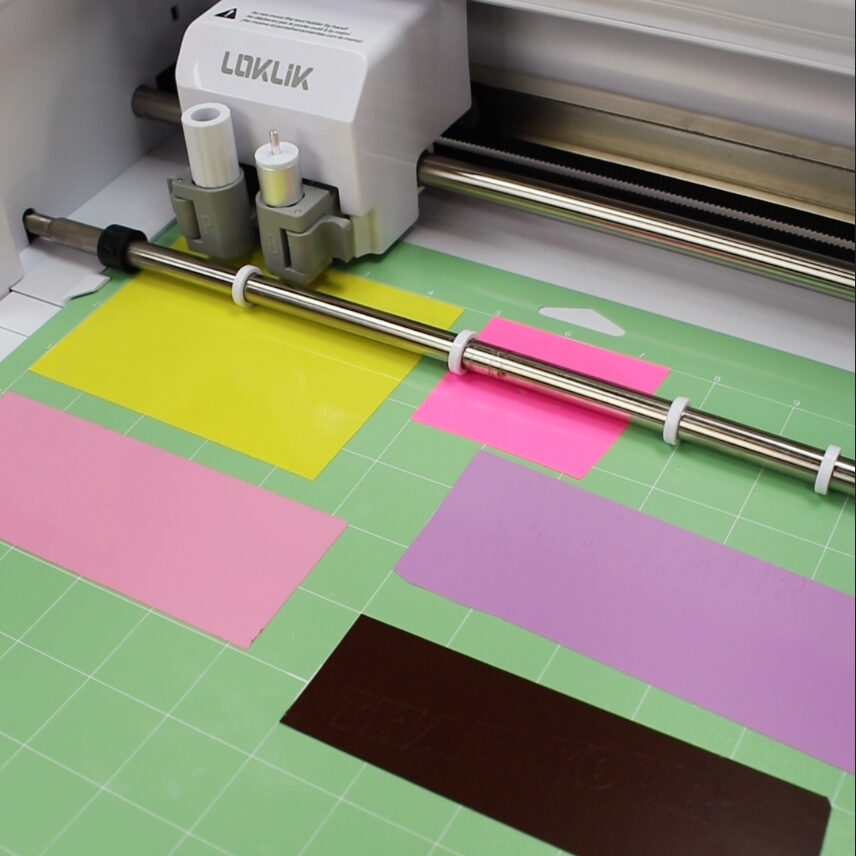
To save material and time I cut all the vinyl colours in one go.
- So I trimmed five pieces of different vinyl colours.
Each piece is long enough to accommodate each word. - Then, I placed them on the green sticky mat aligned with the grid and with the glossy side upwards.
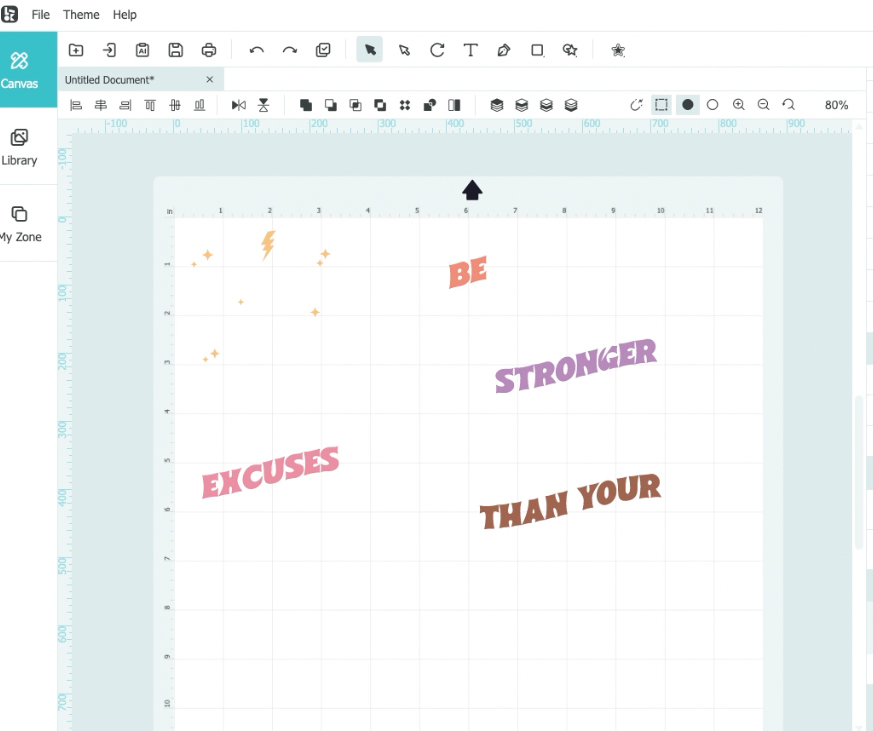
- I opened the Loklik Idea Studio / Sofware on my computer and I dragged into the canvas one of the quotes from the SVG here from Creative Fabrica.
- I used the Loklik Idea Studio canvas grid and the grid in the sticky mat as a guide to correctly place the digital words on the Idea Studio hoping to get them cut in the right spot and I did.
Then, I follow the steps to cut the vinyl which are pretty straightforward!
Once the vinyl was cut, I used Cricut transfer sheets to be able to stick word by word on a giant chocolate mug.
Done!
Dishwasher friendly?
No, the high temperatures of the dishwasher will damage the artwork made out of permanent vinyl.
However, my hubby put the mugs in the dishwasher using an eco-friendly setting (50 C degrees) and the design was intact.
He did put it again in a 70 C degree wash!!! I was sick and we wanted to kill bacteria and the word “FOR” fell off. I managed to put it back.
To preserve your artwork, you will need to add a sealer!
2 or 3 “thin layers” of Mod Podge Dishwasher Safe Sealer will help to keep the artwork for longer.
Allow each layer of sealer to dry for 30 minutes to an hour.
Thirsty for more?
That’s all for today.
Thanks for stopping by.
x
Bibi
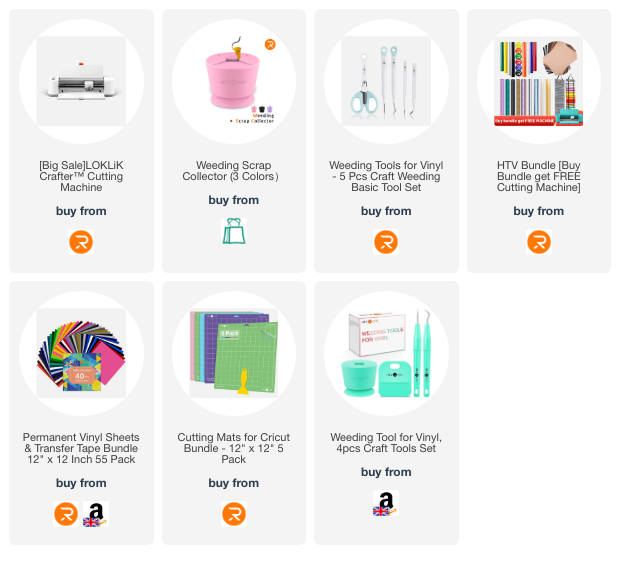
Supplies List
Affiliate links apply at no extra cost to you. Thanks for your support.


Leave a Reply