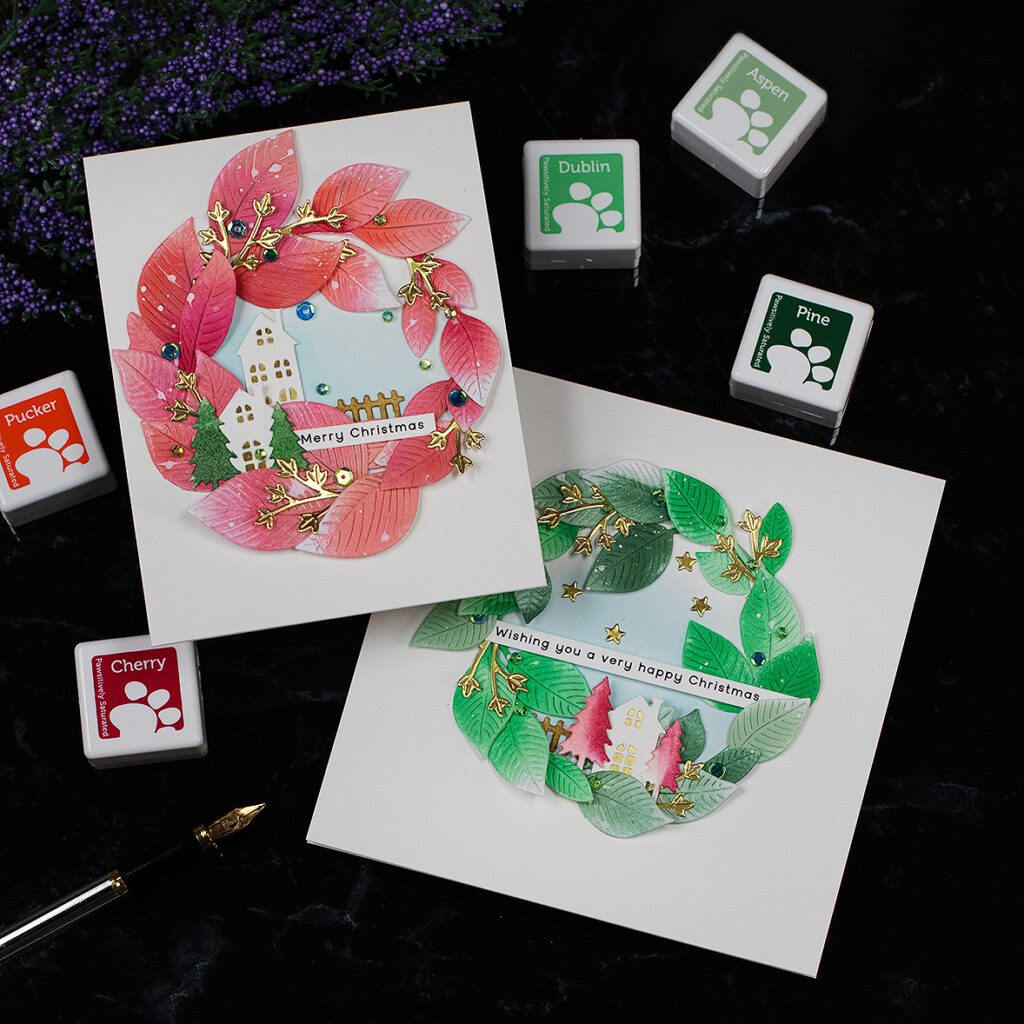
Hello Crafty Friends, I’m passing by to share cardmaking ideas and inspiration using supplies from the new Season of Wonder release by Simon Says Stamp.
I made 2 Wreath Christmas Cards to show you the new mini ink colours available ( yeah, I used them all), and some of the new dies!
To make these projects, I used the following products from this release:
- Abundant Leaves Wafer dies
- Winter Village Wafer Dies
- Green Trees and Red Berries Pawsitively Saturated ink cubes (set of 6 inks)
- SSS Sequins Green Trees.
- + Other various supplies from previous releases ( in the cards recipe below)
Instagram Hop + Giveaway
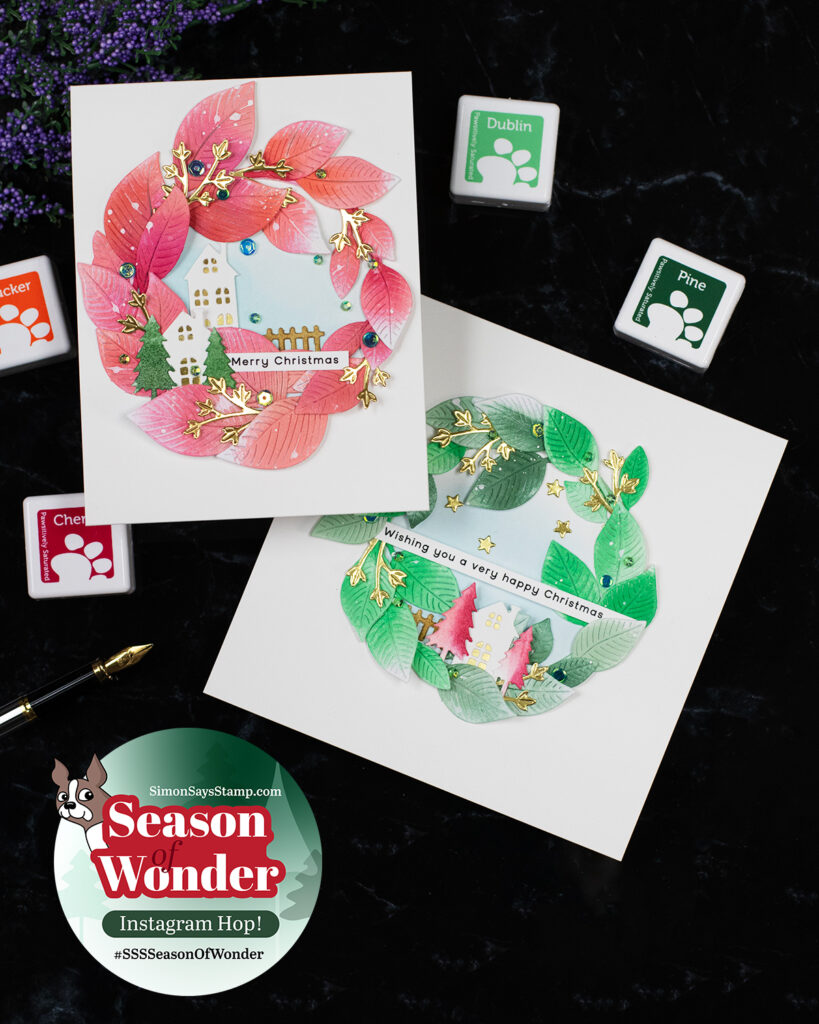
Today I’m also participating in a Simon Says Stamp release Instagram hop + Giveaway here.
Simon Says Stamp is giving away a $25 gift card at every stop on the Instagram hop (to enter you need to leave a comment over there)
As I know you like to see the process and the products in action, I made a reel for this hop.
I hope you like it and don’t give me a tell-off because it is very challenging to fit the whole process in 90 seconds.
However, I hope you have a very good idea of how I added colour to the die-cuts, how I shaped the wreaths, and how I used other little die-cuts to embellish.
CardS Recipe
- Abundant Leaves Wafer dies ( creates 3 leaves in different sizes)
- Winter Village Wafer Dies
- Stars Wafer Dies
- Sentiment Strips Christmas Wishes
- Spellbinders Everlasting Circles Etched Dies
- SSS Sequins Green Trees
- Simon Says Stamp Corner Ink Cube Holder
- Seafoam Simon Says Stamp Pawsitively Saturated Ink Pad
- Gathered Twigs Distress Ink
- Green Trees Pawsitively Saturated ink cubes set ( for the green wreath card)
- Red Berries Pawsitively Saturated ink cubes set ( for the reddish wreath card)
*** Find the complete supplies list here with thumbnails.
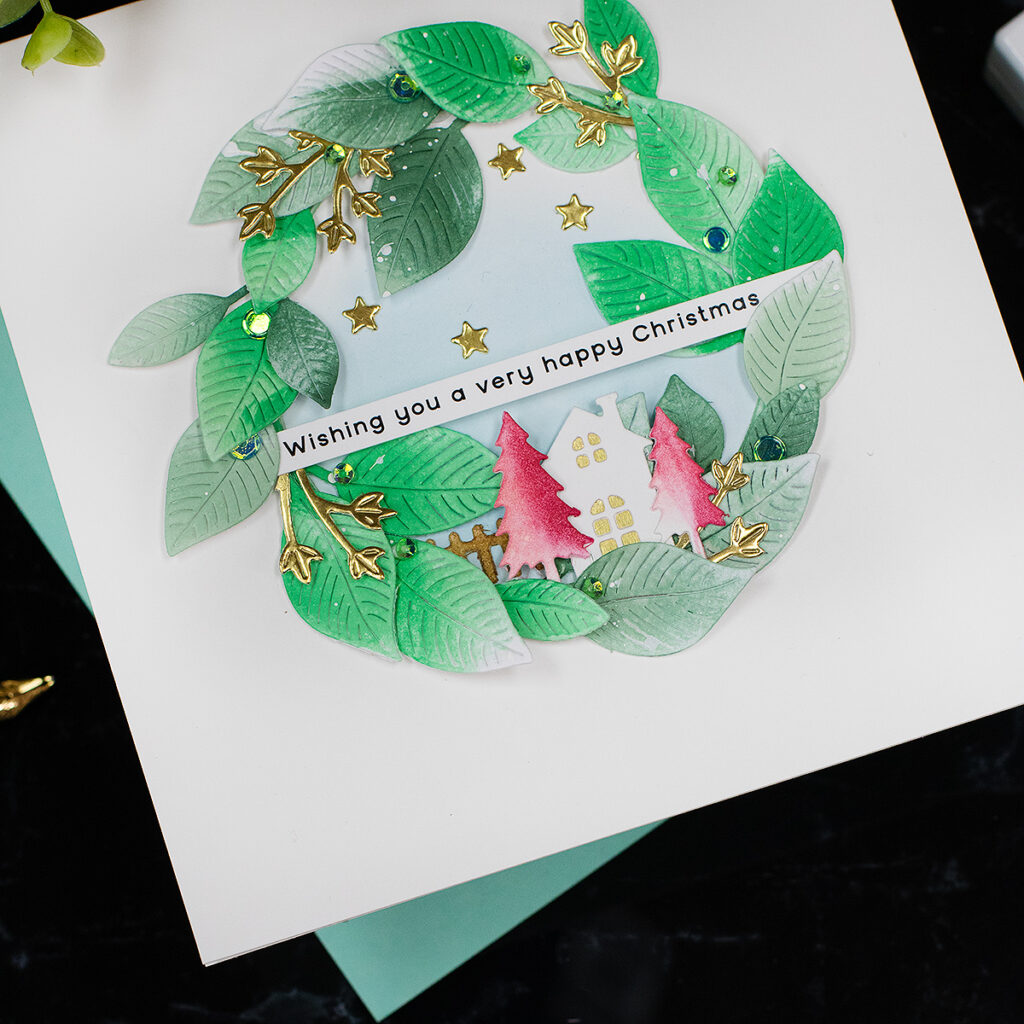
Green Trees Xmas Wreath
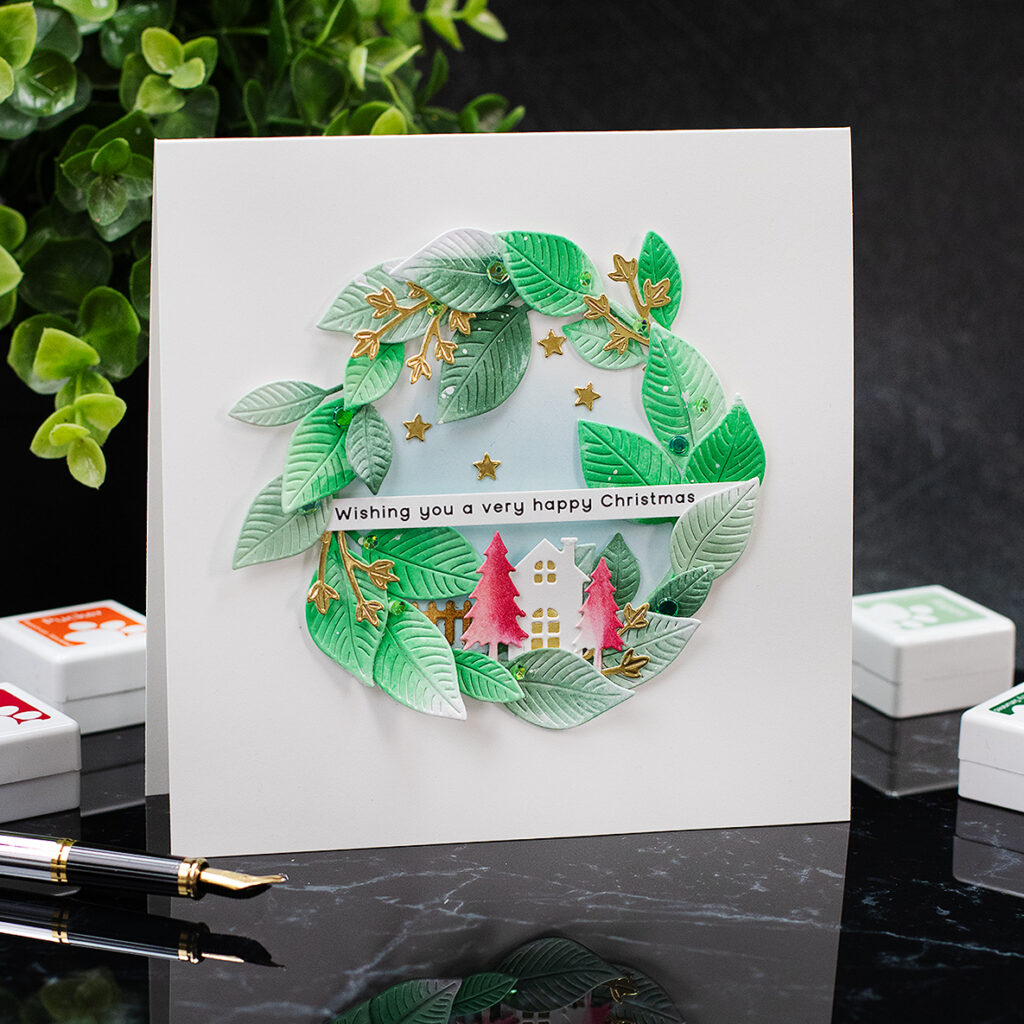
This is a 6×6 top-fold card.
The wreath measures about 4″ inches and to make it I combined the two smaller leaf sizes created by the Abundant Leaves Wafer dies.
By using smaller die cuts, it was easier to bend the paper and shape a smaller wreath.
I used all the inks included in the Green Trees mini ink cubes pack to add colour to the leaves.
For the little trees, I used the Cherry ink from Red Berries Pawsitively Saturated ink cubes set, and I used Gather Twighs Distress Inks to add colour to the fence.
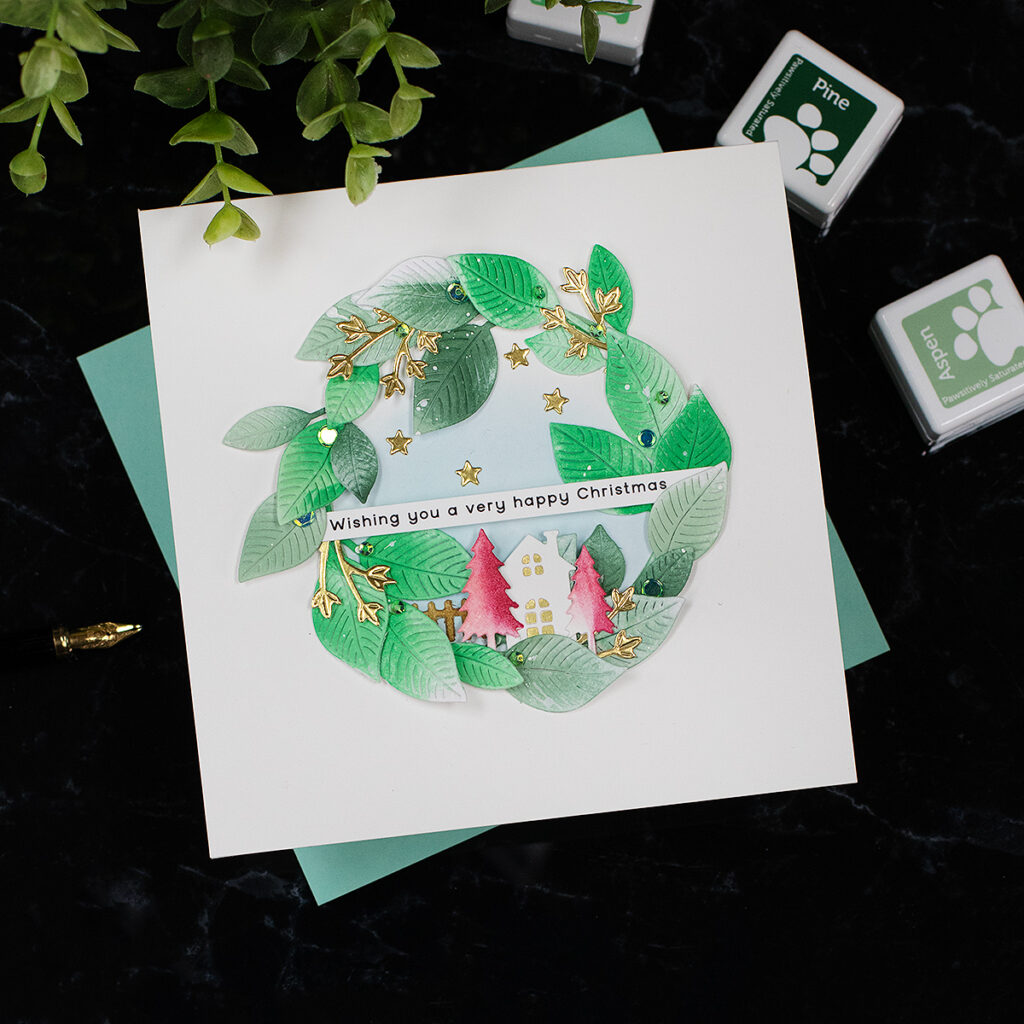
I also added matte gold die-cut leaves and Green Treess sequins to add interest and sparkle.
As you see in the video, I glued die-cut leaves into a die-cut circle frame and the paper was shaped (bent and trimmed) to fit the design.
Then, you see me using the negative space of the die-cut circle like a mask to add a hint of blue ink directly on the centre of the 6×6 card base.
Next, I glued all the elements over.
Red Berries Xmas Wreath
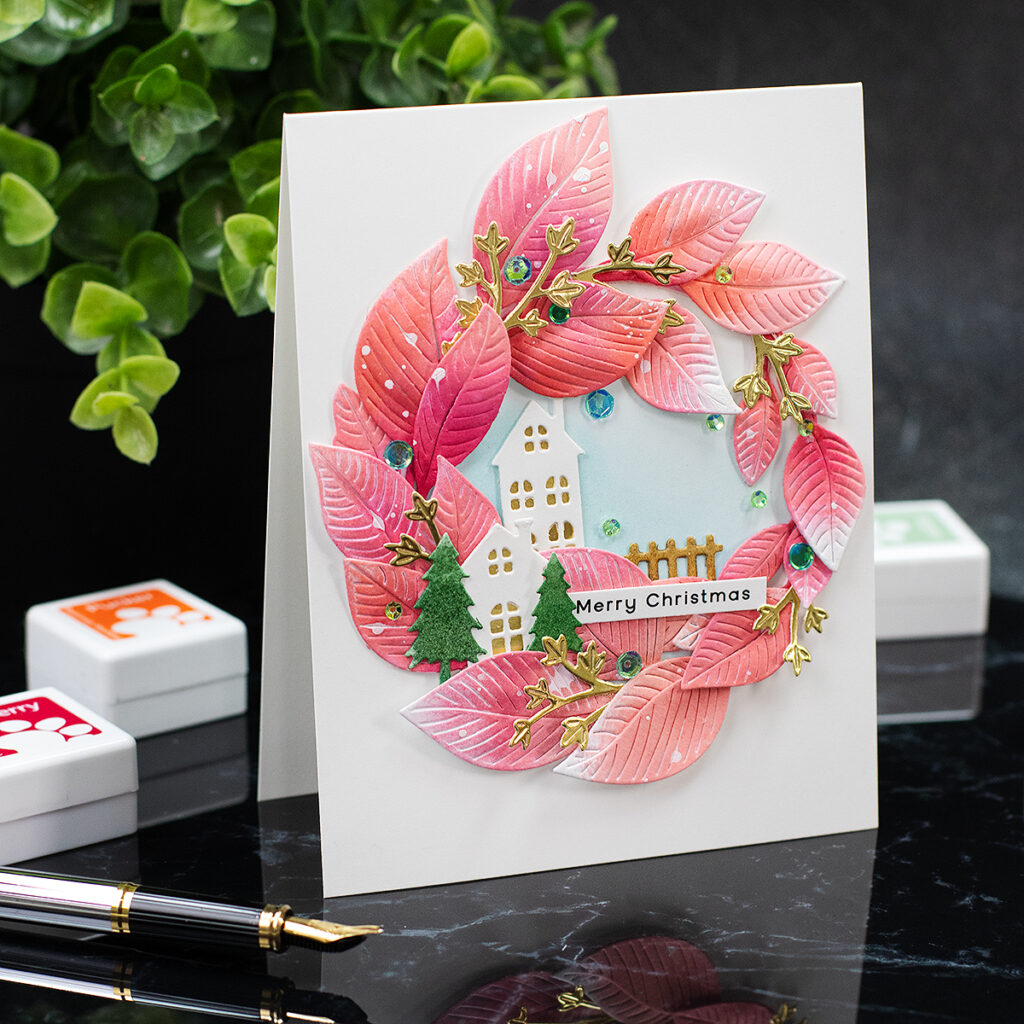
This is a 5-1/2 ” x 4- 1/4″ top-fold card.
The wreath measures about 4″ inches and to make it I combined the 3 different leaf sizes created by the Abundant Leaves Wafer dies.
you can use only one leaf design to create smaller or larger wreaths.
I also wanted to show you another option to colour the wreath and how it will sit on the front panel of a C6 ( 4-1/4″ x 5-1/2″) card.
Perhaps adding the little houses and details in a different way.
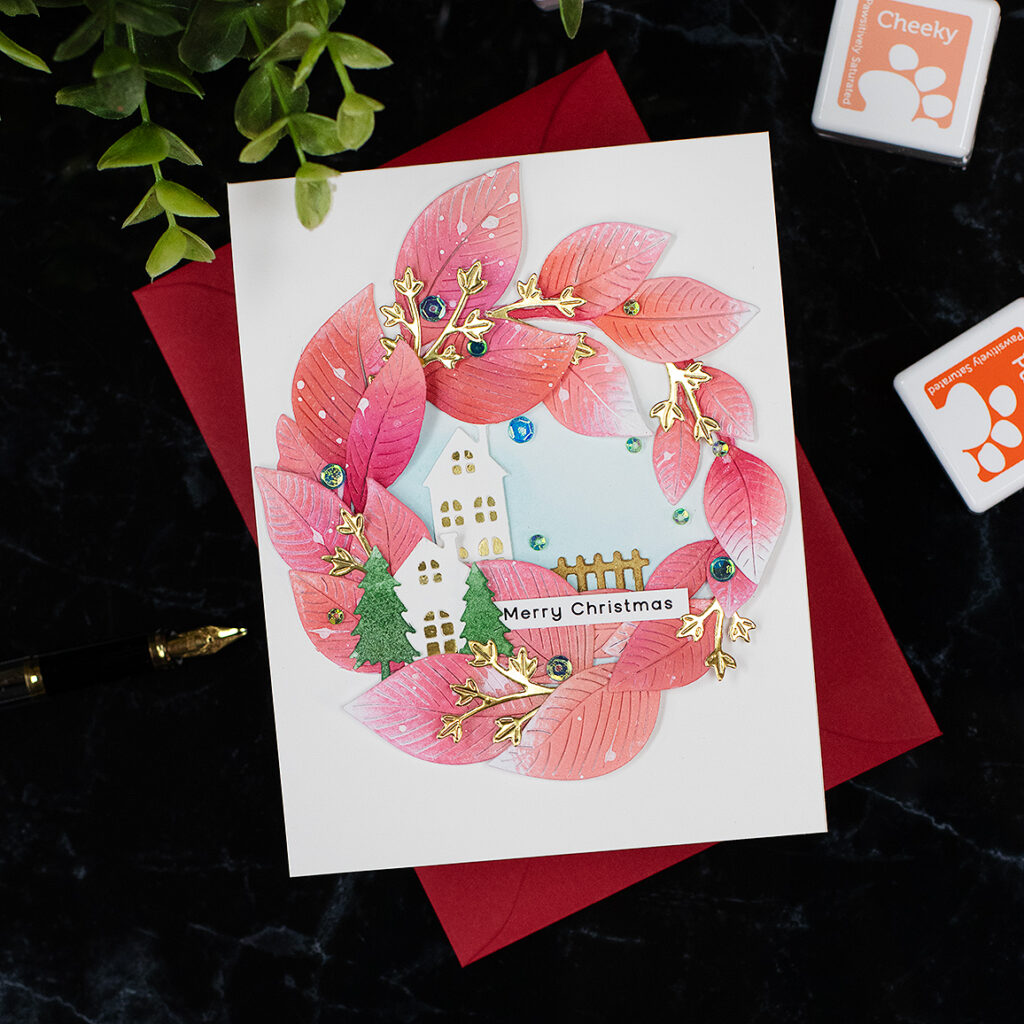
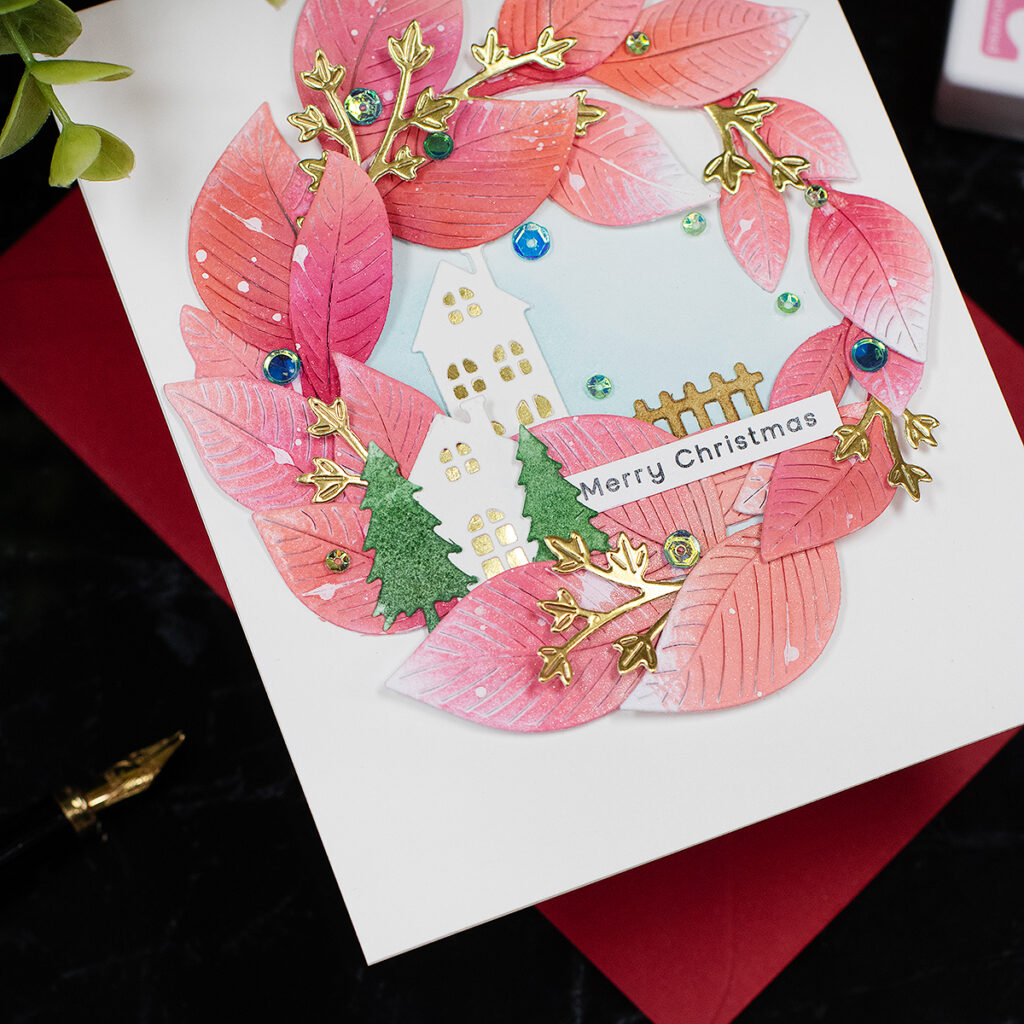
So I used all the inks in the Red Berries mini ink cubes pack to add colour to the die-cut leaves.
The little trees were coloured using Sage and Pine Pawsitively Saturated inks.
That’s all for today.
Thanks for stopping by. X Bibi
Thirty for more?
Supplies
Affiliate links apply at no extra cost to you. Thanks for your support,


Elegant and beautiful cards!!
Beautiful cards!
Absolutely love this!
very pretty!
Your wreaths are beautiful!!!
I love your simple wreath idea! Beautiful cards!