
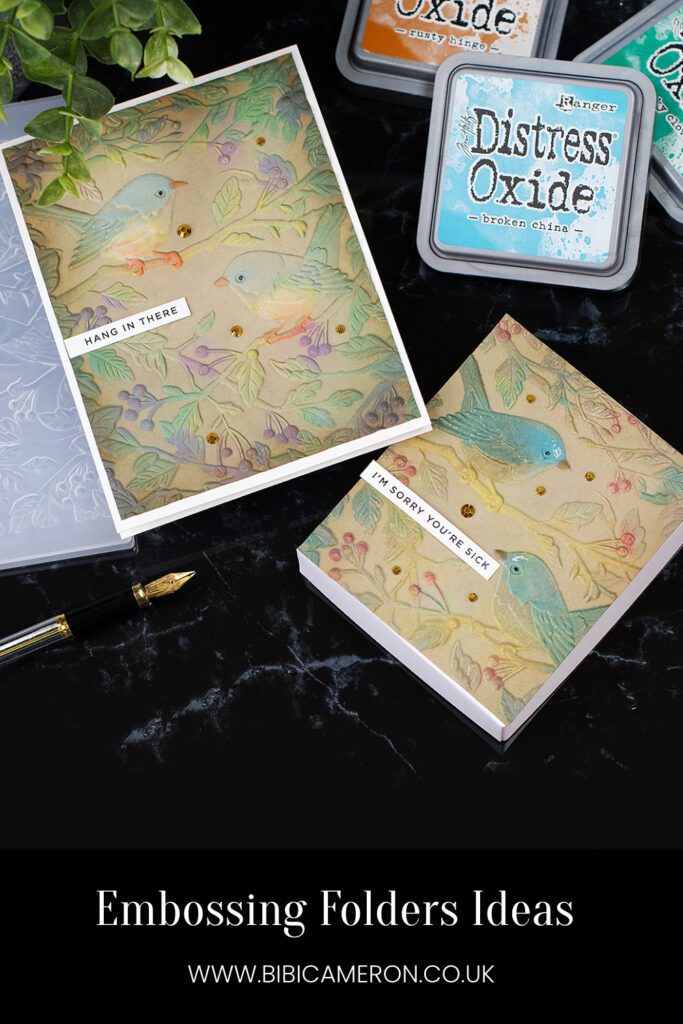
Hello everyone, last summer I was experimenting with Embossing Folders and Distress Oxide Inks and I’m passing by to share the results of what I consider an easy cardmaking idea and a fun technique.
You can use any embossing folder for the best results use any of the 3D embossing folders here for this card I used the absolutely stunning Friendly Birds Embossing Folder by Simon Says Stamp.
***Please read the whole post to not miss a thing.
The Cardmaking Process
Embossing Folders and Distress Oxide
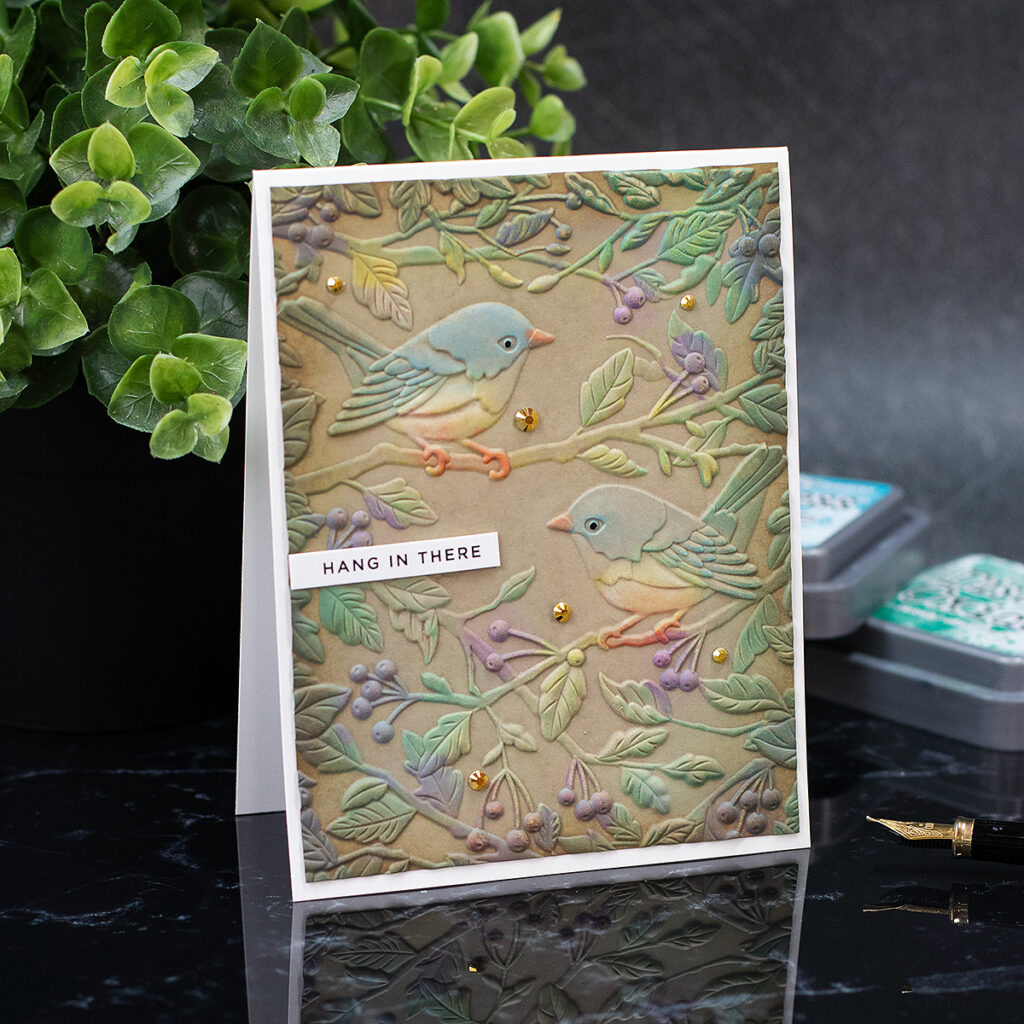
So the embossing technique consists of working with a slightly damp piece of sand-coloured cardstock and building up the colour by running the inked embossed folder as many times as necessary on the embossing machine.
As a result, you will get a very soft-coloured embossed image that in my opinion looks divine.
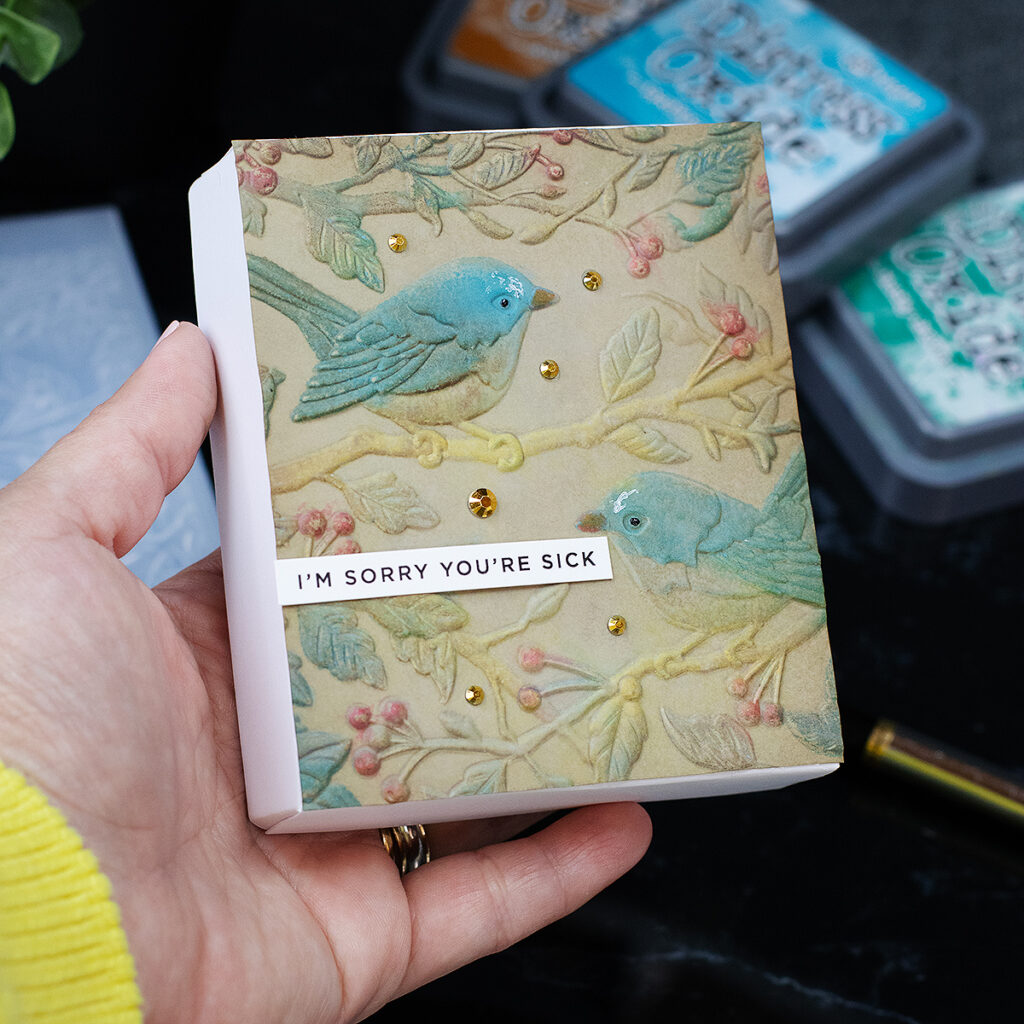
You can use the embossed paper on any type of papercraft project. I made 2 easy projects to share the process.
I’m sharing a video on my YouTube channel and on Instagram here so you can have a visual of the process.
What you see in the video:
- Use sand, beige, or dune, cardstock 300 grams.
- Spray the cardstock with water and keep the moisture during the process.
This will help to get a better-defined image and activate the Distress Oxide Inks. - Use Detail Round Blending Brushes to apply bright Oxide ink colours over the debossed side of the embossing folder.
- Work as quickly as you can and do not worry about doing it perfectly it is just a hint of colour.
- Place the paper in the embossing folder and run it through the die-cutting machine.
- To remove the excess ink over the embossing folder, wrap a clear block (or something flat) using dry kitchen paper.
Depending on the level of detail of the embossing folder you might need to re-emboss the paper various times to build up the colour.
*** For the project today, I passed the paper 3 times through the embossing machine as shown in the video. - Allow the paper to dry well and watch the inks oxidize.
In my video, the paper was still a little bit damp when I adhered to the card base. The inks look a lot softer once everything is dry
Notes:
- This technique will give a very subtle and sweet look and feel to the embossed image.
- In my opinion, this technique doesn’t work well on white or black cardstock.
- Behind the scenes, I tried different paper colours and qualities, as well as different ink colours.
- I used Dune Spellbinders cardstock, which was the best paper choice to do this.
- The brighter inks gave me better results.
- Of course, we can keep experimenting.
Die die-cutting machine used
- To use 3D embossing folders by Simon Says Stamp, I use the new spellbinders die-cutting machine with the plates for the old version of this machine + a metal shim + an A4 sheet of paper (250 grams) folded in half).
- This sandwich will also work with the big shot, Cuttlebug Bug and similar machines.
It provides the perfect pressure to work with Simon Says Stamp 3 D Embossing Folders
Card RECIPE
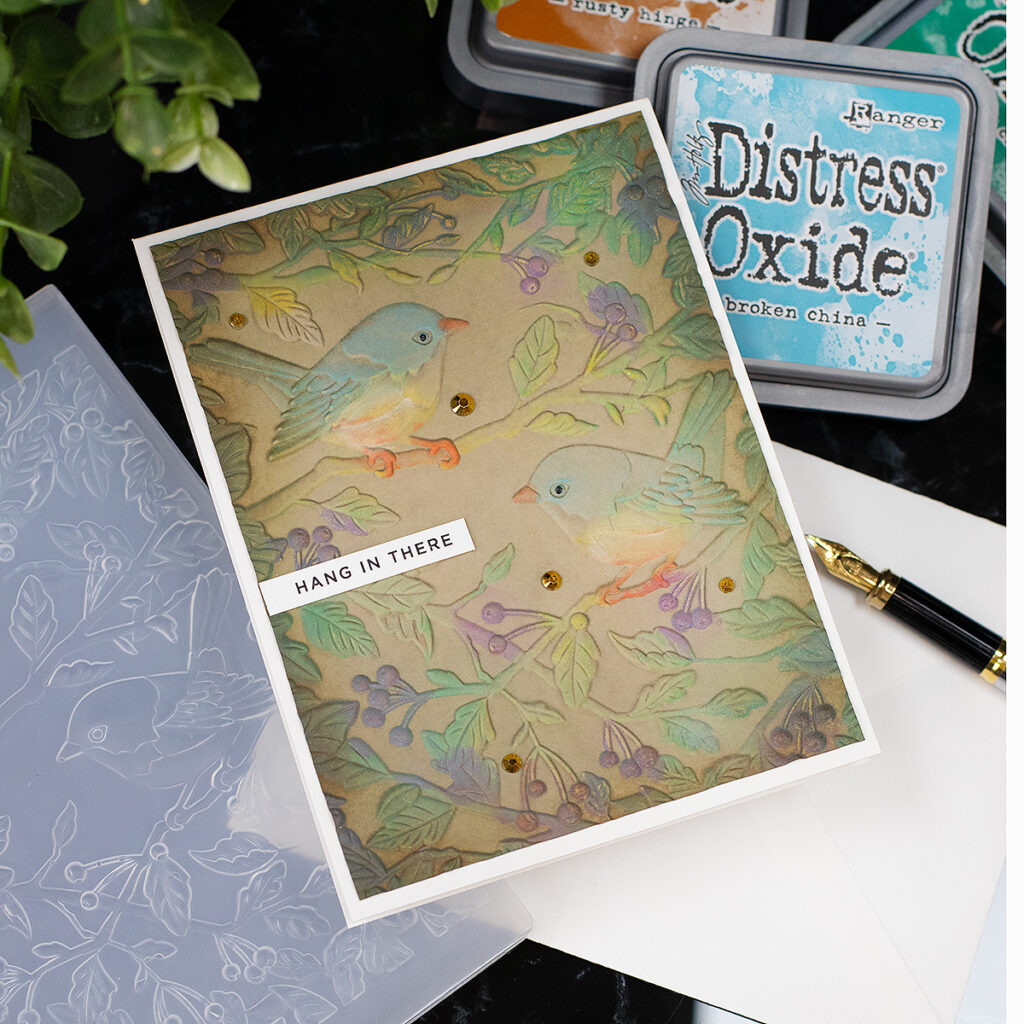
- Sand, beige, dune cardstock 300 grams
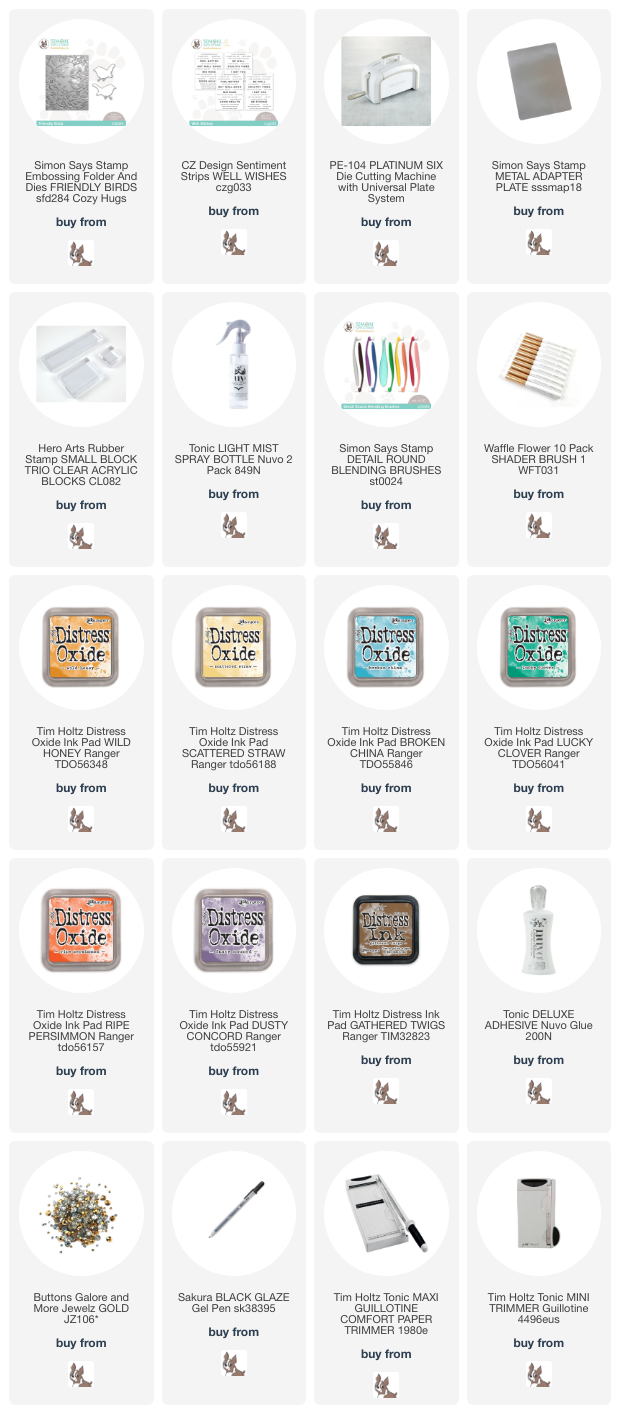
- Friendly Birds Embossing Folder by Simon Says Stamp
- CZ Design Sentiment Strips WELL WISHES ( sentiments)
- PLATINUM SIX Die Cutting Machine + Old die cutting machine plates + Simon Says Stamp metal adapter plate
- Gold Gems
- Detail Round Blending Brushes
- Clear Block and dry kitchen paper ( to remove excess ink from the embossing folder)
- Nuvo Deluxe Adhesive
- Sakura Black Glaze Pen (bird eyes)
Tim Holtz Distress Oxide Inks:
- Wild Honey
- Scattered Straw
- Broken China
- Lucky Clover
- Ripe Persimmon
- Dusty Concord
- Gather Twigs Distress Ink ( to add over the edges of the final piece)
Pin Me
Thirsty for more?
That’s all for today.
Thanks for stopping by.
x
Bibi
Supplies
Affiliate links apply at no extra cost to you. Thanks for your support.


Did you use the raised side or indented side of the folder?
hello, the indented side. x
This is absolutely gorgeous!
Beautiful technique!
What a beautiful card with great pictures, video, and written instructions – all totally understandable. Do you have to use Distress inks?
Thank you . You can always try using what you have but the Oxide Inks gives you a very particular look and feel – hard to get – maybe try acrylic paints o opaque inks or paint