
Hi crafty friends, I’m passing by to share a supper dupper easy gift/ treat box idea using the new Floral Medallion Wafer Die by Simon Says Stamp.
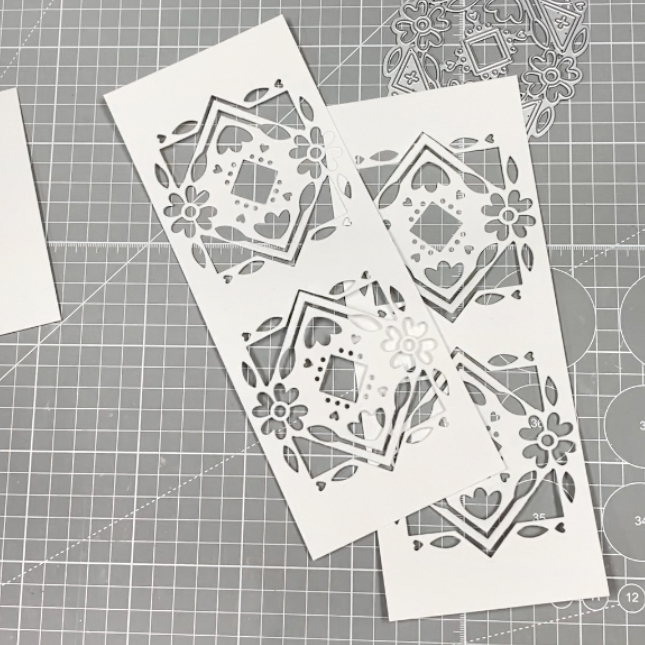
The Floral Medallion Wafer Die cut the paper in a very interesting way. I was intrigued!!
I couldn’t resist making a 3D project.
Xmas Gift / Treat Box idea
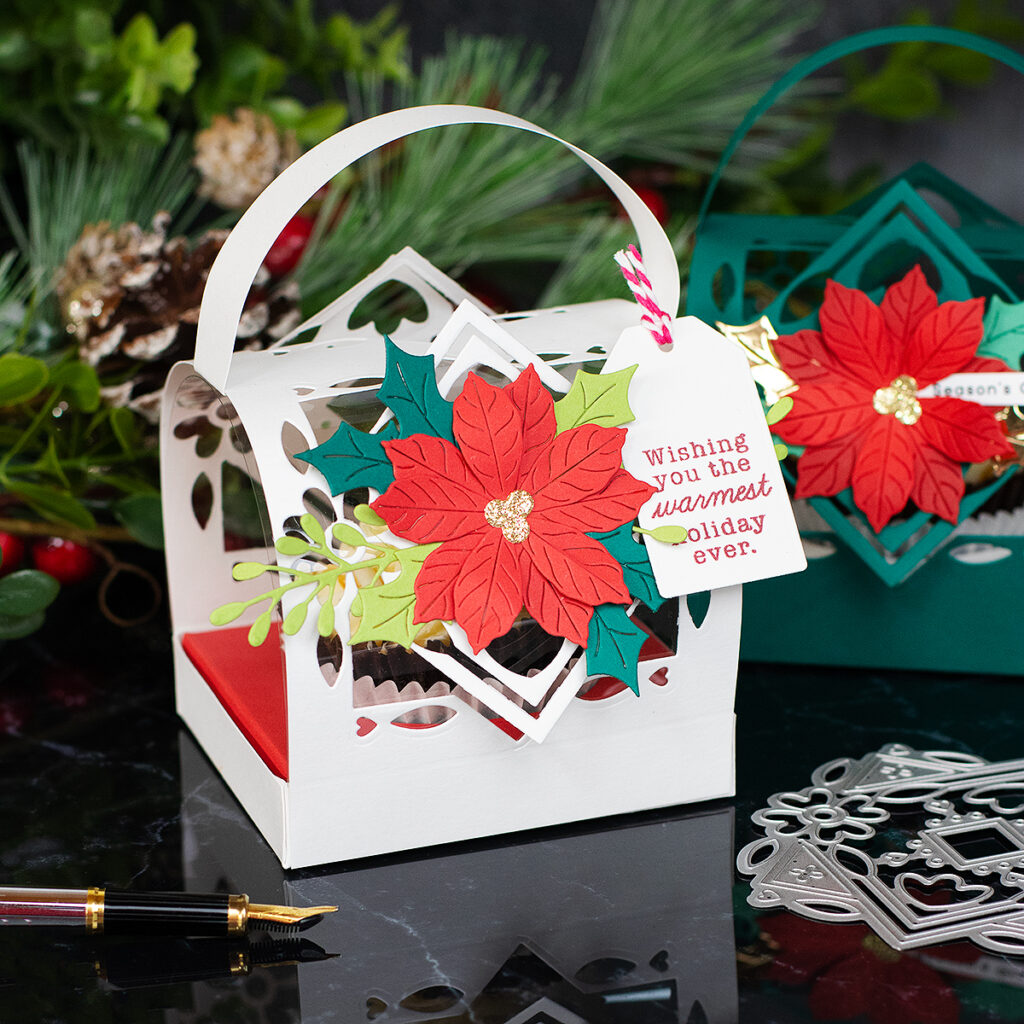
This box measures 3-3/4″ x 3-1/4″
I die-cut an insert to add a cupcake inside the box to give you extra ideas.
You can use this little box as decorative packaging for any small gif, treat, or party favour.

Box Recipe
- Floral Medallion Wafer Dies ( Box die-cut pattern)
- Metal shim to ease the die-cutting.
- Christmas Bird Poinsettia Etched Dies ( poinsettia and foliage die-cuts)
- CZ Design Wafer Dies Nested Tags ( little tag)
- Everlasting Circles Etched Dies (die-cut circle in the box base)
- Christmas Kitties stamp set ( sentiment in the tag)
*** Find the complete supplies list at the bottom of this post.
Any Occasion Gift / Treat Box idea

So here is a visual of the box using a more generic topper made using Detail Meadow Butterfly wafer dies and The Best Friend Sentiment Strips ( banner).
You can make this box using any cardstock colour.
I love the look and feel of the box by itself.
To customise it for any occasion you can add any topper made using any die or stamp set from your stash.
This is just a sample, the sky’s the limit.
Box Instructions
To make 2 boxes, you need 2 sheets of cardstock.
One is to create the die-cut top part of the box and the other one is to create the base box.
Then you need to trim and score the paper to the sizes below:
- Box top : 3-3/4″ x 9-1/2″ score at 3/4″ on both ends.
- Box base: 5-1/4 “x 4-3/4″ score at 3/4”
- Insert: 5-1/4 “x 4-3/4″ . Trim 1/16” from the sizes of this piece before scoring at 3/4′
- Box Strap: 7″x 3/4″ score at 1/2″ on both ends.
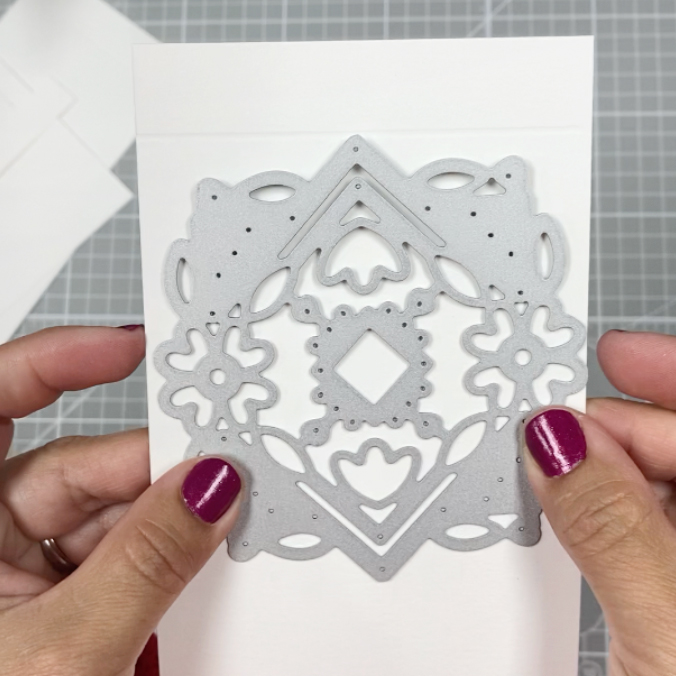
You will need to die-cut the box top piece twice using the Floral Medallion Wafer Die.
To do this, align the flowers in the die with the paper edges and the edge of the die with the scoring line at the ends.
Fold and trim the corners of the box base piece to give it shape.
Glue the top piece over the base aligning the edges of both pieces.
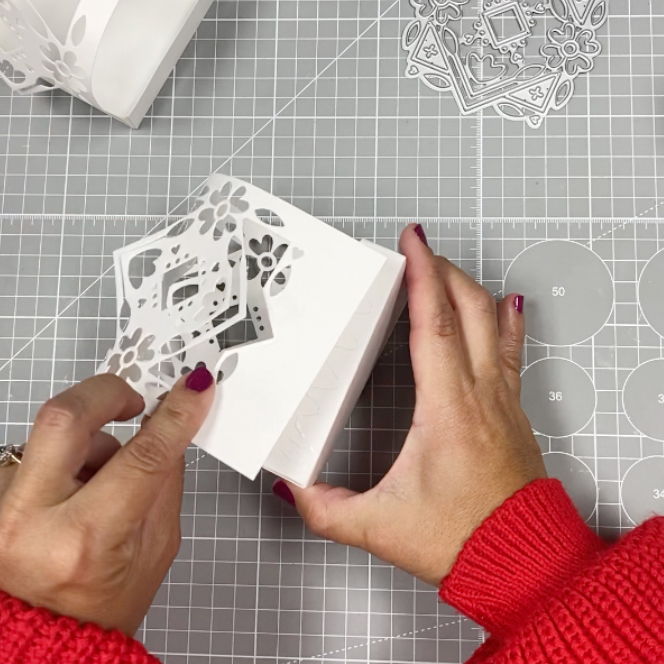
Next, use a bond folder to brake the fibres of the piece to make the strap and fold over the scoring lines at both ends to then adhere the strap on the top of the box.

You can add a piece of acetate inside the box if you want to.

To create the insert all you have to do is to fold and trim the corners of the insert piece to give it shape and place it inside the box ( you don’t need to adhere the corners).
Bear with me, I’ll be sharing a video on my Instagram account to show you the process when possible.
I have 10 videos in the queue!! Nooo. Holidays and motherhood aren’t a good match for blogging.
Pin Me

That’s all for today.
Thanks for stopping by.
X Bibi
Thirsty for More?
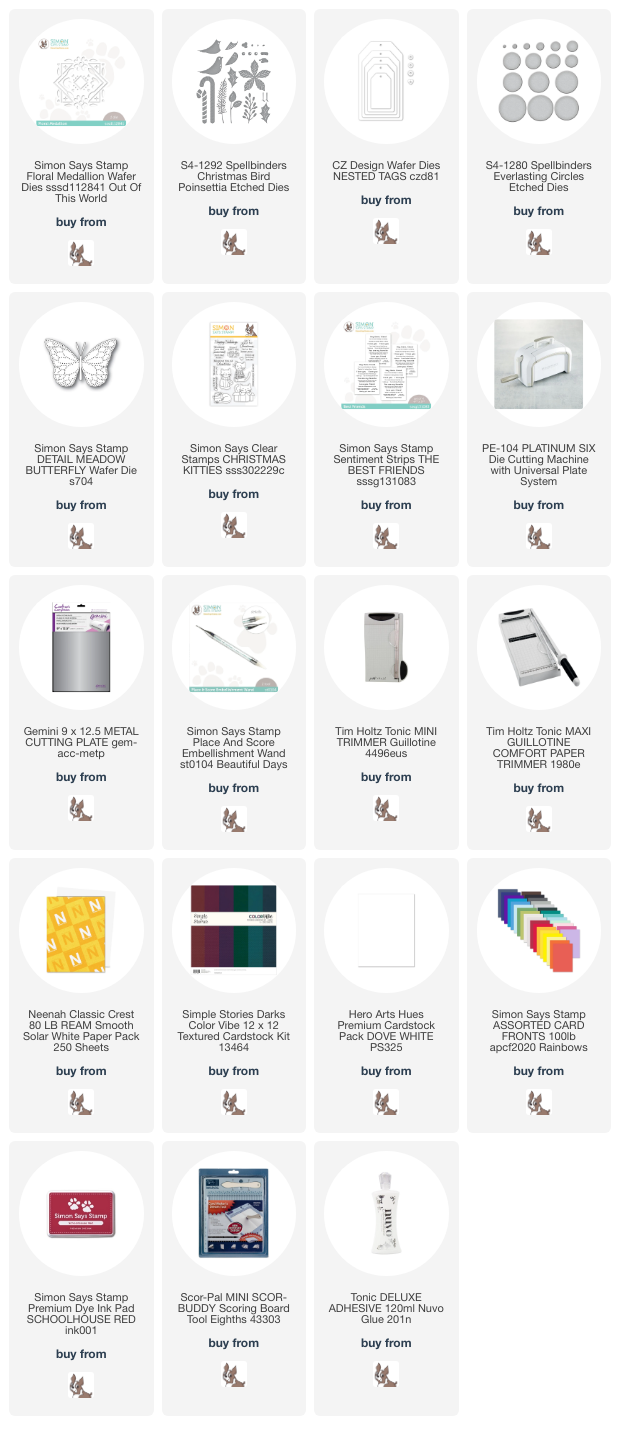
Supplies
Affiliate links apply at no extra cost to you. thanks for your support.


Love the box for holiday treats. Also loved the lantern you did from Tonic studios. It’s an older die and I can’t find it.
Fabulous idea for making cupcake holders – adds so much more to the gift! Thank you!