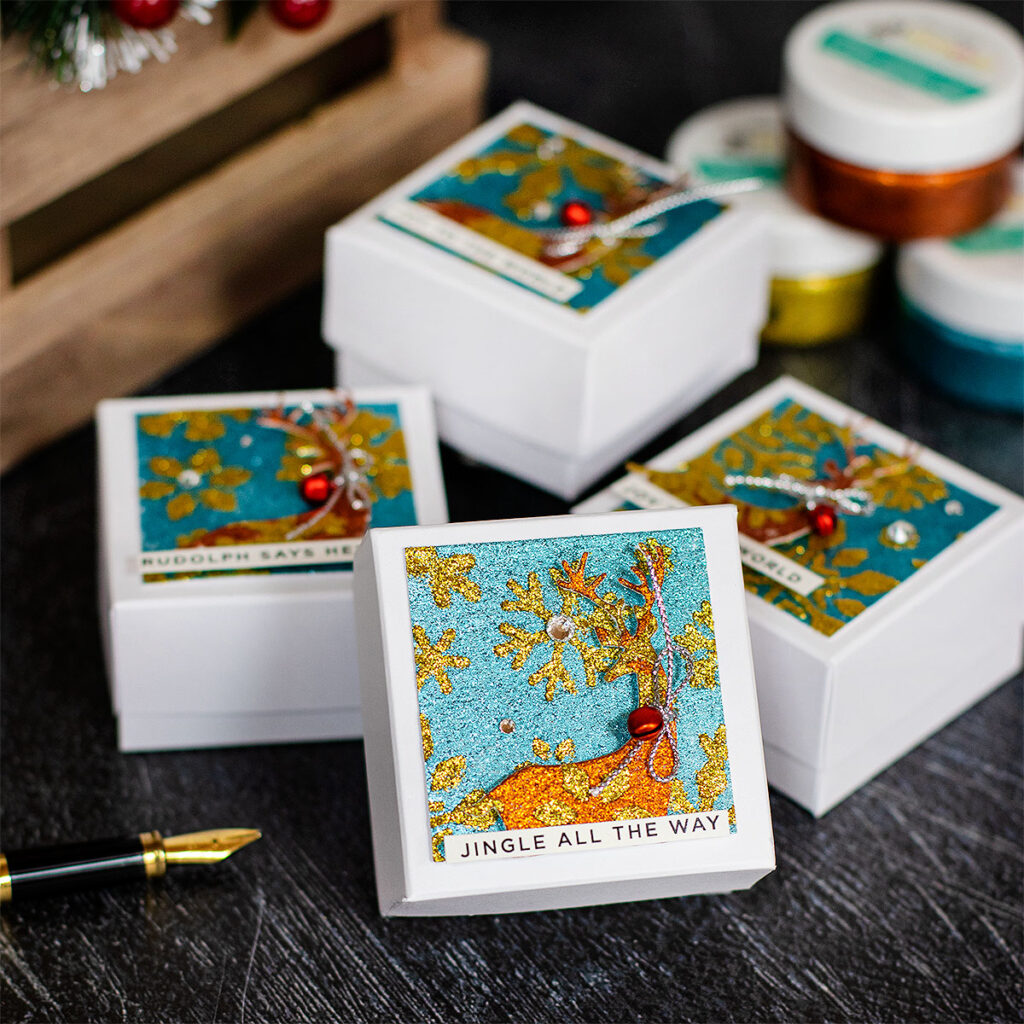
Hello there, today I’m sharing a couple of ideas using the new Simon Says Stamps Therm O Web – SSS Glitter Gels
The SSS Glitter Gels come in a pack of 6 colors: Cherry, Sherbet, Citrine, Perfection, Surf, and Amethyst.
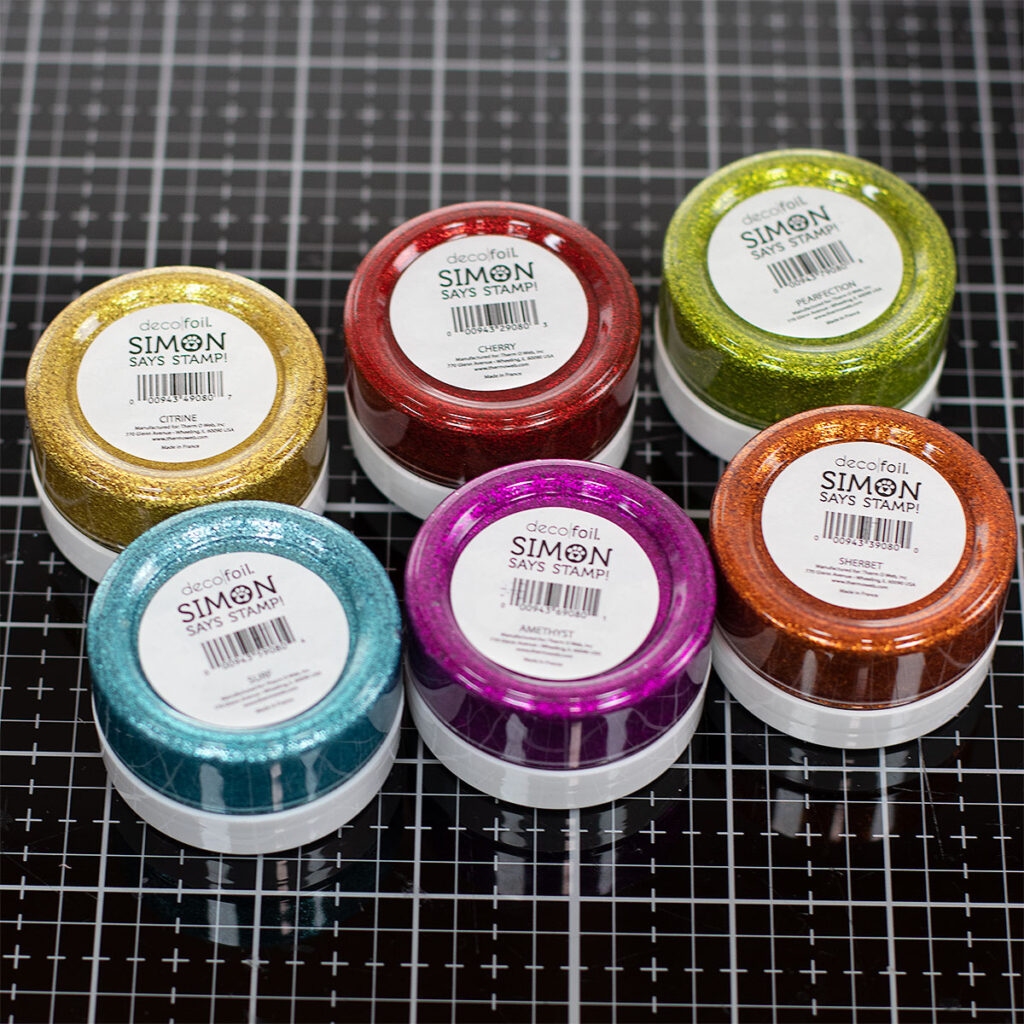
The drying time of these gels is around 30 minutes but you can use a heat tool to speed the drying process. When I did it, I was able to smell a lovely citrus scent. I thought to myself .. hmm this smells yummy.
The colors are gorgeous and these gels are good to:
- Use with stencils.
- Add accents.
- Add a stunning and an unique texture, color, and shine to cardstock .
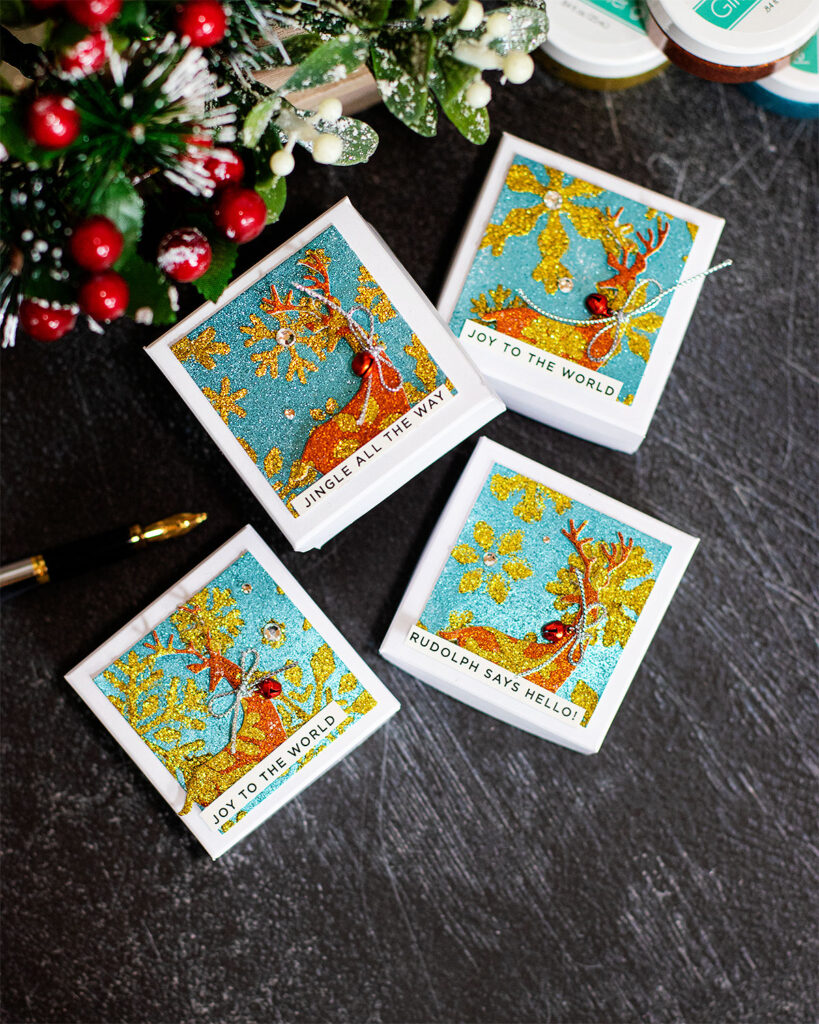
When painting cardtock usind the gels you will create glitter paper that can be used as a background of a project or to die-cut accents, words, and shapes.
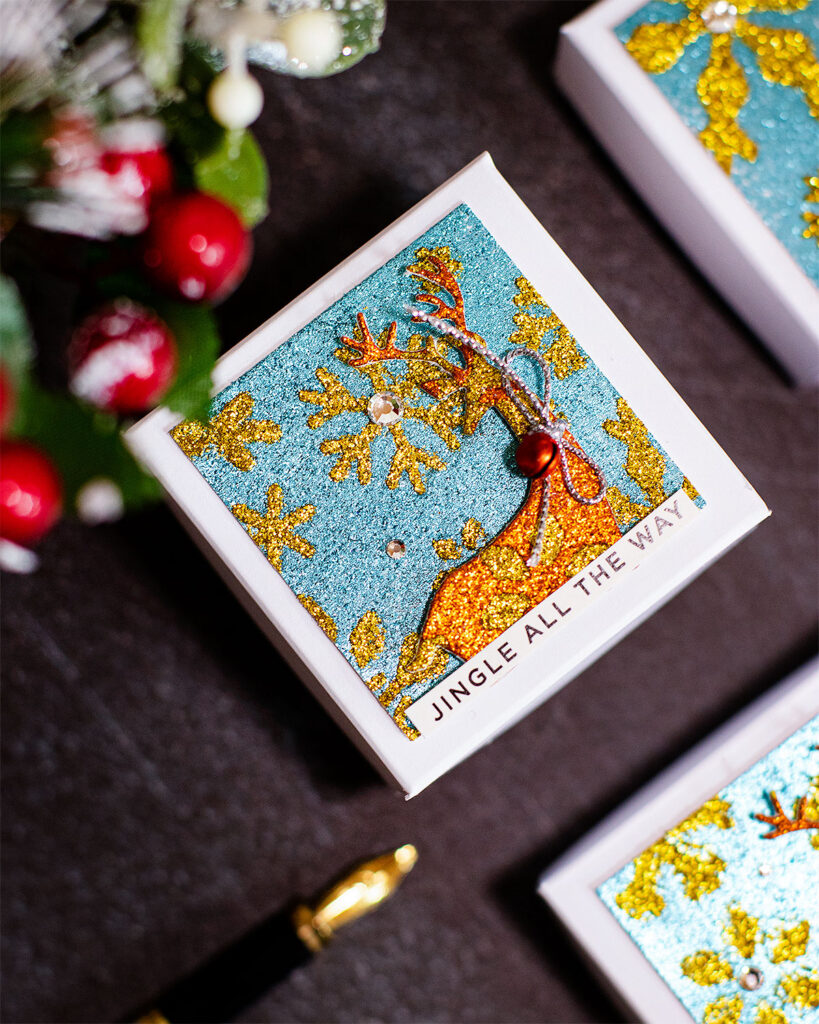
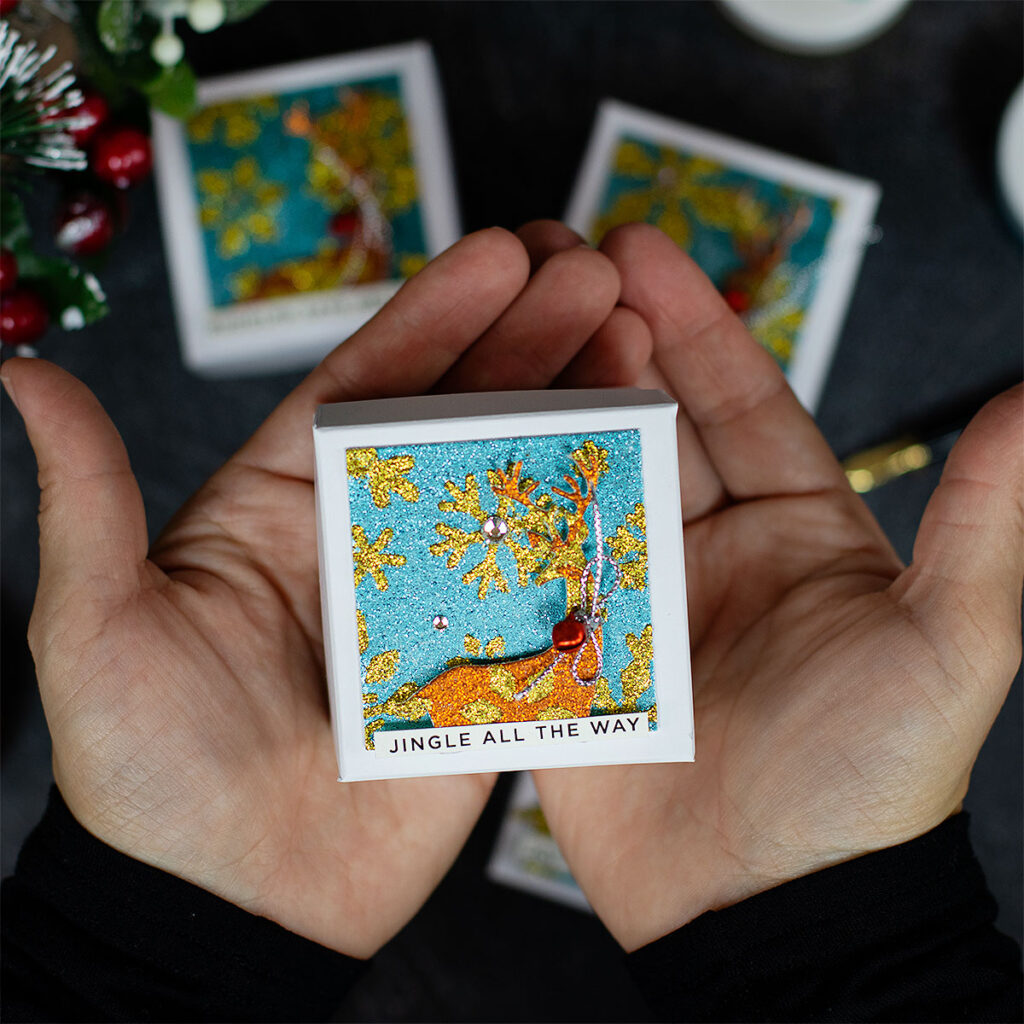
I used the DIY glitter paper to create a background for a gift box topper, and I also die-cut a reindeer out of this paper to create a decorative element.
Easy Peasy!
The Process
- First, I used a brush and Surf ( blue) glitter gel to paint a piece of 300 grams of cardstock.
- Then, I used a heat tool to dry the paper .
- Once the paper was dry, I used the Snowflakes Background Stencil by Waffle Flowers , a palette knife, and the Citrine ( gold) glitter get to stencil the snowflakes over.
- I did the same on another piece of paper but I painted it using the Sherbet (orange) glitter gel and I did stencilling using the Citrine ( gold) glitter gel.
- Then, I die-cut that piece using the Spellbinders die cutting machine and one reindeer from the Tim Holtz Sizzix DARLING DEER Thinlits Dies.
The reminders are foam mounted on the box topper and I glued the banner on the bottom part of the reindeer using Nuvo Deluxe Adhesive.
Watch 2 minutes-video below to see the cardmaking process
Making The Mini Gift Box
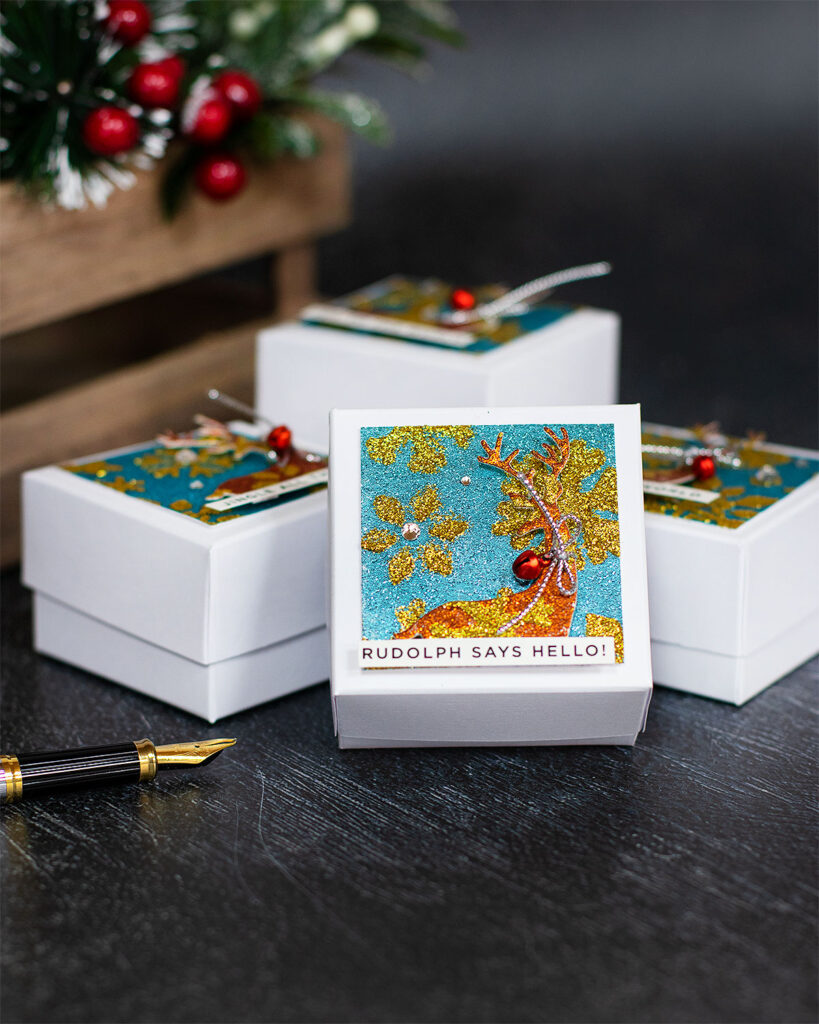
This box measures 2-1/4″ x 2-1/4″ inches and it is 2″ inches deep.
- To make the base of the box, I used the Envelope Punch Board and a 6″x6″ piece of paper.
- I punched and scored at 2″ and 4″ over the 4 sides of the paper.
- Then, using scissors I trimmed the corners and shaped the box.
- I glued the box using Nuvo Deluxe Adhesive.
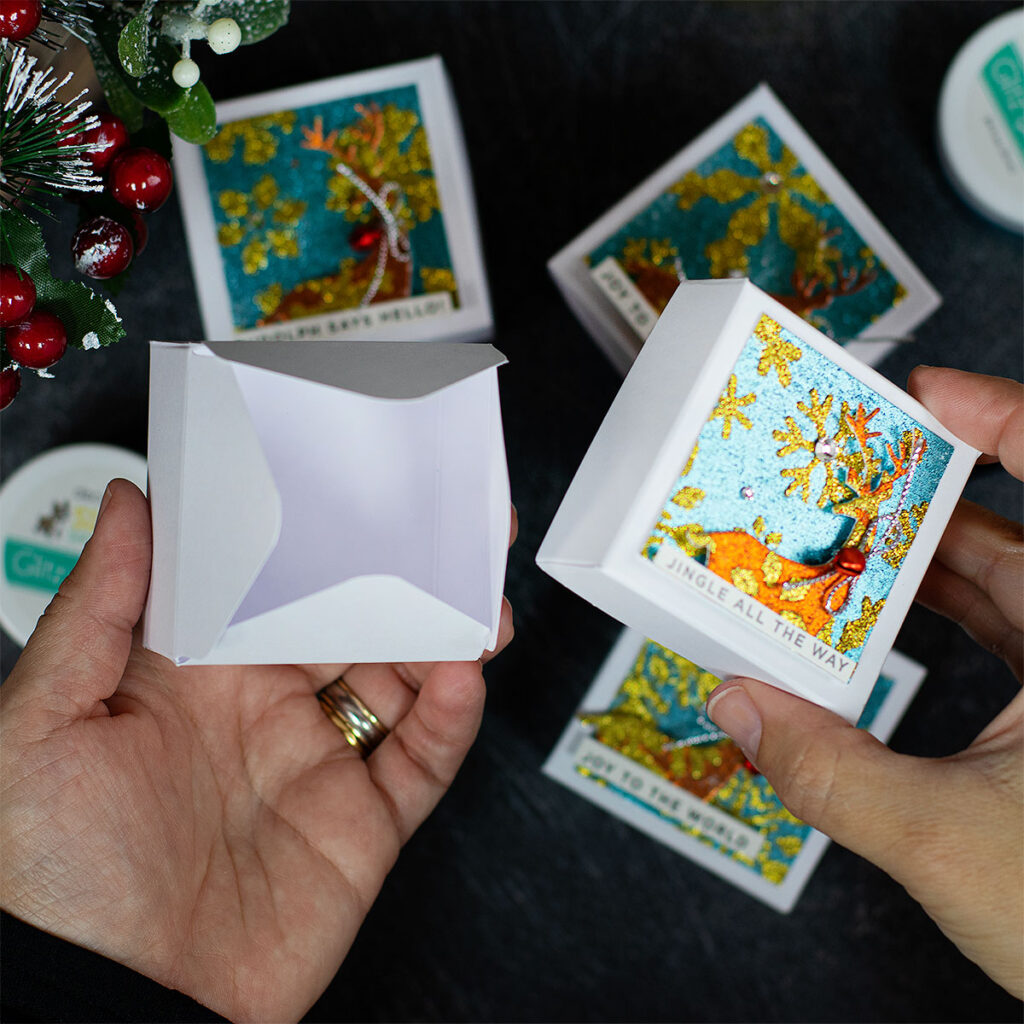
- For the box lid I used a 4-3/8″ x 4-3/8″ inches piece of cardstock
- Then, using the Mini Score Pal, I scored at 1″ inch all around the edges.
- To finish, I trimmed the corners and shaped the box.
- I glued the box lid using Nuvo Deluxe Adhesive.
Finishing Touches
- I embellished using silver cold and a small jingle bell.
- To make the banners, I used pre-printed sentiments from the Sentiments Strips Christmas pack.
- To add even more blink I added, Spellbinders SILVER MIX Color Essential Gems
Thirsty for more?
Click on the images to see more ideas using supplies from the latest Simon Says Stamp Release #SSSHandmadeHoliday
That’s all for today.
Thanks for stopping by.
X
Bibi
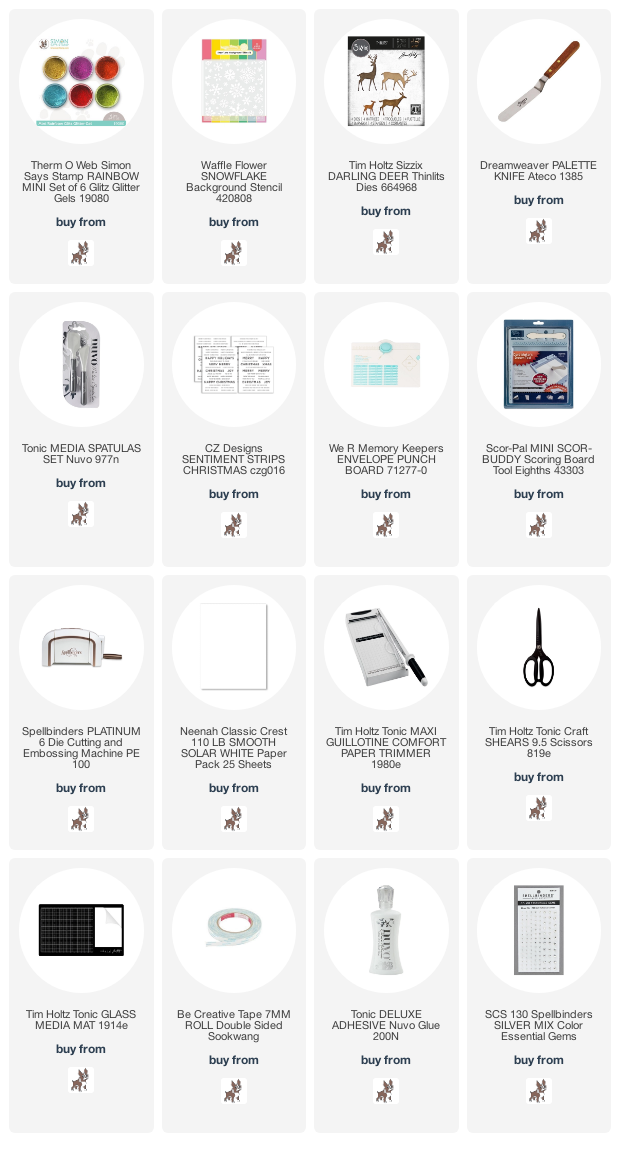
Supplies
Affiliate links apply at no extra cost to you. Thanks for your support.



oh my goodness, those are the cutest little boxes ever
Love these! Lovely, Bibi.