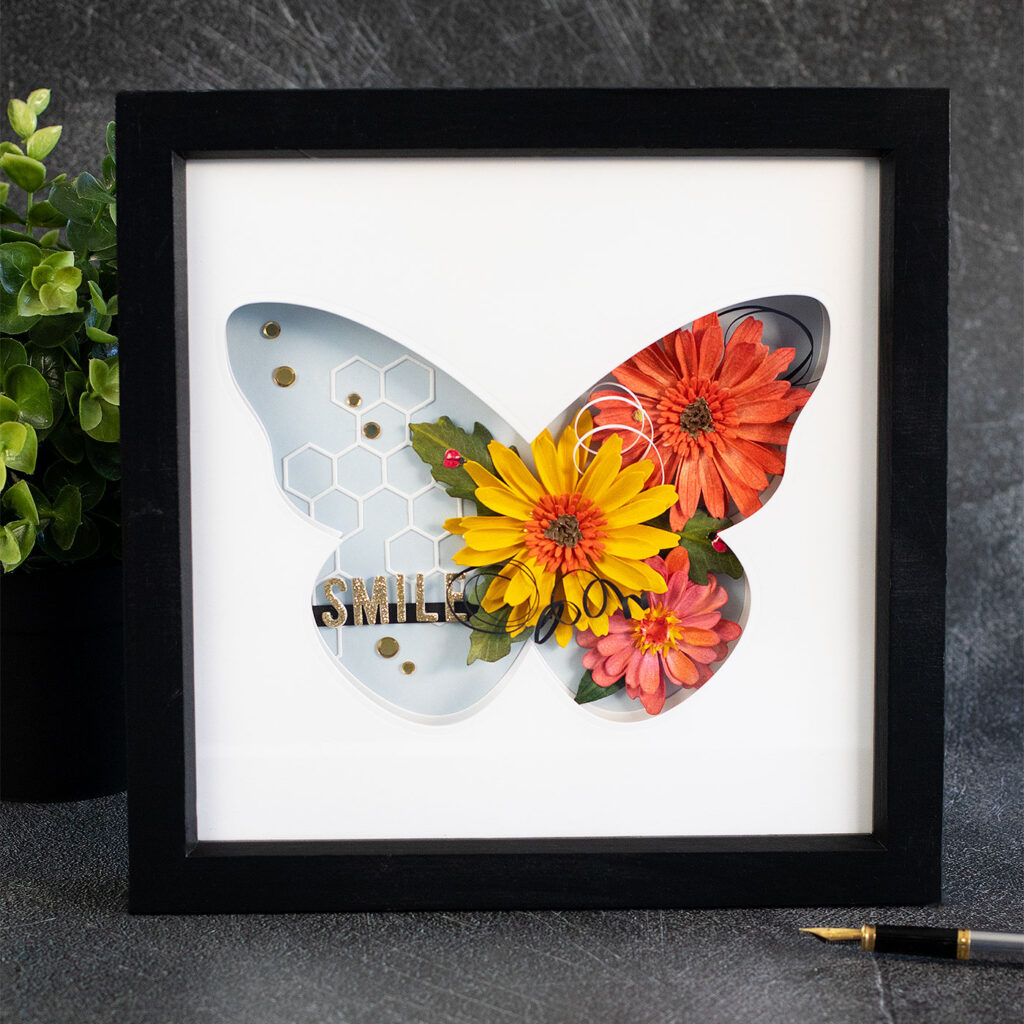
Hi crafty friends, I had so much fun creating this DIY Floral Butterfly Paper Frame using a mix of Spellbinders and Simon Says Stamp dies.
So I’m just passing by to share the process with you in 2 separate reels ( Each last 90 seconds).
DIY Floral Butterfly Paper Frame Videos
***In the videos, I’m using a variety of tools. All of them are listed at the bottom of this post with clickable links for your convenience.
DIY Floral Butterfly Paper Frame Recipe
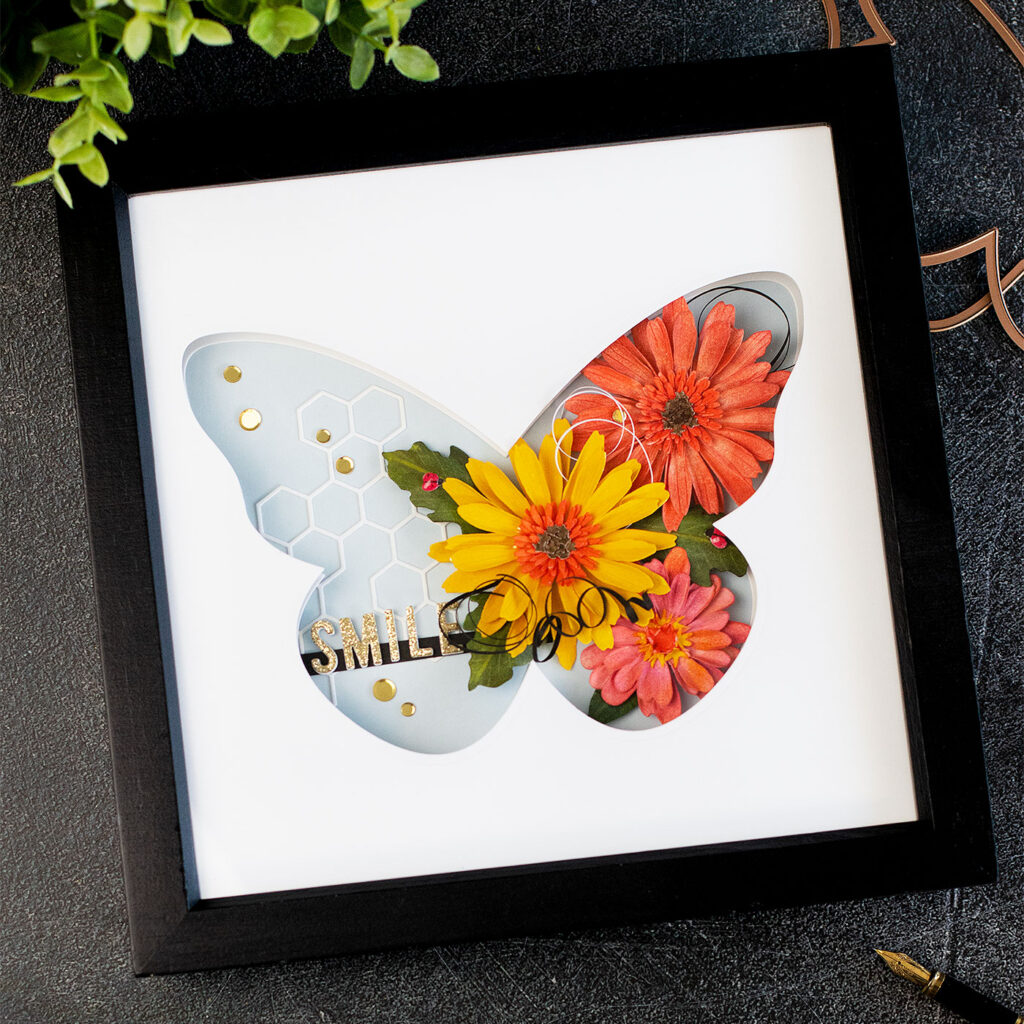
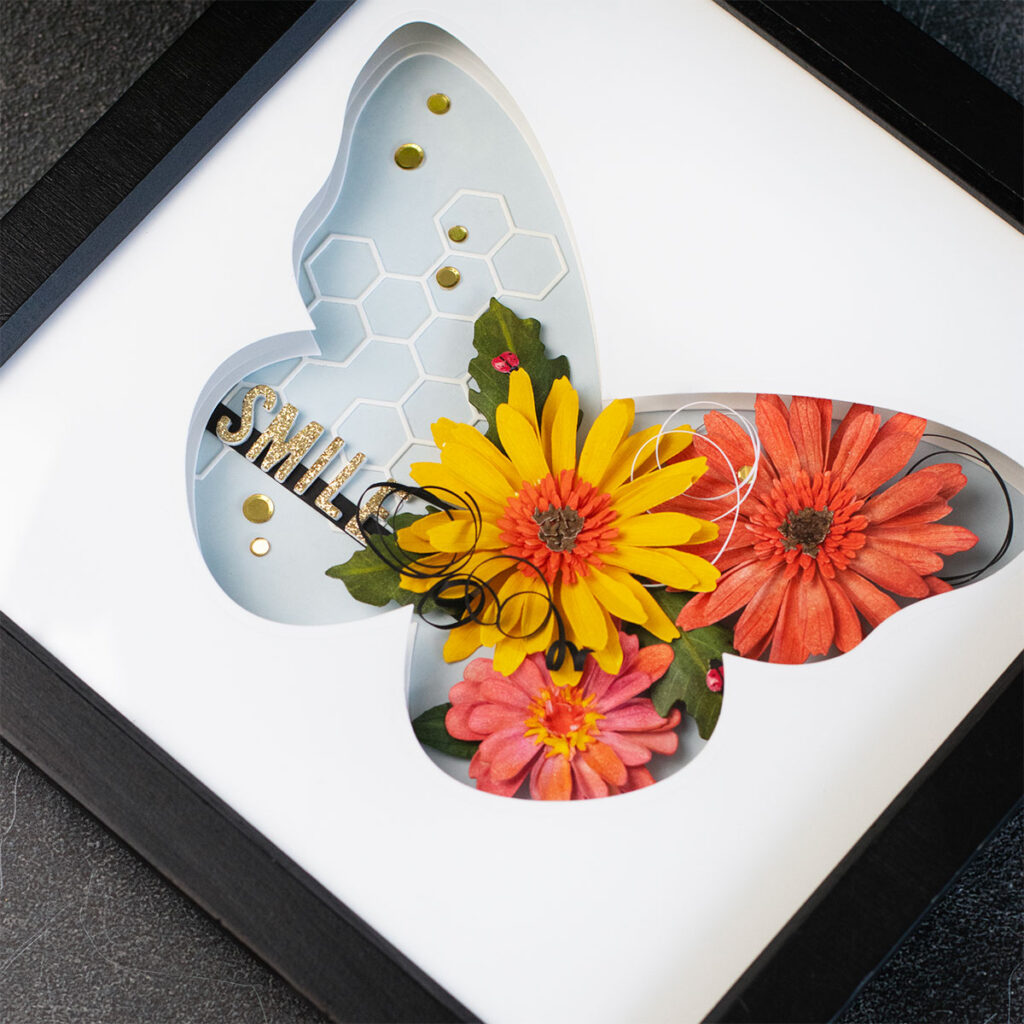
Die Sets
- Gerber Daisy and Ladybugs die set ( 2 Large flowers and leaves)
- Zinnia die set ( 1 small flower and leaves)
- Butterfly Card Creator die set ( large 5×7 inches butterfly-shaped window)
- Mini Slimline Windows ( word “Smile”)
- Hexagon Element Wafer Die ( to add a decorative texture)
Tools
- I used the large format Spellbinders Die Cutting Machine to die-cut the butterfly window on the 8-1/2 x 8-1/2 inches piece of cardstock.
- To die-cut all the other pieces ( small ) I used the Spellbinders Platinum 6 die-cutting Machine.
- Spellbinders Tool ‘N One white
- To shape the flowers I used the Susan’s Garden Ultimate Tool Kit
Inks
I used Pawsitively Saturated Inks by Simon Says Stamps listed below
Adhesives
- Nuvo Deluxe Adhesive ( awesome liquid glue)
- Simon Says Stamp 3D Foam Squares White.
Embellishments
- I used the gold sequins in the Holly Sparkle sequin pack.
*** Find the complete supply list at the bottom of the post with thumbnails and clickable links to shop.
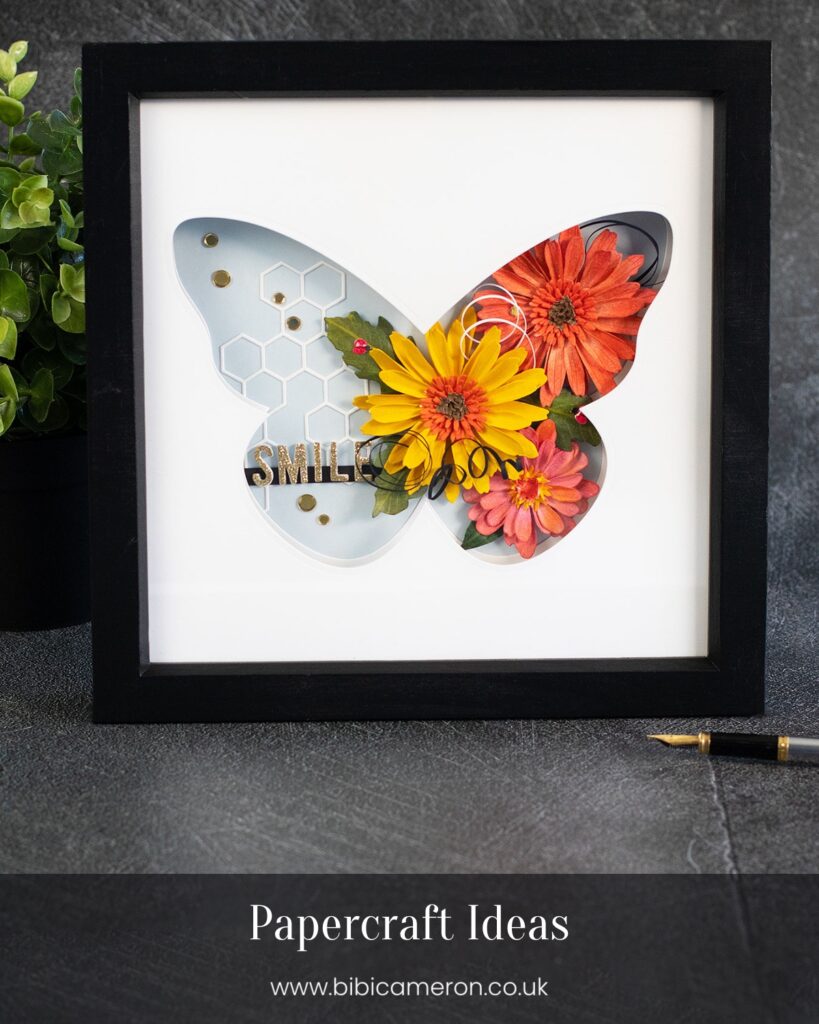
PIN ME
Thirsty for more?
That is all for today.
Thanks for stopping by.
X Bibi
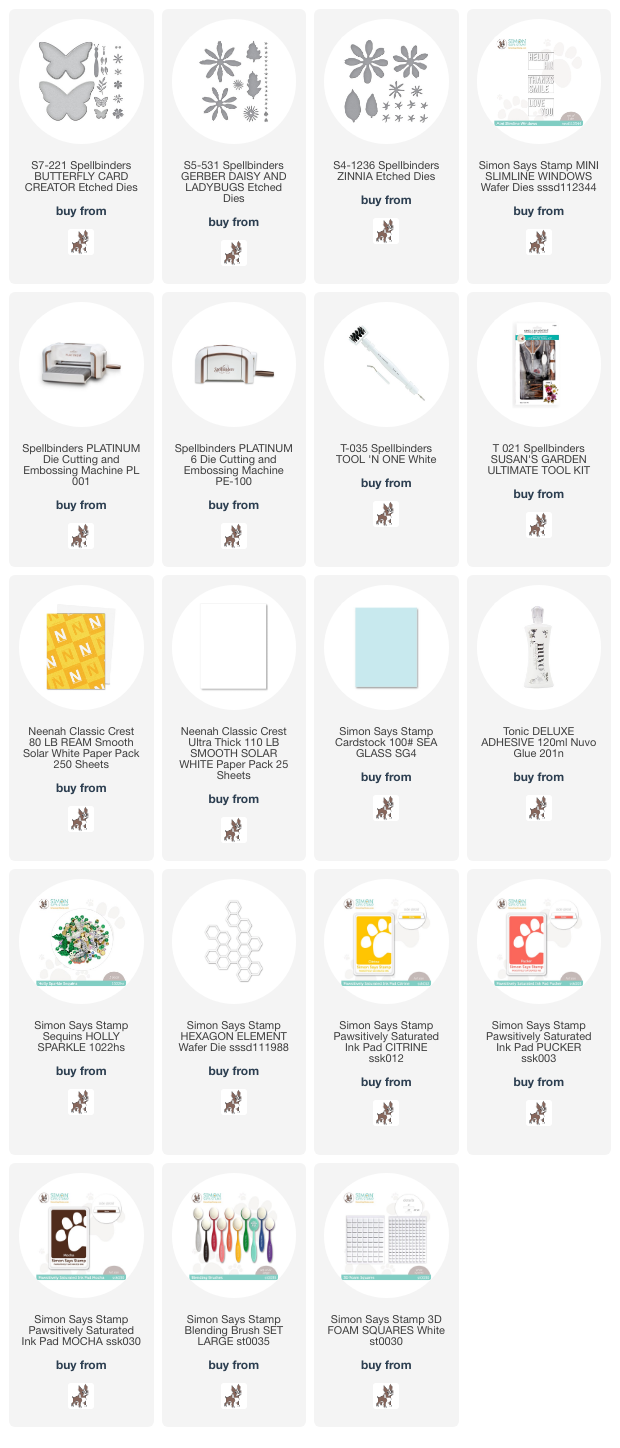
Supplies List


Lovely! My first thought was : That’s a breath of fresh air! So beautiful!
Lori S in PA
Wow!!! Gorgeous work of Art!!!!!