
Hi there and happy Spring, today I’m sharing three easy ideas using some of the die sets and stamps from the latest Susan’s Spring Flora Collection.
For this post I used
- Spirea Bridal Wreath
- Kerria Japonica
- *** All the supplies are listed at the bottom of this post.
In a previous video post here, I shared an idea to make 3D collapsible frames using slimline windows and rectangular dies.
Today, I’m also featuring this idea using Candlewick oval and square dies.
Spirea Bridal Wreath
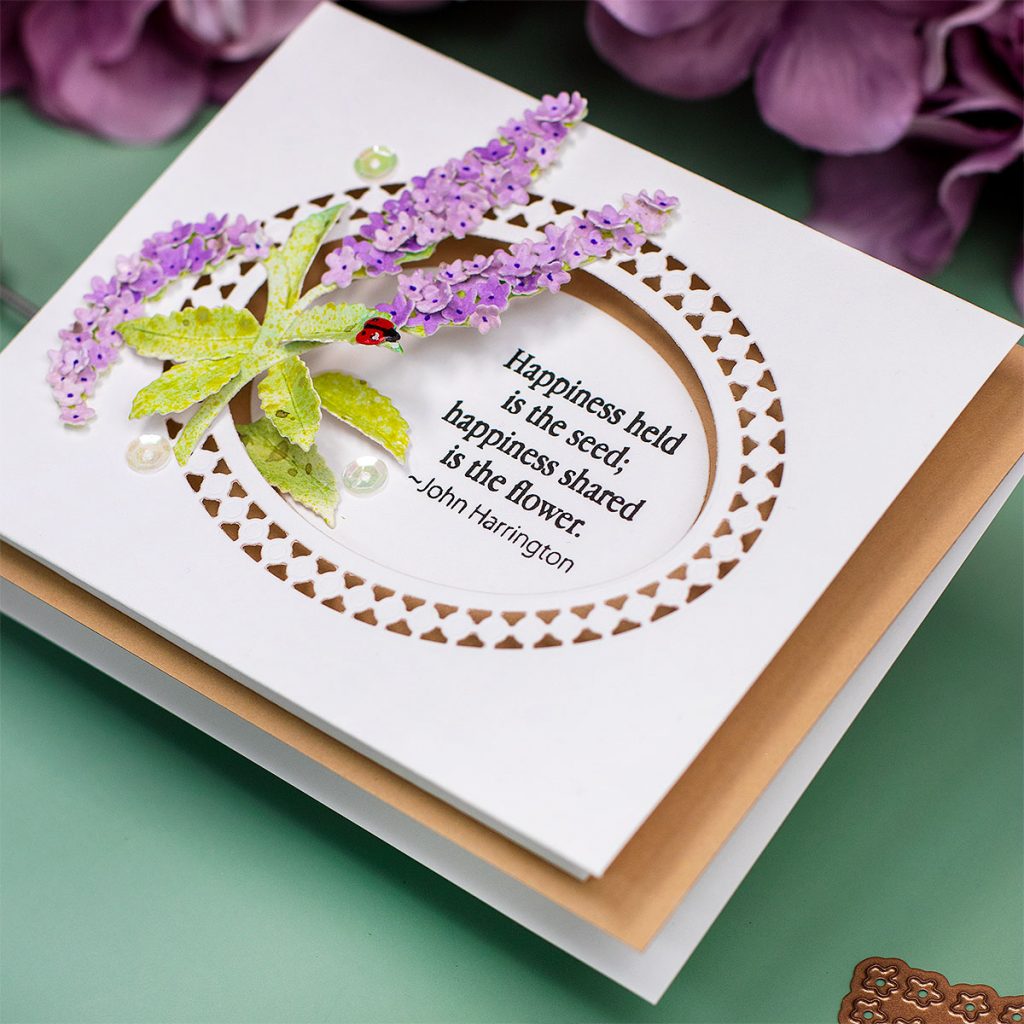
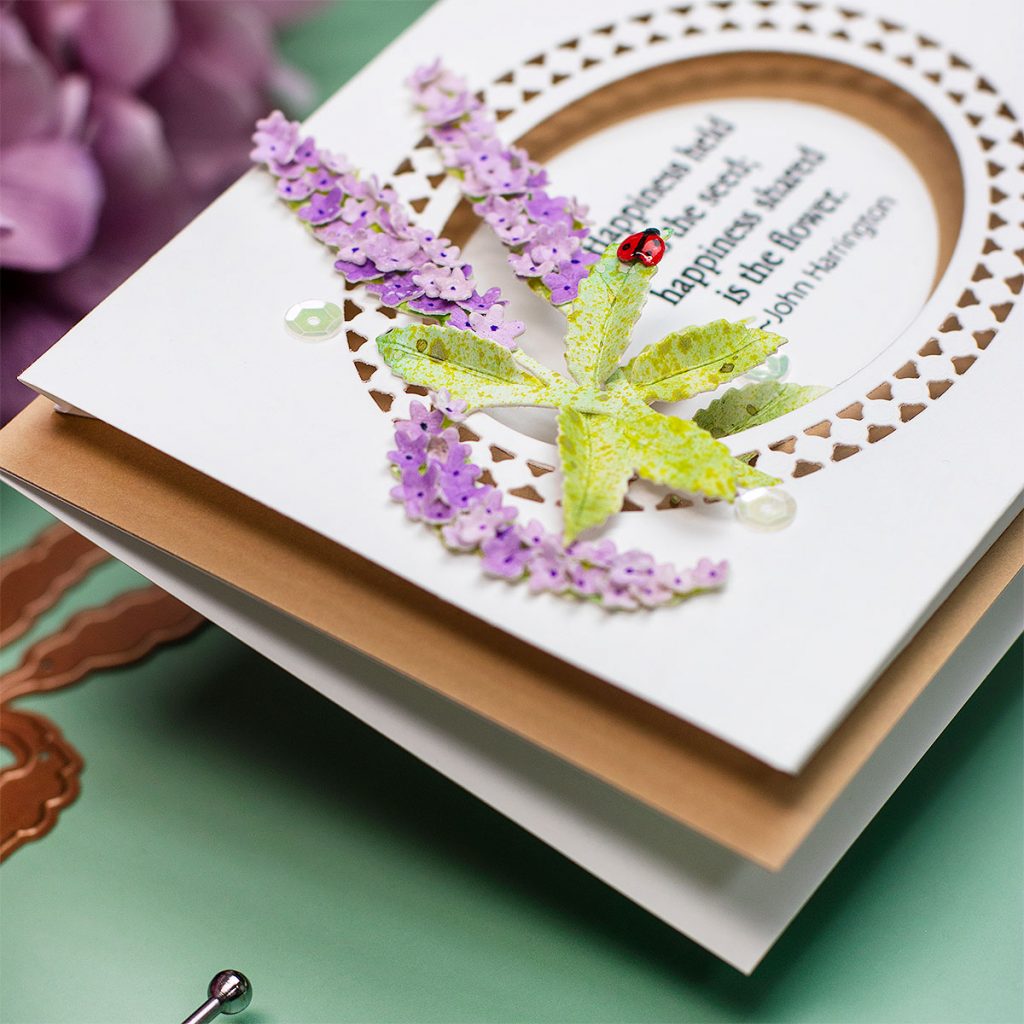
This is a C6 card ( 4-1/4”x 5-1/2” inches) and to make it I used the new Spirea die set and an oval die from Candlewick Ovals Die Set.
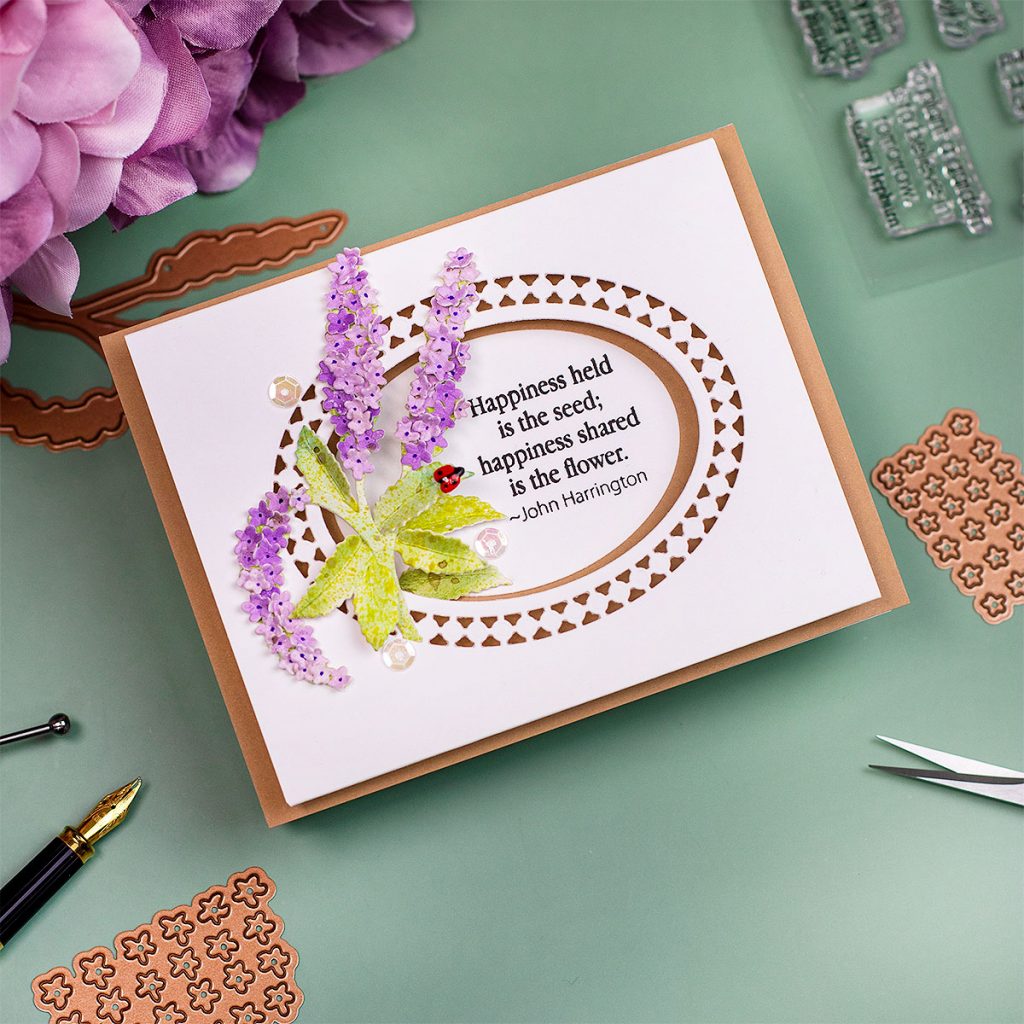
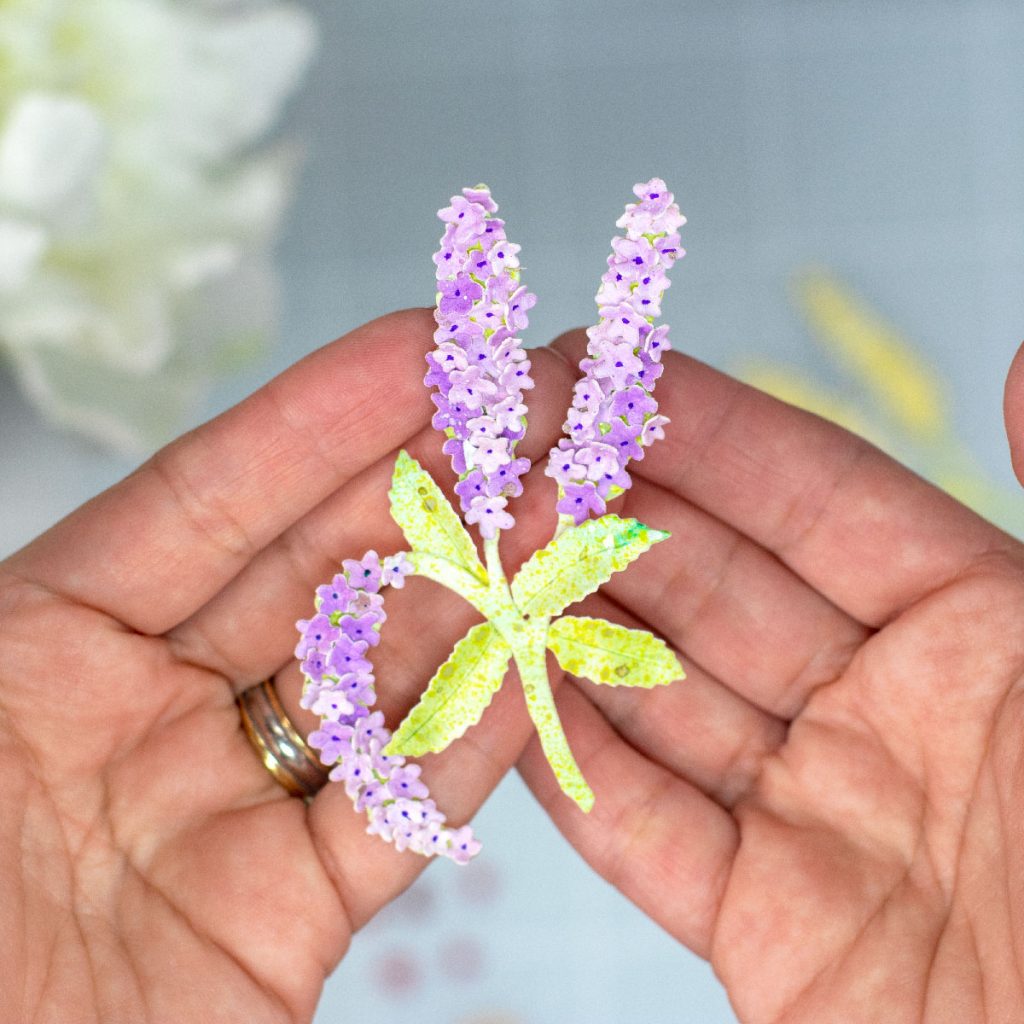
I was amazed as to make this flower took only a few minutes and I loved the process!
I didn’t aim for perfection or for a very realistic look, I wanted to play with the small die-cuts to create an easy floral element that could be used on any kind of project.
For the sentiment, one of the greetings from the Spring Quotes stamp set from this collection and black ink.
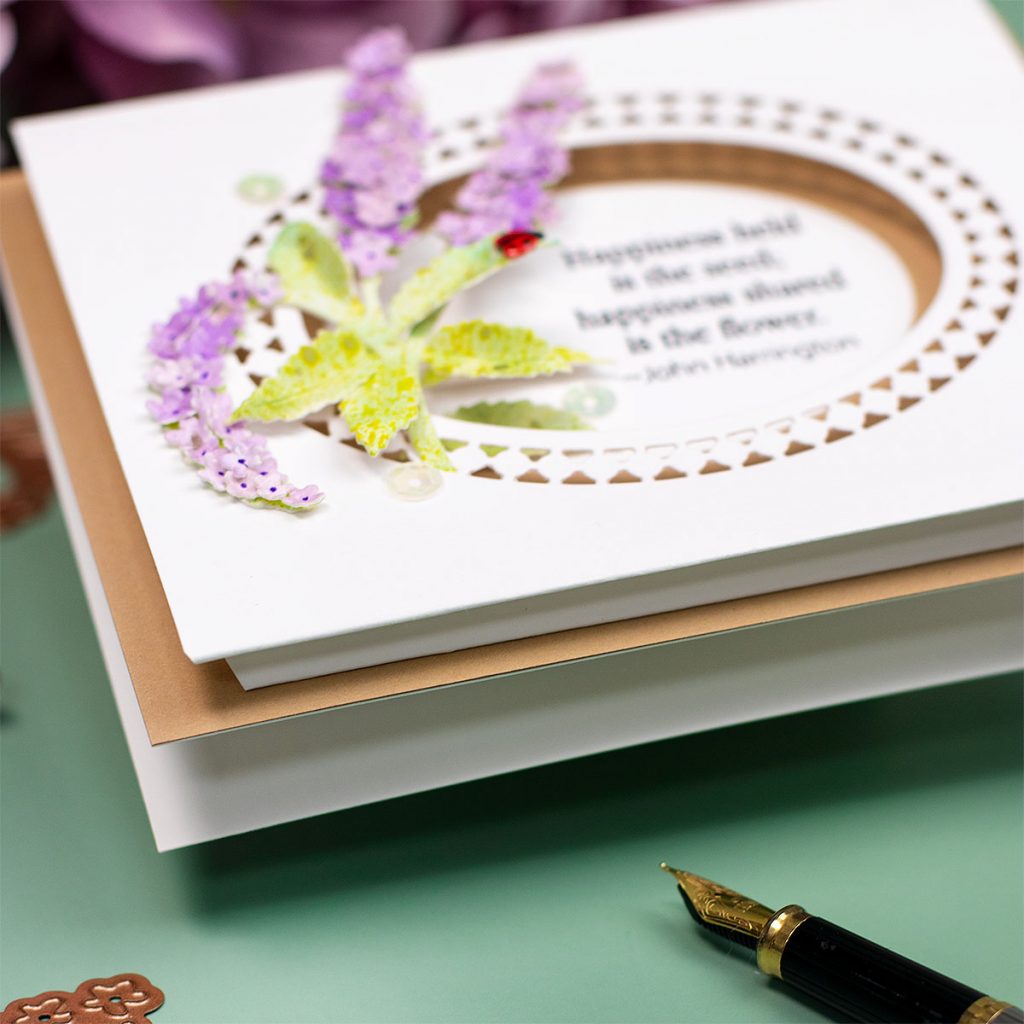
The Ladybug, Susan’s Signature
I also had some fun making ladybugs ( in the Uk we call them ladybirds). To make them, I use a die from Foliage and Ladybugs die set from a previous release.
These are adorableand very easy to make.
Die-cut them out of a white card and apply a red marker over the die-cut, then using a black fine liner you can add colour to the head and also add some dots. To finish, shape the ladybug using a stylus and apply glaze to add a glossy finish.
Tag

I also used the Spirea die set to create a decorative element for this tag, the tag is not collapsible but it could be.
I added a small hot foiled banner made using Brass Hot Foil and Mini Everyday Sentiments glimmer plates.
Kerria Japonica
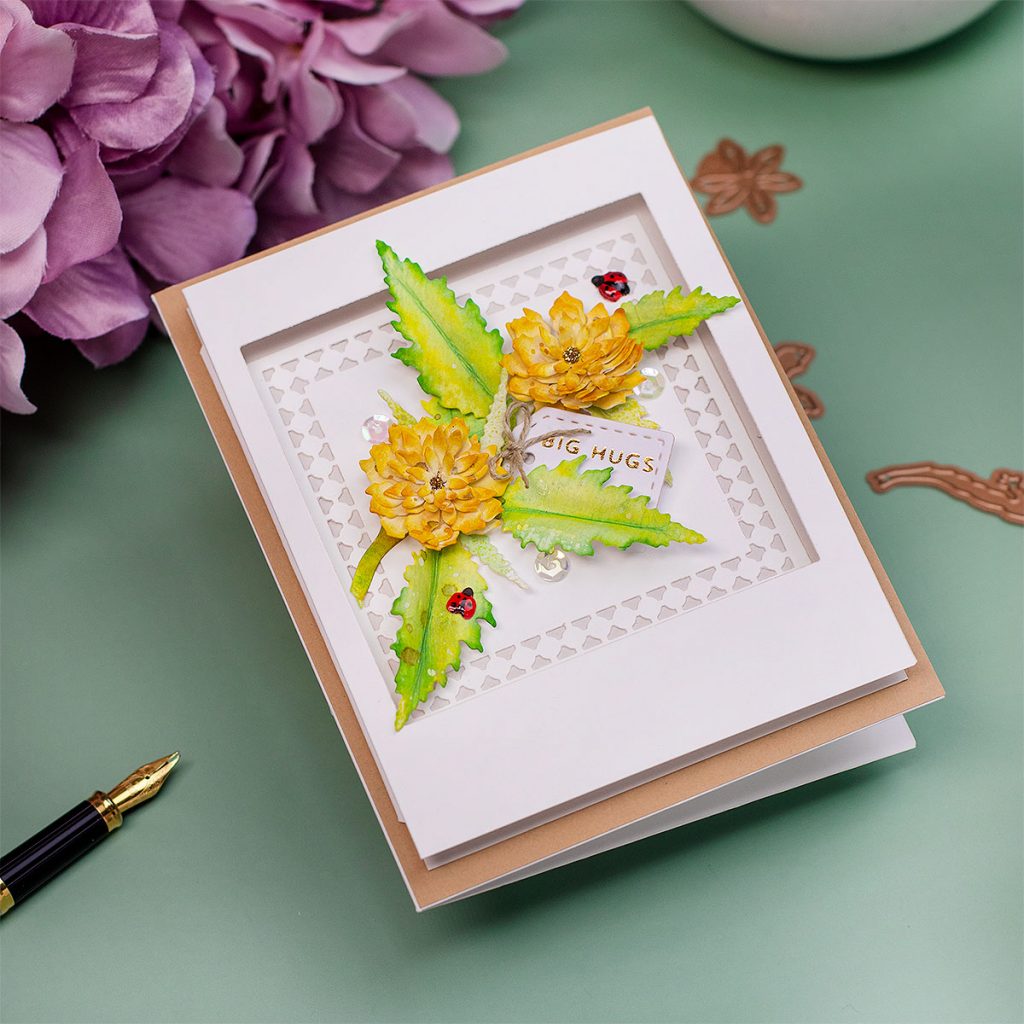
This is a C6 card ( 4-1/4”x 5-1/2” inches) and it was rather simple to make.
I used Kerria Japonica die set and a square die from Candlewick Squares die set.
Whit the square dies I cut the frame and also a decorative background element inside the frame and behind the flowers.
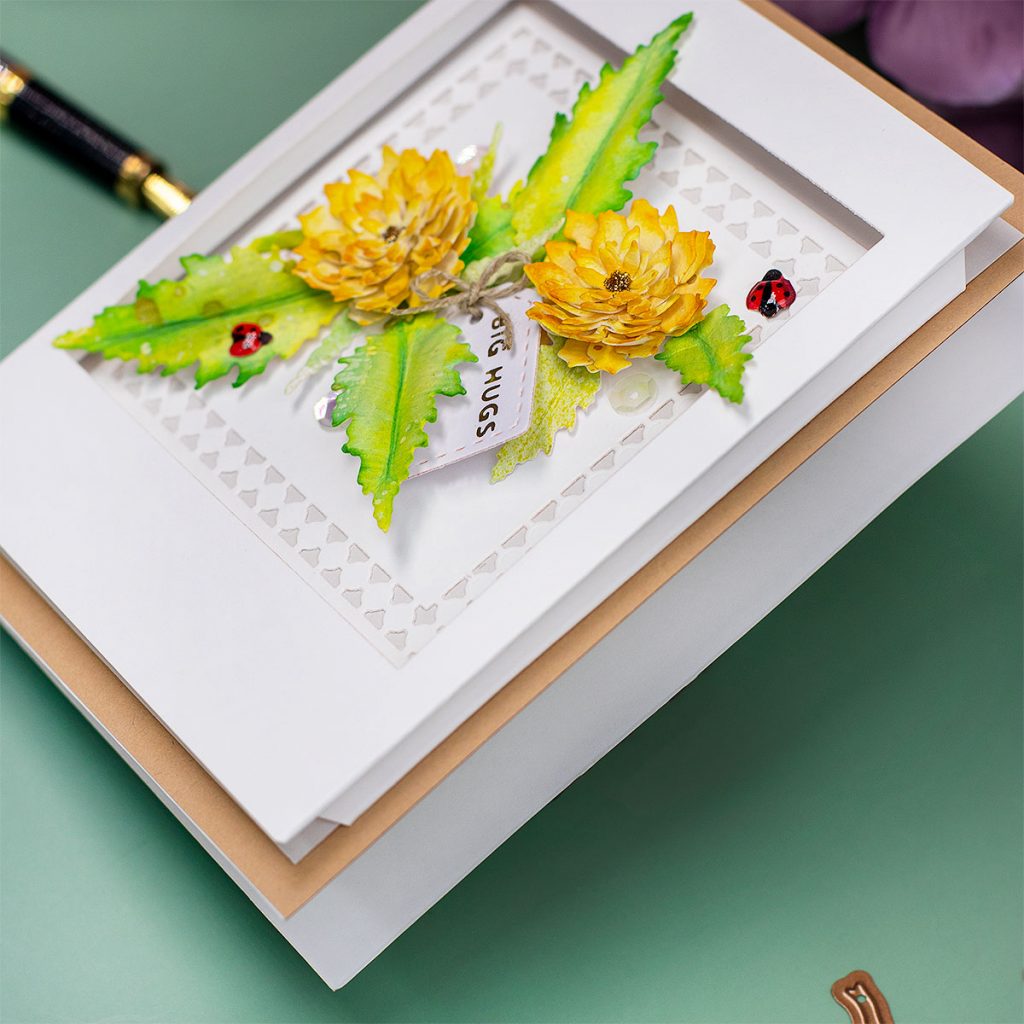
HOW TO MAKE 3d collapsable frames
The idea to create 3D collapsable frames was born when I was looking for alternatives to add dimension to my projects avoiding the stiffness of double-sided adhesive foam tape, and also easy mailing.
- To make this kind of frames all you will need to cut your paper 2” inches wider than the width of the die you want to use to cut the center window.
- Then, you have to create an according fold by scoring 3 lines every 1/4 of an inches from the edges of the panel sides.
- You need to do the mats as the larger the die you use the larger will be your card.
You can make the frames in any size and you can also use any kind of dies to create a window in the center of the collapsable frame.

WHY 3D COLLAPSABLE FRAMES
- The frames collapse inside the envelope reducing the dimension.
- Even when used with 3D elements as flowers, the collapsable frames still reduce the volume of the project, they are lightweight and they frame beautifully any simple floral artwork.
- This is an easy, fun, affordable, and beautiful alternative to make cards in any size.
The Card Making Process
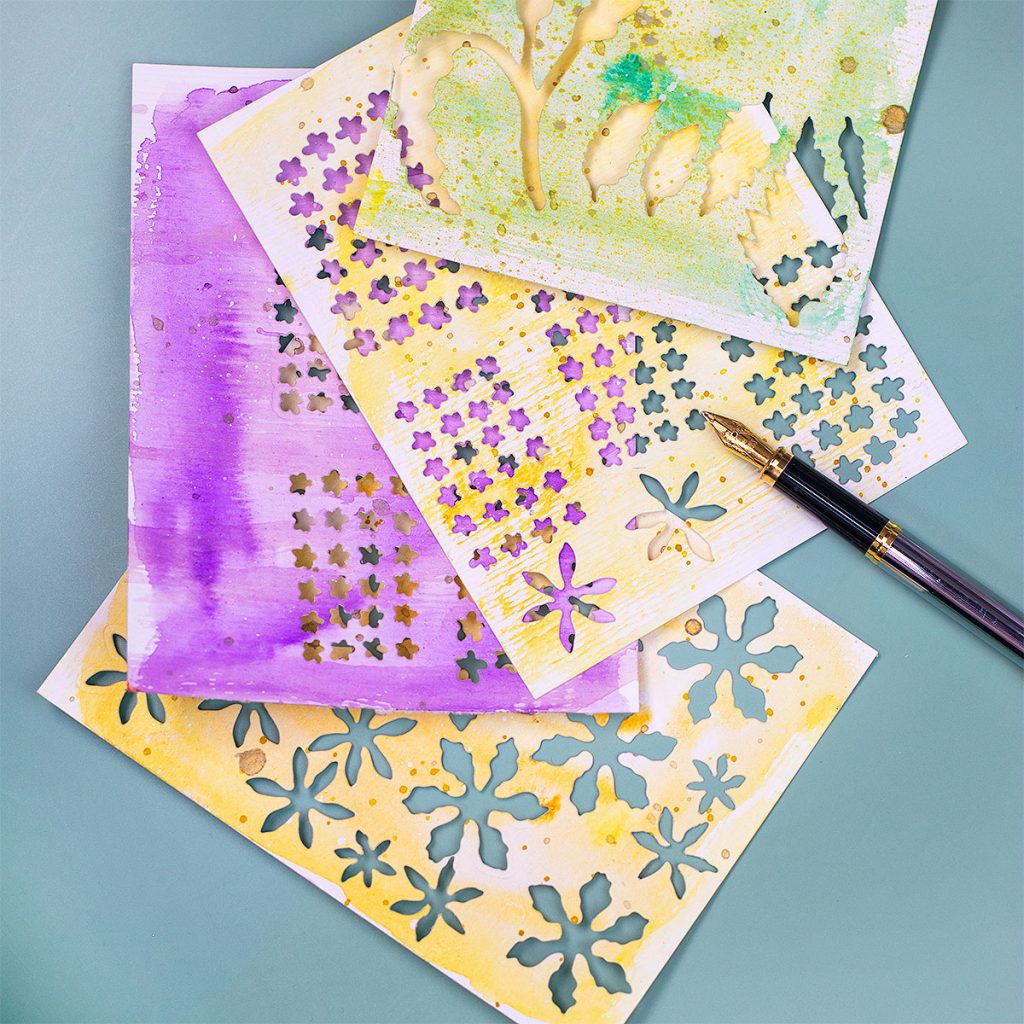
Now let me explain in detail the super easy process to make the cards in this post.
- First, I applied Watercolor Paints over affordable watercolor paper.
- I splattered darker paint colours, gold sparkle spray, and white acrylic Paint.
- Once the paper was dried, I die cut it using the floral dies.
- Using Susan’s Garden Ultimate Tool Kit, I shaped the flowers.
Note : watercolor paper is thick so that is not great to do shaping or to add that super realistic look to the flowers but I love the uneven, organic color and the texture that it provides.

- To make the 3d collapsable frames for these cards, I used a 5” x 5-1/2” inches piece of 240 grams cardstock
- Then, I scored along the shorter side of the panel at 1/4”, 1/2”, 3/4” from both edges.
- Next, I die-cut a window in the center using oval or square dies.
- Once the piece was die-cut, I folded its edges to shape the 3D collapsable frame.
- You can glue a background piece to the frame for stability as in the yellow flower card, or you can stick the frame directly onto the front panel of the card as in the purple floral card.
- Once your 3D frame adheres in place you can decorate using beautiful dies and sentiments from Susan’s Spring Flora Collection.
That’s all!
I hope you enjoyed this post
Bibi
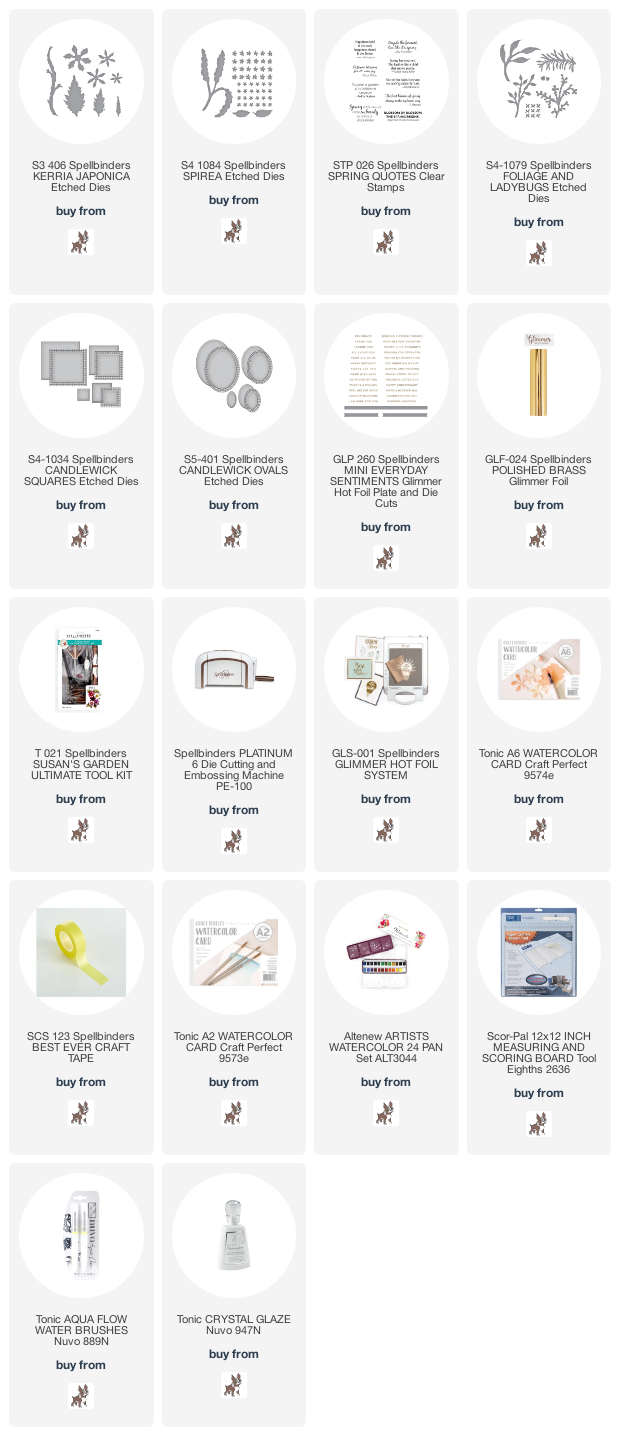
SUPPLIES LIST
Affiliate links applies at no extra cost to you. Thanks for your support.


Leave a Reply