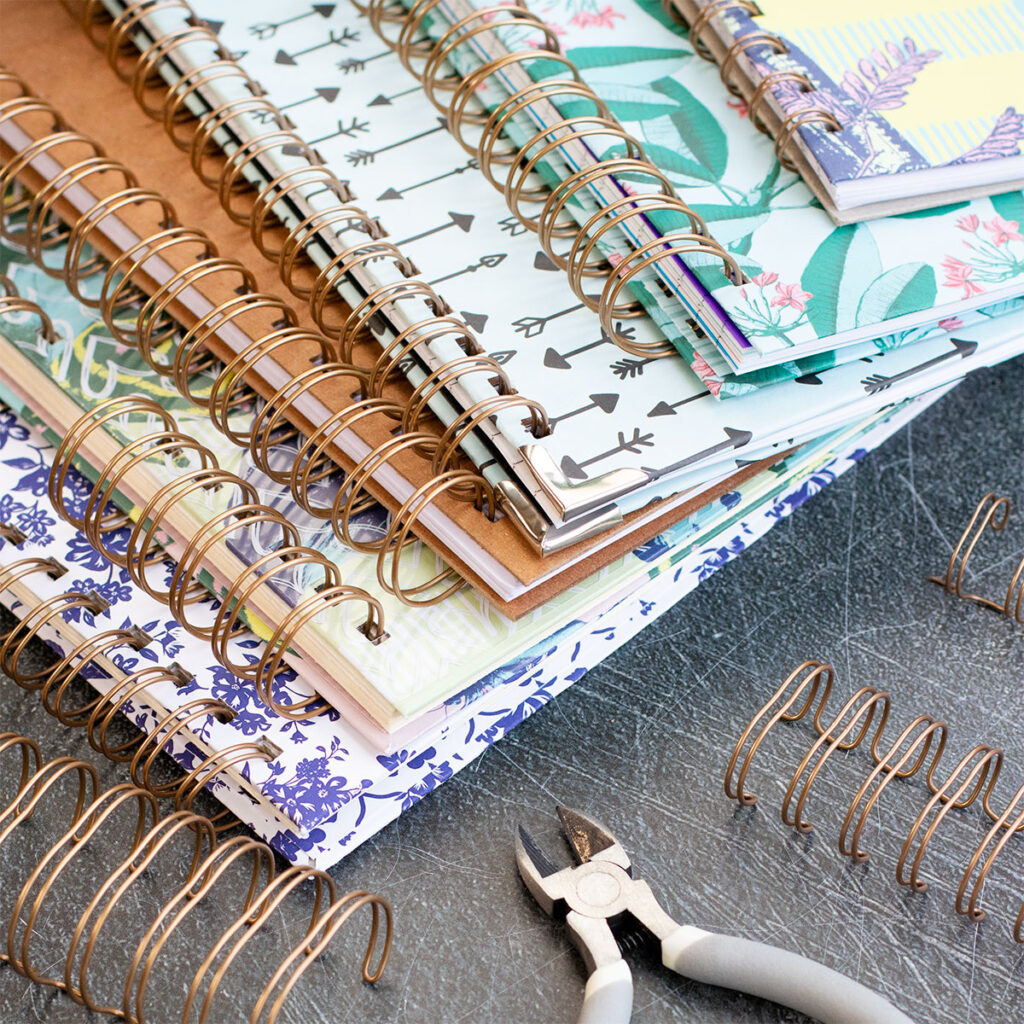
Hello crafty friends, in a previous post here I shared a personalized notebook cover today I want to show you how I do Book Binding using the Bind It All 2.0 Machine by Zutter.
This machine has been in the market for over 10 years. I had the change to try the new 2.0 version and I love it!
Find the Bind It All Machine in Amazon UK here or at USA Scrapbook.com here they have the machine is sale for only $63 ( down from $128)!!!!!
You will also find online different binding Owires.
Zutter Bind It All
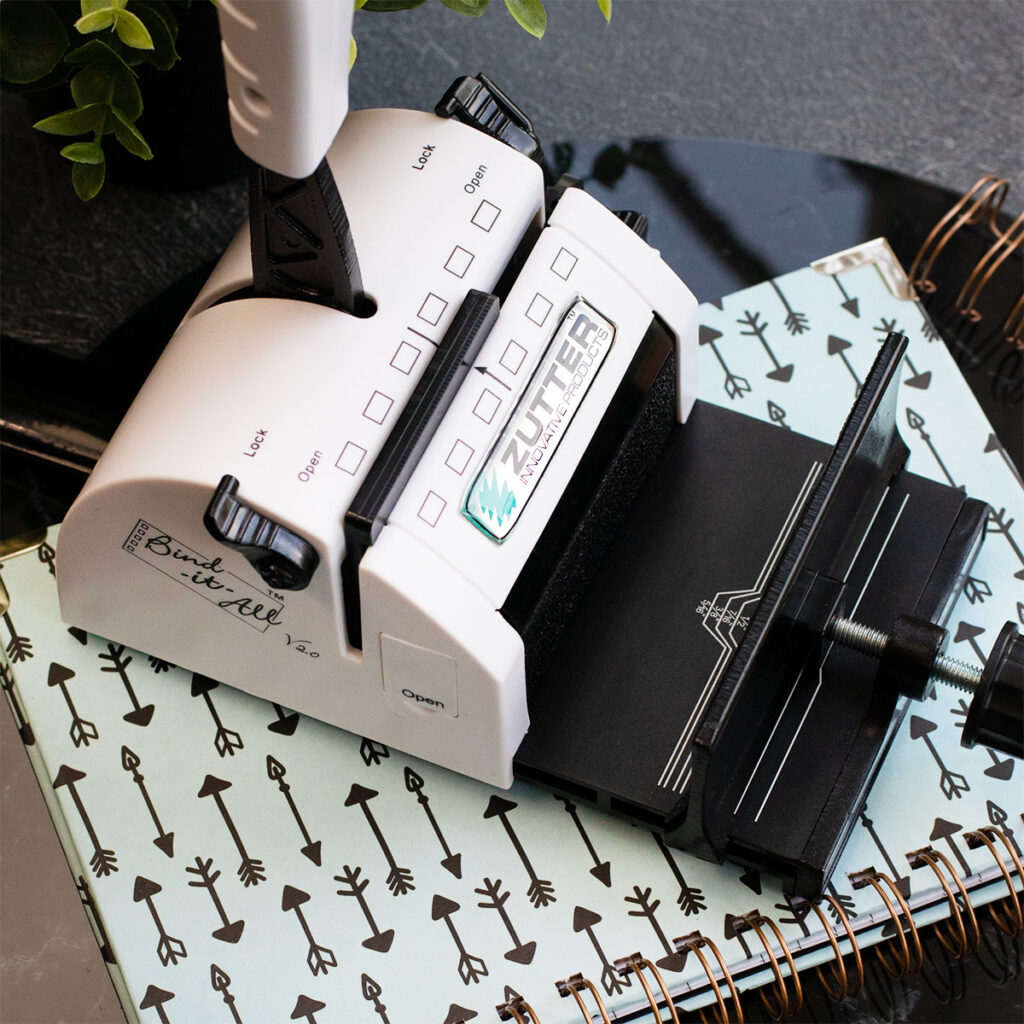
Key Features
- Punch and bind notebooks in any size.
- This machine is just about 4″ width (10 cm) and it will punch 6 wholes in one go.
- You can get as creative punching as possible.
- Light weight (1.2 kilos)
- Easy to carry.
- Punch different materials as thick as you can fit in the “punching channel”
- Bind using different wire sizes ( from 5-1/16″ inches to 1-1/4″ inches wires)
- It is easy to learn how to use it.
- The machine includes comprehensive and accurate user manual.
Puching
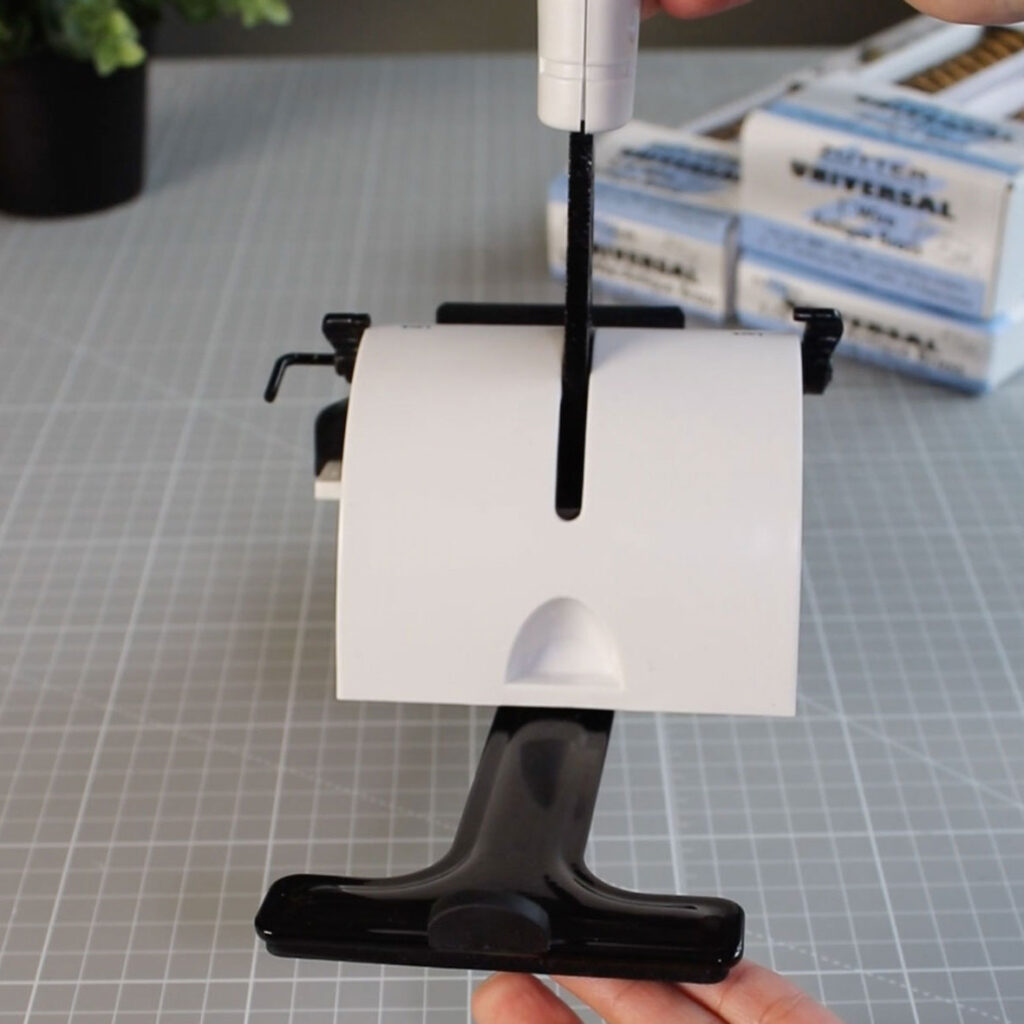
Step 1.
Before punching pull out the Stabilizing Extention Arm located at the back of the Binf It All machine.
This is essential to be able to work with the machine. Done!
Step 2.
Now chose the setting.
You might have to use different setting for a single project. Understanding each one is essential.
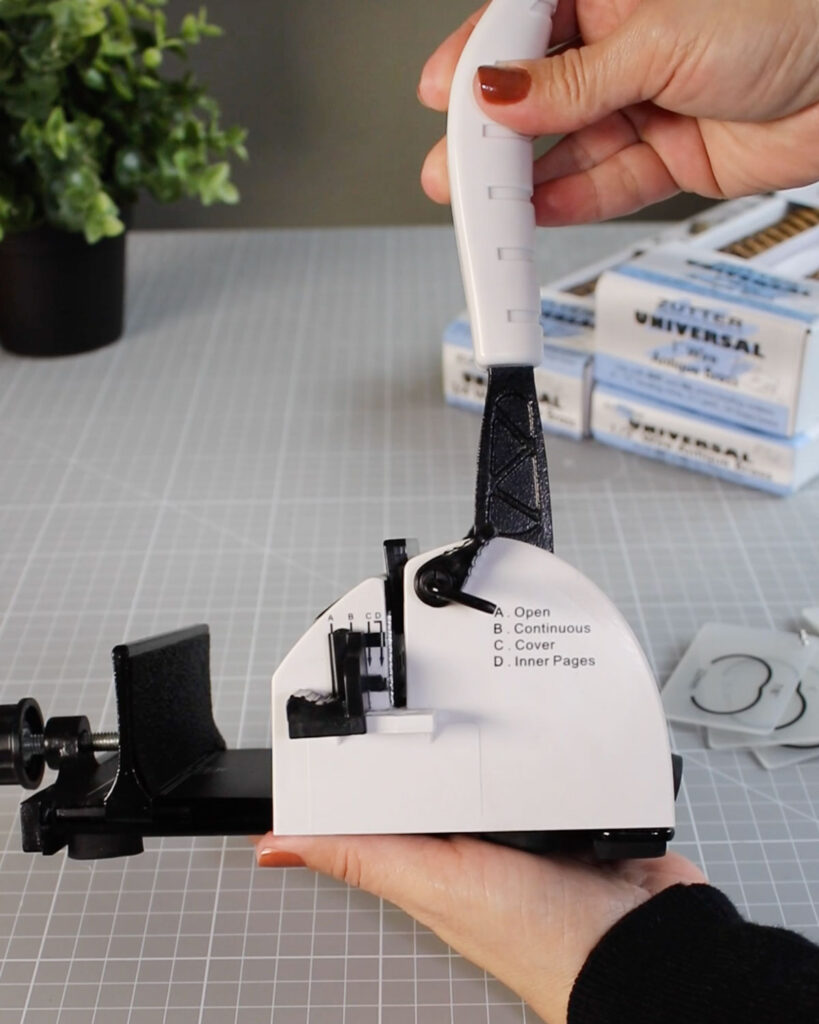
The machine has 4 punching settings.
To change the punching settings all you have to do is to move the “paper stop bar” to A,B, C, or, D.
It is the black piece I’m pointing out in the picture below and it slides into the position or setting desire.
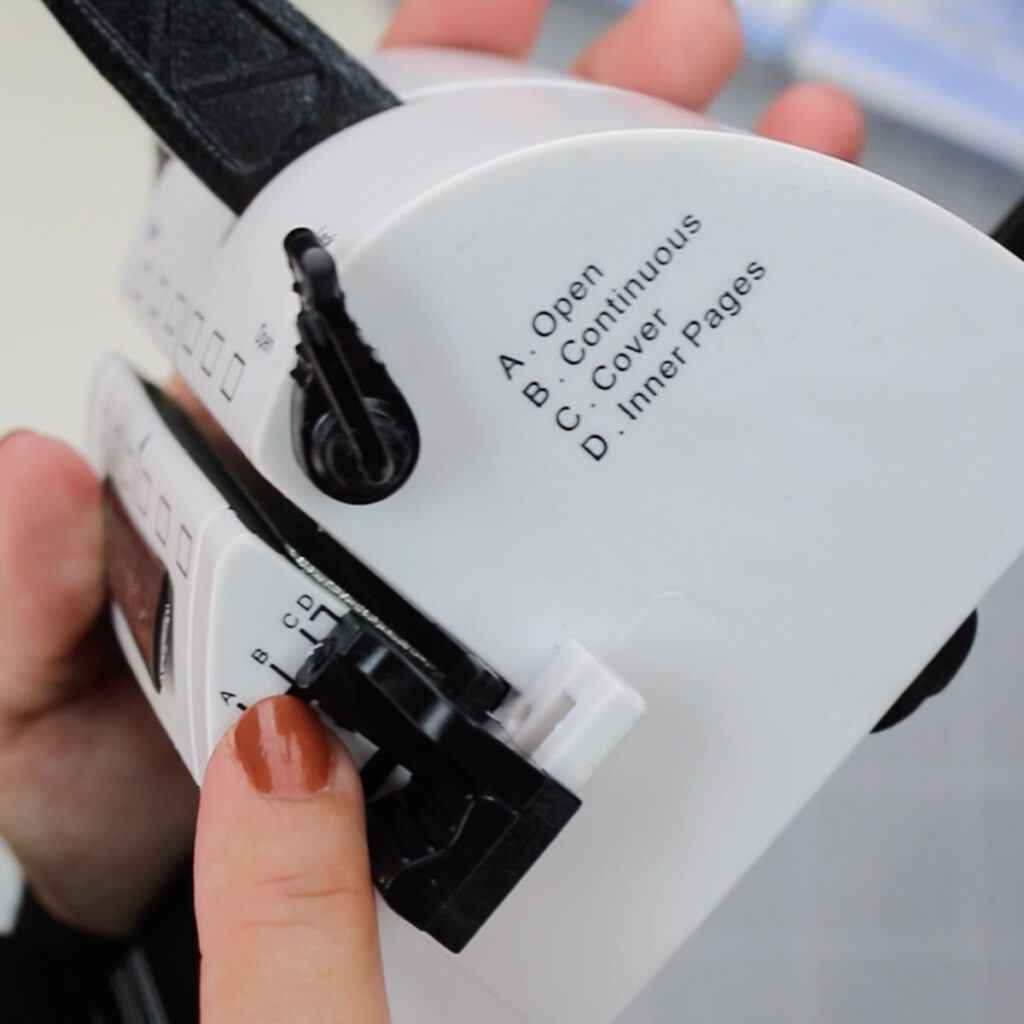
Punching settings briefly explained
A. Open
Punch anywhere in the page – the paper can move freely inside the punching chanel.
Bear in mind that the “A- Open setting” can be used in combination with the “locking levers” , that stop the paper from moving out od the edge of the machine ( sIm touching the locking levers in the picture below)
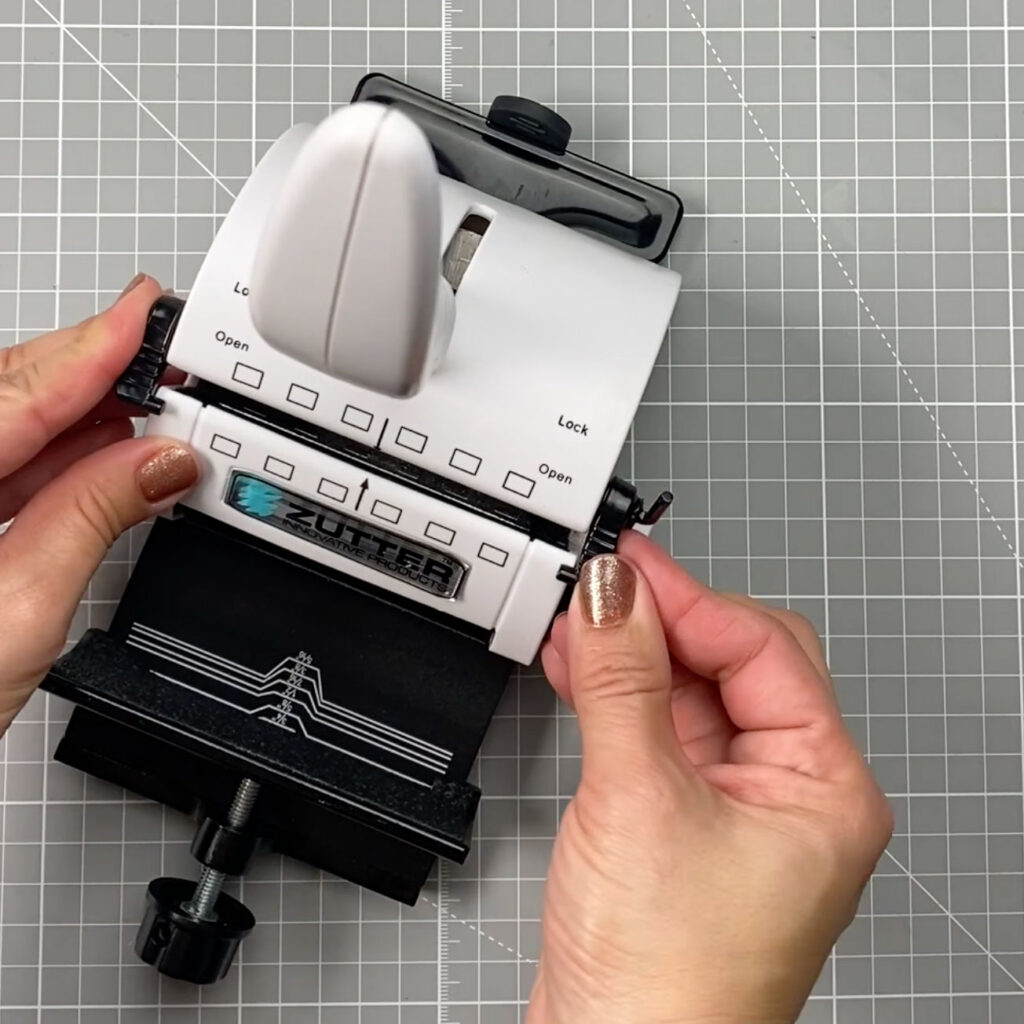
You can also use the Open Setting and the paper stop guide for projects smaller than 4″ inches.
This will allow you to punch 5 or 4 holes instead of 6, if you ever need it.
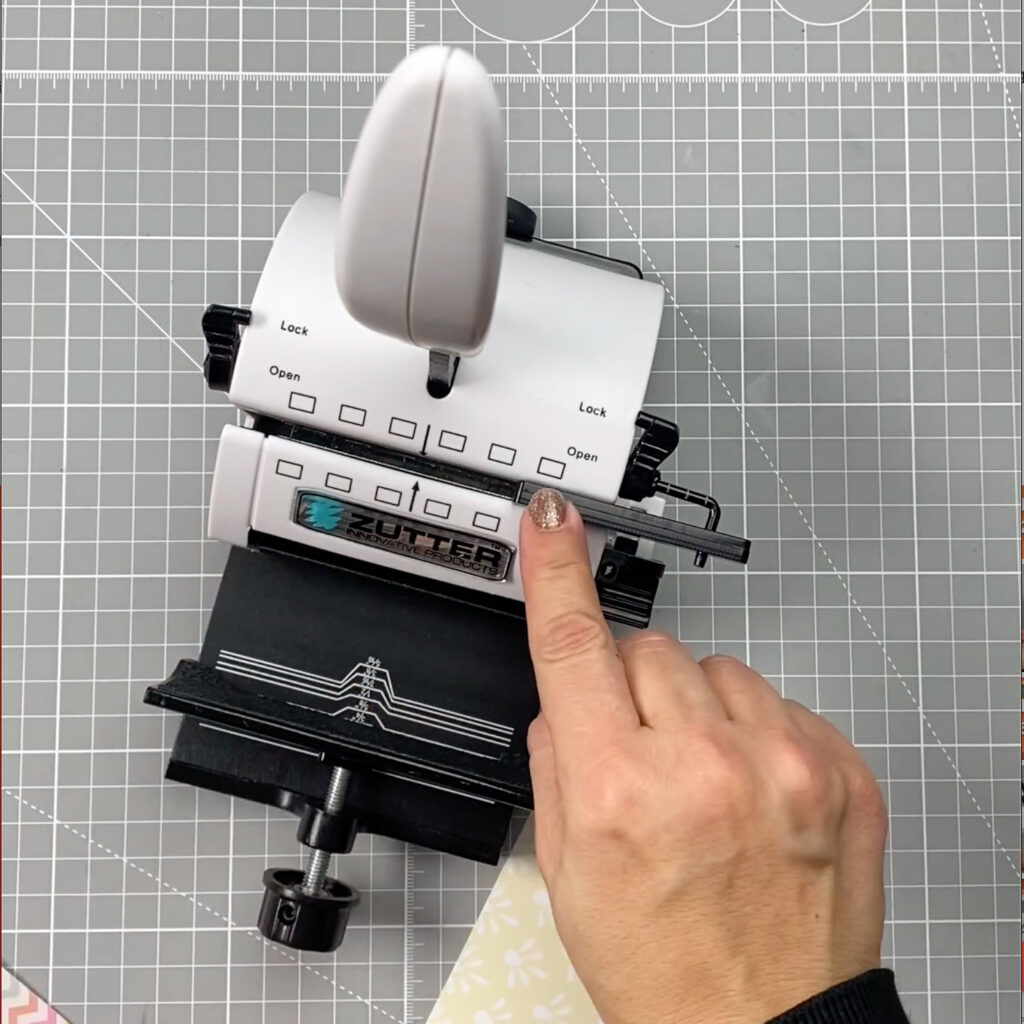
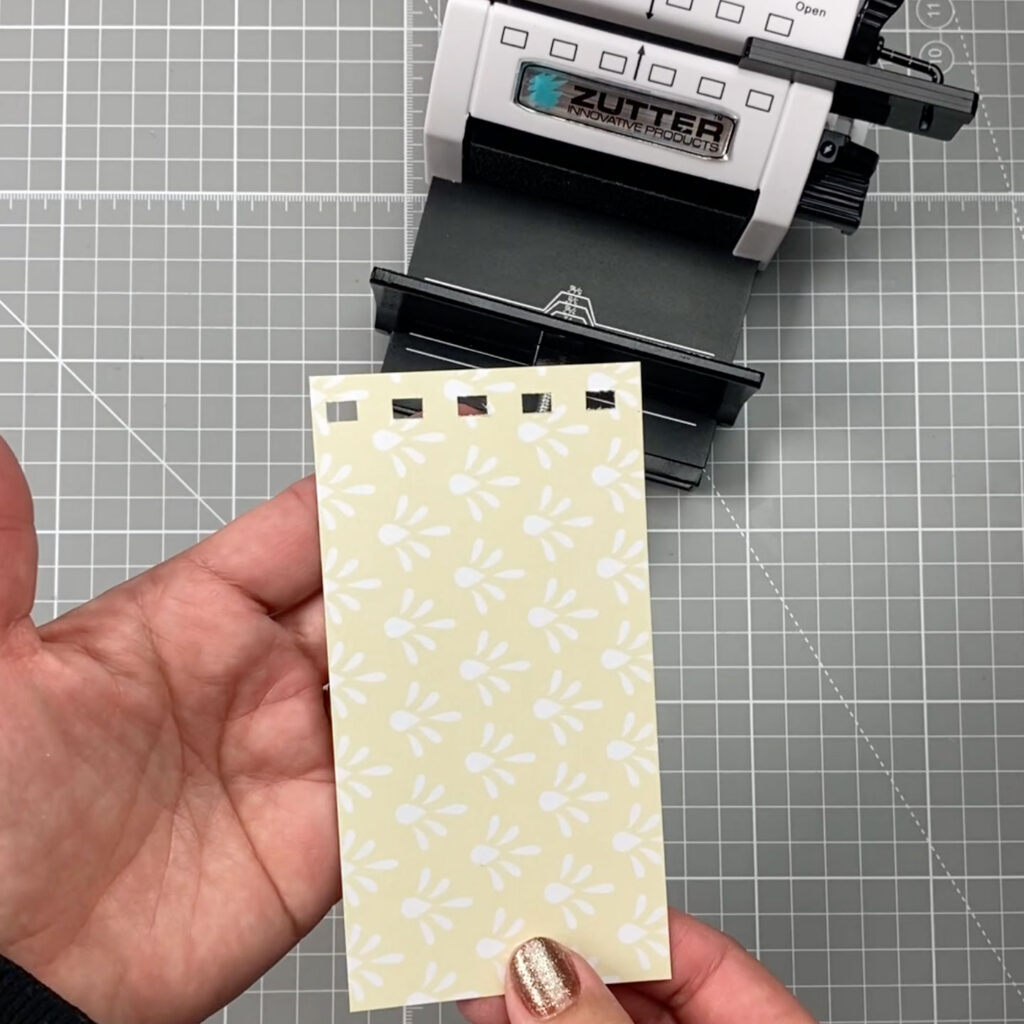
The setting A. Open can also be used in combination with the “Extension Paper Guide Side Bar” to punch wholes for projects larger than 4″ inches or to punch holes in other areas of the projects.
For example you can locate the center of your project and using the “Extension Paper Guide Side Bar” you will always punch in the same spot.
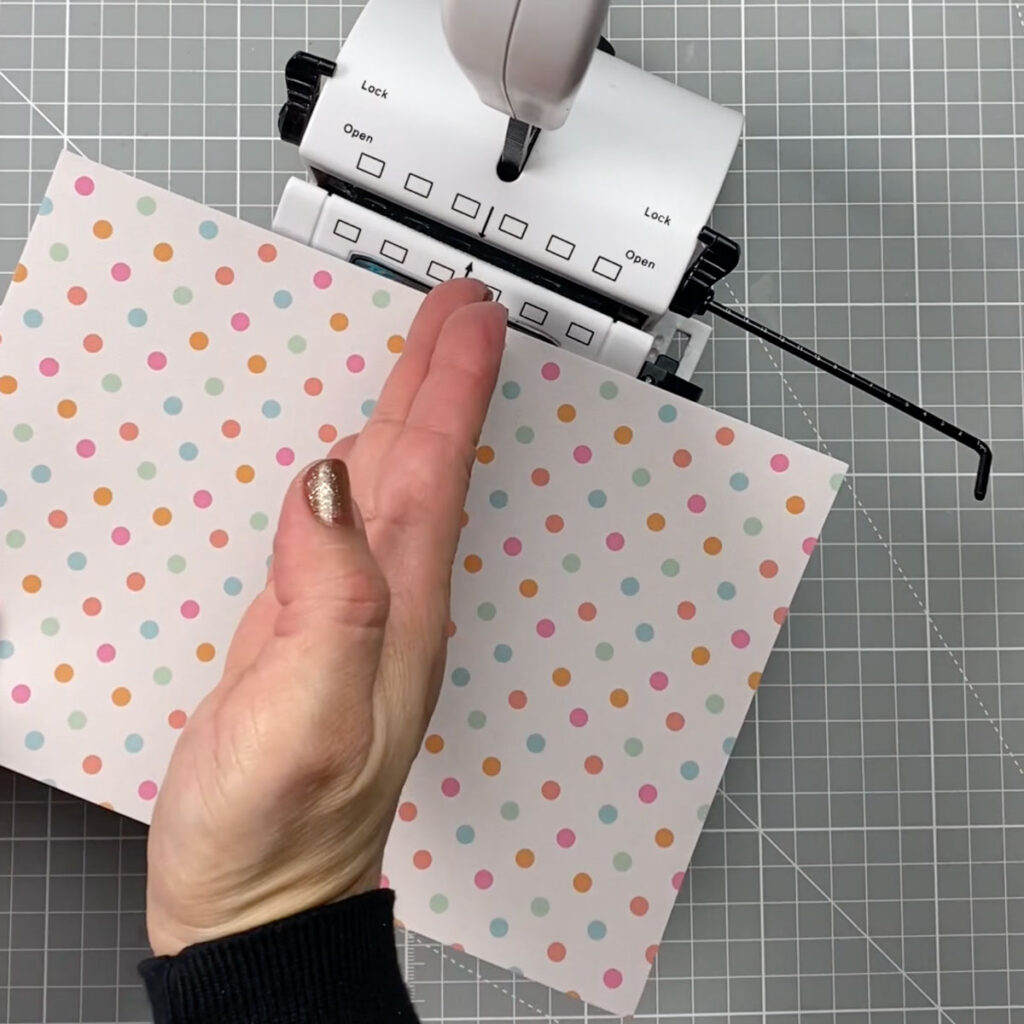
B. Continuous
There is a little guide tab that will slide into position once you use the setting “B” in the machine.
You can see it from the back of the machine ( see picture below) . You should engage one of the punched holes into that tab to aligne the punching .
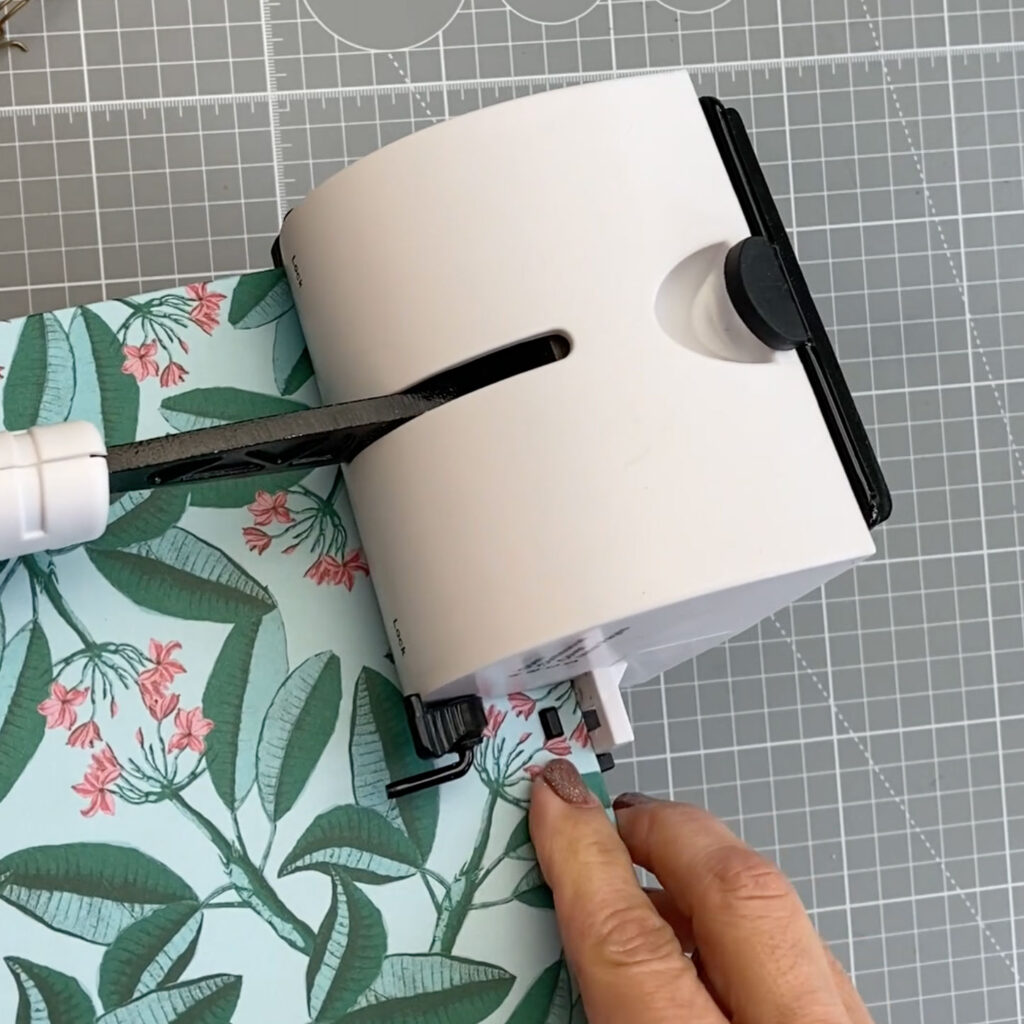
Which hole engage in the guide tab? I would say any but bear in mind there is a gap between the guide tab and the next punch so make sure it is at least the last second hole in a row BUT it could be any hole after that.
To avoid partially punch the opposite corner of the paper always remember to aligne the opposite edge of the paper with the edge of the machine or just a little bit offset.
Then find the nearest punched hole to the tab and engage it on the tab in that way you will never ever have an issue doing continups punching.
C. Cover and D. Inner Pages
- Just bear in mind that the cover should be cut 3/16″ inches larger than inner pages for accurate punching.
- If you will use a deocrative paper over the cover bear in mind that this will add bulk to the edges so trim the cardboard 1/8″ inches larger than the inner pages.
- By doing this you will have a small edge around the edges of the cover so that the cover will protect the inner pages.
- However, you can punch covers and innerpage using the same setting. It all depends on your needs
Tip:
Buy paper pads ( pre-cut) and cut the cover to the size.
Binding
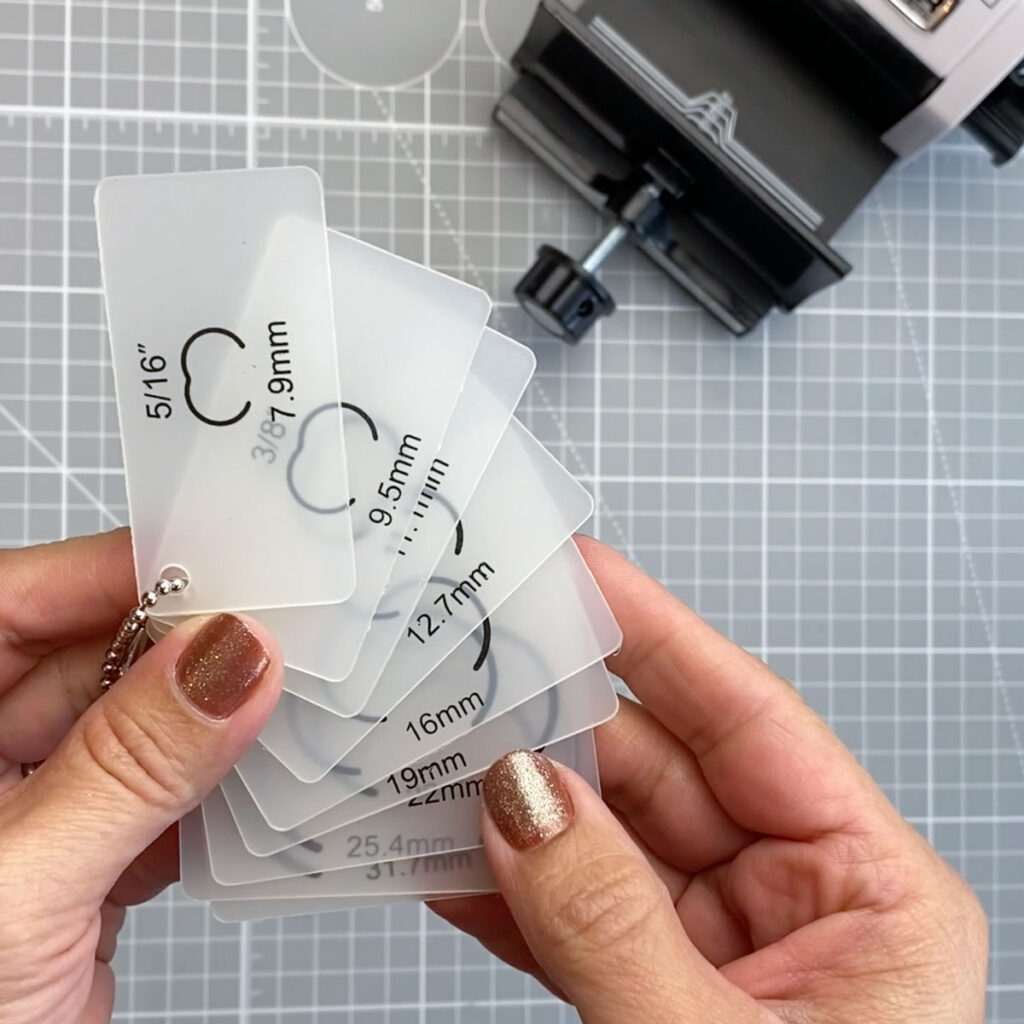
Step 3. Binding
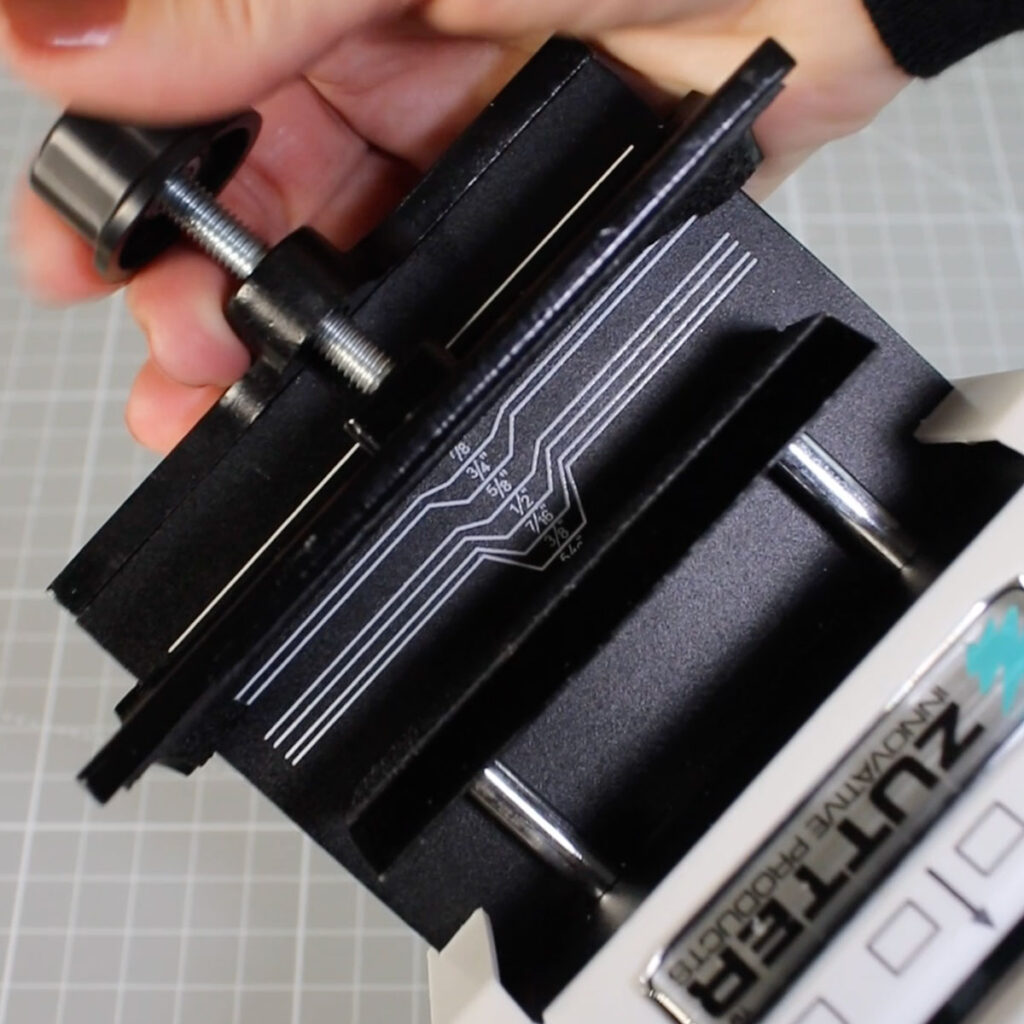
Included with the machine, you will find Owire Gauge Templates ( in the picture above)
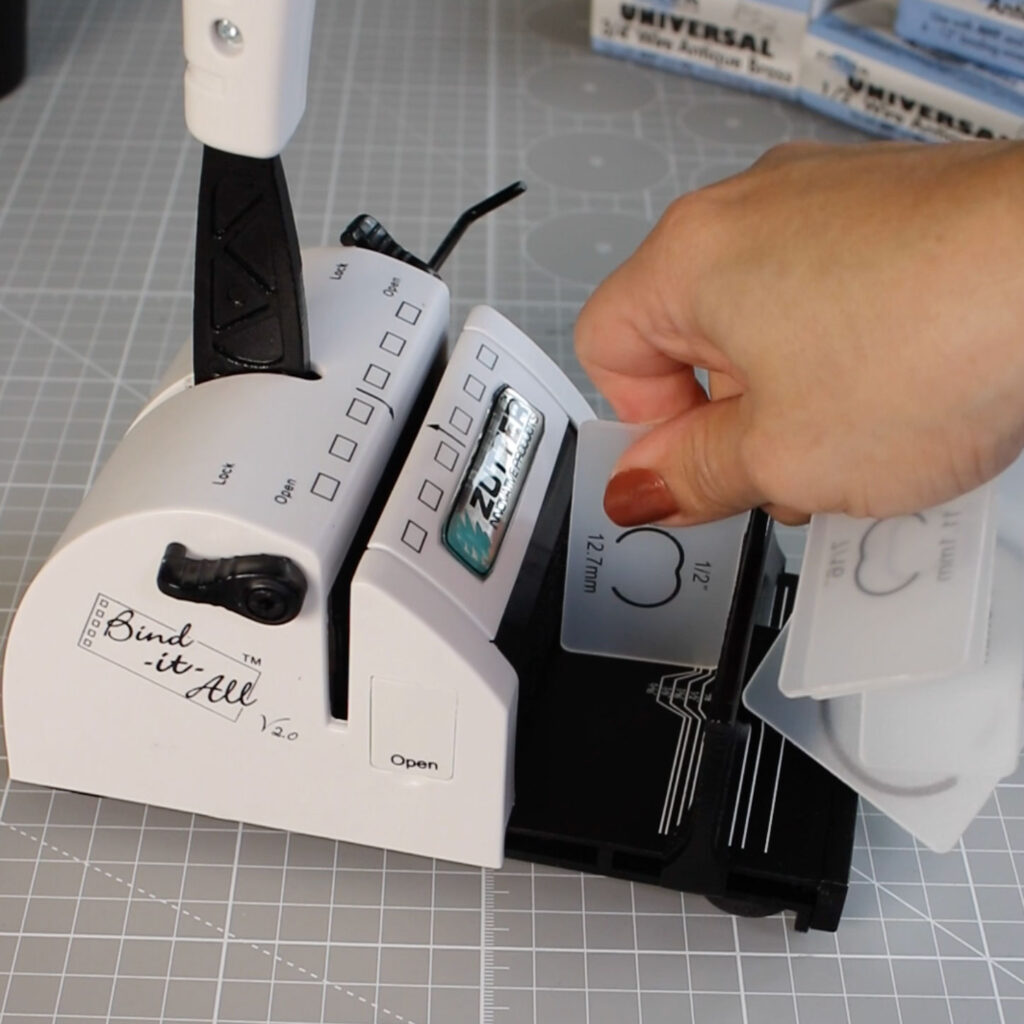
This will allow you to screw the Owire Binding Clossing Channel to the size of the wire you will be using.
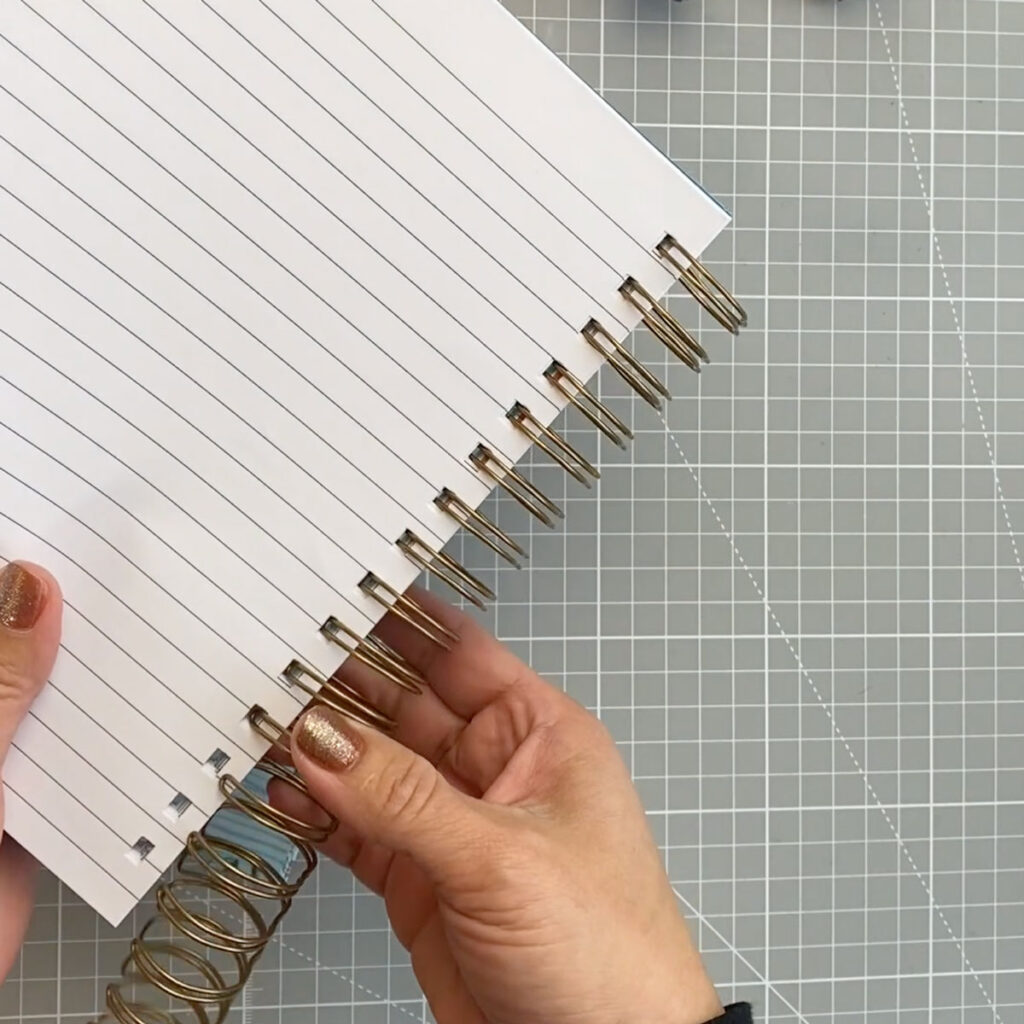
Insert the narrow point of the wires through the pages and cut the wire to the size using players.
Yes! You can count the punched holes and then count the wire loops and then cut the wire if you want to do this too.
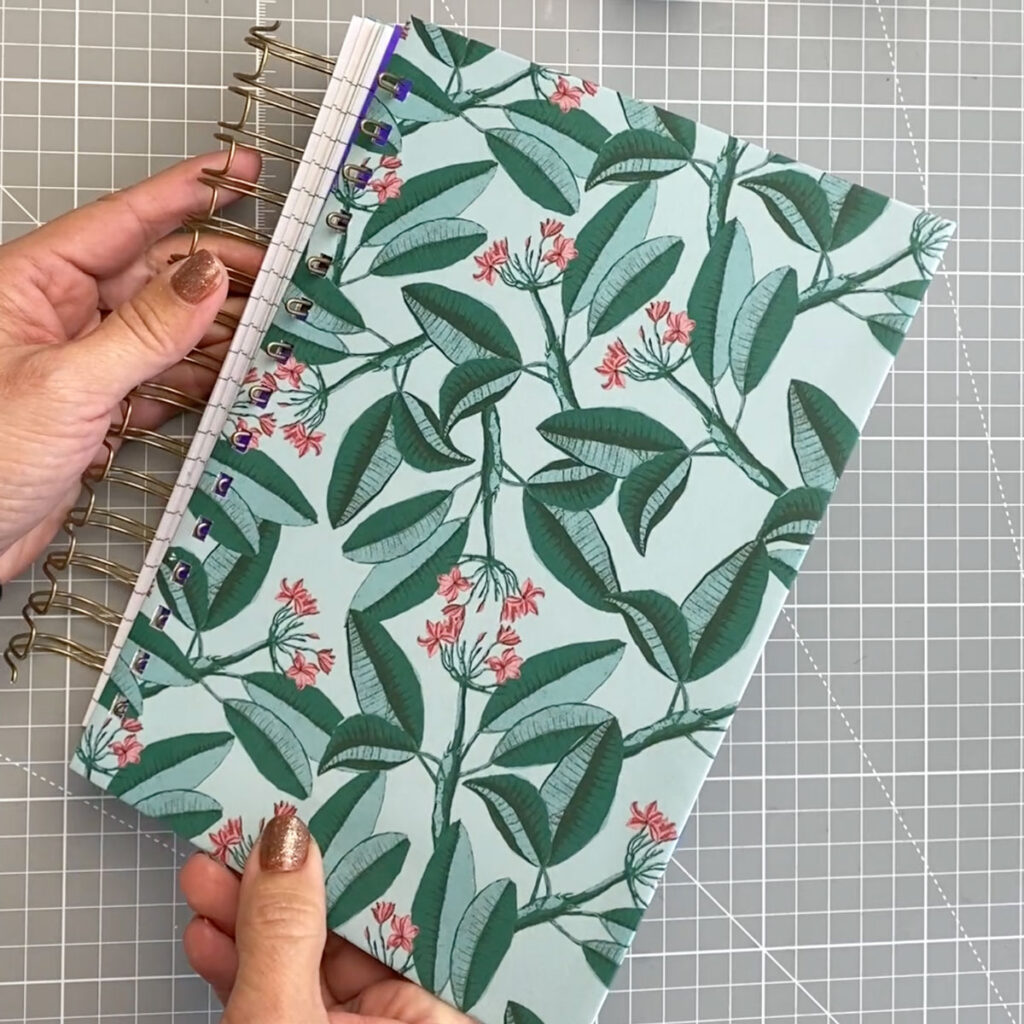
Next, turn around the pages and insert the cover facing up…
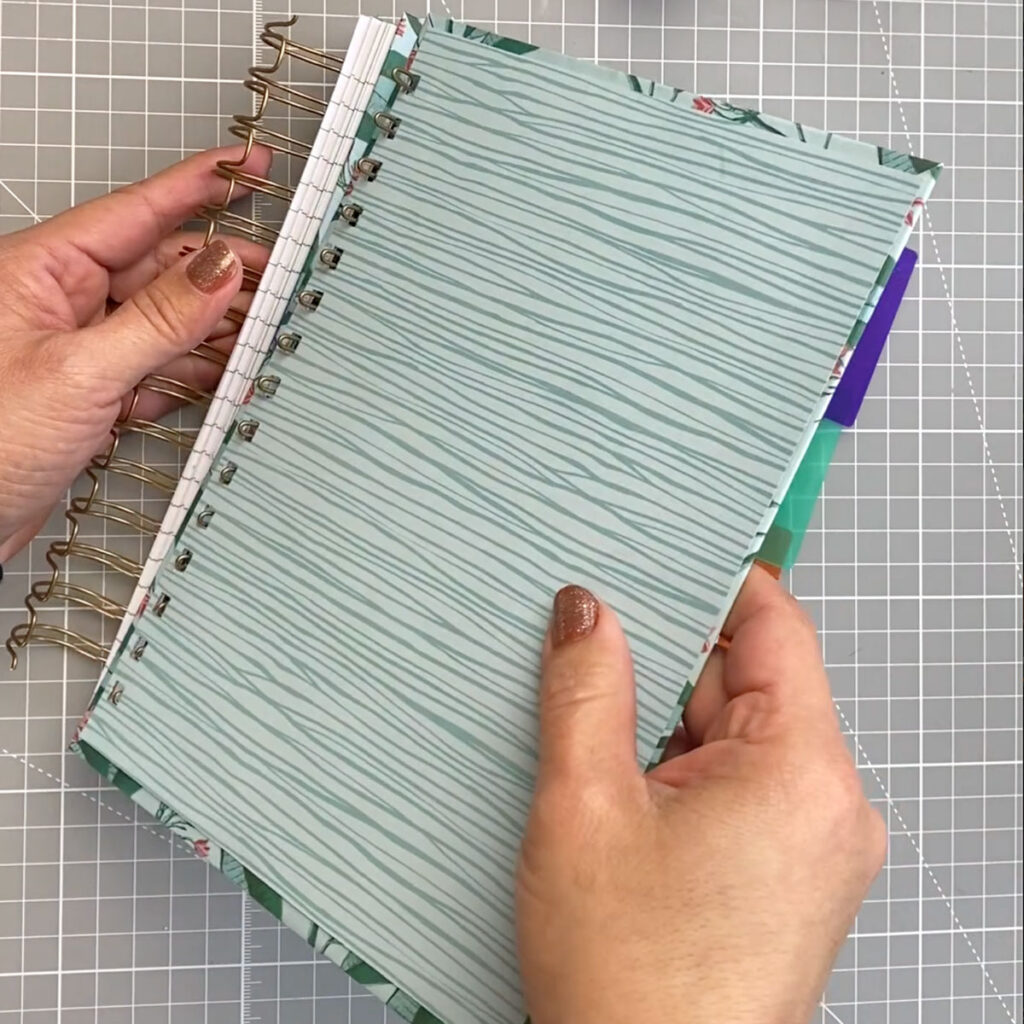
Then insert the backing facing down.
Place the wire on the Owire Binding Clsing Channel. Pay attention and place the wider points / edge of the wire facing the machine.
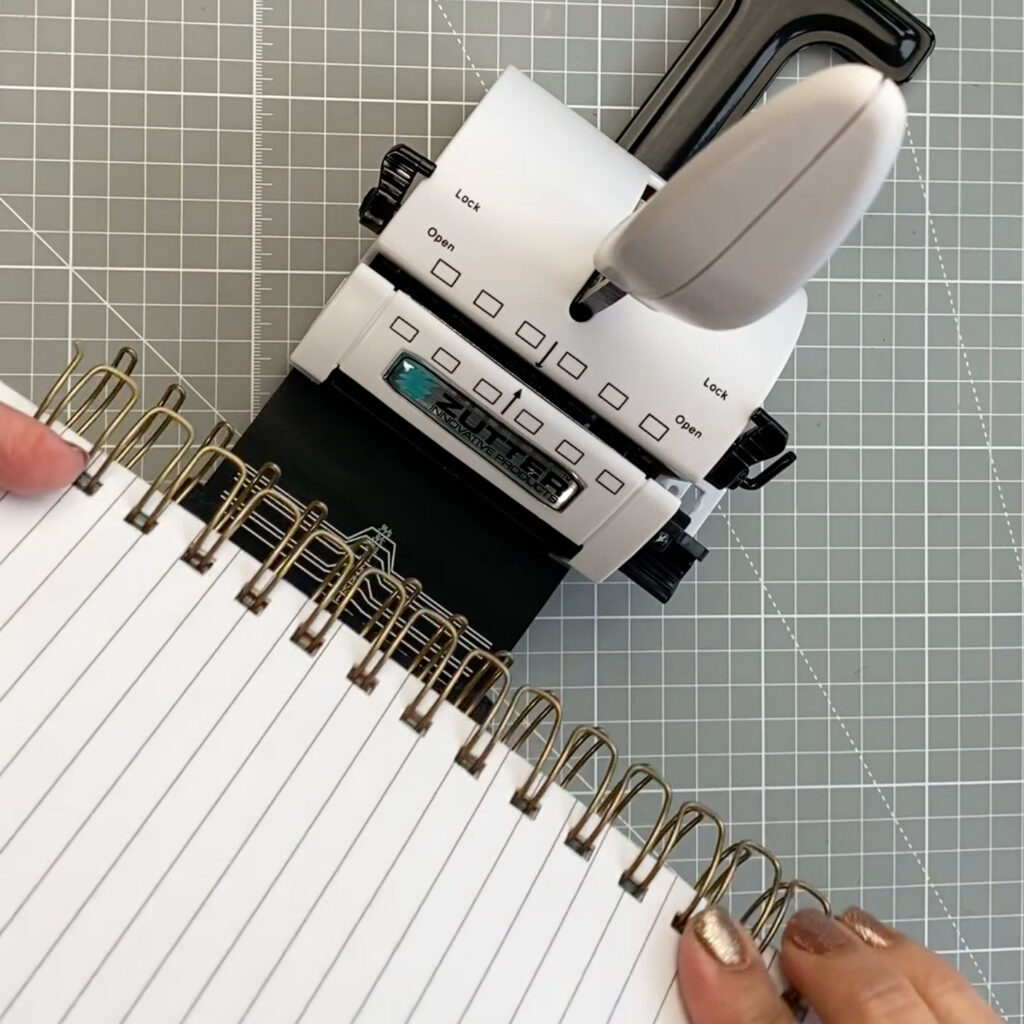
Press down the handle. You will have to work in smaller sections.
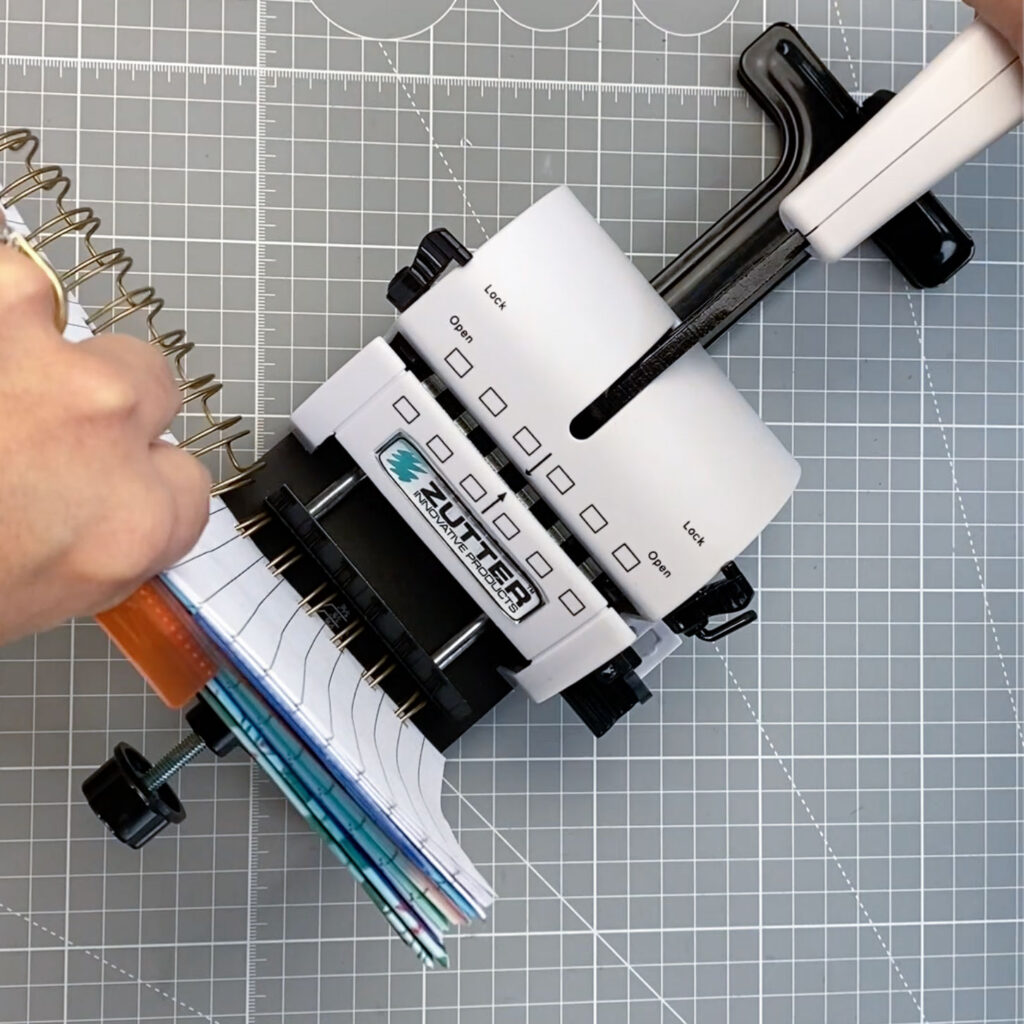
DONE!!
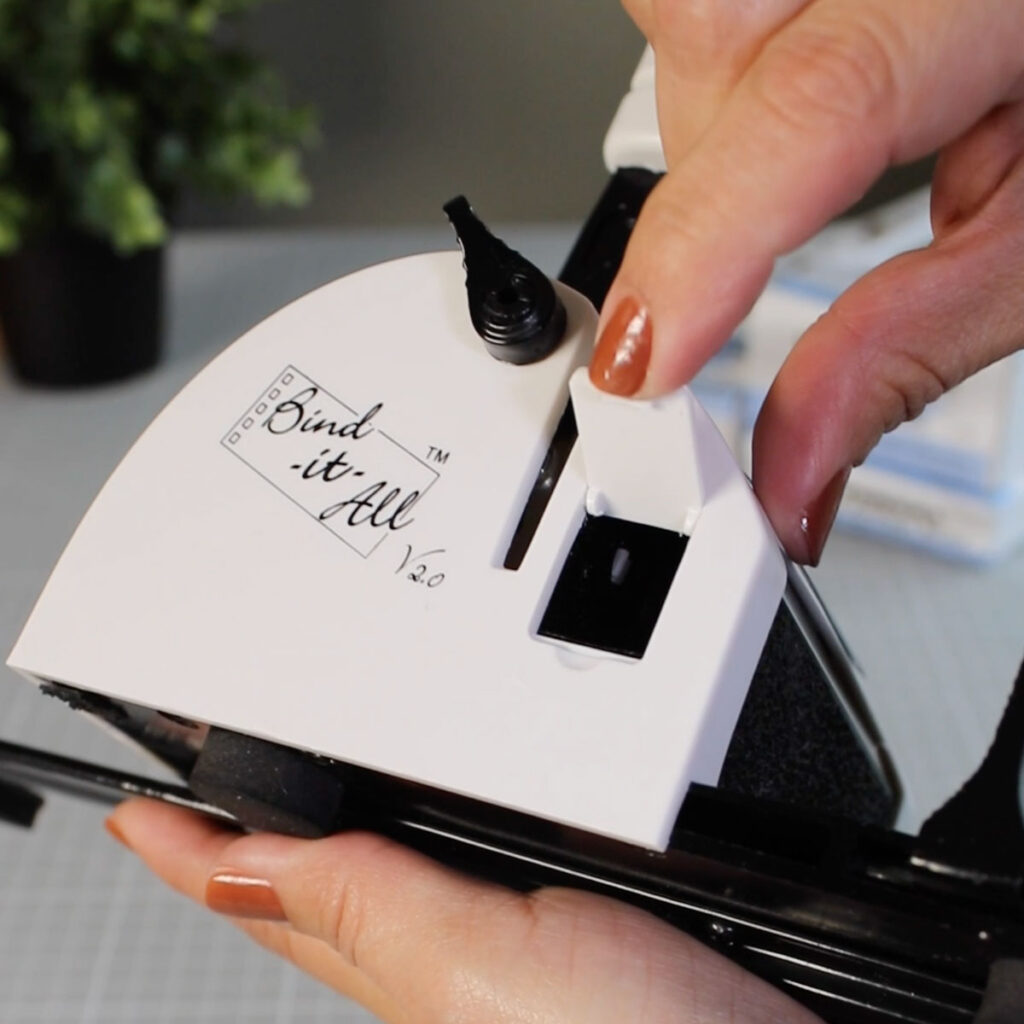
Oh! do not forget to empty the bin…
It is the little container at the side of the machine.
Bear in mind that only experimenting and going through a very short learning curve you will become a binding pro.
Happy Binding.
x
Bibi
Supplies List
Affiliate links apl


Bibi, will my old wires work in the new machine? Just wondering. thanks so much for sharing.
Hello Theresa, I don’t know what kind of wires you have but I don’t see why they won’t. x Bibi
Just bought this little machine from a charity shop, no instructions or accessories. your instructions saved the day. Thank you
I’m so glad I could help somehow. You will get busy.