
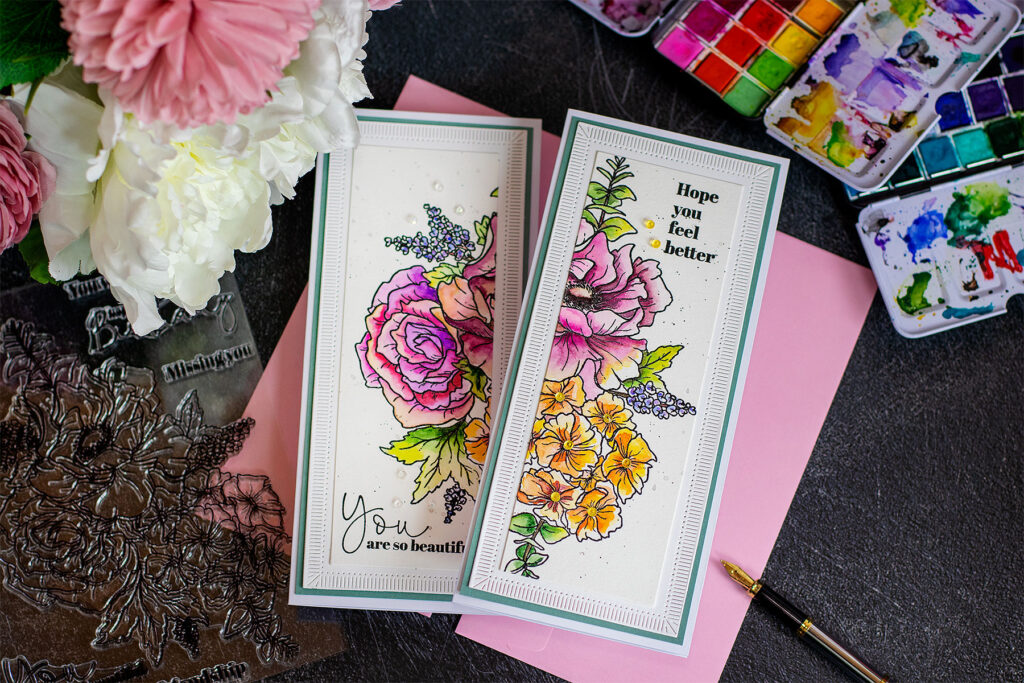
Hi crafty friends, I’m loving the new SSS Beautiful Bouquet stamp set from To The Moon Release by Simon Says Stamp.
Although I consider this an amazing image to do tone and tone stamping or to stamp backgrounds, today I’m sharing an idea to make 2 cards out of 1 single coloured panel.
To add ccolour, I used Altenew watercolors.
SSS Beautiful Bouquet stamp set

- SSS Beautiful Bouquet stamp set is huge!!
- Includes 6 sentiments and a large floral cluster that measures about 8 x 6 inches.
- Ideal to stamp backgrounds, boxes panels, wall art pieces, large format cards and more.
Colouring
This large stamped image is actually incredible easy to colour.
First, I stamped the image on Strathmore watercolor paper using Versafine Black Onyx Ink and the help of the Misti.
Then, I sprinkled clear embossing powder and I heat set it.
Next, I applied 2-3 washes of different shades included in the Altenew watercolors ( 36 colour set).
Once the panel was dry, I splattered the panel using a mix of water and a dark watercolor paint.
Key Coloring Tips
- Apply a light wash of each colour first, using a fine tip Nuvo Aqua Brush.
- Leave some white spaces ( do not cover the whole image with the paint).
- Then, dropped in darker/ brighter colours while the paper is still wet or use a little bit more of water do blend the colours as you wish.
- Use very little water.
Notes : With the time, I have learned that large image are a lot easier to colour than small images.
Using heat embossing will ease the coloring process and it will make it enyoyable specially regardless your level of expertice.
The embossing will contain the colour washes within the lines so you can be a bit careless when adding colours.
Cardmaking Process
These cards measures 8-3/4″ x 3-3/4″ inches
- After enjoying the easy coloring, I die-cut the panel in half using the Spellbinders PLATINUM 8.5″ Die Cutting and Embossing Machine and a die from the Spellbinders Fluted Classics Slimline.
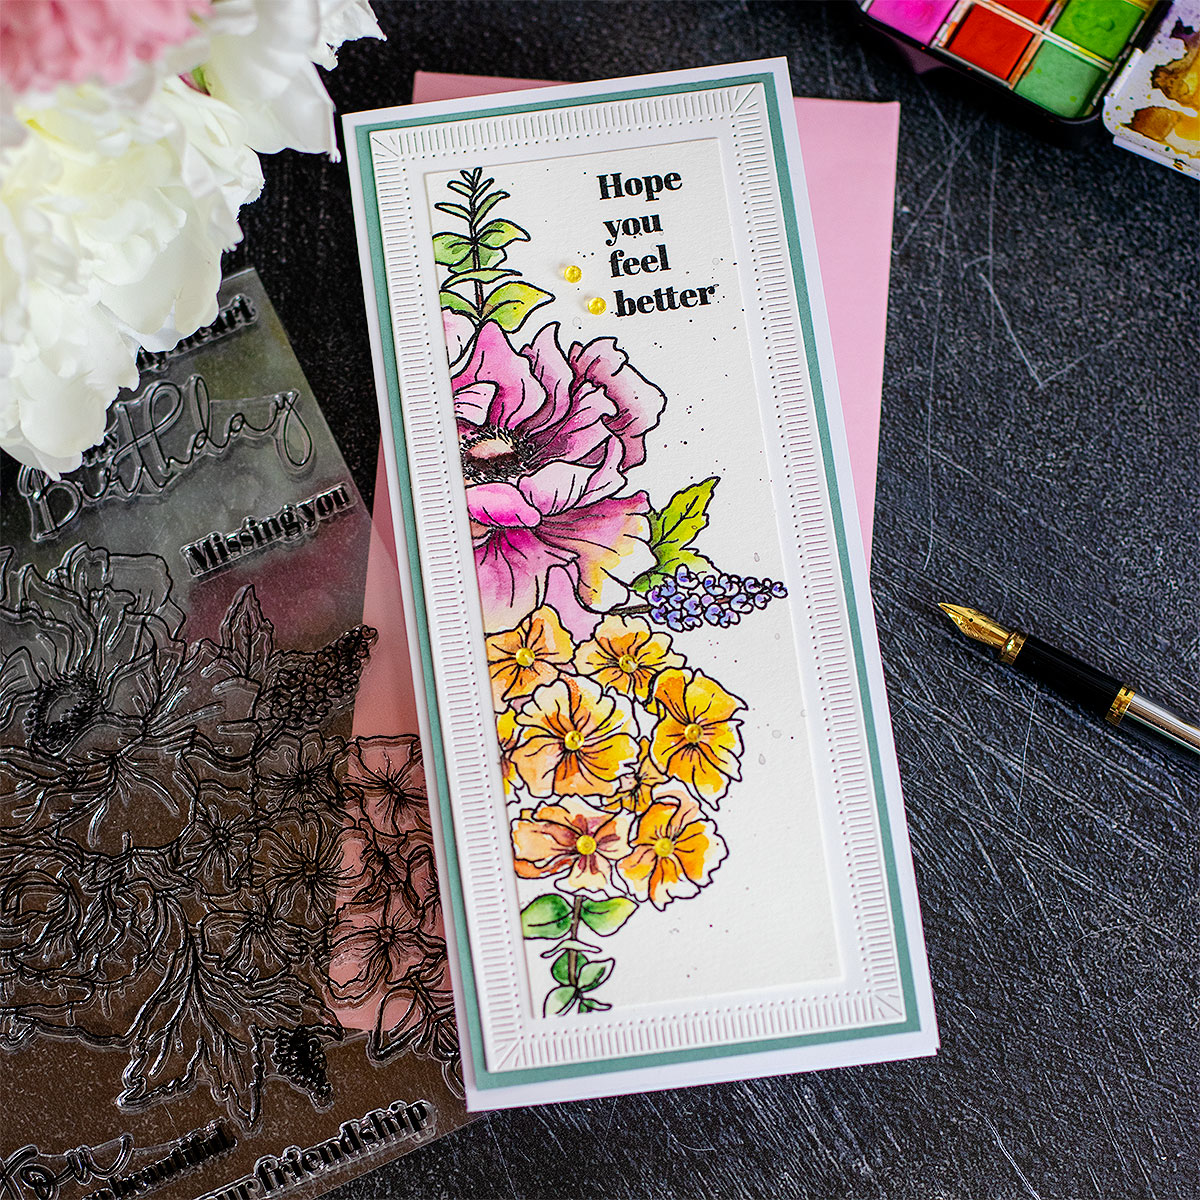
- I also die-cut an ivorysh background panel with a deocrative edge using dies from the Spellbinders Fluted Classics Slimline.

- Then, I stamped the setniments using the misti and Versafine Black Onyx Ink.
- To smooth the transition between the watercolor paper and the cards base colour, I added an extra backgorund panel made out of a Sage Leaf cardstock.
- For the card bases, I used Neenah Classic Crest 110 LB smooth solar white , the Scor-Pal, and I trimmed to the size using a maxi guillotine.
Note: I was considering using the Fluted Classic Rectangles die set to make C6 cards instead but I just loved the slimiline format.
Finisging Touches
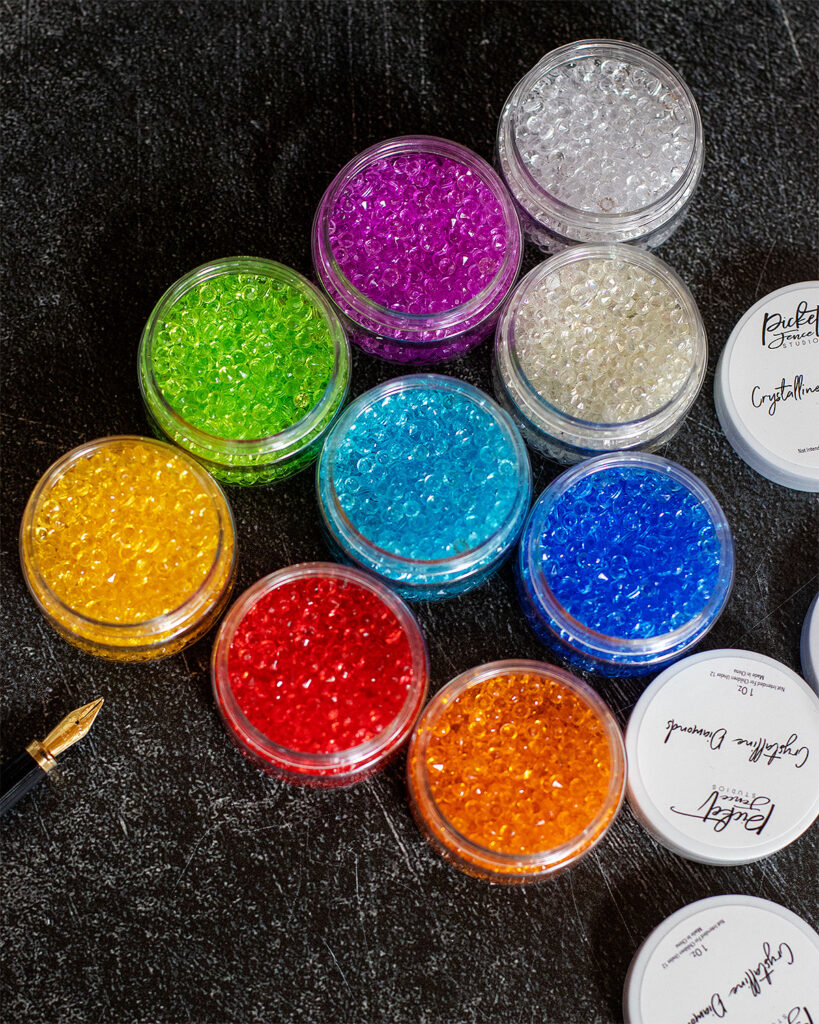
- To embellish, I added Picket Fence Studios OPAL Crystalline Diamonds and CITRINE Crystalline Diamonds.
- I used Nuvo Deluxe Adhesive to adgere everything.
Thirsty for More?


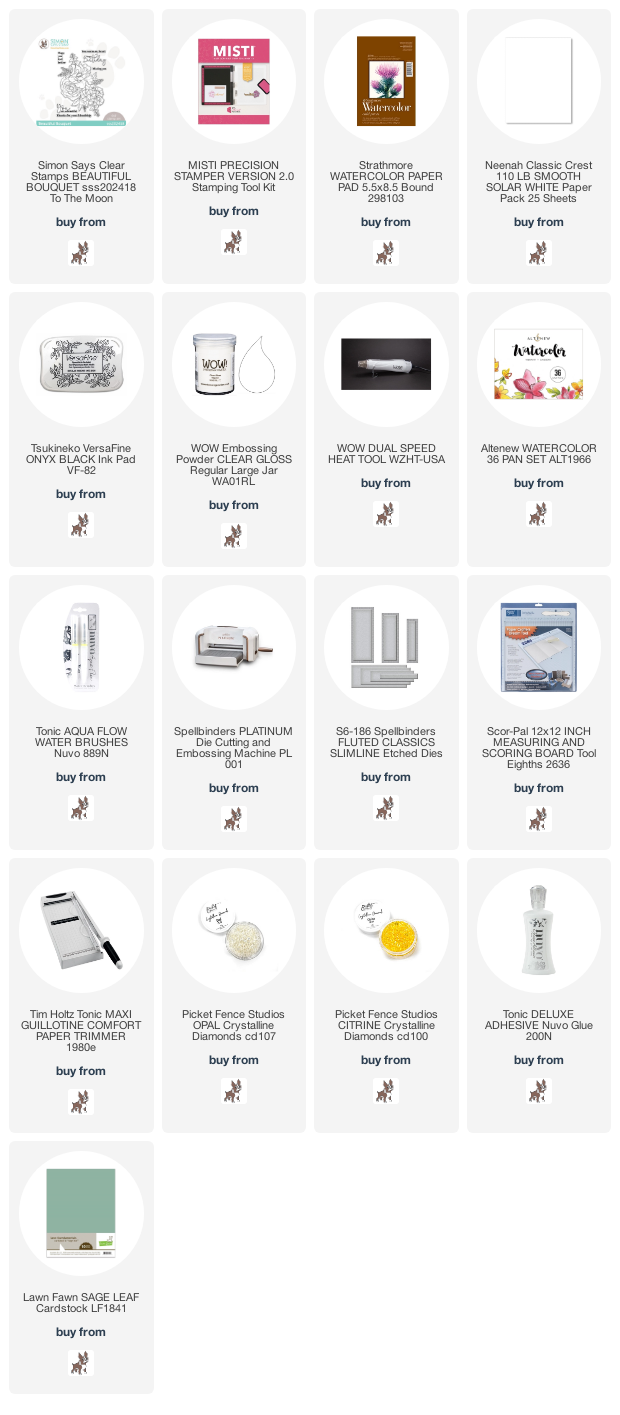
Supplies
Affiliate links apply at no extra cost to you. Thanks for your support.


Leave a Reply