
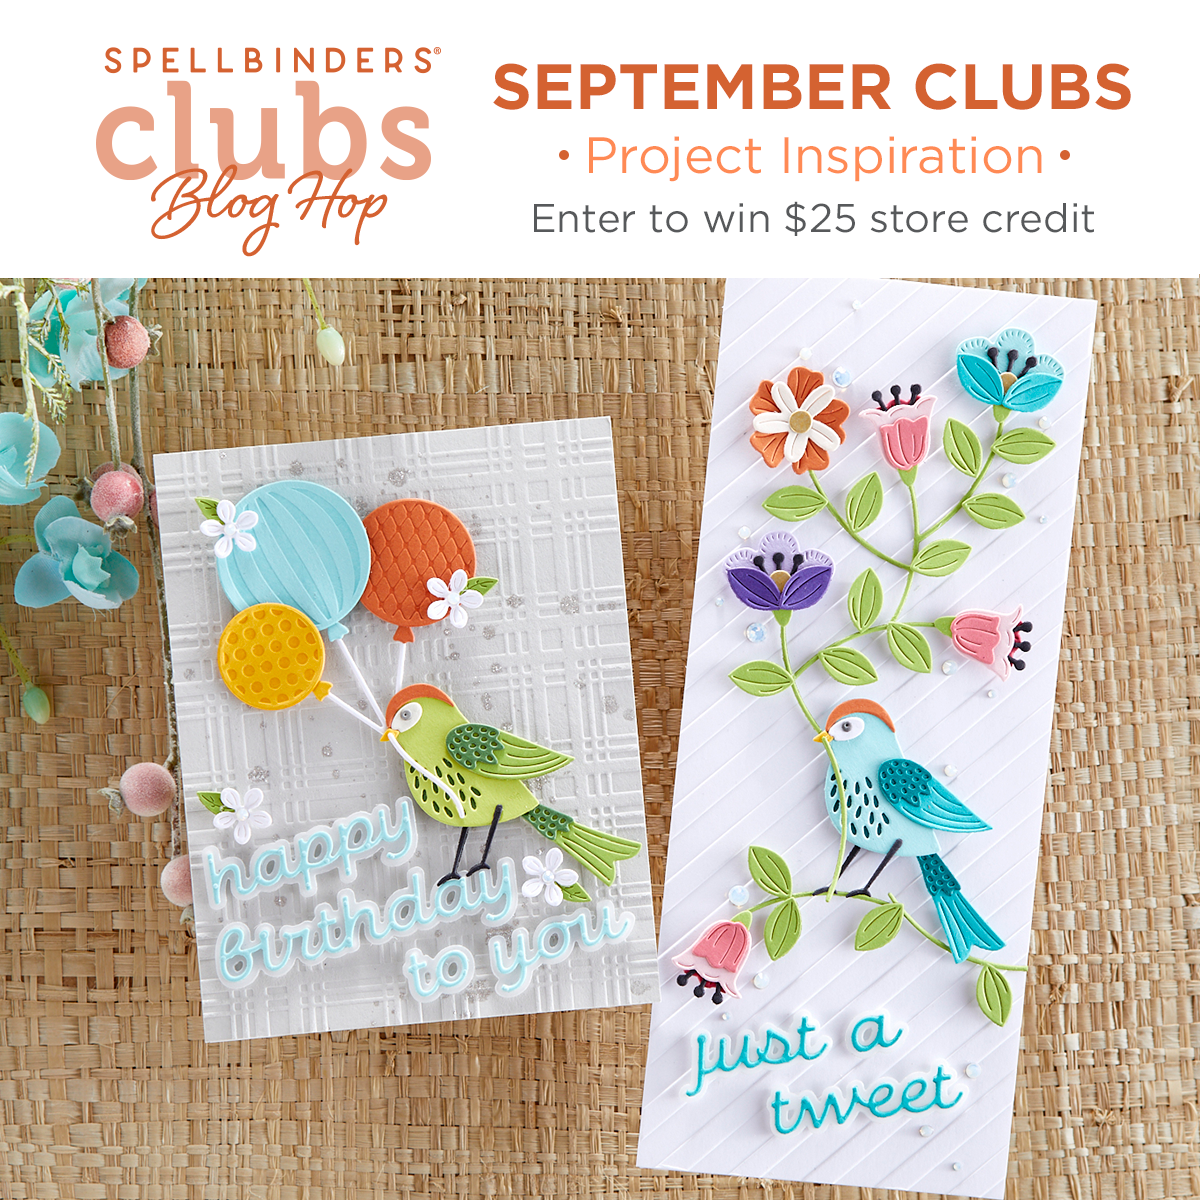
Hello there!! For today’s blog hop, I’m featuring “Just a Tweet” the Large Die of the month, and a fun DIY Marble Paper idea
I hope you like it!!
Video
In the video below at minute 3:51 you can see how to create The Marble Paper Effect.
Enjoy the luminescent paper and adding a completely different appearance to die-cuts, backgrounds or any other crafty project you might have.
Just a Tweet Spellbinders Large Die of the month

“Just a Tweet” the Large Die of the month, is a 34 PCS die set and it is simply divine!
It will allow you to create multilayered die-cut birds and florals suitable for a wide variety of compositions and to make any size cards or projects.
The sky’s the limit but to keep it simple I made a box topper and a tag to share extra ideas with you.
Just a Tweet Box

This mini gift box measures 3×3 inches.
- To make it, I used 2 pieces of cardstcok .
- Both measured 5×5 inches but for the box base I trimmed the pice down 1/8″ inch.
- Using the FSJ Scoring board, I scored 1″ all aroundthe edges.
- Then I trimmed the corners and I assambled the pieces.
- To embellish I used Spellbinders Gold Gems.

For the banners on the box and the tag projects I used:
- The Spellbinders Platinum 6 Die cuting machne and Spellbinders Hot foil System
- Gold Hot Foil
- Everyday Sentiments II Glimmer Hot Foil Plates
- Mini Everyday Sentiments Glimmer Hot Foil Plate & Die Set
Just a Tweed Tag

To make this tag, I used Nested Tags die set to die cut the pieces for this project and I simply added the little die cuts over.
DIY Marble Paper

When playing with Arteza Iridescent Paints ( available on the Arteza online Shop UK here and in the Arteza USA online Shop here), I found a cool way to create DIY marble-looking paper also using my neglected Nuvo Gilding Flakes.
So today, I also wanted to share this easy idea with you.
Marble Paper in 4 easy steps
- First, I applied a little bit of Fairy Tale and Royal Purple ARTEZA Iridescent Acrylic Paints over the glass mat and I diluted them with water ( I also mixed them a little bit)
- Then, I placed the glossy side of affordable high gloss photo paper over the paint ( smooching technique)
- Next, I added Gilding Flakes over the paper while the paint was still wet ( As the paint is tick and a little bit sticky the flakes will stick to it)
- Once the paper was dry ( next day), I used a Nuvo Sweep Brush to remove the eccess gilding flakes.
Done!
Blog Hop
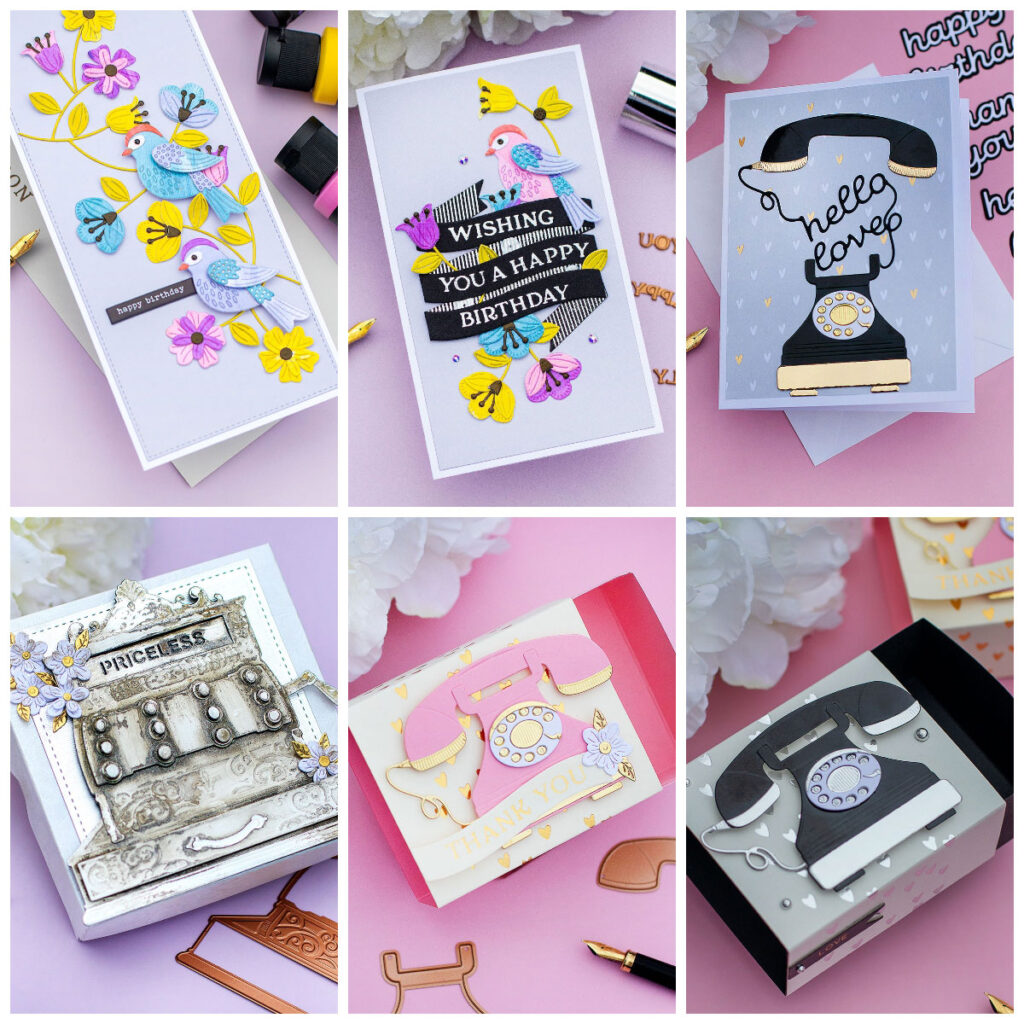
19 talented papercraft artist and cardmaker are sharing ideas and inspirations using the Spellinders Kits this month.. Make sure to keep hopping to see what everyone is making…
Giveaways
For your chance to win a $25 gift card to the Spellbinders shop leave a comment in the blog post here.
Thirsty for more?

Find more inspiration on my Spellbinders September 2012 Club Kits blog post here
That’s all for today.
Thanks for stopping by
Bibi
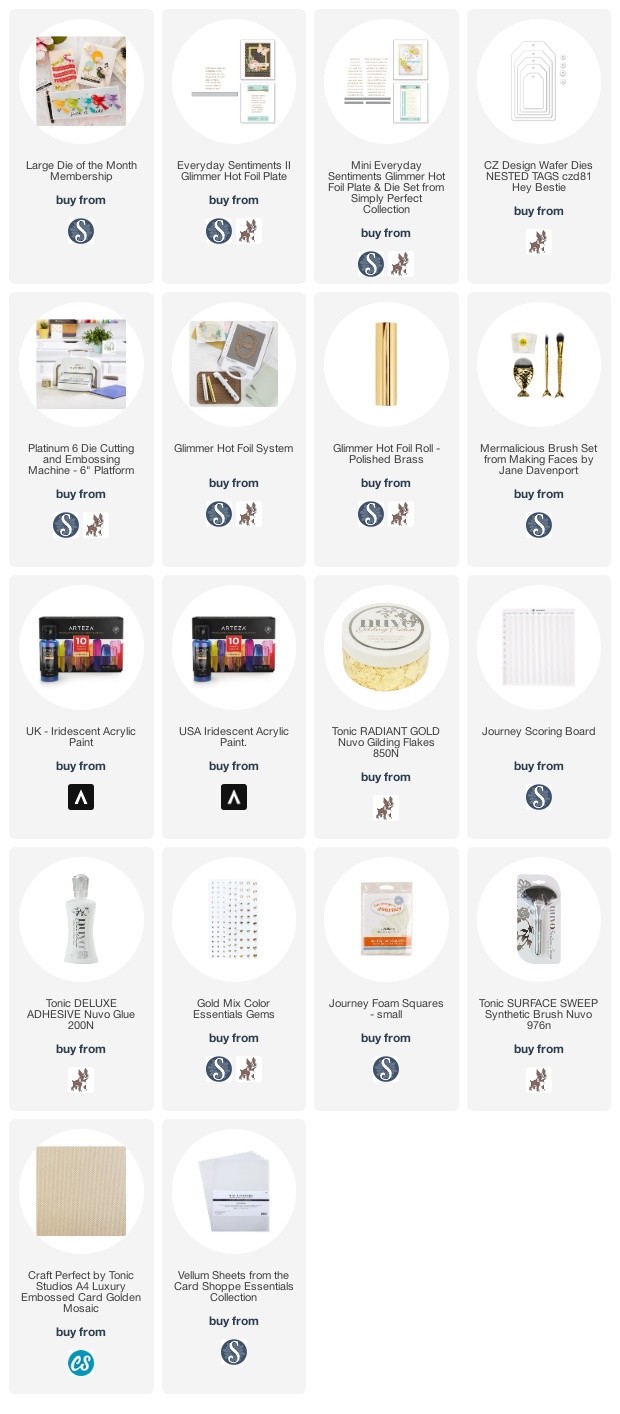
Supplies List
Affiliate links apply at no extra cost to you. Thanks for your support.


Beautiful!!
Thanks for sharing your technique! Your cards are stunning!
OMG, that paper is unbelievably beautiful. I’m going to give it a try. I have never seen anything like it and it is the perfect touch for the beautiful bird.
That is beautiful~ Thanks for sharing your techniques.
Great dies! Really like your touches of gold!
Amazing! Love your marketing technique. Perfect for this cute little bird.
Marbeling……just love the spell changer
So many beautiful cards but your marble paper is absolutely gorgeous! Thank you so much for sharing your technique. I can’t wait to try it.
WHAT IS THIS MAGIC! This is absolutely perfection. I love the added gold and that hue of blue is stunning
Gorgeous projects! Love the marble look and gilding on the paper. Brilliant!
Beautiful cards. Love your color choices.
Wow! So creative! Lovely card. Thanks for sharing.
While reading the beginning of your dialogue I kept thinking how did she do that or what paper did she use. I am so glad you gave instructions making that charming paper and a product link for the paint. It certainly made the birds pop. I love the shimmer, iridescence and the opaqueness of these paints and then add the gold flakes and a masterpiece is created. I don’t have any acrylic paints but these are on the top of my wish list – lovely! Your cards a just beautiful (as always). Really look forward to watching you videos too.
These are beautiful. I love the bird and will definitely check out the large die of the month. Your marble paper looks great.
Wow!!! Gorgeous!! Can’t wait for the video!!! Thanks!!
Gorgeous projects! I love the gilded marble paper – can’t wait to try this technique. Thanks for sharing.
Beautiful!
That gilding looks amazing! Seriously epic work.
Thank you for such a great idea using gilding flakes- I will definitely give this technique a try! Your projects are absolutely beautiful! I love the blue and gold together!
WOW! So much in your blog hop! I love the box and dimensions, the tag, the marble paper, everything! You have given me so many great ideas, Thank you so much for sharing!
Such gorgeous projects! This is an awesome release.
Whoa!!!!!!!! They are stunning.
Love your technique! Will have to try it. Adds a special touch to the little bird!
Gorgeous tag and box with a great technique! Thanks for sharing and for the inspiration.
You ALWAYS have the best projects, Bibi! I love Spellbinders and I adore your work! You’re an inspiration!
Both the box and tag look so elegant!
Beautiful projects & paper as usual! I always enjoy your projects.
Thanks for sharing.
Oh my gosh, so loving those acrylic paints and the techniques you showed. Definitely going to buy those paints for a different look. Those papers and cards are beautiful! Thank you for sharing the different techniques!
Gorgeous marbled paper effect! Love the birds and flowers!
I am so excited to get the Sept Large Die of the Month Club! I love your card and have been seeing all the additional gorgeous cards you’ve been creating with this die set! I love how you’ve shown us how versatile this is! Thank you for inspiring us thru out the month!