Hello there, today I’m sharing about the Arteza Iridescent Acrylic Paints a new fav in my craft room!
The colour coordination of these paints is incredible!!
To make these projects, I also used the Just A Tweed die set here ( Bird and flowers) by Spellbinders
Arteza Iridescent Paints
- Multi-purpose Acrylic Paint
- Suitable for arts & crafts projects on different materials such as canvas, fabric, leather, paper, wood, rocks, terra cotta and metal.
- Semi Translucent.
- Can be layered to achieve a more intense and vibrant colour.
- Looks different depending on the background colour
- Colour-Shifting Properties
- Blendable to create new colours.
- Thick Acrylic Paint. Great to create textures.
- Dry permanent
- Non Toxic – certified.
- Suitable for beginners or professionals.
These paints are available at
10% Discount Code Bibicameron5 ( Valid until Oct 8 -2021)
The Colours
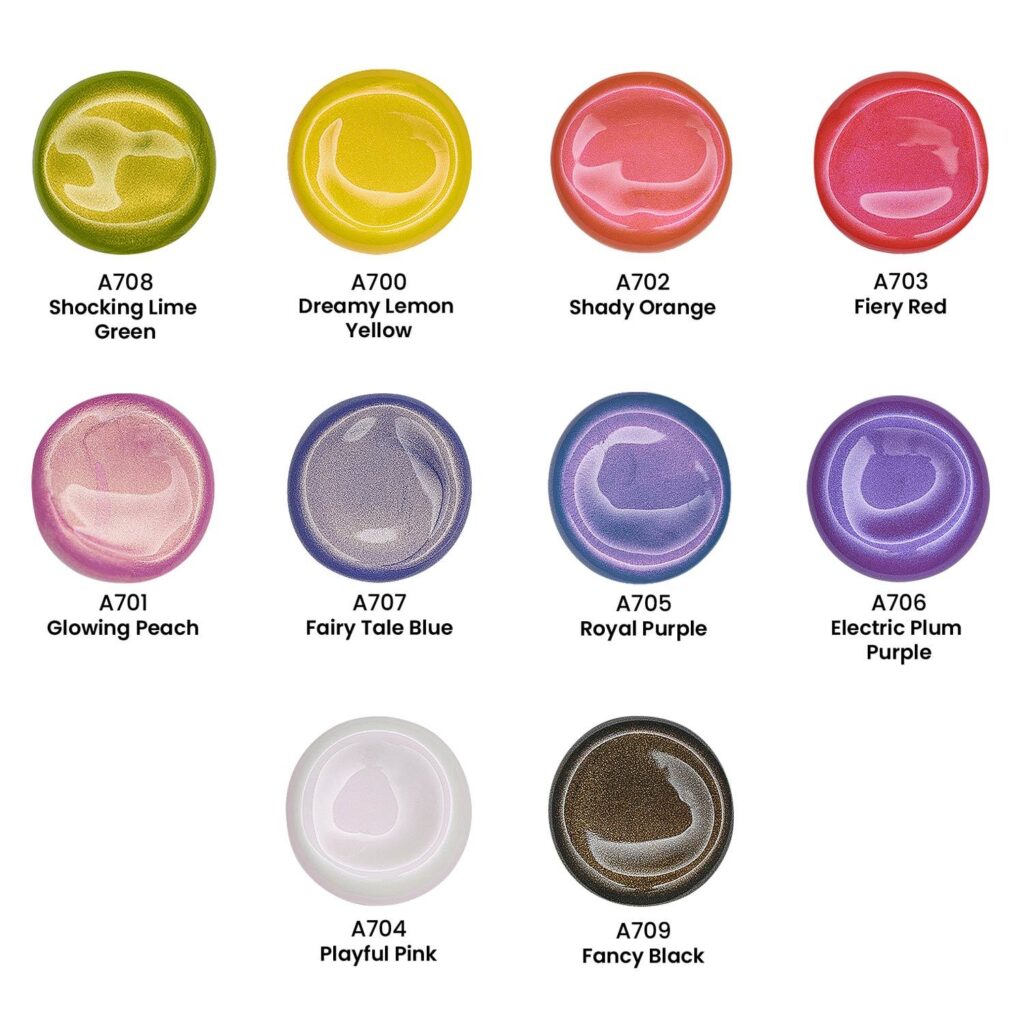
Arteza Iridescent Acrylic Paints are available in 10 shiny and lustrous colours.
You can mix different paint colours to create new shades.
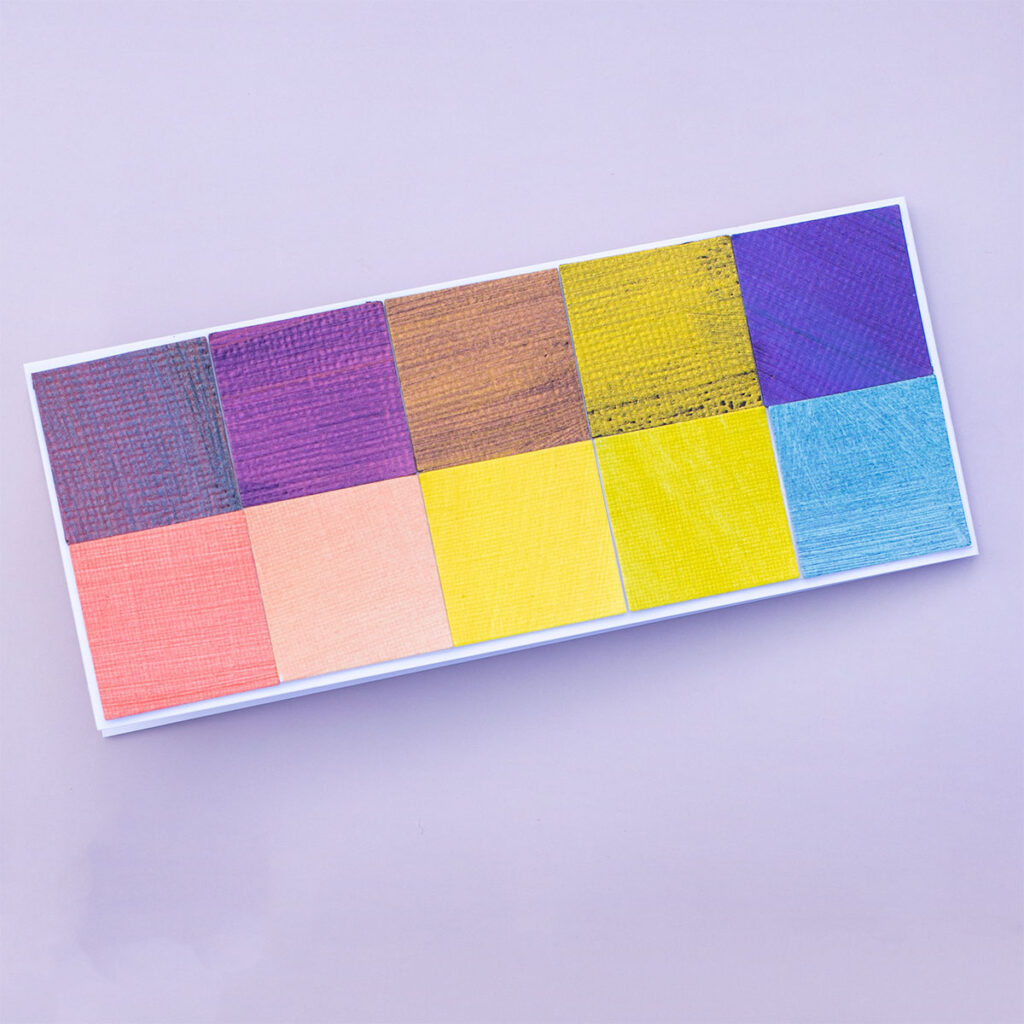
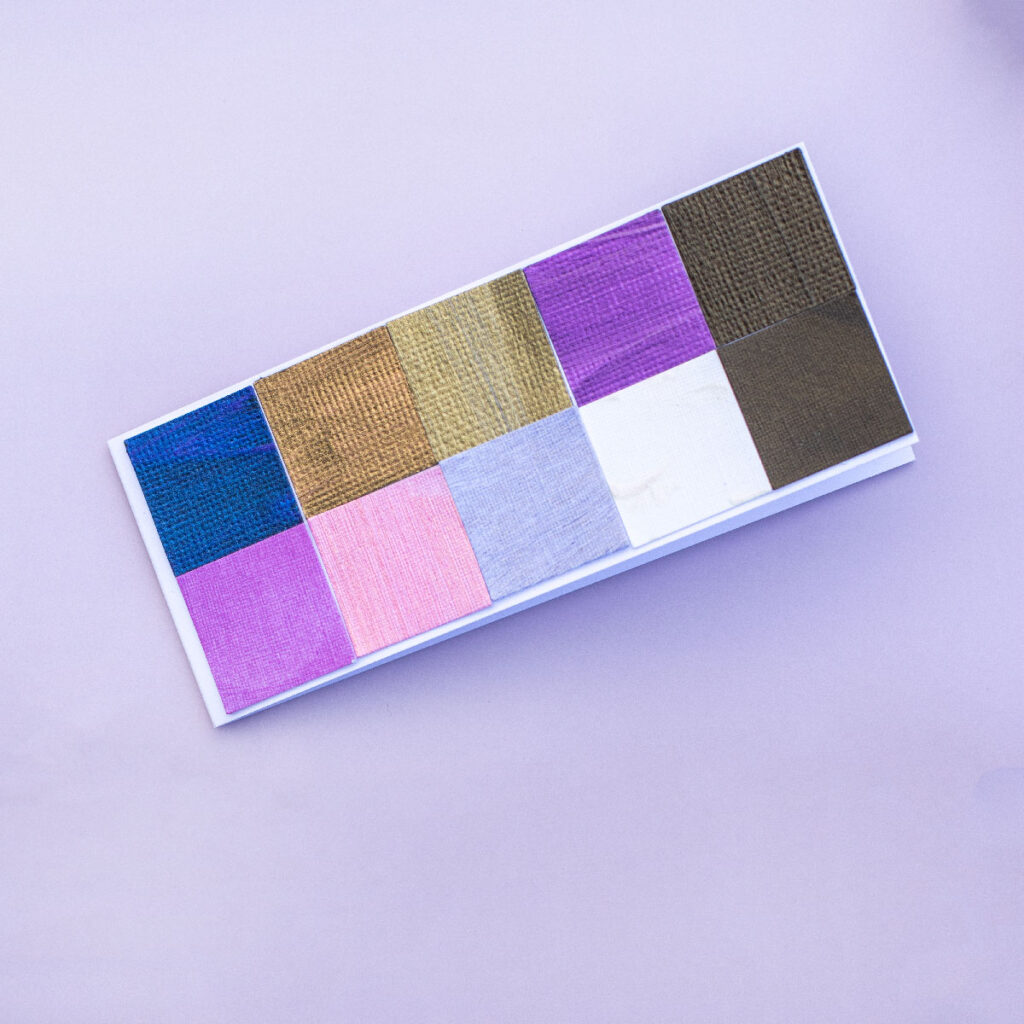
Below Colour Swatches the top row shows the paint on black cardstock and the bottom one shows the paint on Arteza Acrylic Paper.
Tools or Applicators
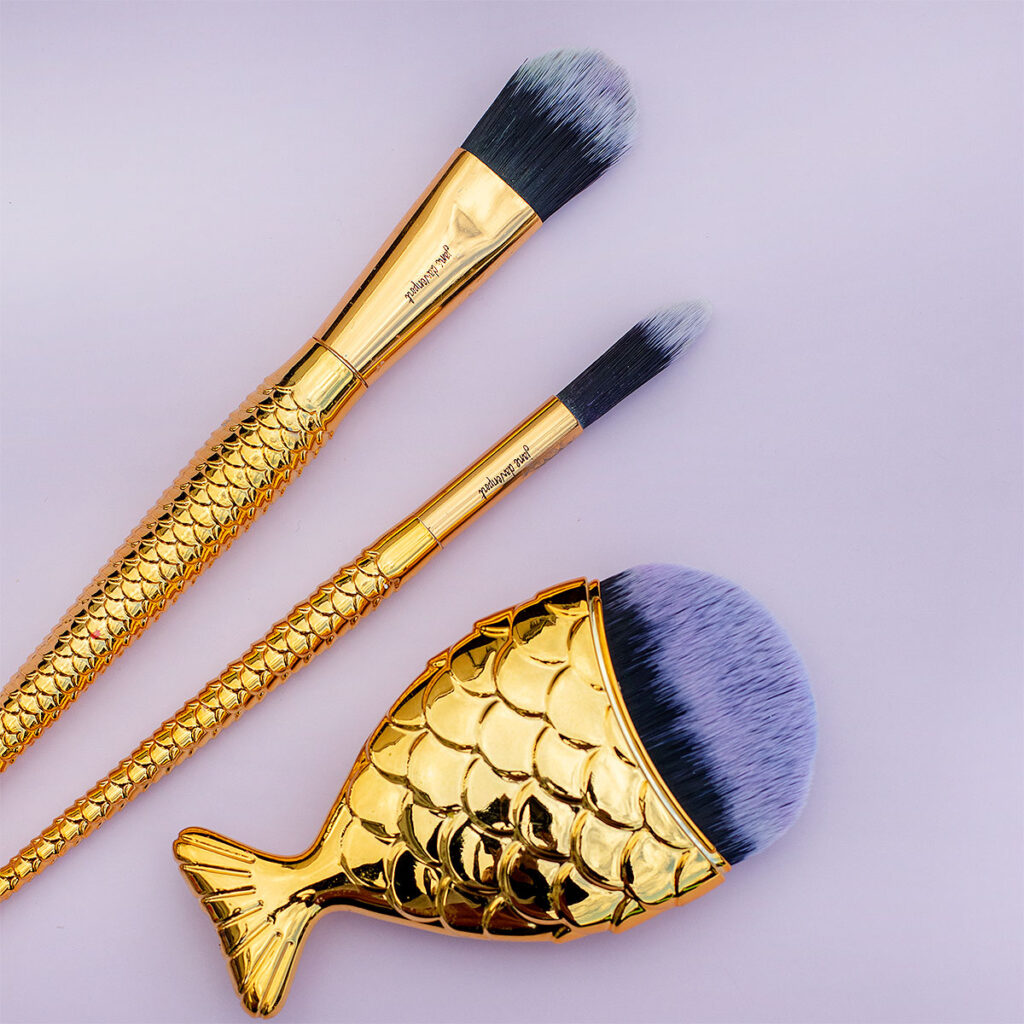
Arteza Iridescent paints can be applied using a palette knife or different brushes to create textures.
For a smooth finish, I like to use super soft brushes y Jane Davenport that are like makeup brushes.
DIY Coloured Cardstock
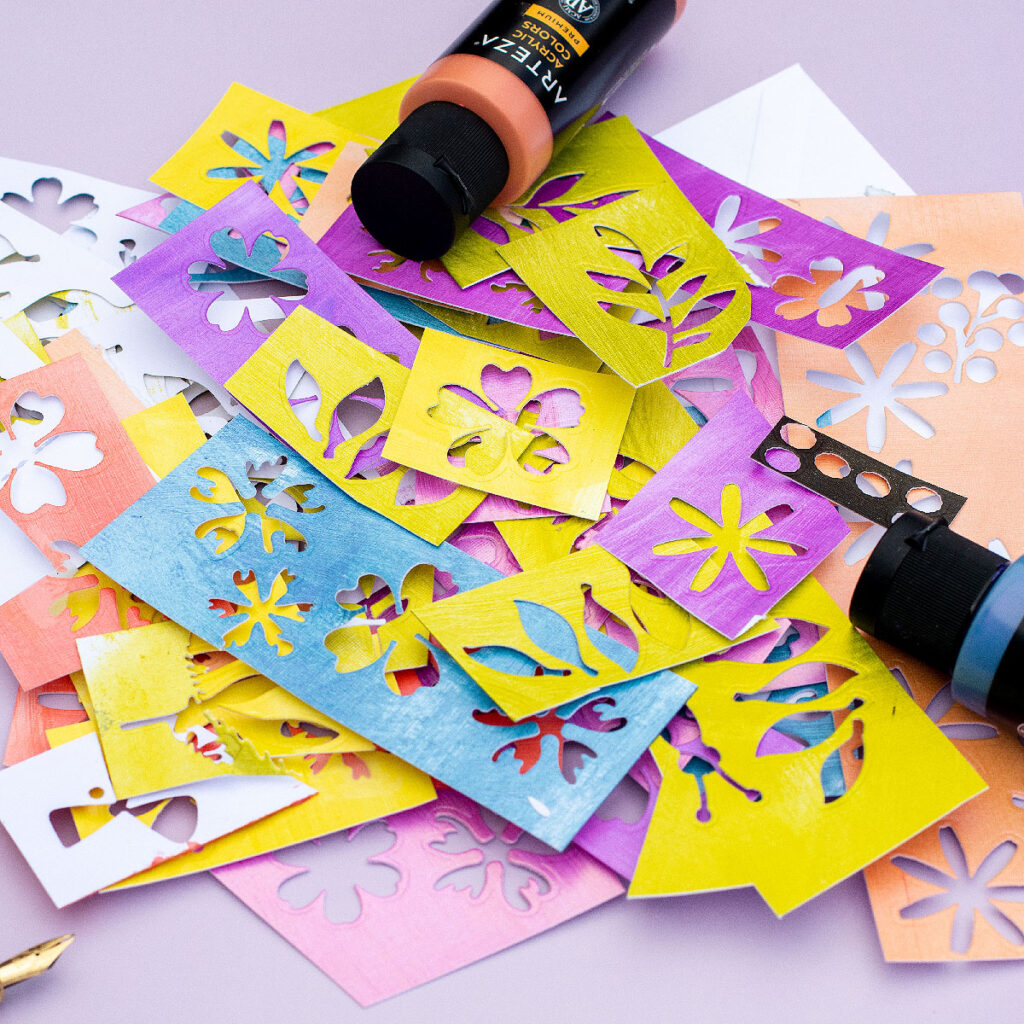
- To create my own shimmery DIY cardstock, I like to apply the paint over Arteza Acrylic Paper. [Available at Arteza UK or Arteza USA ]
- The paper is really beautiful and add a sophisticated look and feel to papercraft projects.
- Arteza Acrylic paper is heavyweight – Cold-pressed, linen-textured designed to withstand many washes without damage.
- It looks like a canvas on the front panel of your cards.
- It is also Fade-Resistant. Each 100% acid-free sheet preserves the vibrancy of your artwork.
In the cards below you can have a better idea of the look and feel of the die-cut made out of painted acrylic paper.

To make these cards, I also used the Spellbinders die-cutting machine, “Just a Tweet” Bird and Flowers die set “and to die-cut the backing panel I used Stitched Slimline Trio die set.
You can read the complete blog post about these projects here….

MarBle Paper
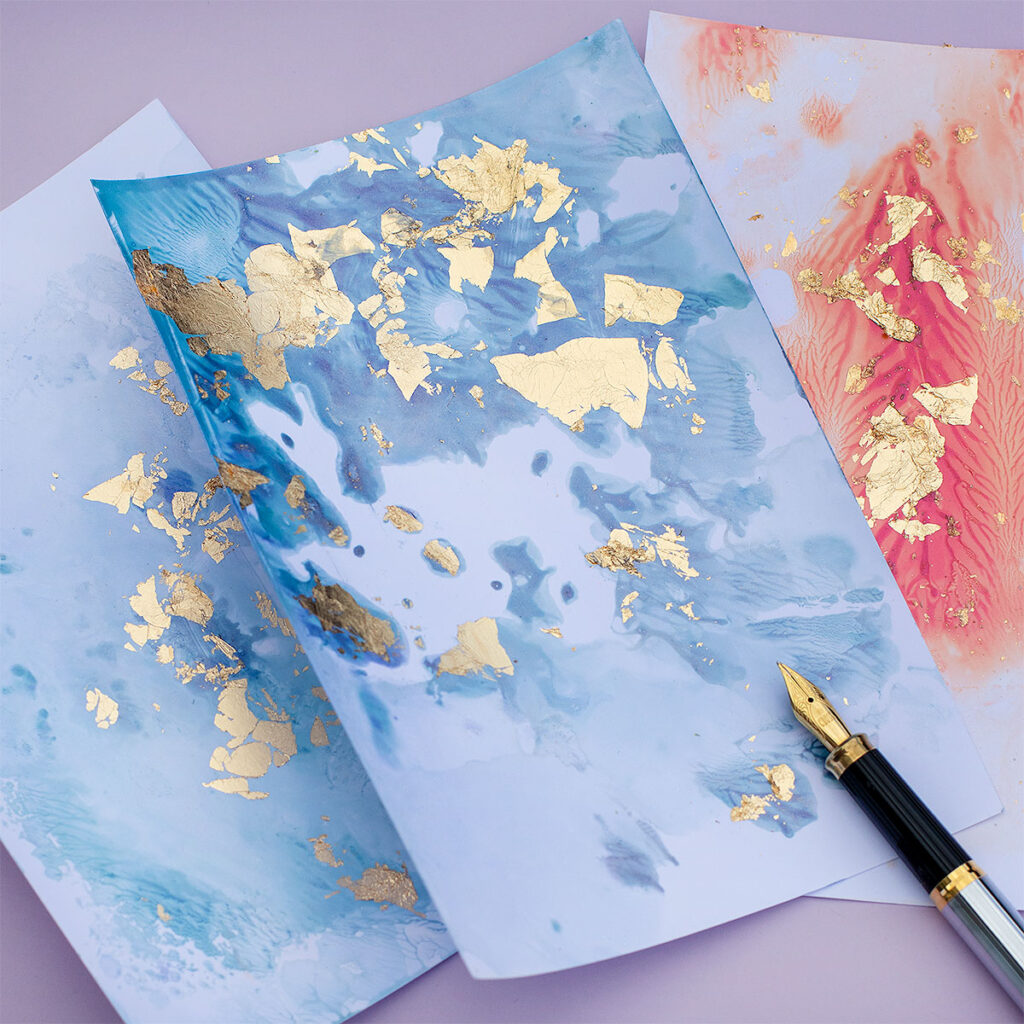
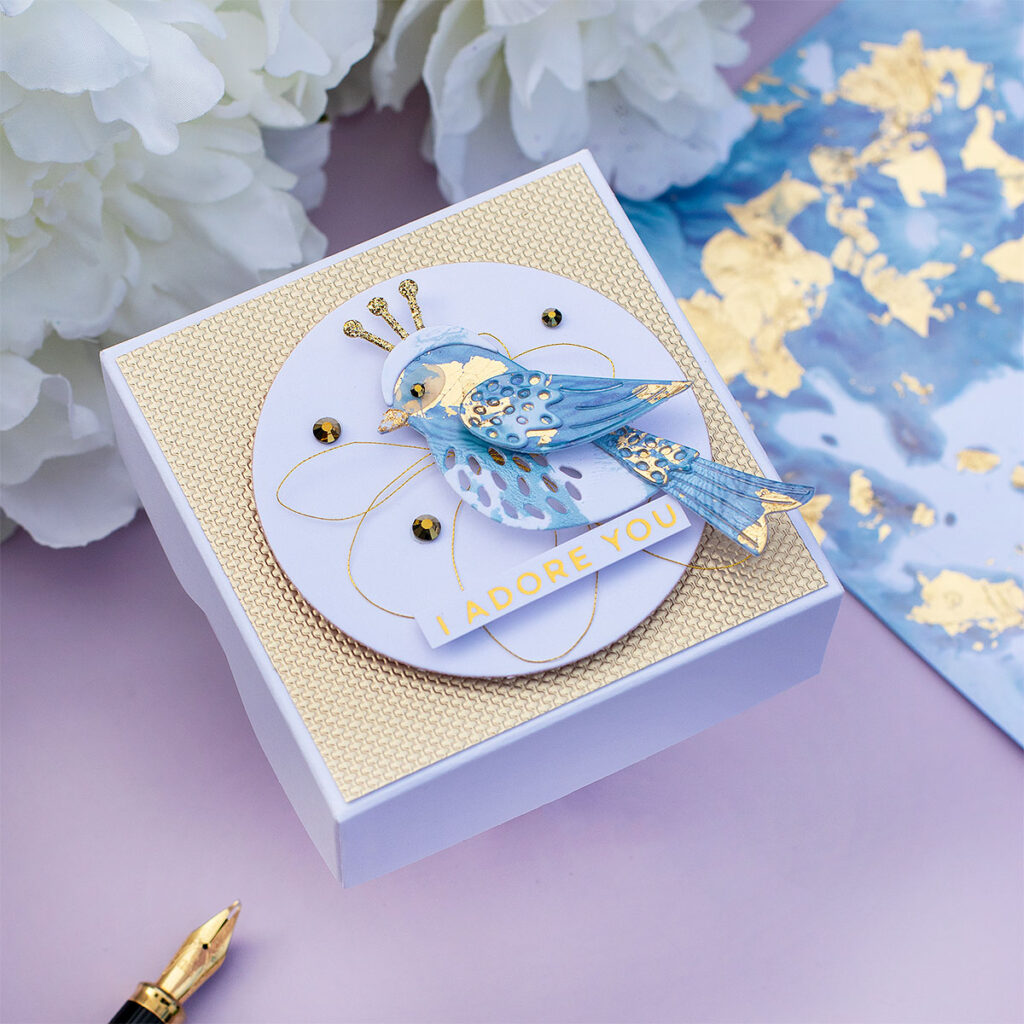
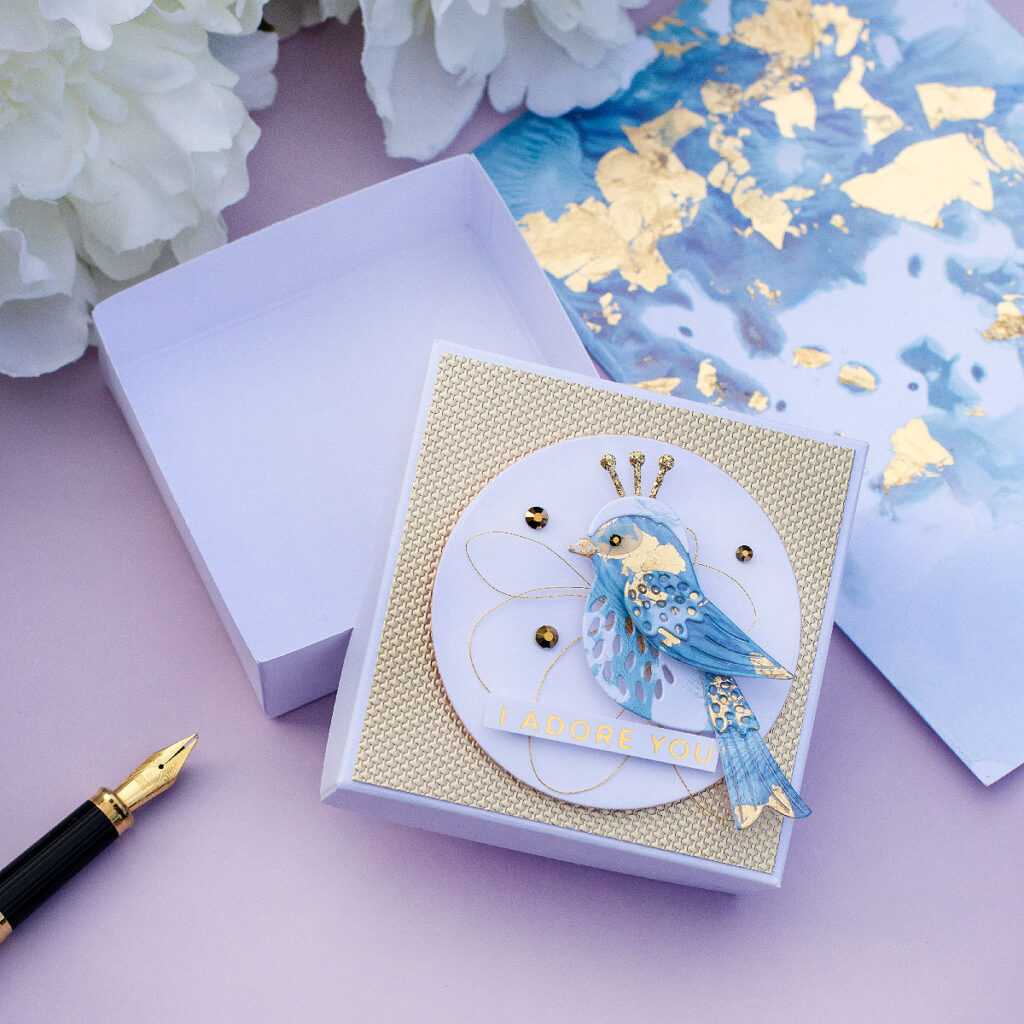
As the Arteza Iridescent Acrylic Paints are thick and a little bit sticky I had the idea to add gold leaf flakes or gilding flakes to create a new texture.
That’s how this marbleized paper was born.
To make it I used photo paper + Fairy Tale and Royal Purple Iridescent paints +Nuvo Gilding Flakes.
- I applied a little bit of Fairy Tale and Royal Purple ARTEZA Iridescent Acrylic Paints over the glass mat and I diluted them with water ( I also mixed them a little bit)
- Then, I placed the glossy side of affordable high gloss photo paper over the paint ( smooching technique)
- Next, I added Gilding Flakes over the paper while the paint was still wet ( As the paint is tick and a little bit sticky the flakes will stick to it)
- Once the paper was dry ( next day), I used a Nuvo Sweep Brush to remove the eccess gilding flakes.
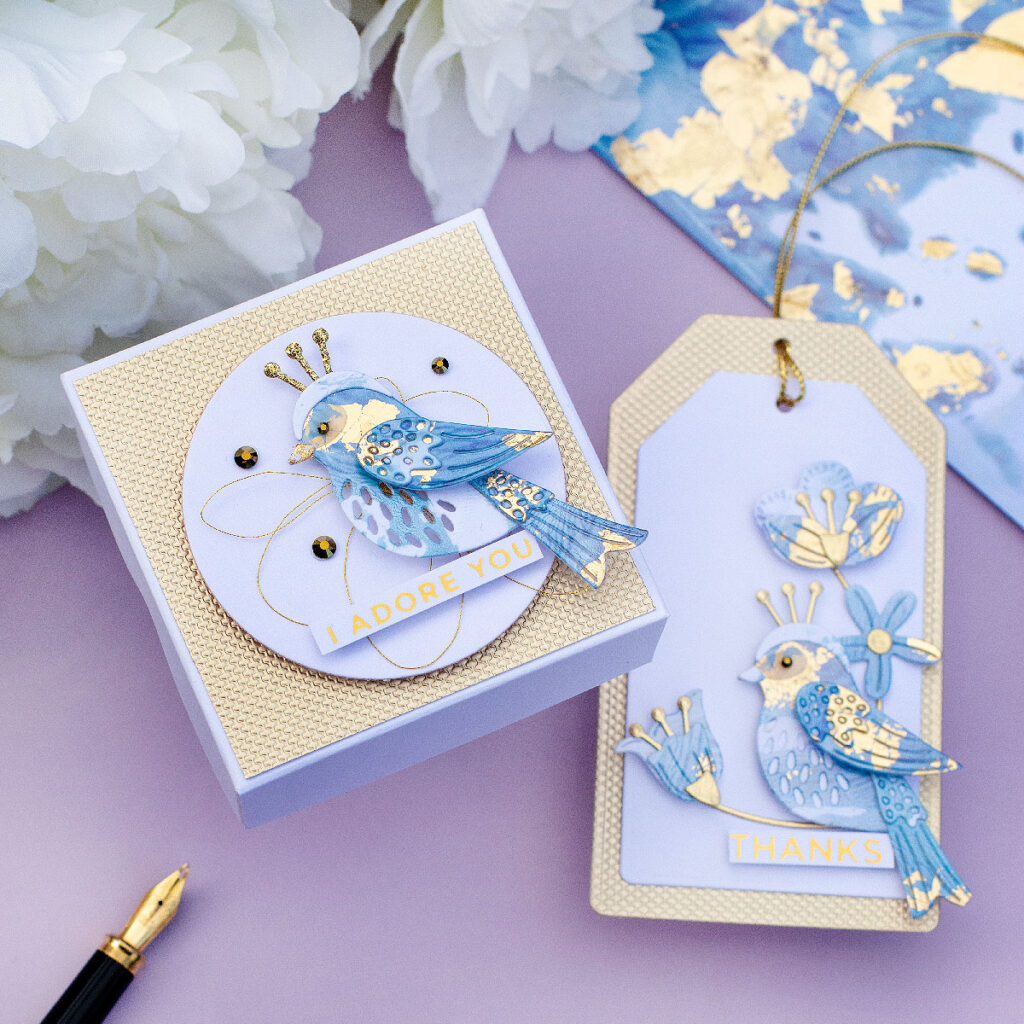
Supplies Used to make this Project:
- High Gloss Photo paper ( from poundland)
- Arteza Iridescent paints ( sticky – Available at Arteza online Shop UK here and in the Arteza USA online Shop here)
- Gold Gilding Flakes
- Nuvo Sweep Brush
- “Just a Tweet” Spellbinders Large Die of the month.
- Gold Background Paper: Luxury Embossed Card Golden Mosaic
- Nested Tags die set
- FSJ Scoring board to make the box.
- Spellbinders Gold Gems.
- The Spellbinders Platinum 6 Die cuting machne and Spellbinders Hot foil System
- Gold Hot Foil
- Everyday Sentiments II Glimmer Hot Foil Plates
- Mini Everyday Sentiments Glimmer Hot Foil Plate & Die Set
3. stencilling
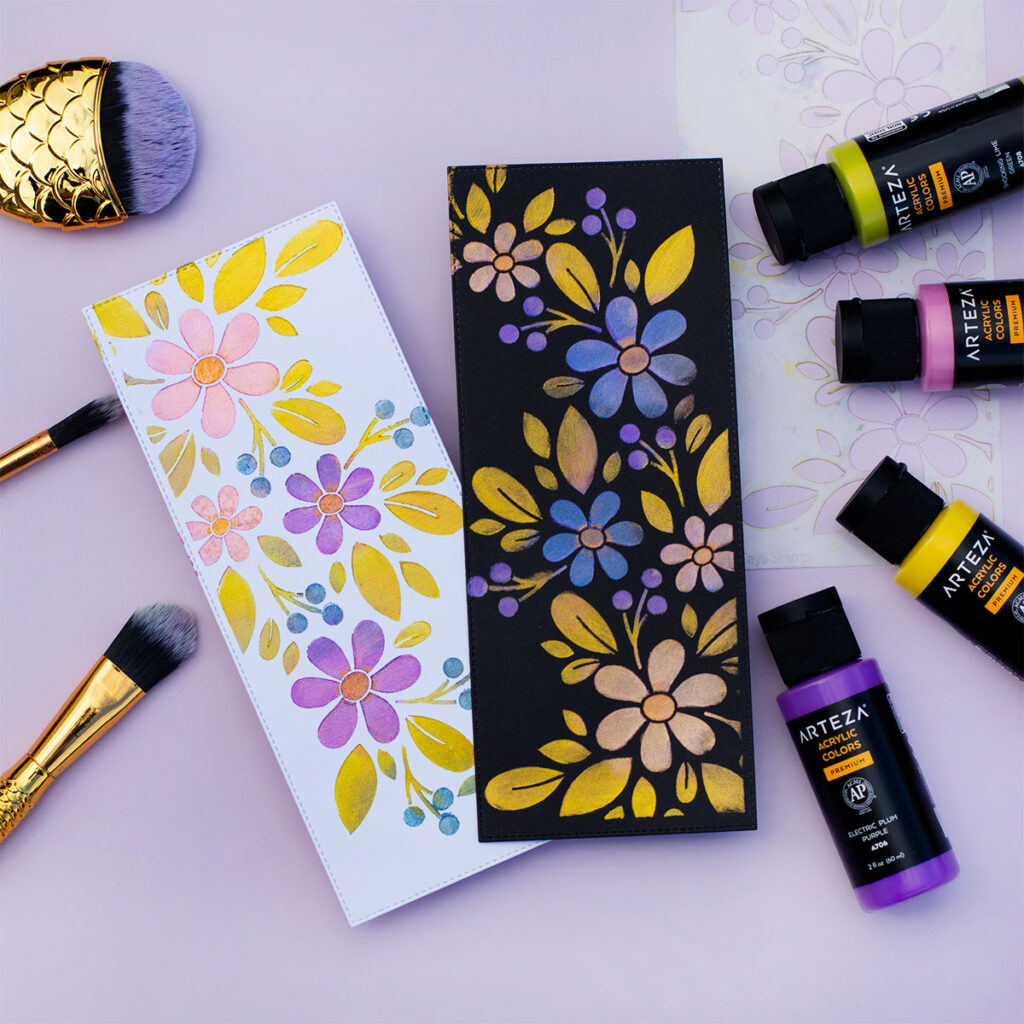
I also wanted to try to do some detailed stencilling using the iridescent paints. Nailed it.
To do this, I used the gorgeous Fading Florals Stencil by Simon Says Stamp and I explain how I do this at minute 6:28 in the video here.
4 and 5 ideaS
ombre bacgrounds + altering other mediums colours

I also wanted to create an ombre background by fully covering a piece of acrylic paper and using 2 or 3 different paints colours.
For the card above I used 2 paint colours ( Fairy Tale and Royal Purple).
[You can see how I did this at minute 9:37 in the video here]
For this card, I also applied Distress Inks over the paint to alter its appearance providing you with extra ideas to combine different mediums.
Additionally, to this, I also wanted to give you an idea to alter the colours of different mediums using these paints.
In the video here at minute 10:32 you can see how easy is to mix the paint to crackle paste to alter its colour. You can do this with water-based products or any other medium prior to their application.
You can also add shine and shimmer to any coloured composition by applying a fine coat of the paints over.
Thirsty for more?
That’s all for today.
Thanks for stopping by.
Bibi
Supplies List
Affiliate list applies at no extra cost to you. Thanks for your support.



Leave a Reply