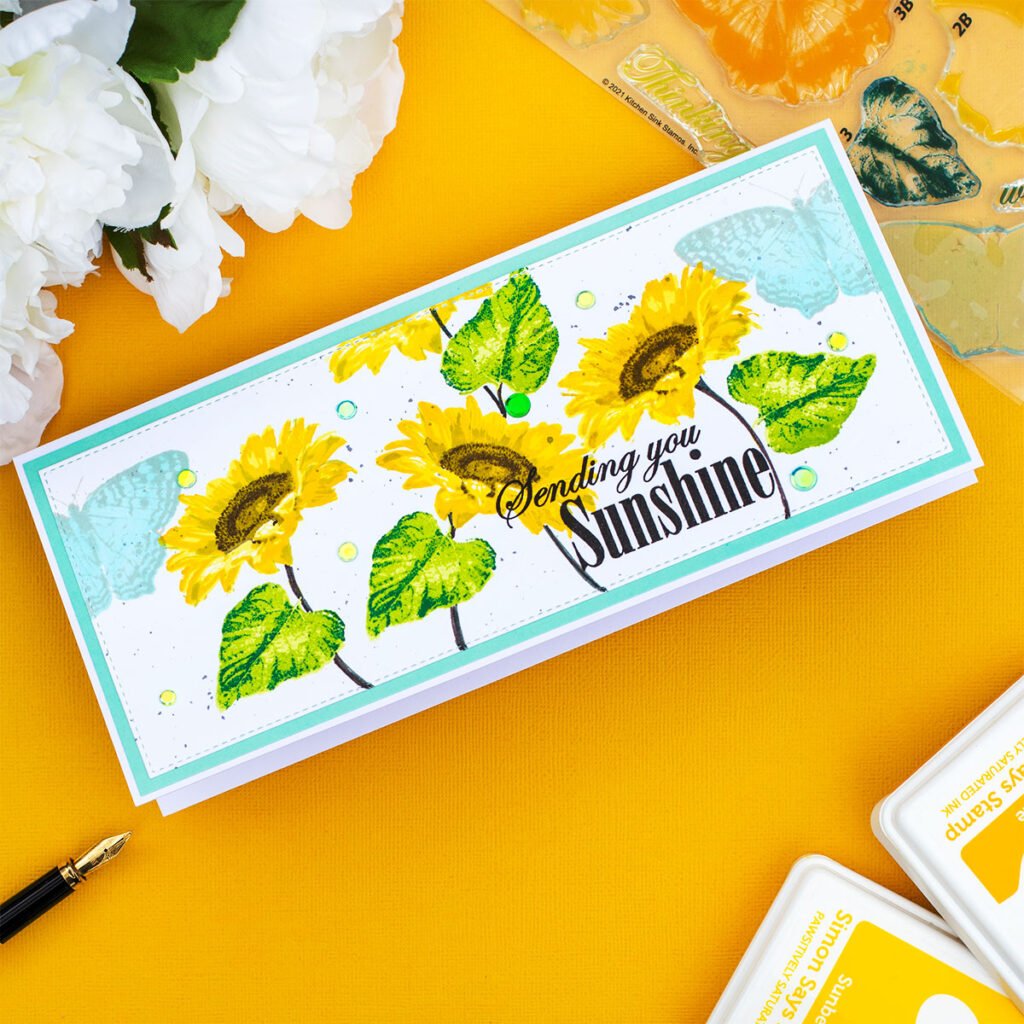
Hi there, today was released Ray of Sunshine Kitchen Sink STAMPtember® 2021 Exclusive stamp set.
This is a beautiful Multilayered Sunflowers – Butterflies stamp set. It is super easy to use and the images are wow!
There is also a Stamp and Die Set combo available as well.
Ray of Sunshine Kitchen Sink STAMPtember® 2021
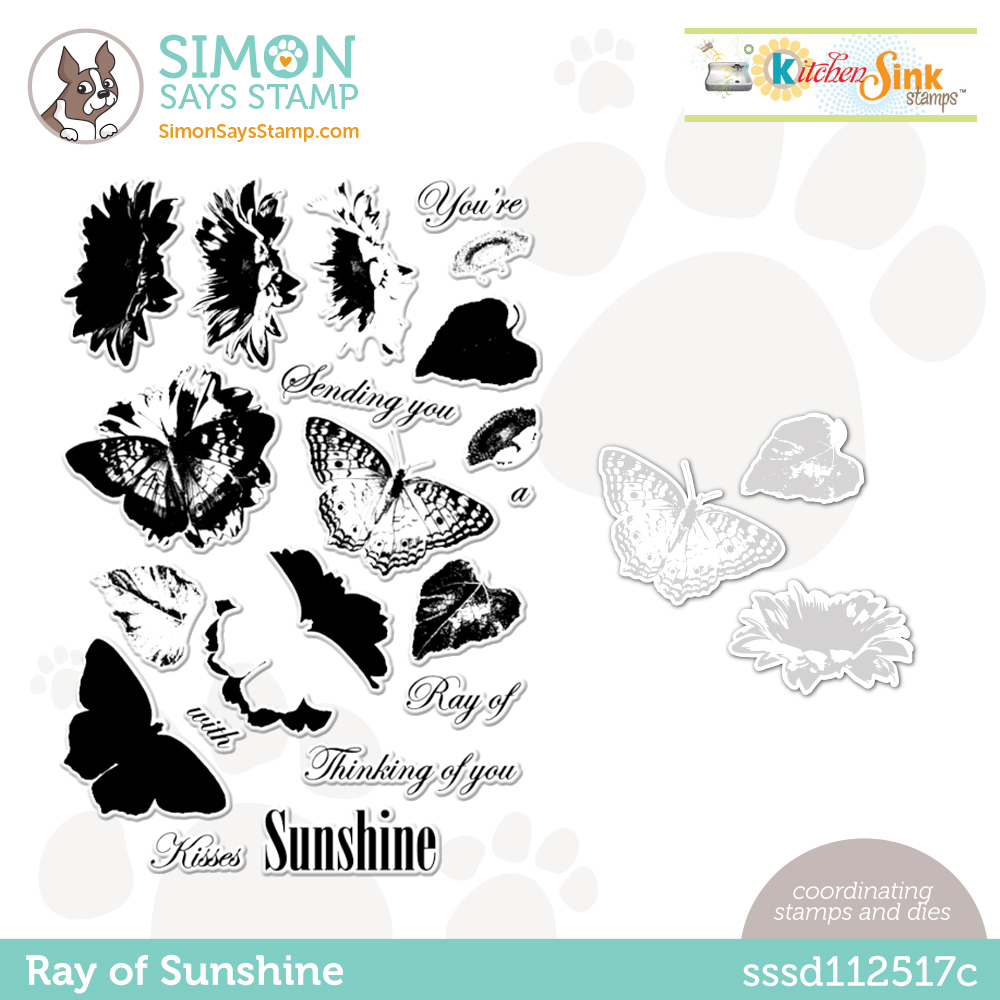
This is a 6×8 inches stamp set that will allow you to create easy and quick colorful stamped compositions.
- It will create 3 layer images
- 1 leave design
- 2 flowers designs ( one of them also include the image of a butterfly)
- 8 sentiment stamps.
Inside the package, you will also get instructions for easy stamping.
The stamps also are numbered so you can easily identify them.
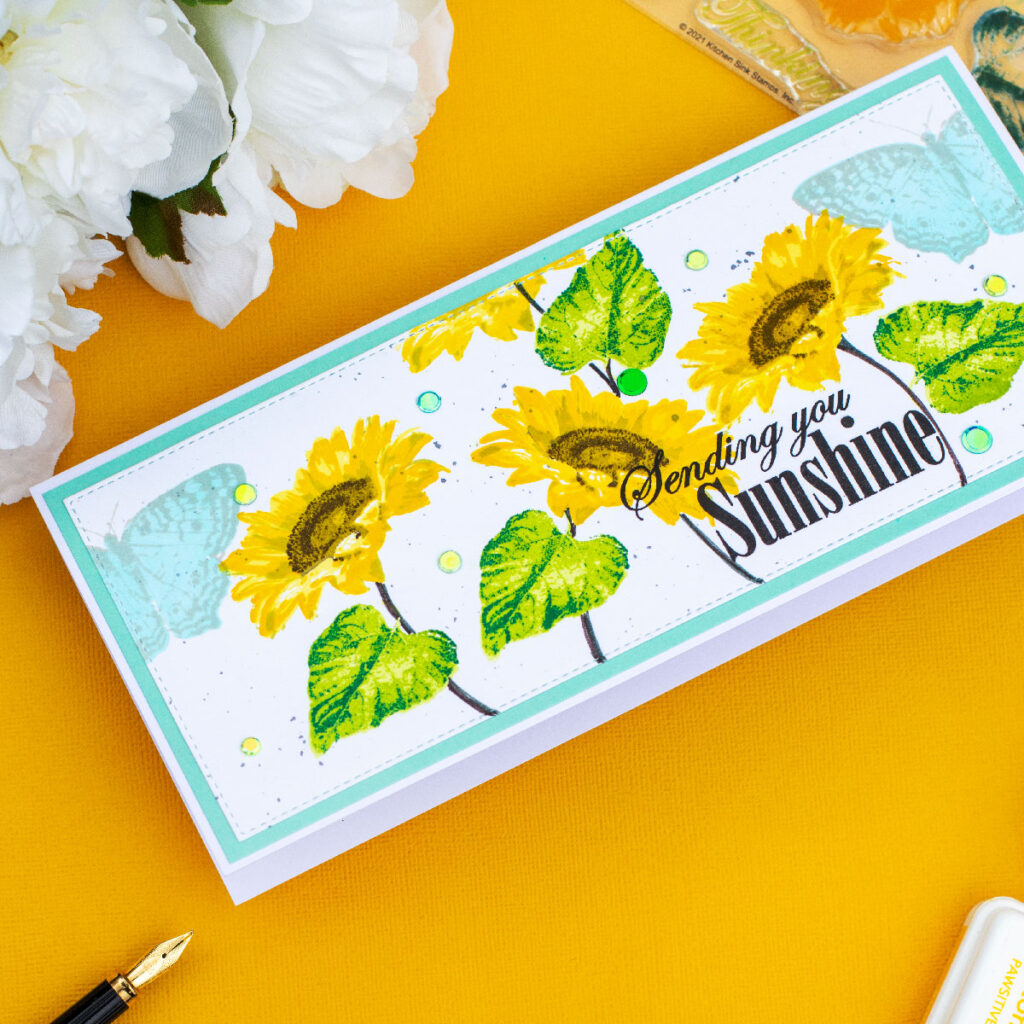
Cardmaking Process
- So first, I die cut a panel out of Neenah Classic Crest 80 LB using Stitched Slimline Trio die set.
- To die-cut anything I use the GEMINI Die-Cutting Machine or the Spellbinders PLATINUM 6 Die Cutting Machine.
- For the stamping, I followed the instructions in the package in which is suggested stamping from dark to light to achieve a better alignment.
- I also used the MISTI Stamping Tool as it makes the stamping easier.
Stamping
First, I stamped the center of the flowers using dark and light brown inks.
Then, I stamped the flower using SSS CATKIN ink ( darker are first), and Yellow inks from the Simon Says Stamp Pawsitively Saturated Ink TRIO 3.
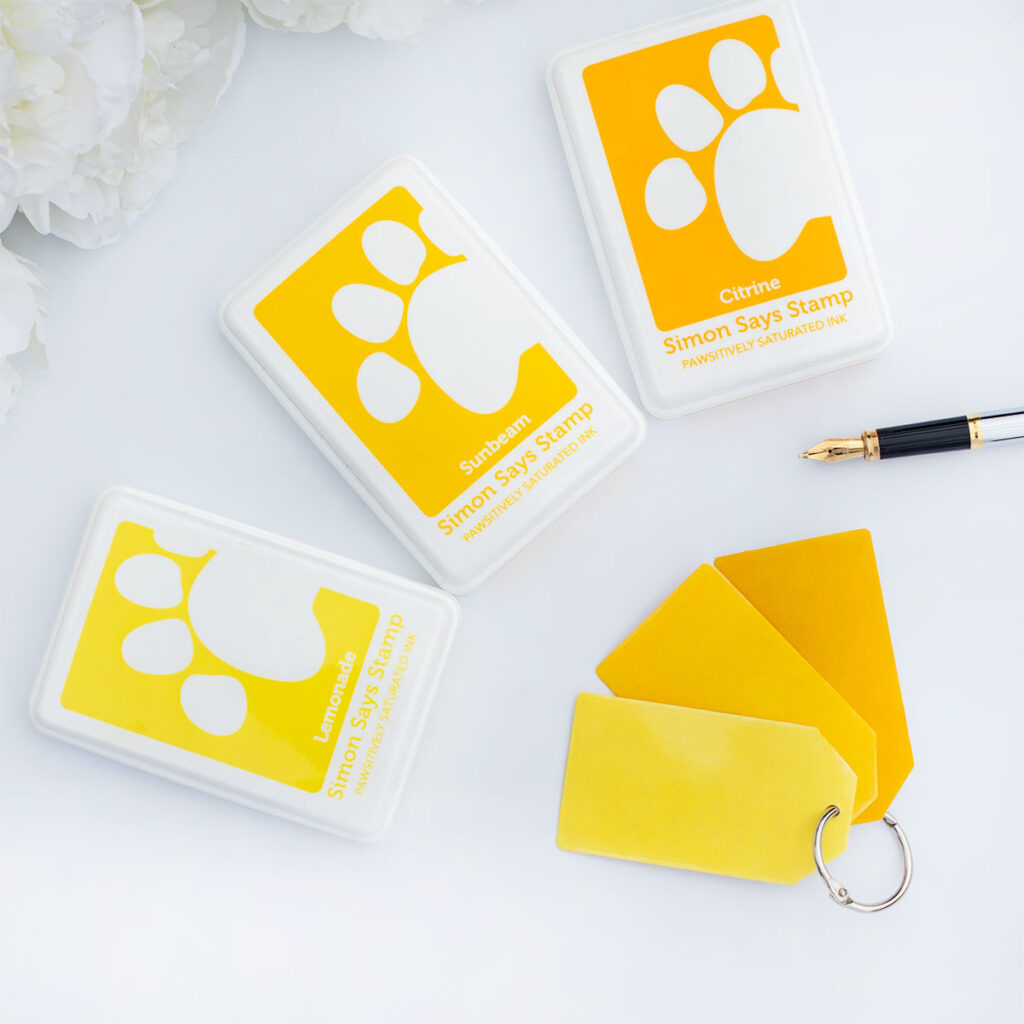
For different flowers, I used a different mix of Yellow Inks. The darker shade + medium shade or the medium + the lighter.
For the leaves, I used green inks from the SSSS Saturated Ink TRIO 2.
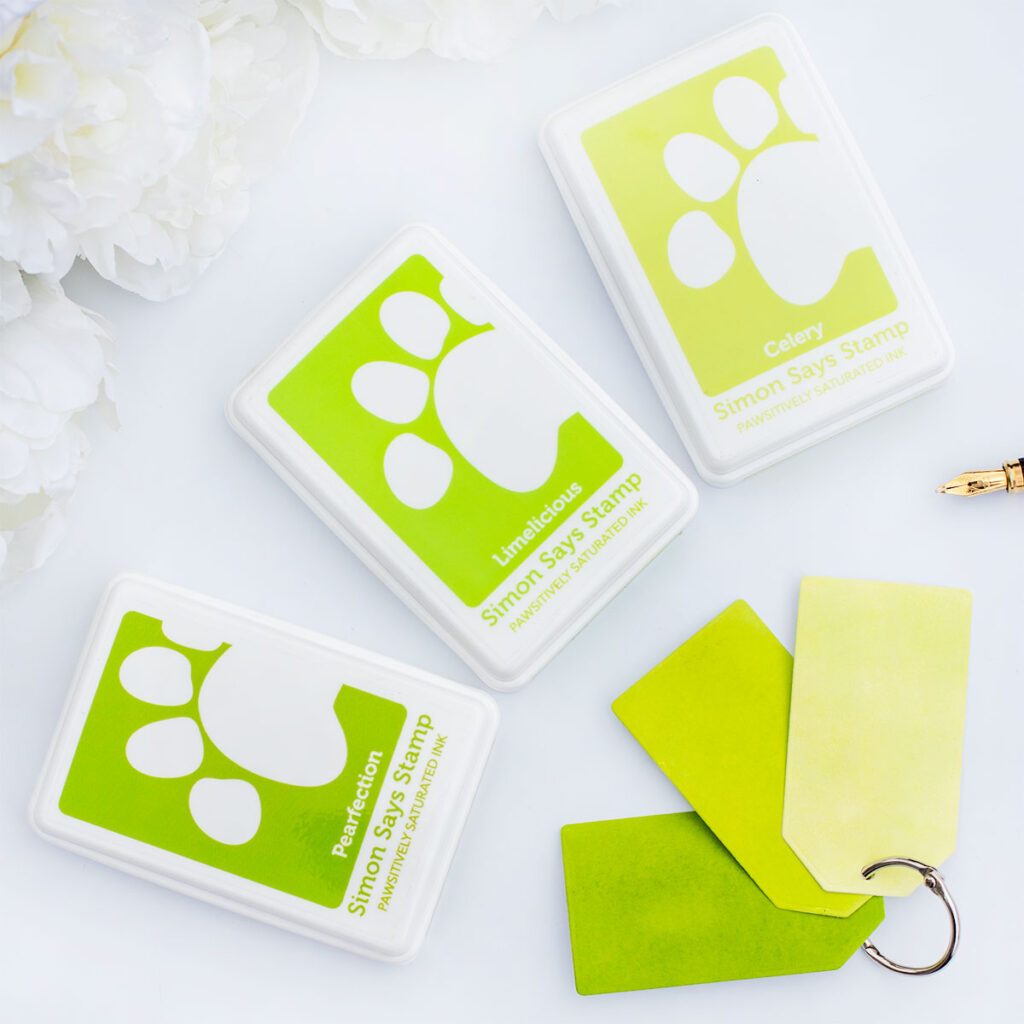
- To darken the colour of the first stamped layer of the leaves, I first stamped the image using Pearfection Ink, and then I stamp over also using SSS Deep Sea Ink.
- I hand drew the flower stems using a brown fineliner pen after stampimg.
- Then, I noticed that I stamped a few leaves out of potition! Noooo. I manage to fix this as seen in the video here.
- It would be better to draw the stems first and then stamp the leaves.
- The butterflies were stamped using SSS Premium Fog Gray ink for the outline and SSS Seafoam Pawsitively Saturated Ink for the bold filler.
- I used VersaFine ONYX BLACK Ink to stamp the sentiments.
Finishing Touches
To finish, I splattered the panel using the black ink of a Nuvo Aqua Flow pen diluted with water and I added sequins.
As the SSS Seafoam Pawsitively Saturated Ink coordinates with some Coloured Cardstock I had in my stash, I simply added a backing layer to the stamped panel.
Using the scoring board and an A4 sheet of cardstock I made an 8-3/4 x 3-3/4 card base.
I glued everything together using Nuvo Deluxe Adhesive. This is great to adhere a variety to materials, dry fast and doesn’t make the paper warp when using in moderation.
That is all for today. Thanks for stopping by.
X
Bibi
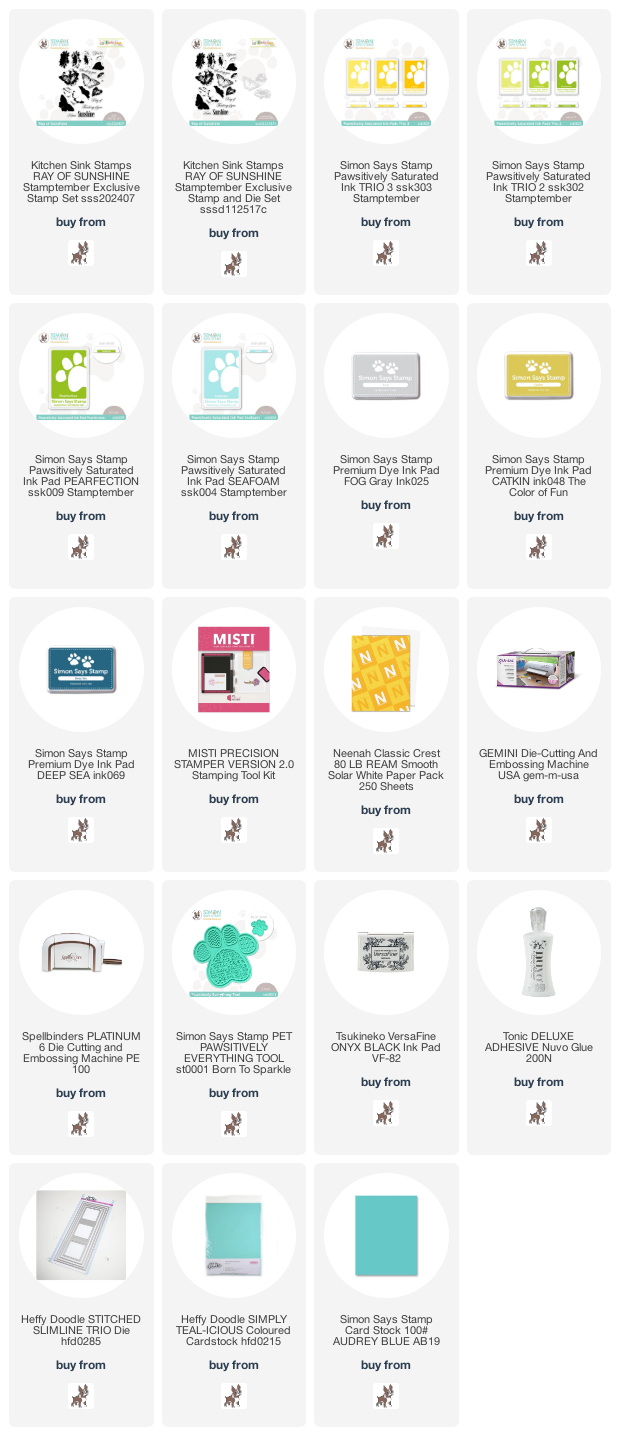
Supplies List
Affiliate links apply at no extra cost to you. Thanks fro your support.


You do fantasyic jobs on all your projects.
Thanks!