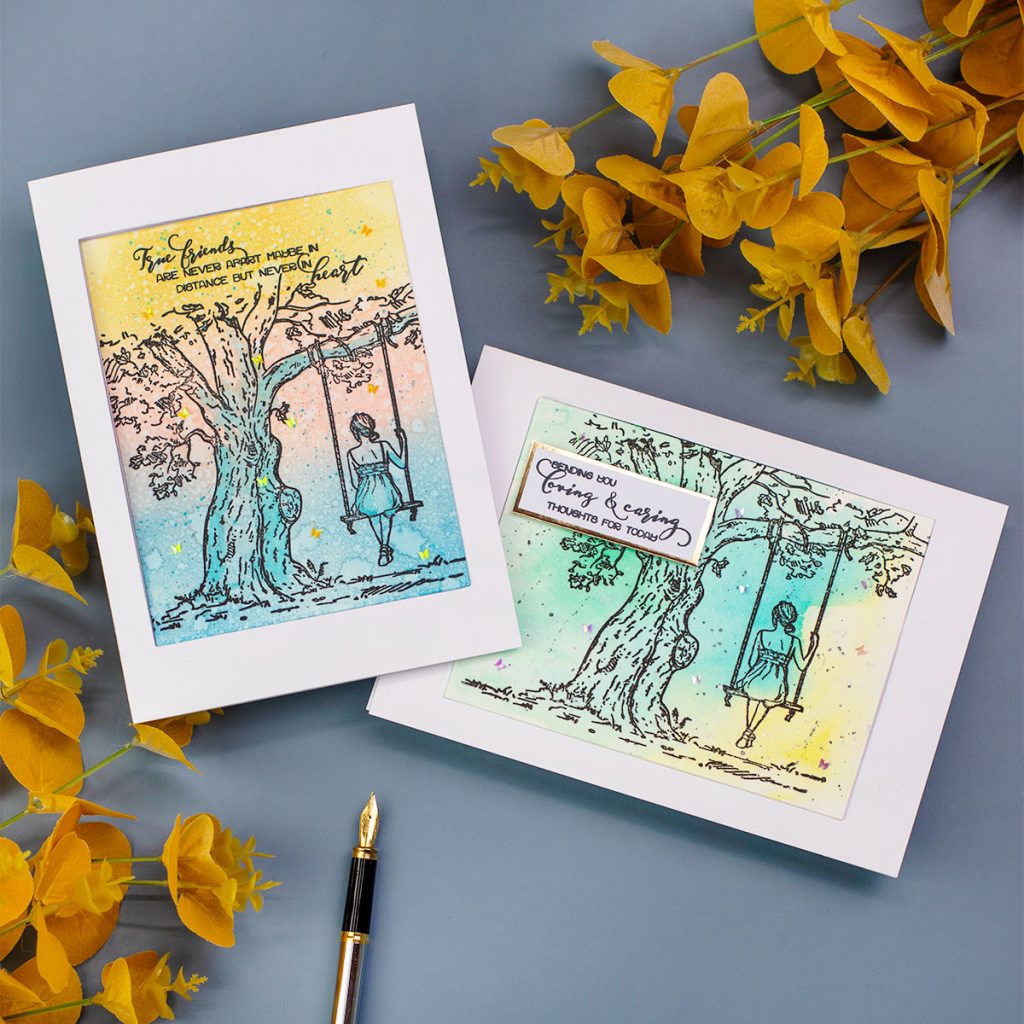
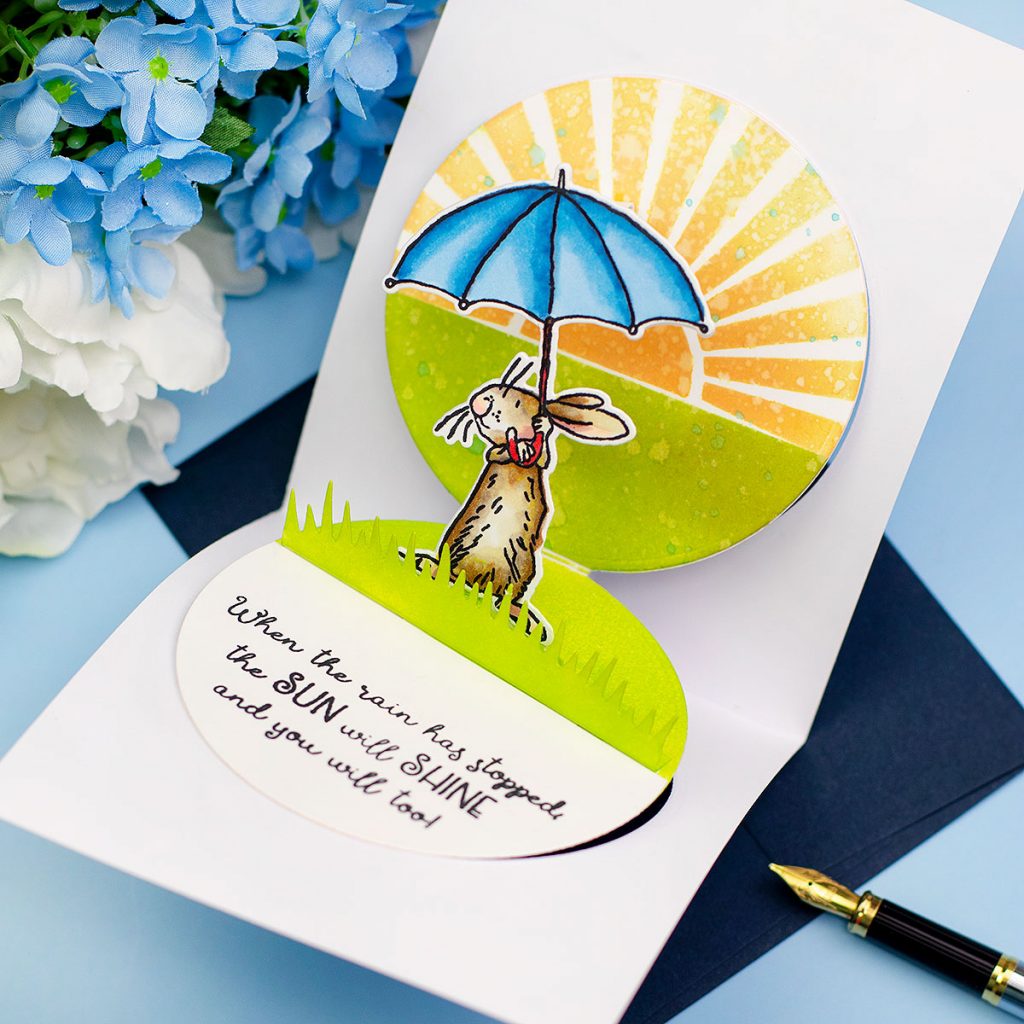
I’m obsessed! Today I made another fun fold pop-up card and this time I used a large rectangular die to partially die cut the panel of a 5″x7″ inches card base and to create the main pieces of this card
I also use the large image and some sentiments from Lovely Legs – Reflection Tree stamp set by Colorado Craft Company.
Check out my previous post here and here to create similar projects using hearts and circular dies.
Lovely Legs – Reflection Tree Stamp Set
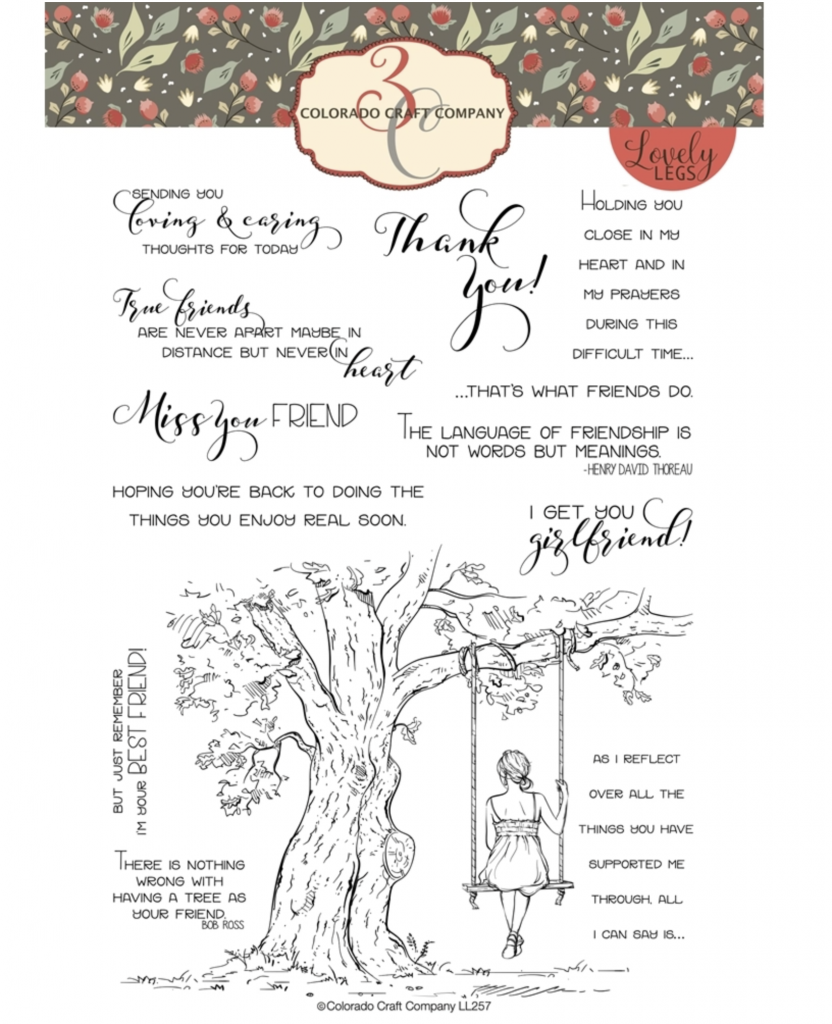
This is a gorgeous 6x 8 inches stamp set! it is huge.
Tt contains 13 individual stamps and the sentiments are super sweet to create “Friendship” themed cards.
Watch video TUtorial and tips…
IS YOUR DIE CUTTING MACHINE CREATING marks on the paper? NOOO!
When making the cards I had to use the Big Shot Plus die cutting machine. I noticed various things to bear in mind.
- For previous projects, I used the Spellbinders Platinum 6 Die Cutting Machine. This is a standard size die-cutting machine and it doesn’t mark the paper when doing partial die-cutting.
- Due to the size of the card base (5×7 inches), I needed to use a large-format die cutting machine ( Big Shot Plus) to create the fun fold and pop-up.
- Sadly the cutting plates marked the paper over the partial die-cutting area and as my plates are worn the paper also got the plates marks embossed at the back.
Nothing is more annoying that embossed marks created by the die cutting machine plates on the cardstock.
This does not happen with the Spellbinder Die Cutting machine when doing partially die-cutting.
HOW TO SOLVE IT?
- I first use a bond folder and an eraser to try to smooth the embossed marks a little bit.
- Then I put the card base inside out. So the marked paper would face the inside of the card and it will be covered by inner panels.
- Any extra marks are barely noticeable by doing this. I nailed it!
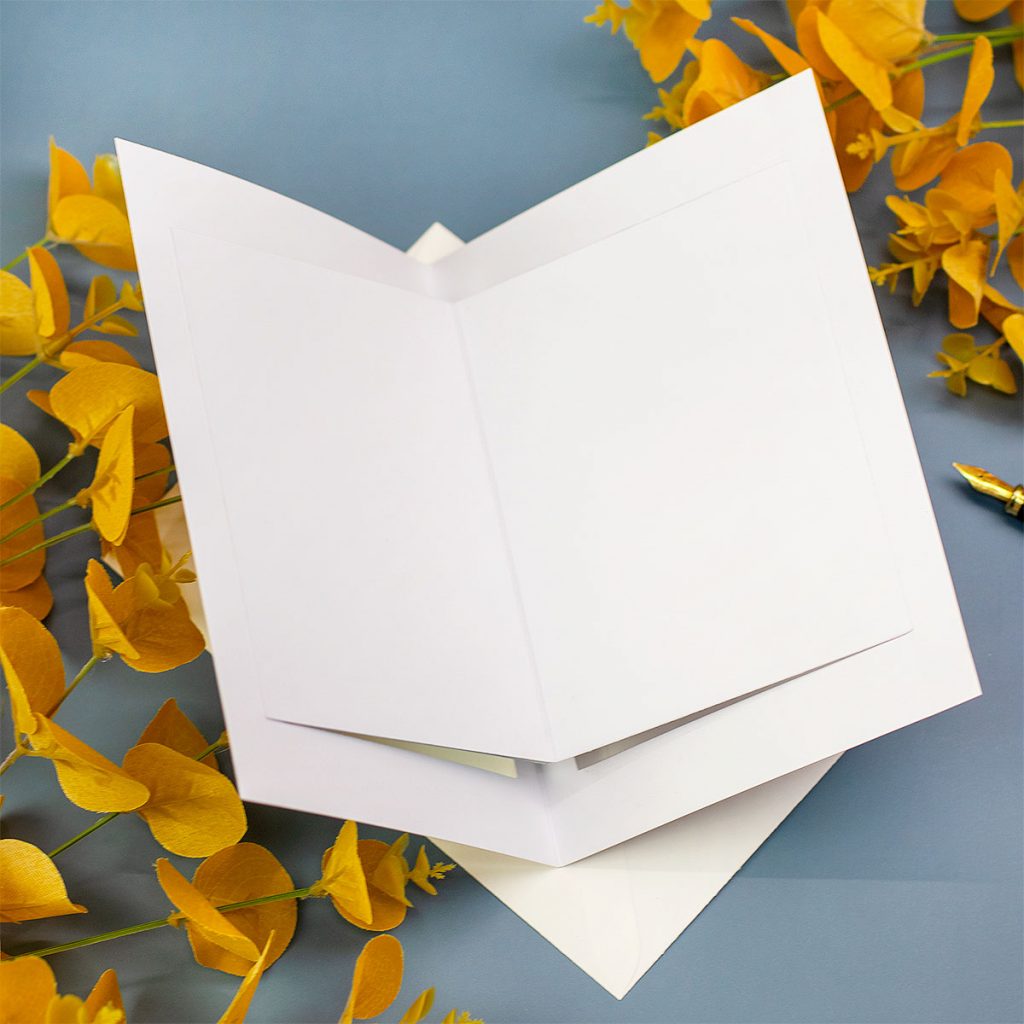
TOP AND SIDE FUN FOLD + POP-UP
Using rectangular or square dies to create this fun fold will allow you to create side and top folding cards. If you use heart, circles, or oval dies you might only have the top folding option which is also great.

Side Fun Fold – 5X7 Inches Card Base
As show in in the video above, I first die cut the card bases and the panels needed to make this card.
- The panel with the image on it was made out of Strathmore watercolor paper.
- I applied Salty Ocean, Sugar Spun, Straw Distress Oxide inks over the paper using a Blending Brush.
- Then I sprayed the paper with water and I allowed it to dry.
- Once dry, I stamped the image and sentiment from the Reflection Tree stamp set using Versafine Onyx Black Ink.
- To embellish, I used mini butterflies confetti.
- I glued the panel on the card base.
- Done!

That’s why I had to share this with you as well.
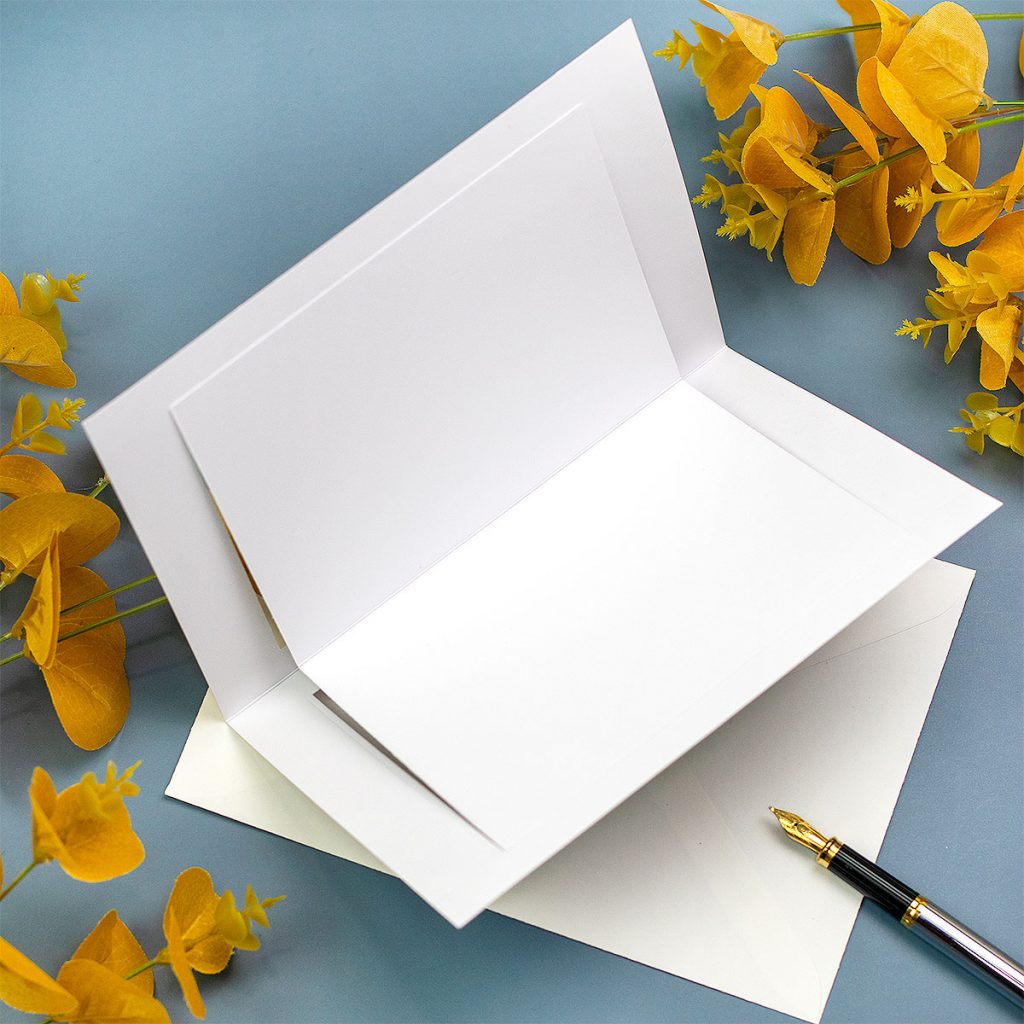
Top Fun Fold – 5X7 Inches Card Base

For a horizontal layout all you have to do is to rotate the paper and voila! you got a top folding.
This is exactly the same card base used for the card above.
- For this card, I applied yellow, blue, and green Karin Markers over a die-cut piece of watercolour paper.
- Next, I sprayed the paper with water and using an Escoda ( round watercolour brush #6), I blended the colours from the lighter to the darker. ( yellow to green).
- When the panel was dry, I stamped the image over it using Versafine Onyx Black Ink.
- I also stamped a small banner and I added a backing layer made out of gold mirror cardstock.
- To embellish I used, mini butterflies confetti.
- I glued the panel onto the card base.
- Done!
Thirsty For More?
Explore my previous post with similar designs…
That’s all for today.
I hope you enjoy this post
Happy Crafting
x
Bibi
Supplies List
Affiliate links applies at no extra cost to you. Thanks for your support.



Leave a Reply