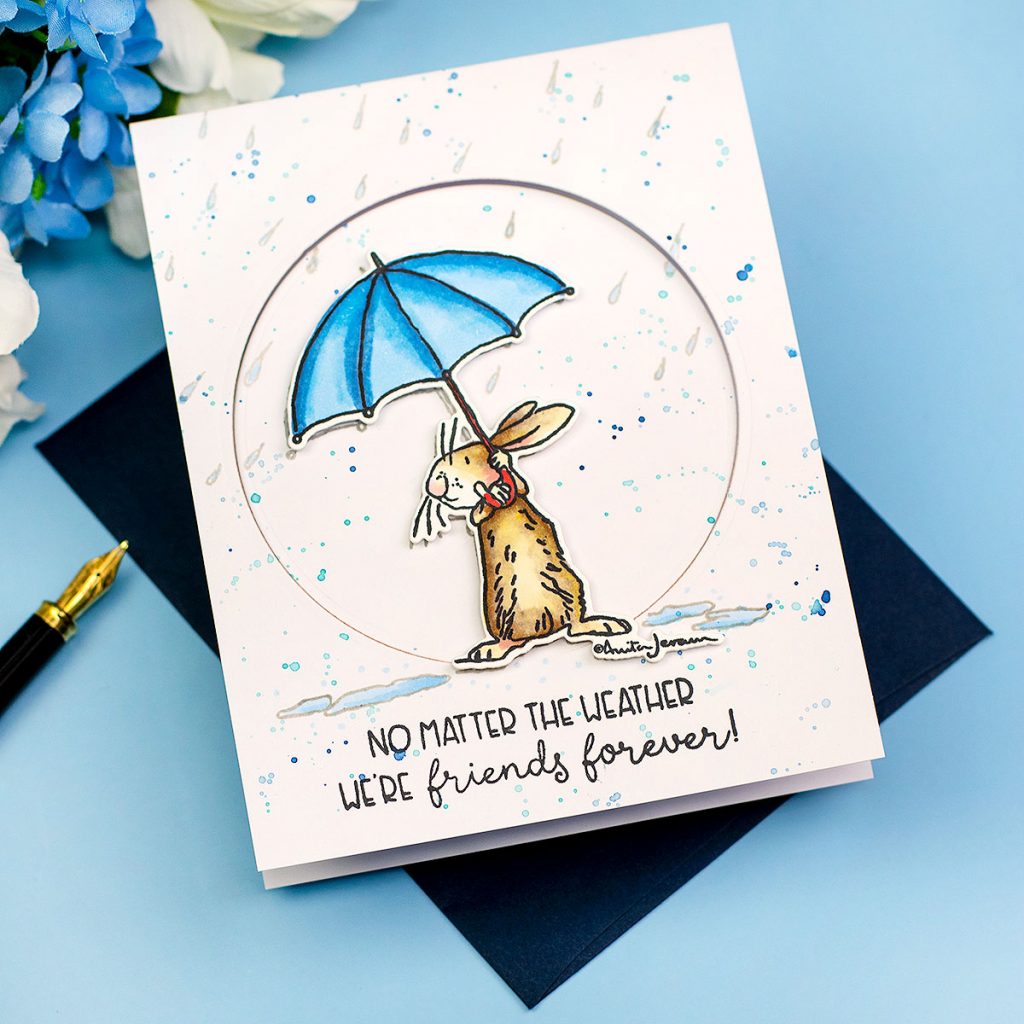
Did you like my super easy pop-up card in yesterday’s video- post? If so, I think you will love this one too!
Here we have an upgraded version of that design.
BUILDING A POP-UP ON A POP-UP CARD
So the pop-up card design yesterday invite you to create a basic card base with an integrated pop-up using a super easy partial die-cutting technique and “heart dies”.
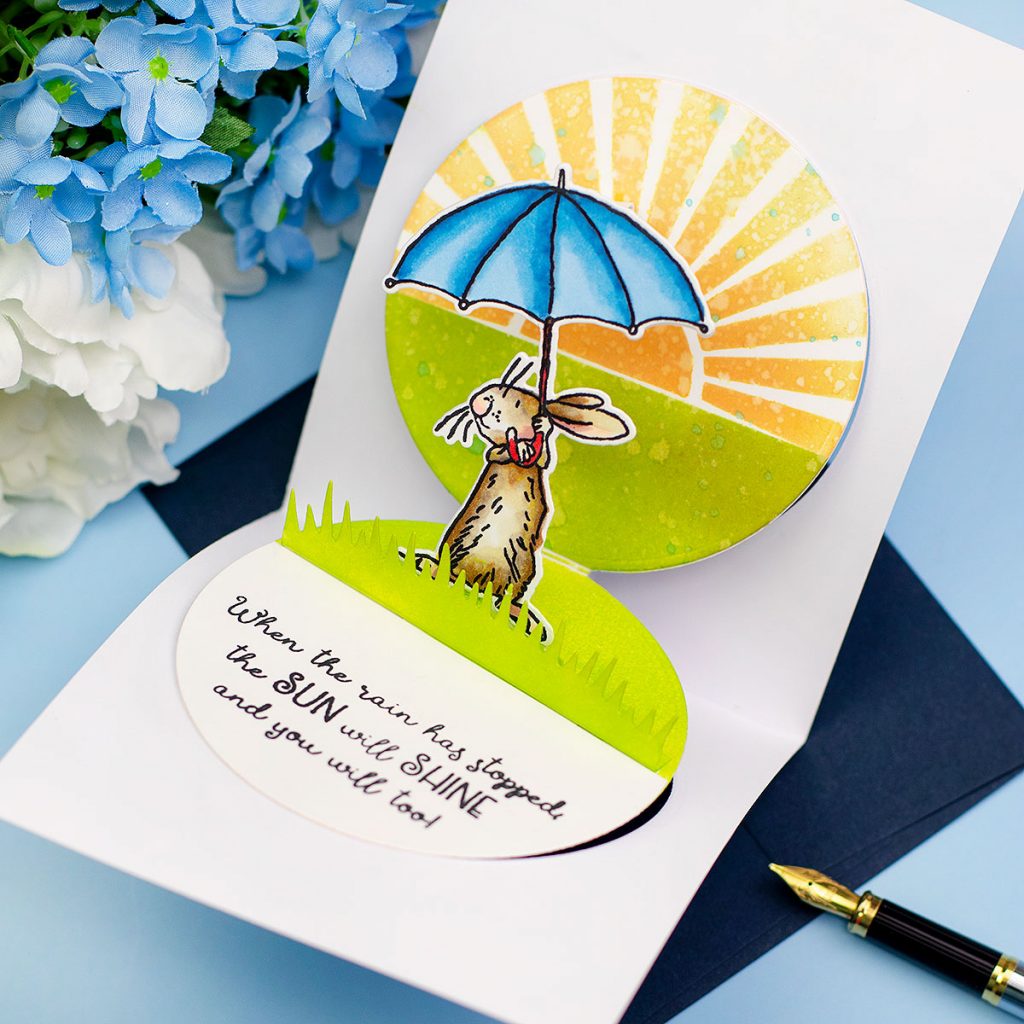
For today’s card, I used a circular die instead to create the card base and I added another pop-up on the inside of the card.
- I found that the “All-Weather Friends” stamp set and coordinating die set are perfect for this project.
- For the inside of the card, I also used Grassy Edges die set by Simon Says Stamp and a sunray stencil called A Little Bumpy Stencil by Clearly Besotted.
- Note: sadly the stencil bought a few months ago is unavailable now but there are similar stencils and I listed them in the supplies list below.
HOW TO MAKE THE CARD BASE VIDEO
CREATING THE BUNNY POP- UP
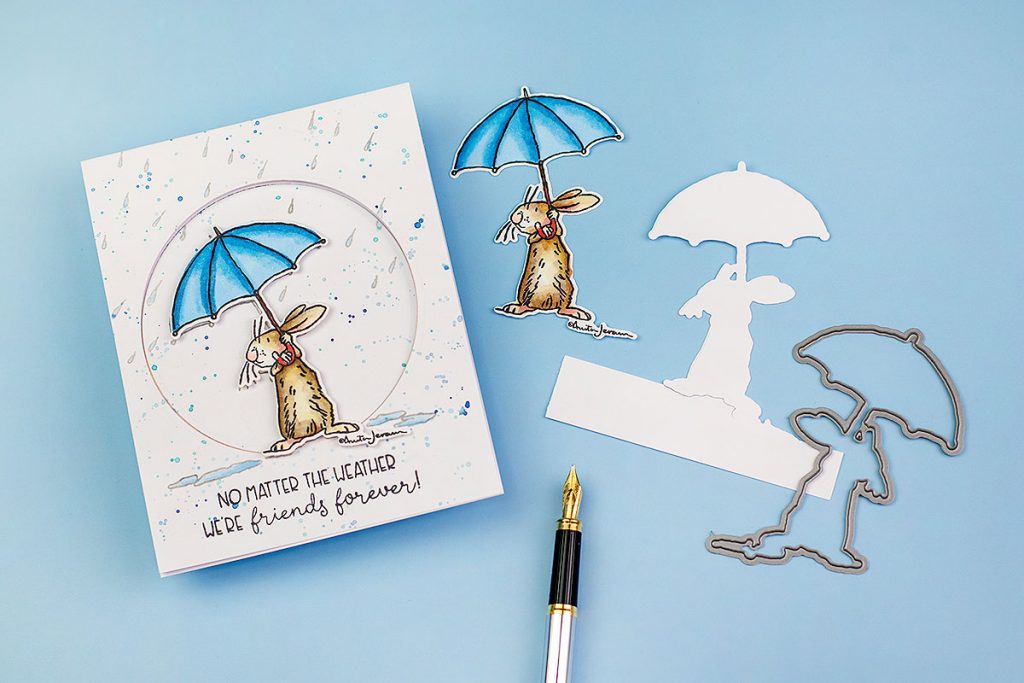
- First, I made the card base as shown in the video here but instead of a heart die, I used a circular die.
- Then, I stamped the images using Memento ink on Neenah Classic Crest 80lb.
- I applied colour to the images using Nuvo Alcohol markers.
- Next, I die cut the images using the bunny die ( shown in the picture above)
- Using the same bunny die I applying a partial die cutting technique to die -cut a blank piece for the pop-up inside the card.
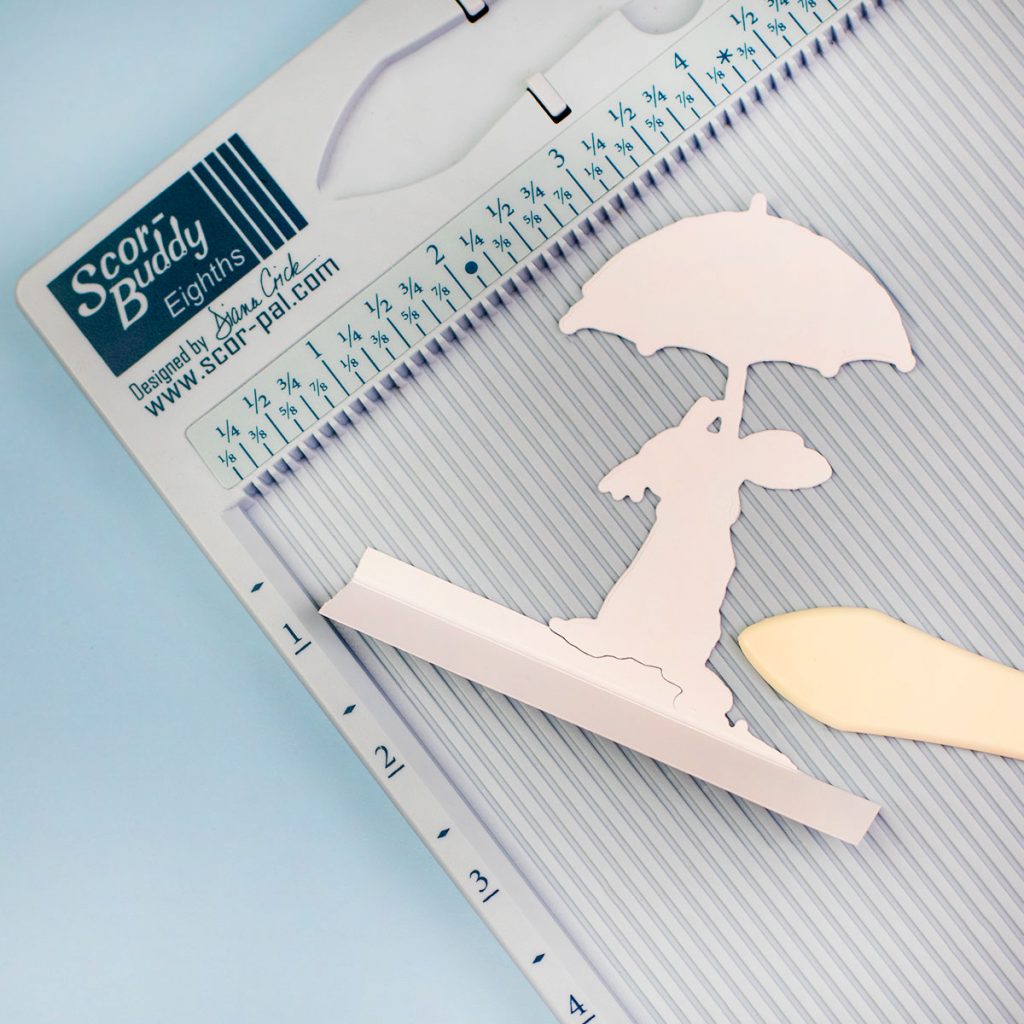
So this piece is partially die-cut at the bottom and this allowed me to create a flap to glue it onto the card base.
- To make the flap, I simply scored and fold a line as close to the bottom of the image as possible.
- Then I trimmed down the flap as shown in the picture below.

- BTW I wasn’t measuring anything. The flap is about 1/4″ of an inch by 1-1/2″ inches.
- Next, I glued the colored die-cut image onto the blank piece.

- To affix the image to the card base and to make it pop-up, I made a pull-up tab. (see picture below)
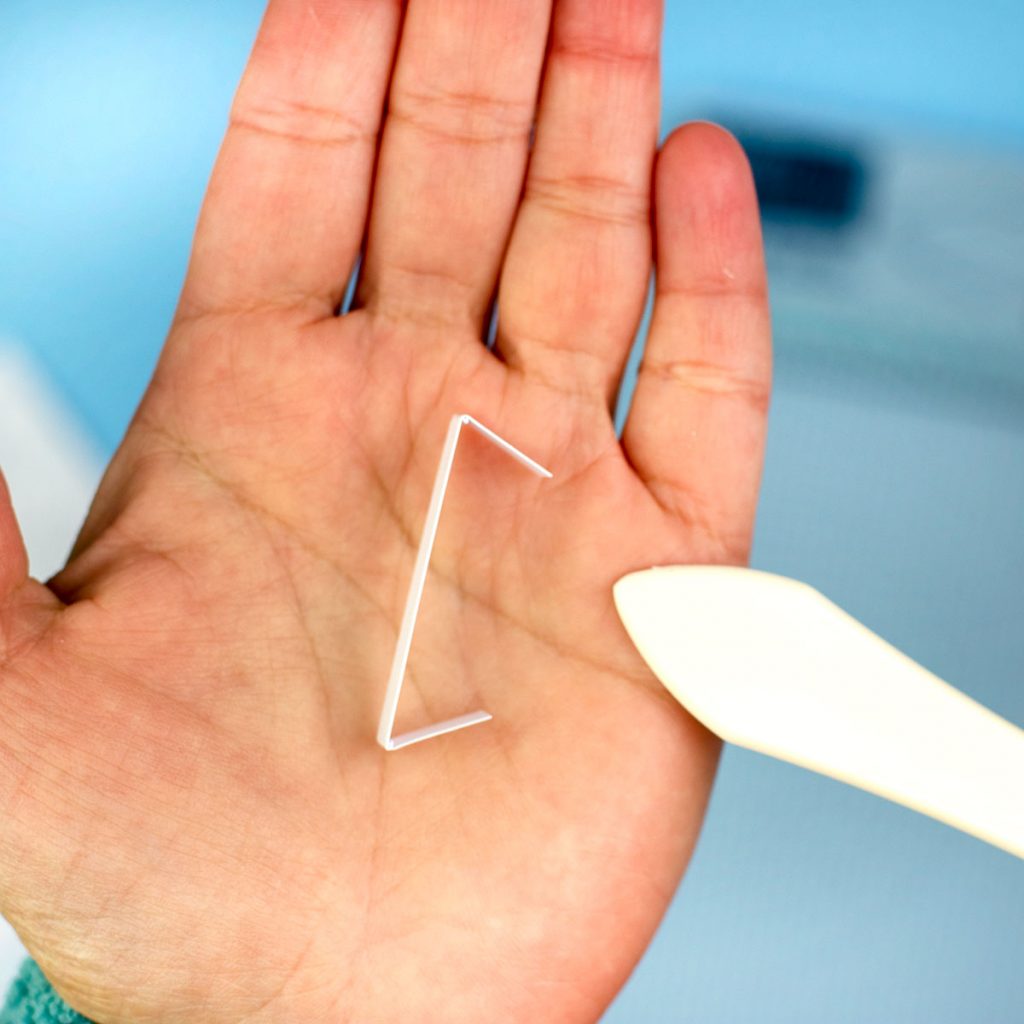
- This measures 2-1/2″ x 1/4″ inches and I scored it at 1/2″ inches from both ends.
- Then, I fold and burnished over the scoring lines
gluing the pull-up tab
I placed the die-cut image facing down as shown in the picture below to find the correct placement.
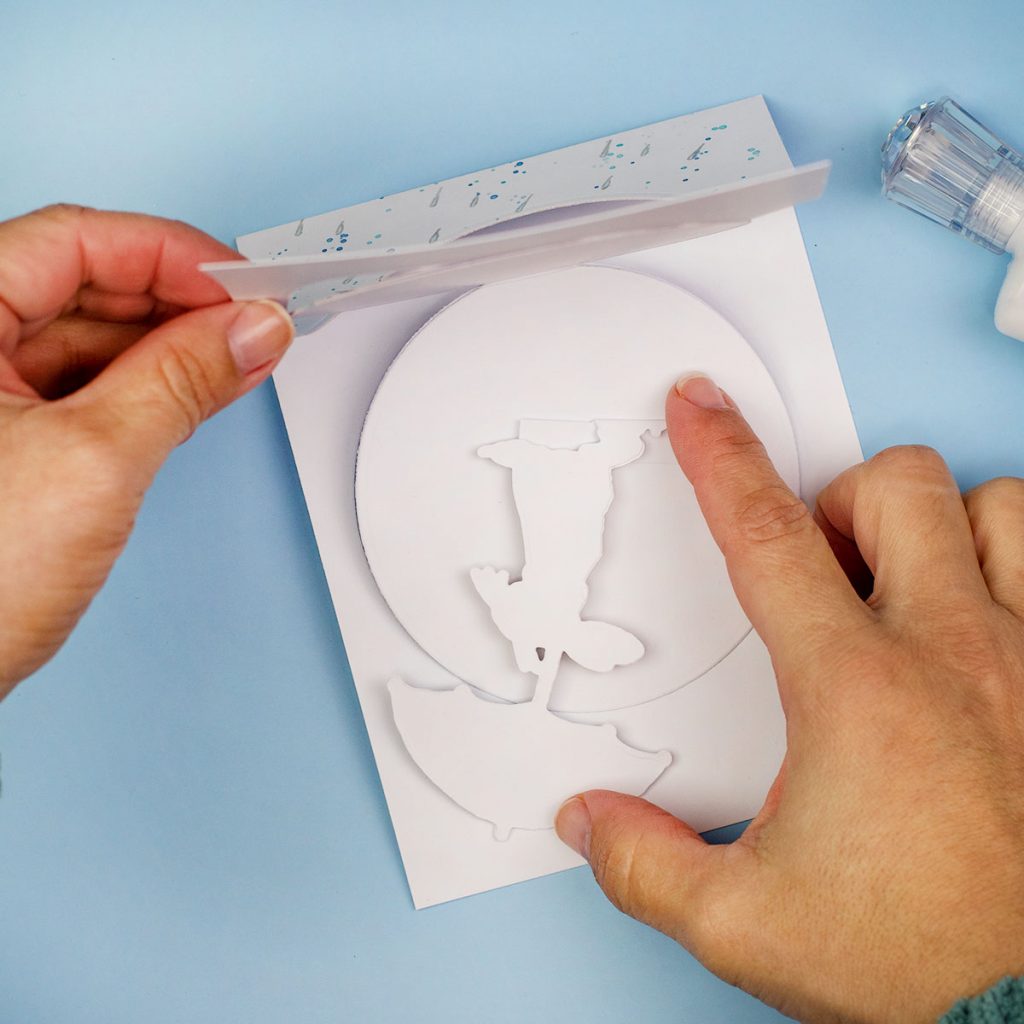
The edges of the die-cut piece need to be inside the edges of the card base. It really doesn’t matter the orientation of the die-cut image.
Next, I glued the pull-up tab behind the image ( see picture below)

I added glue to the bottom flap of the pull-up tab …

I hold the paper down while I closed the card and I wait for the glue to dry a few seconds.
In this way that pull-up tap was adhered in the right place at the back of the front panel of the card.

Done!

You can add extra pop-up elements like the grass in the picture.
To make pop-up any of these elements you will need to create more pull-up tabs that can be glued to the image behind them or to the back of the front panel when possible.
I added the grass to hide the bottom flap of the image. As this was the first card I made, I was improvising as I went. Next time I will add colours to all the pieces first before adding the pop-up.
BTW this kind of pop-up is called floating planes and I made a video a while ago to show you the logic of this mechanism whit more detail.

That’s all for today.
All this was harder to explain than to make! Phew.
Happy Crafting
X
Bibi
Thirsty For More?
Check out my video using other beautiful Anita Jeram illustrations.
SUPPLIES
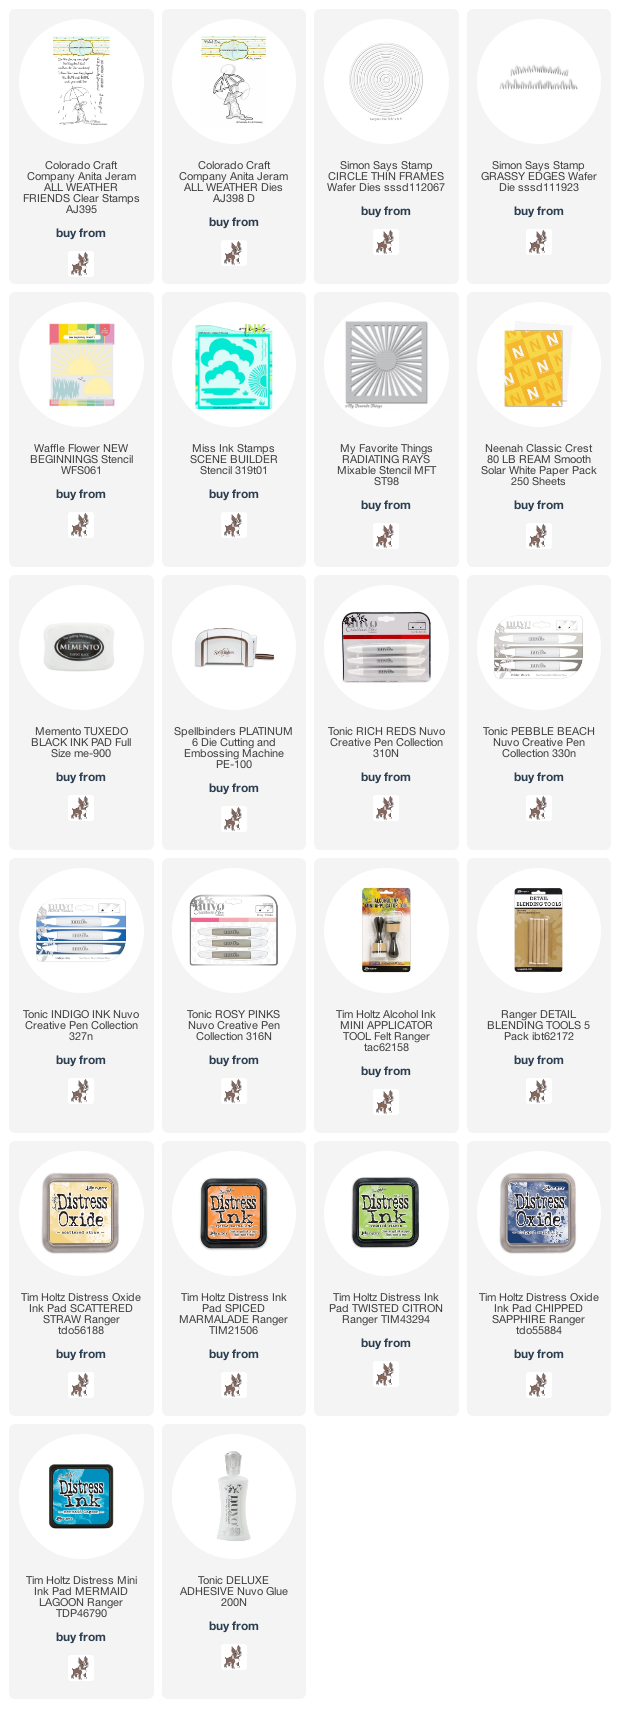
Affiliate links applies at no extra cost to you. Thanks for your support.


I love your cards❤️❤️ It’s such a creative idea😃. Thanks for sharing🙏🏻
I love, love, love these cards. Especially the Anita Jeram bunny, I also have this stamp set. I’m going to try doing it the way you did, it came out beautiful. Thanks for sharing your creative talent with us.
Amazing card, thank you for sharing.