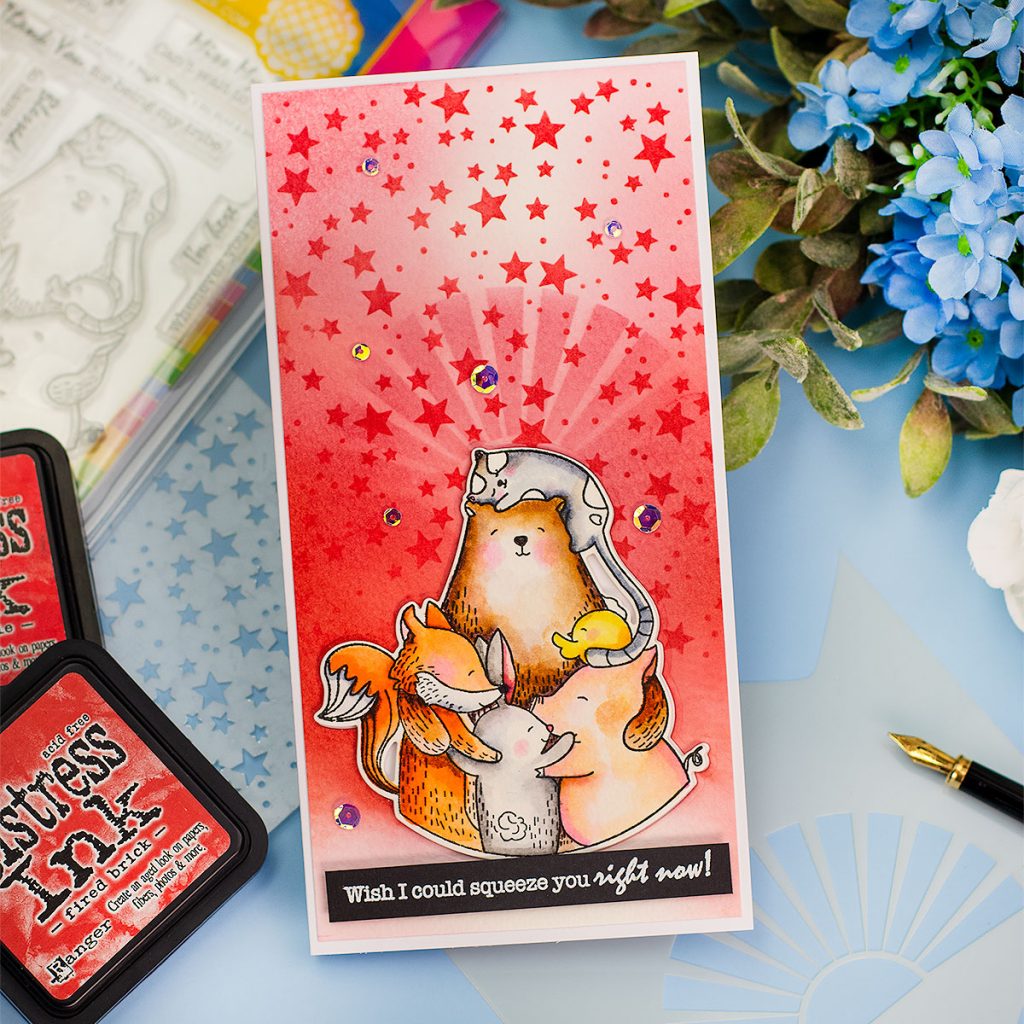
Hi there, It is getting very cold here in the north of Scotland and to warm up the day I’m sharing another Slimeline card made using the Bear Hugs stamp set and coordinating die set by Waffle Flowers.
For this card, I also enjoy Zig colouring and doing tone on tone stencilling.
I think the background looks super cool and super easy to do.
BEAR HUGS STAMP SET AND COORDINATING DIE
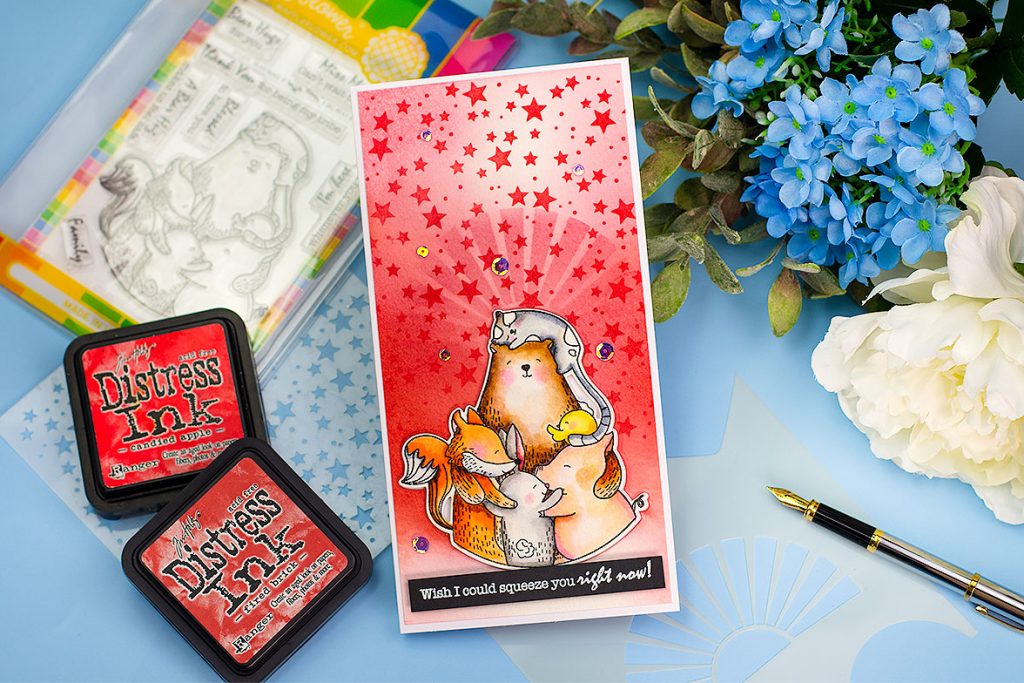
Bear Hugs is a straight forward solution for papercarft projects.
You don’t need to do any masking as the set provides an adorable scene you can stamp in one go and it will be ready to apply colors with any coloring mediums you. might like
The set also includes 9 beautiful sentiments and the coordinating die will die-cut the scene beautifully.
- So I first stamped the image from the Bear Hugs stamp set using Versafine Onyx Black ink on a large panel made out of 300 grams watercolour paper.
- I applied colours using Kureateke Clean color Real Brush – Zigs ( waterbased markers)
- Using Bear Hugs die, I die-cut the coloured image out of the panel.
the STENCILLED background
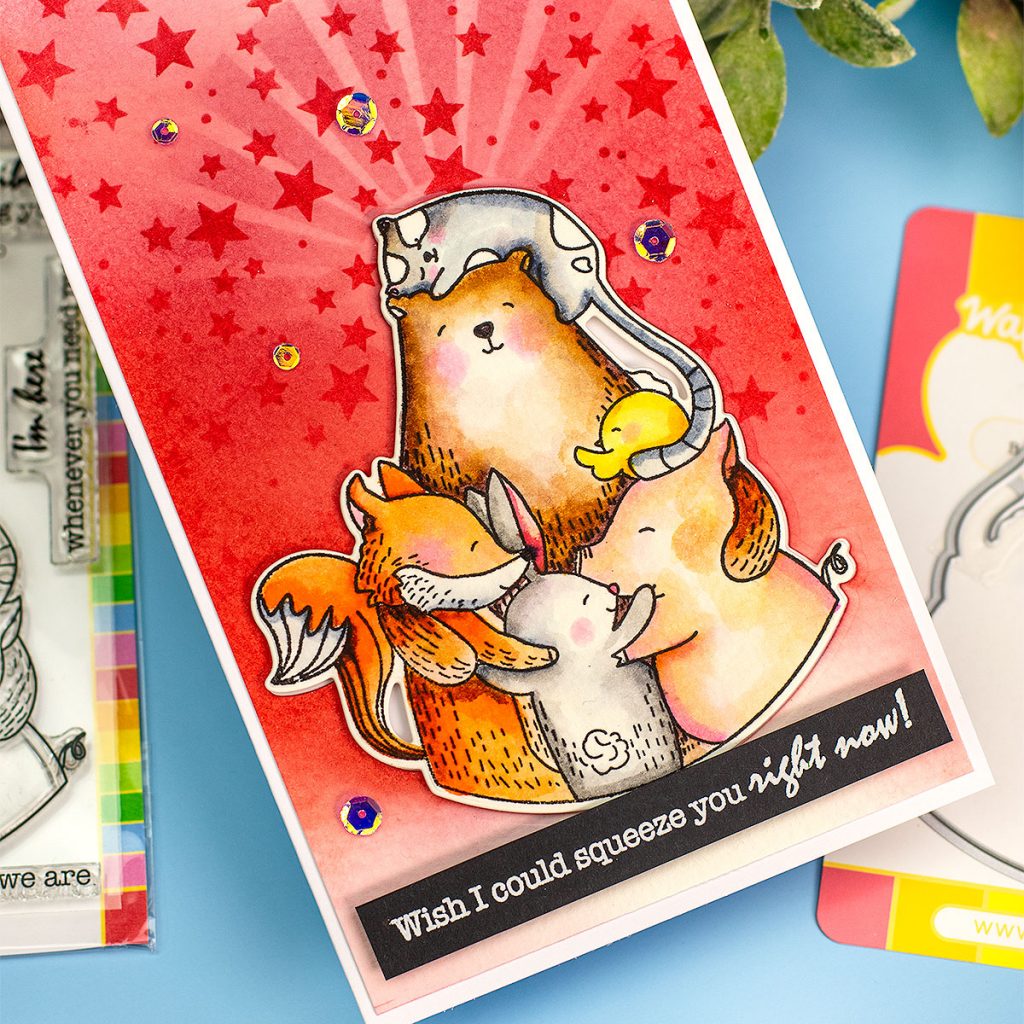
As always, I was experimenting and this time I used Tim Holtz Distress Inks.
Although you can’t get things wrong really when doing ink blending using Distress Inks. The ugly true is that you would never know how things may look until you made them, right?
- So I got the negative space ( aperture – gap- hole) on the watercolor panel made for the die and instead of discarding the panel, I decided to use it.
- I applied Candied Apple Distress Ink from the center of that aperture towards the edges.
- Suddenly I got the idea to create a kind of “halo” around the gap so this will show up behind the image providing more definition to its edges.
- The colour was too subtle so I used Fired Brick Distress ink to darken the area a wee bit.
- I then blended the colours towards the top of the panel without re-inking the brush so the colors look lighter as the brush was running out of ink.
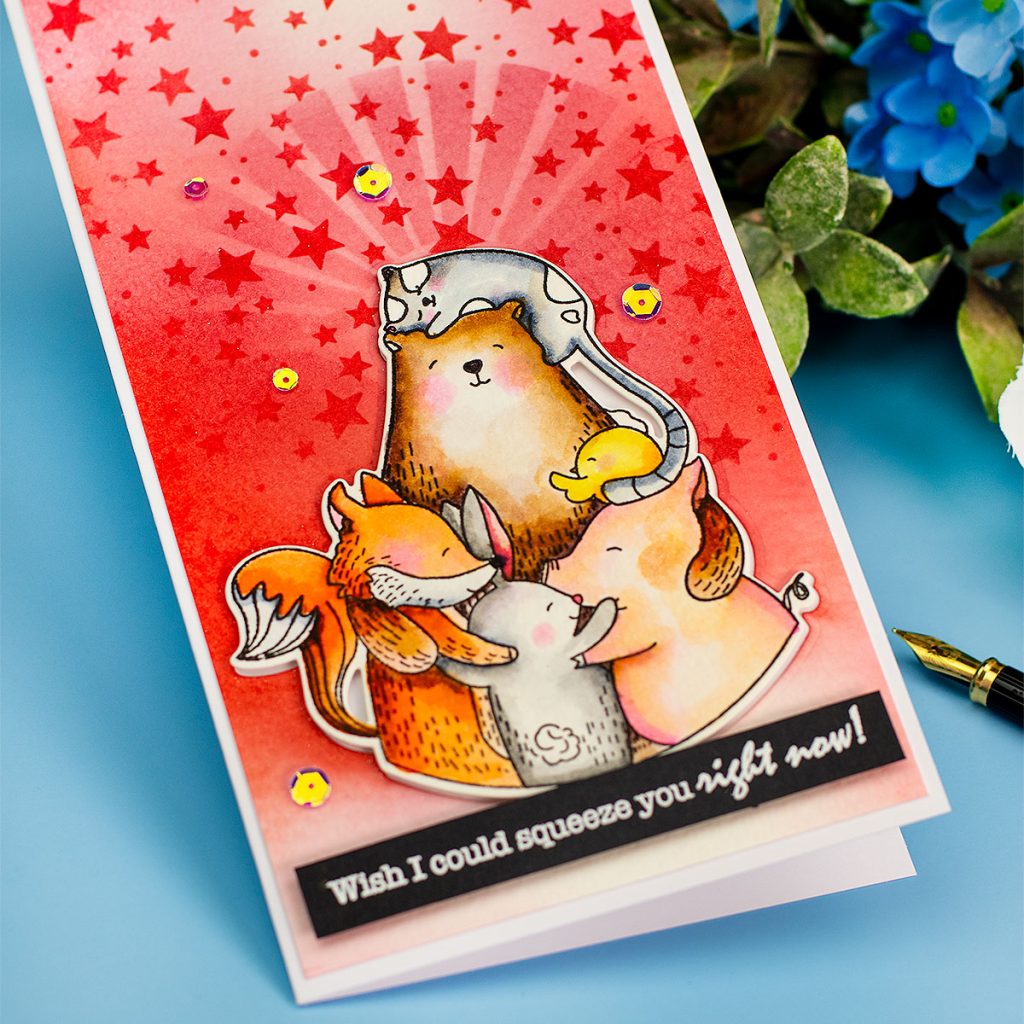
- Next, I used A little Bumpy Stencil by Clearly Besotted to stencil the sun rays using also Candied Apple Ink.
- I then grabbed Random Dots and Stars Stencil by Simon Says Stamp and I placed over and I applied a heavy coat of Candied Apple ink and again.
- To darken the stars a little bit more I applied a hint of Fired Brick Ink.
To finish, I adhere to the stamped and colored image over the aperture using dimensional foam pads I added a heat embossed banner and I added sequins.
BTW the Ergonomic Brushes by Pink and Main are awesome! Just make sure to use smooth cardstock that allows you to do nice ink blending.
THISTY FOR MORE?
Check out my posts
- More card ideas using stencils in this post – Sparkling Xmas Cards post here!
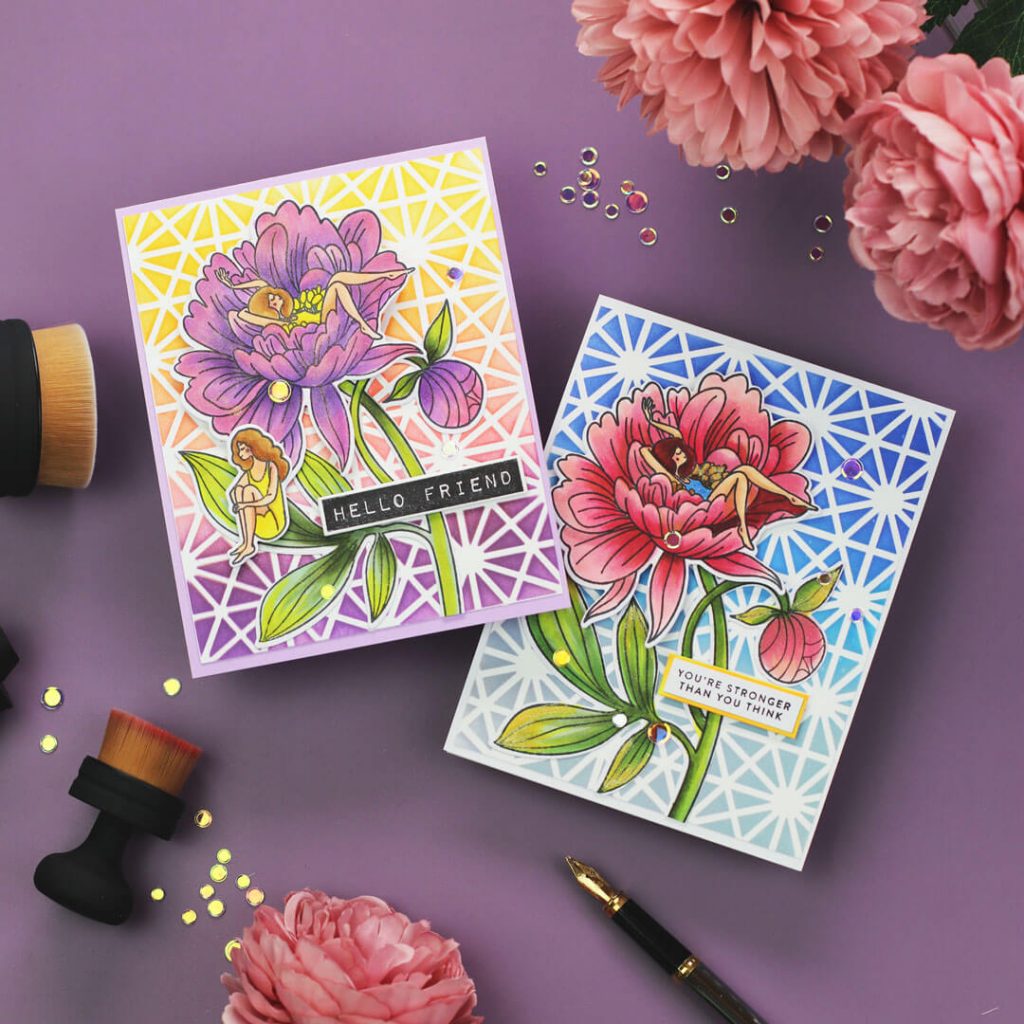
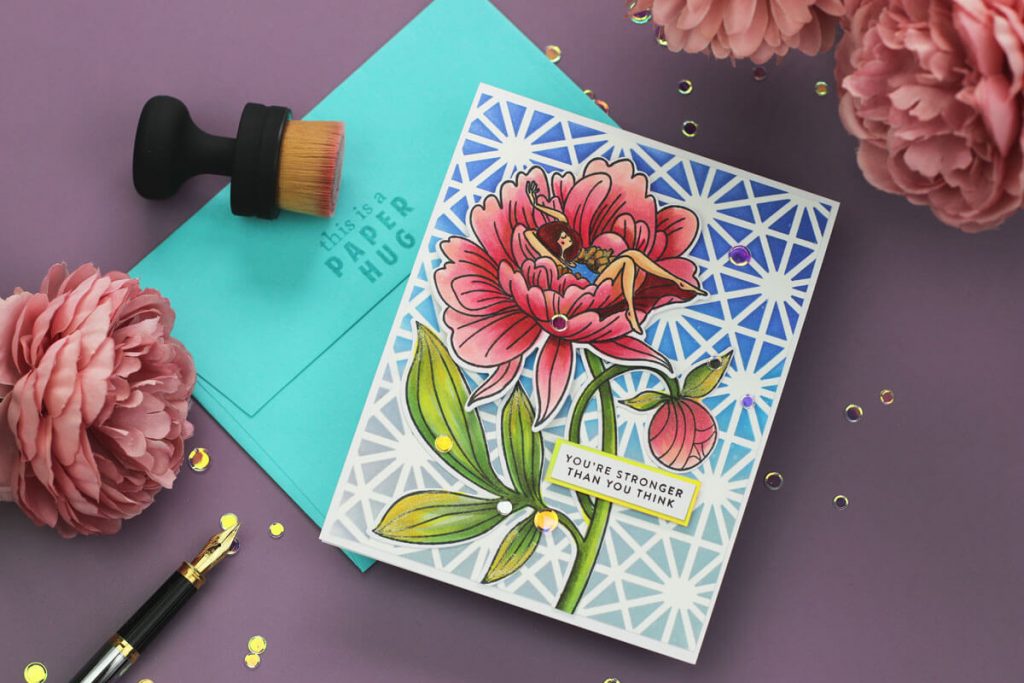
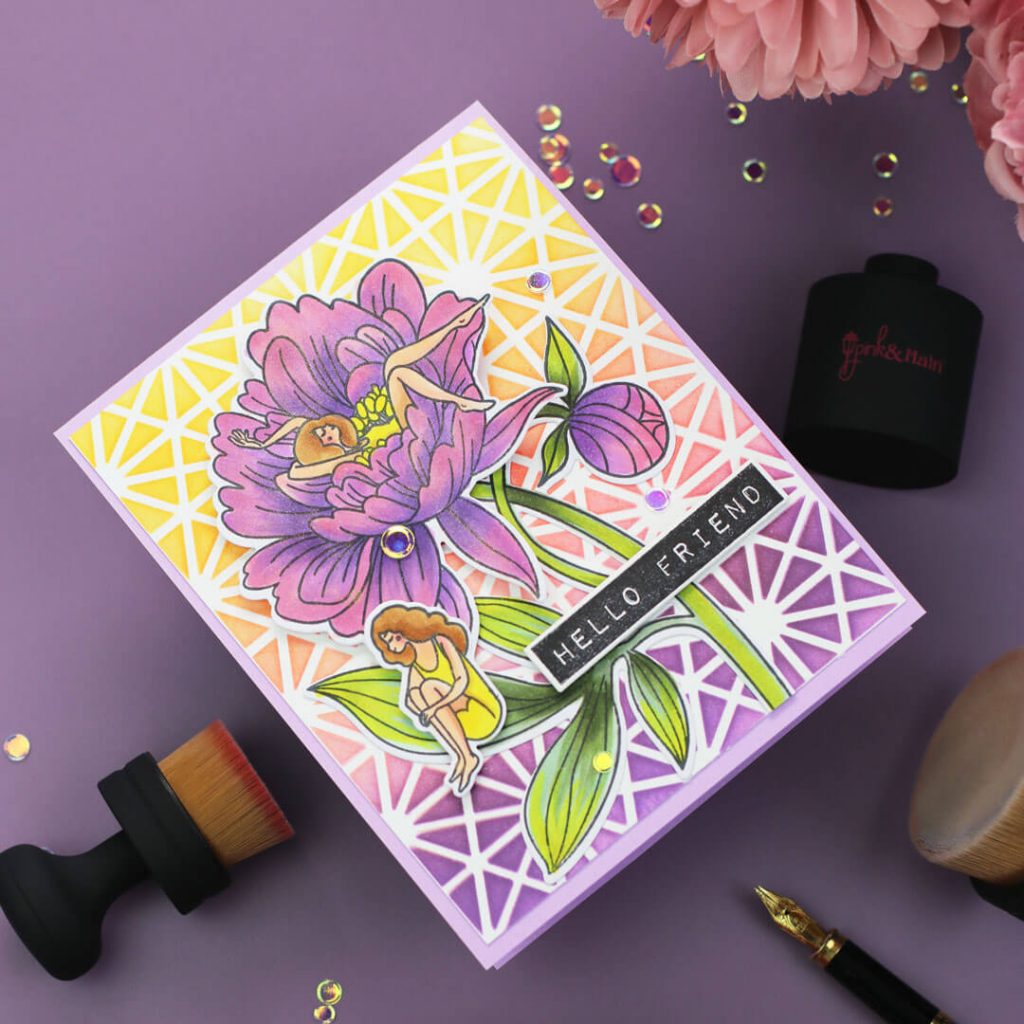
- Peony Dreams Waffle Flower Encouragement cards here!
That’s all for today.
I hope you have enjoyed this multi-stenciled slimline card using beautiful supplies available at the Simon Says Stamp Shop here!
Happy Crafting
X Bibi
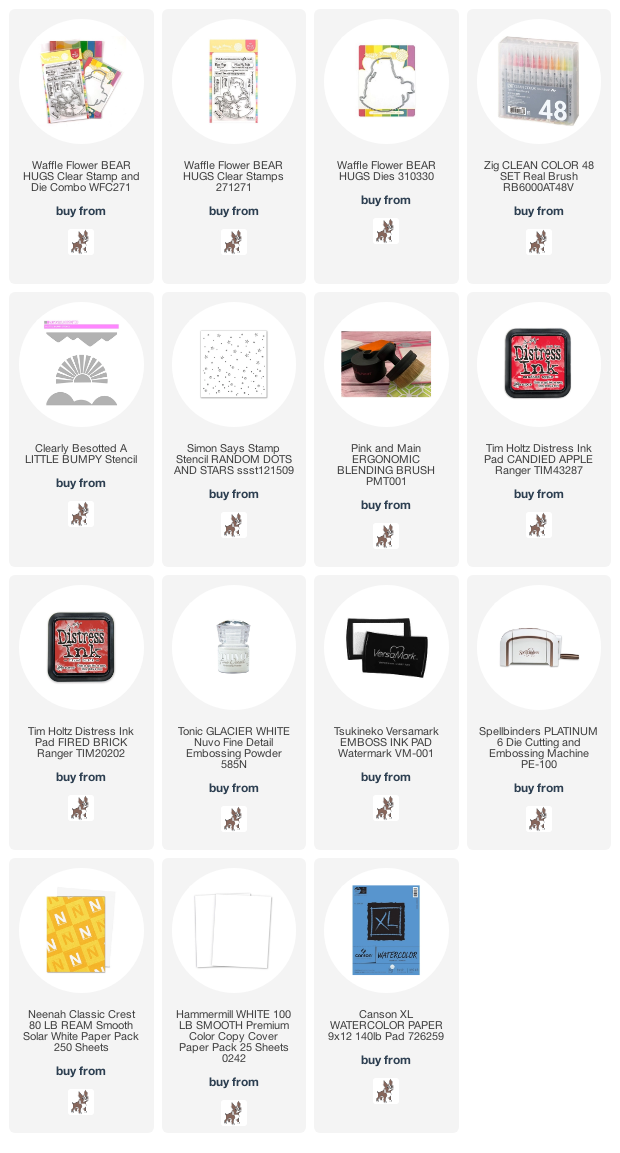
SUPPLIES
Affiliate links applies at no extra cost to you. Thanks for your support.



Leave a Reply