Happy day lovely crafter!!! I went a little bit crazy with Distress Stain Sprays in an attempt to create something mixed media style using CZ Chunky Trees and Holly die set.
Again, I had to face reality. My mixed media skills need improvement but I’m working on it and I didn’t give up on my trees.

So I first die cut all the pieces out of white Neenah 80Lb cardstock and I sprayed them using Speckled Egg, Cracking Campfire, and Rusty Hinge Distress Stains.
Then I allowed the pieces to dry and assembled them.
To add a little bit of shine I added Delicata Golden Glitz ink over the die cuts and to add contrast I applied Gathered Twigs Distress Ink.
I totally loved the look and feel Distress Stains gave to the die cuts. It is organic and it is different!
CHUNKY TREE TAGS

I decided to go ahead and I used Cz Nested tags to die cut some tags out of white and sand cardstock.
Nested Tags is my top fav tag die set ever. It has tags dies in different sizes. I just can’t stop using it!!
For this project, the tags needed some non-overwhelming texture or a decorative element.
So I grabbed Dot Scallop Border Die by Simon Says Stamp to add a decorative edge. This is another must-have.
To finish, I foam mounted the trees on the die-cut tags and I stamped sentiments from CZ Clean Christmas Stamp Set.
To embellish, I added the holly and berry die-cut and I glued a mini jingle bell with a twine bow over the trees.
CHUNKY TREES AND HOLLY GIFT BOX

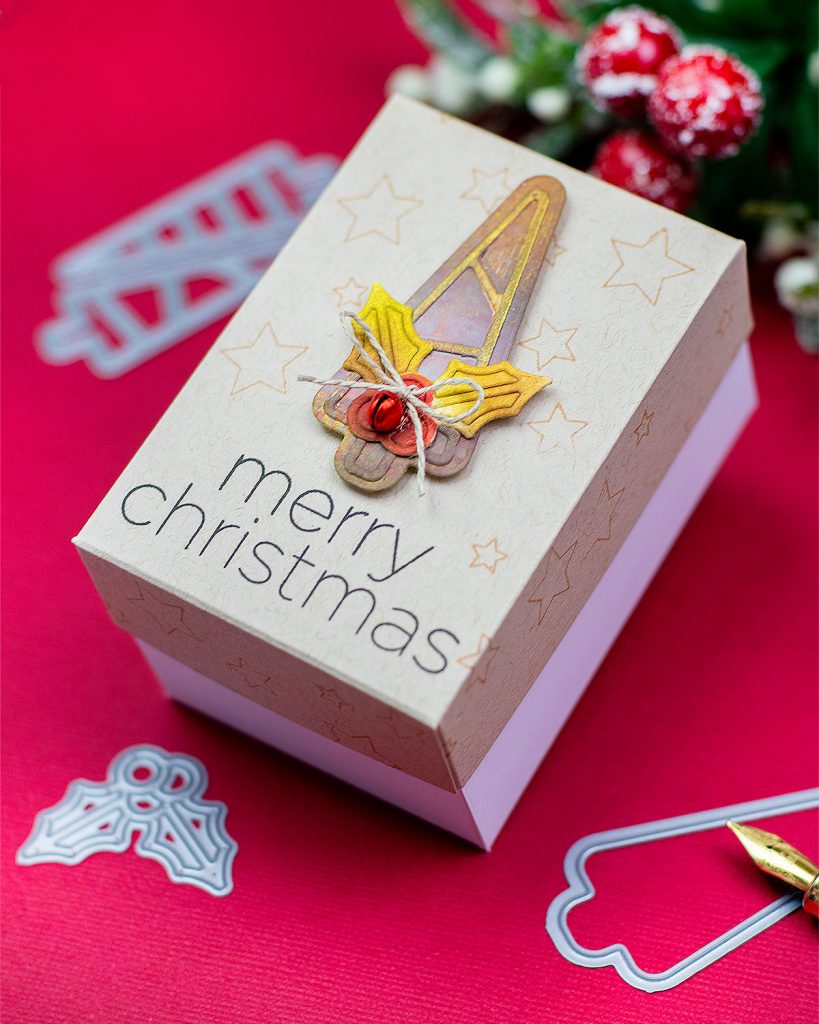
As I made several trees I decided to embellish this mini box with one of them.
I also used stamps from CZ Clean Christmas Stamp Set to stamp starts and a sentiment on the lid before assembling

This box measures 3-3/4″ x 2-1/2″ inches and it is 2 ” inches deep but you can make it in any size.
To make it, I used 2 pieces of cardstock.
- For the box lid, I used a piece of sand cardstock that measures 4-1/2 ” x 5-1/2″ inches .
- I scored at 1″ all around the edges.
- The body of the box was made using a 6-1/2″ x 7- 1/2″ inches piece of cardstock.
- To secure a good fit of the body of the box in the lid I trimmed 1/16 of each side of the pice and I score at 2″ all around the edges.
That’s all for today
I hope you have enjoyed these ideas
Happy crafting.
X
Bibi
pin me

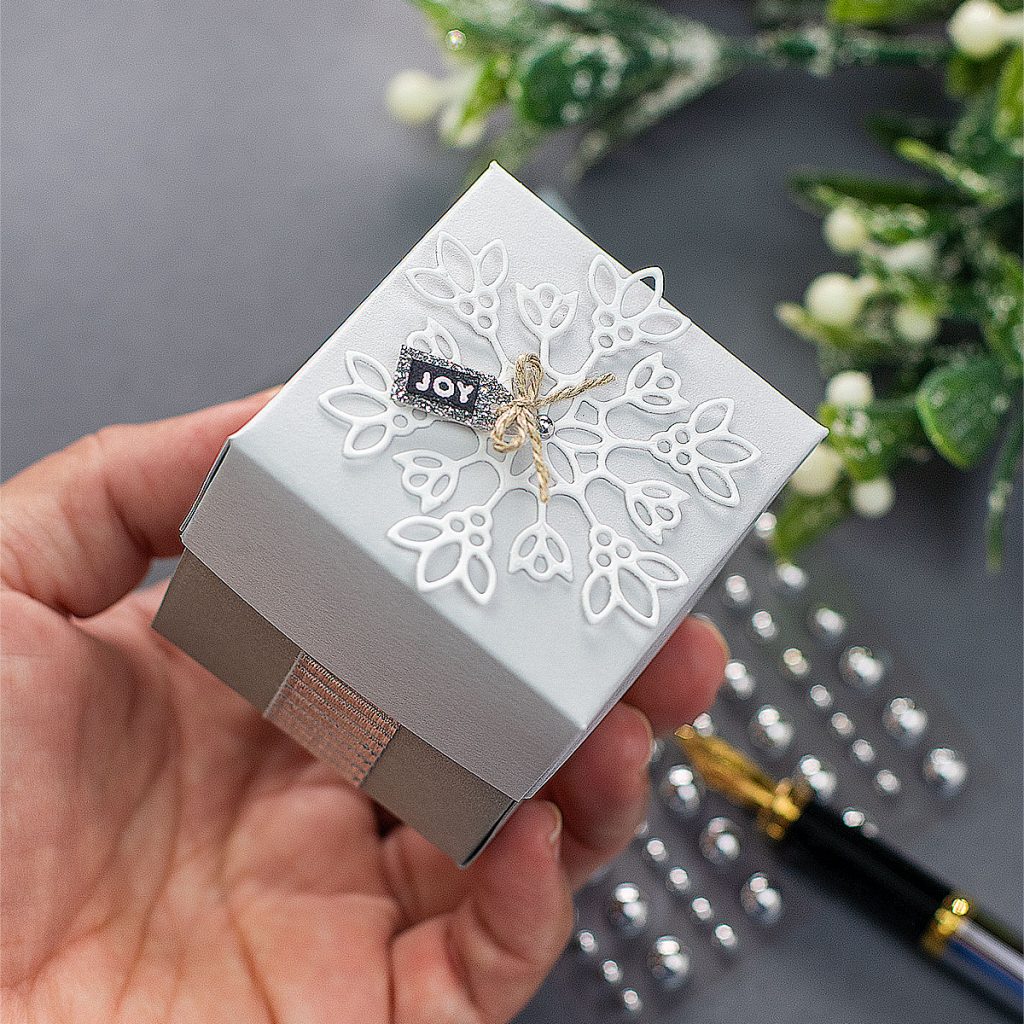
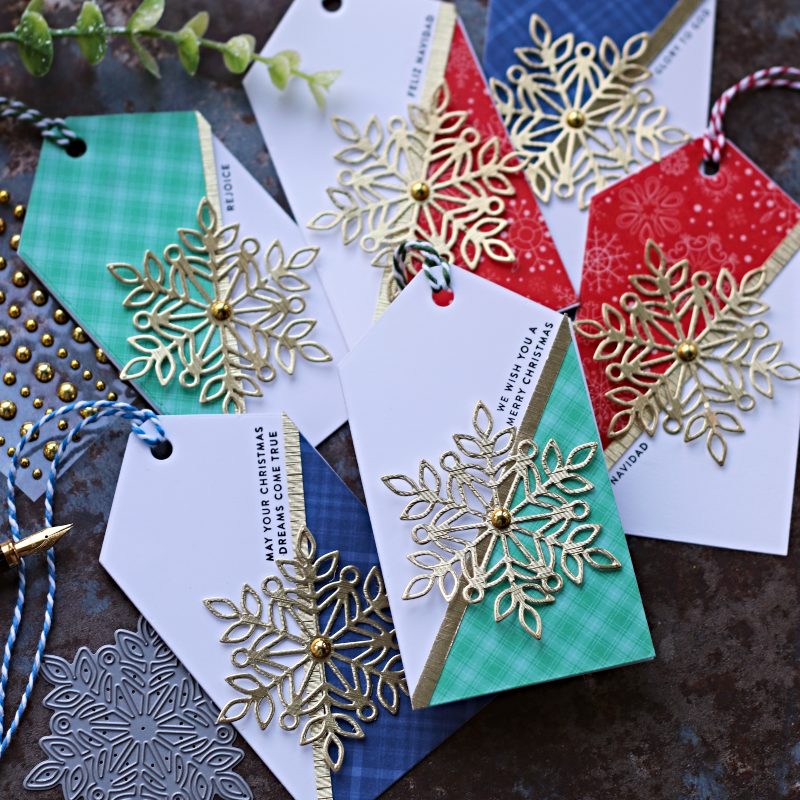
THIRSTY FOR SIMILAR IDEAS?
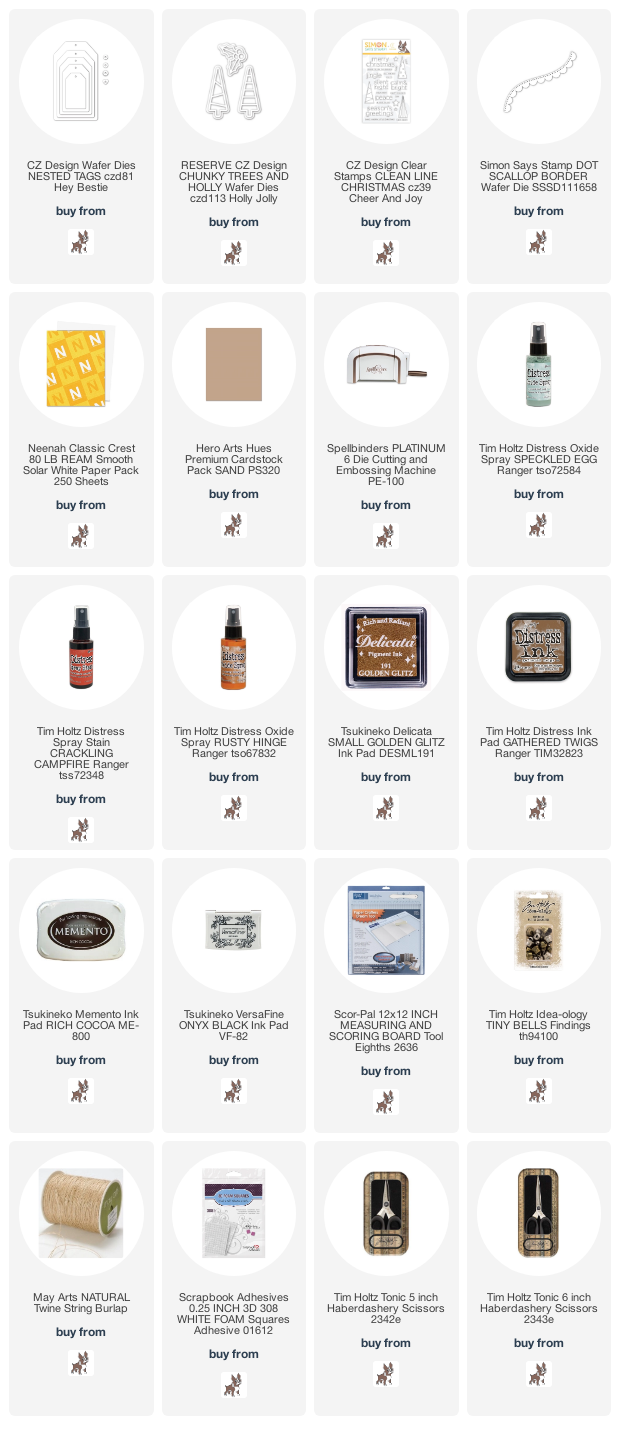
SUPPLIES
Affiliate links apply at no extra cost to you. Thanks for your support.


Leave a Reply