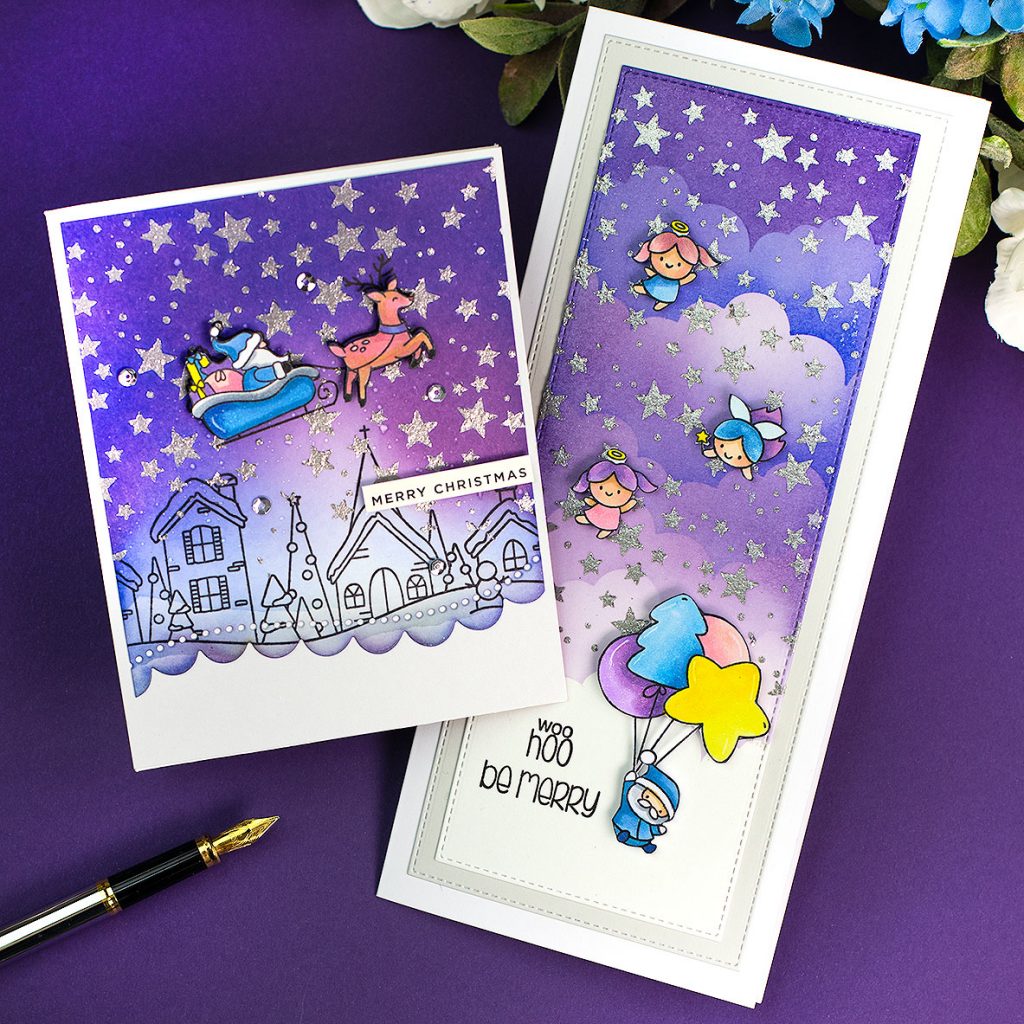
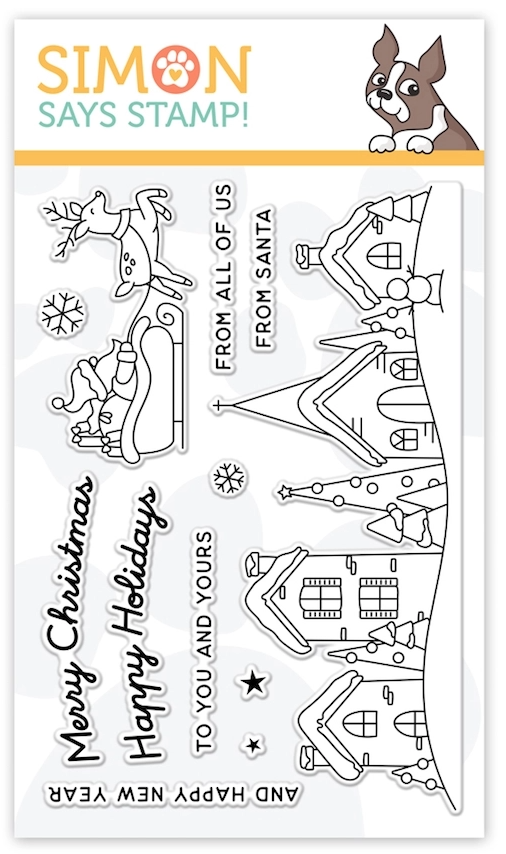
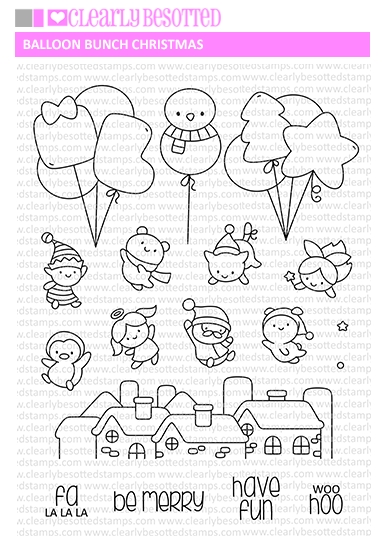
Hi there, for today I made a couple of Christmas Cards to feature beautiful images from Santa’s Sleight Ride stamp set and Balloon Bunch Christmas by Clearly Besotted.
These Christmas cards also feature the must-have Random Dots and Stars stencil by Simon Says Stamp and an easy Distress ink blending technique.
SANTA’S SLEIGH RIDE BALLOON BUNCH CHRISTMAS
Although both stamp sets have similar elements, these two sets offer different artwork styles to create Christmas Cards.
Santa’s Sleigh Ride is a more traditional stamp set while Balloon Bunch Christmas introduces cute non-traditional elements such as balloons, bears, a penguin, and a cat.
I love them both! Both are extremely versatile and fun to work with.
“So the main idea of this post is that you can create different card styles using similar elements such as ink colours, layouts, stencilled backgrounds”
SANTA’S SLEIGH RIDE Christmas CARD
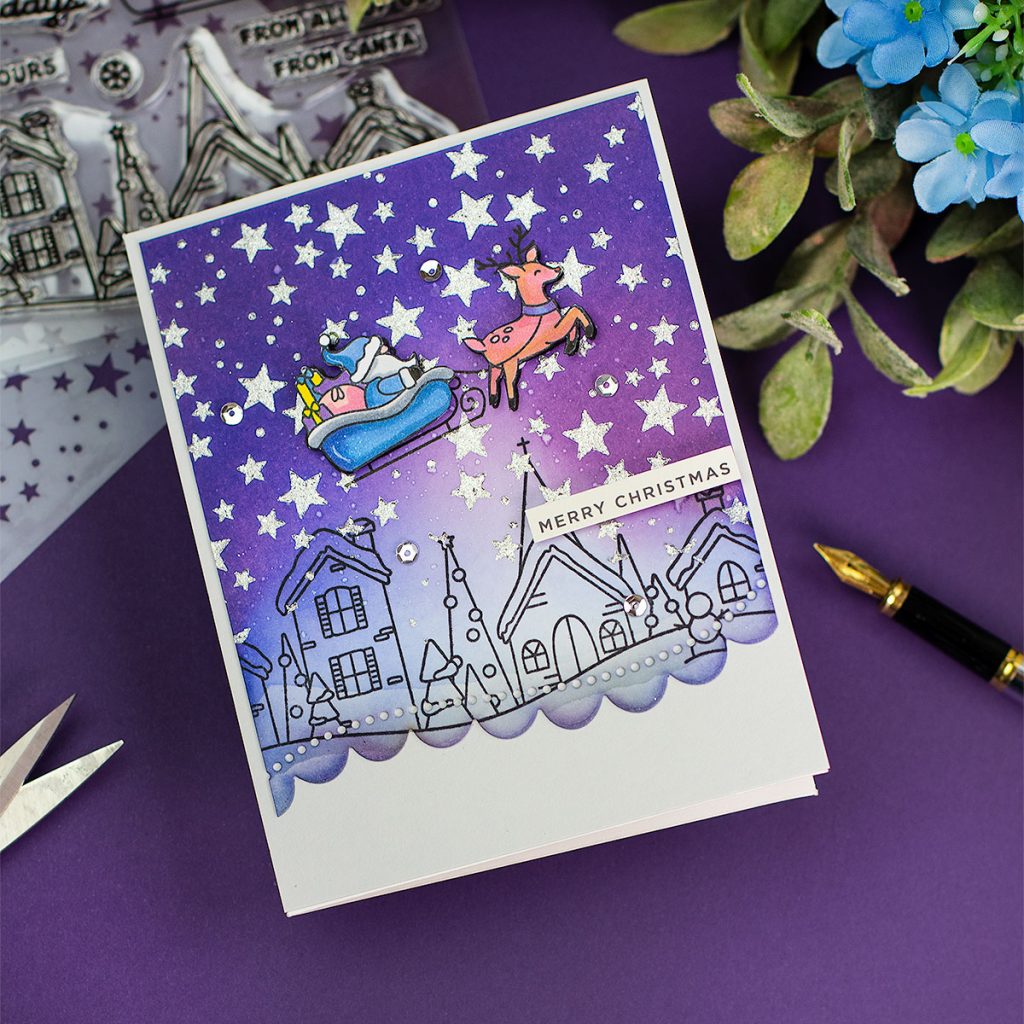
- For this card, I first stamped the village image on the background panel (white smooth cardstock 300grams).
- Using an ergonomic blending brush, I applied Blueprint Sketch, Worn lipstick, and Dusty Concord Distress Inks over the panel.
- Then, I die cut the panel using Dot Scallop Border die by Simon Says Stamp.
- Next, I used Random Dots and Stars Stencil and Silver Glacier Paste to add sparkle and I allowed to dry overnight.
- While the panel was drying, I then stamped the Santa on Neenah Solar White and added colours using Copic markers.
- I fussy cut the images using scissors.
FUSSY CUTTING TIP
- If you have an image with many fine lines that could be hard to fussy cut, you can trim all those details.
- Cut the images right over the edge.
- Then you can stamp the image on the background panel and foam mont the colored images.
By doing this, you got not only the right placement to add the coloured images on the panel but you have also rescued all the little details lost while fussy cutting.
- So for this card, I cut the reindeer’s antlers, the sleigh runners, and the bridle on the image I added over the panel. I separated the Santa on the Sleight from the reindeer.
- Once the glacier paste was dry (the next day), I stamped the same image over it using Versafine Black Onix ink and I foam mounted the 2 little images in place.
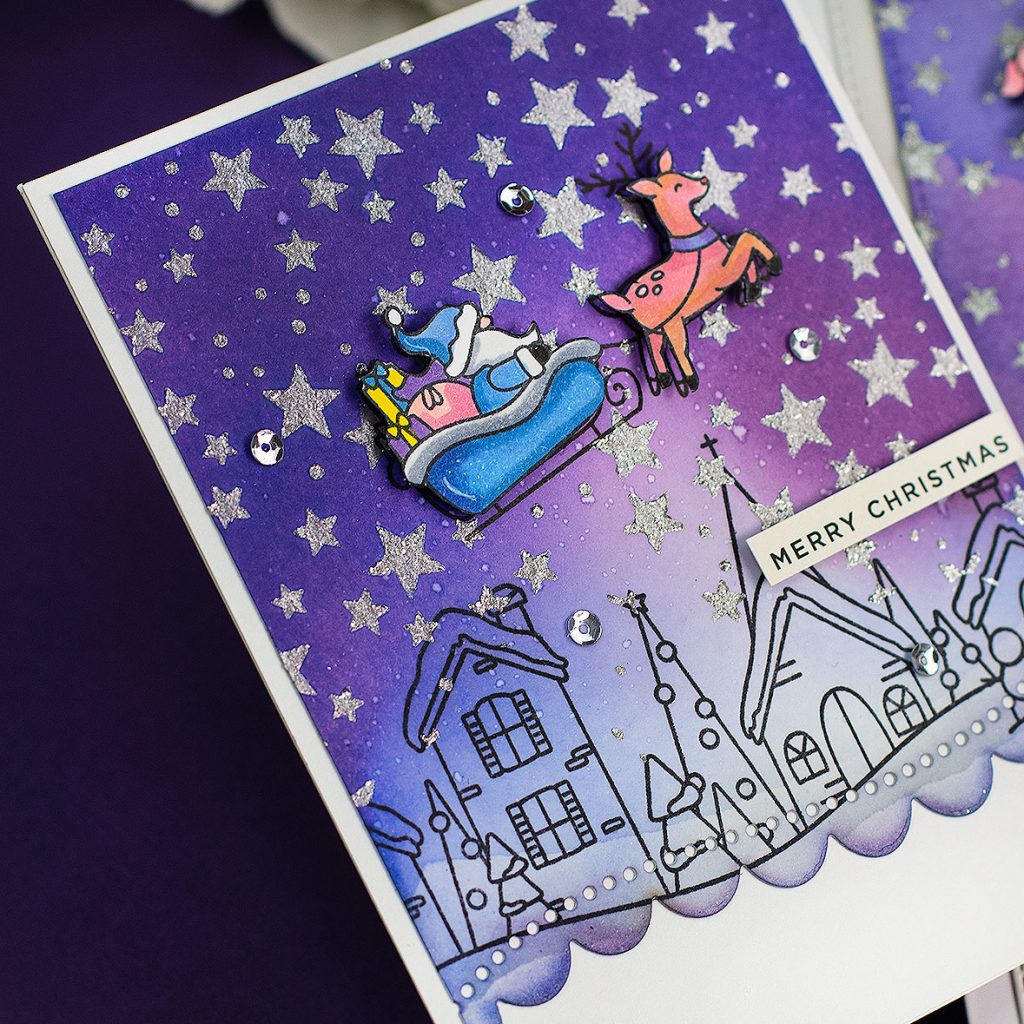
Note : Although the link doesn’t stamp perfectly on the glacier paste, you can still see it. You got to be careful as you need to allow the ink to dry over the glacier paste or it can stain your work.
BALLOON BUNCH CHRISTMAS CARD
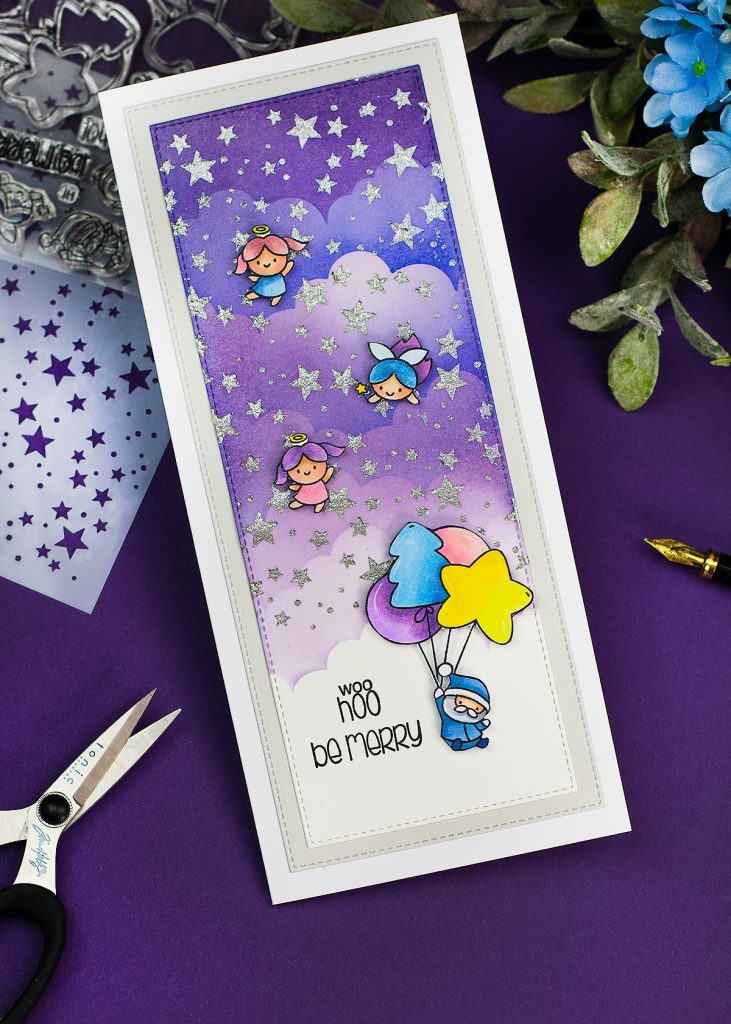
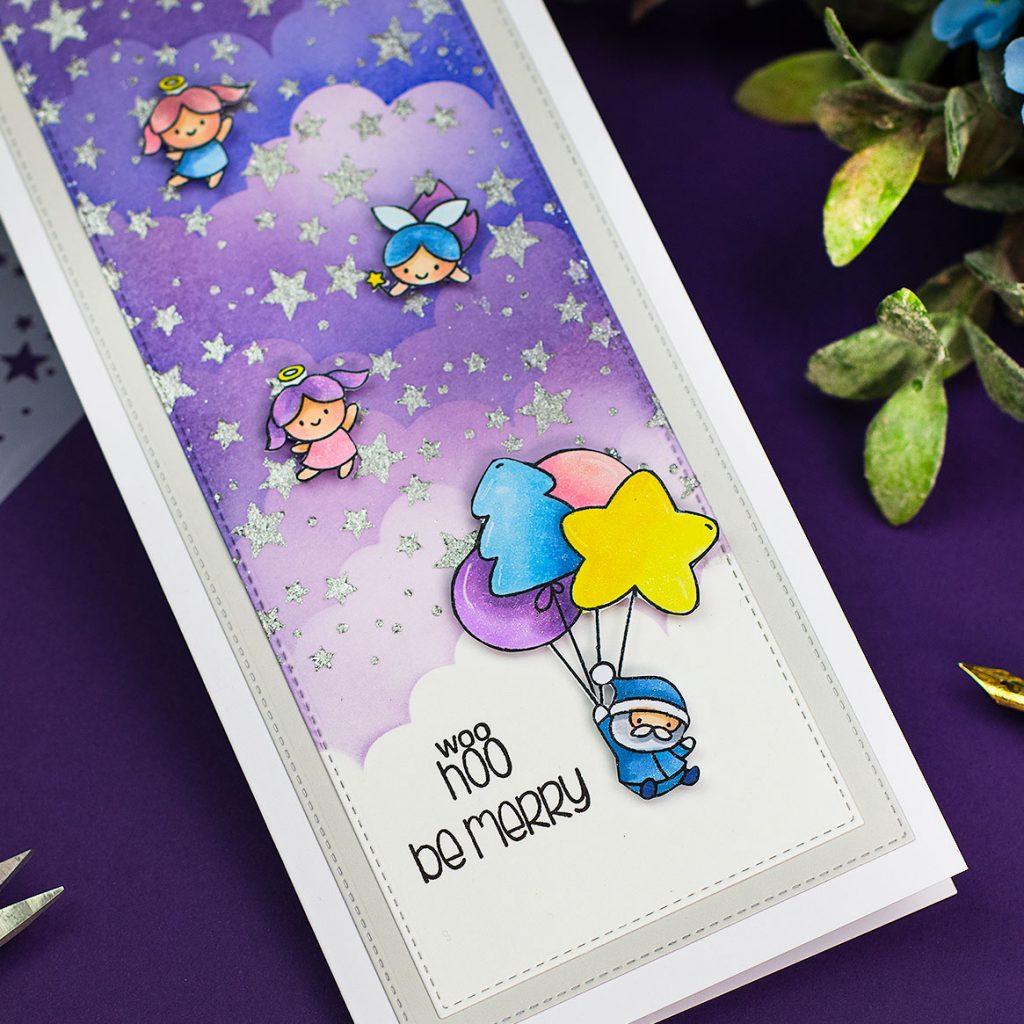
- For this card, I first die cut the panels using Stitched Slime Trio by Heffy Doodle.
- Then using Cloudy Days Stencil I applied a mix of Blueprint Sketch, Worn lipstick, and Dusty Concord Distress Inks.
- To apply the ink I used an ergonomic blending brush.
As I made the background for this card panel simultaneity with the one for the card above, I applied Nuvo Silver Glacier Paste and allow to dry over night.
I also added stamped the images using Memento Ink and I applied colour using Copic markers.
The next day when the Silver Glacier paste was dry, I adhered the images to the panel using dimensional foam pads and I adhered the panel onto a card base.
I never worry about the size of my cards as I do my own envelopes. Remember you can do this to fit the envelopes you might have.
THIRSTY FOR MORE?
That’s all for today
I hope you like this ink combo and the projects!
Happy Crafting
Bibi
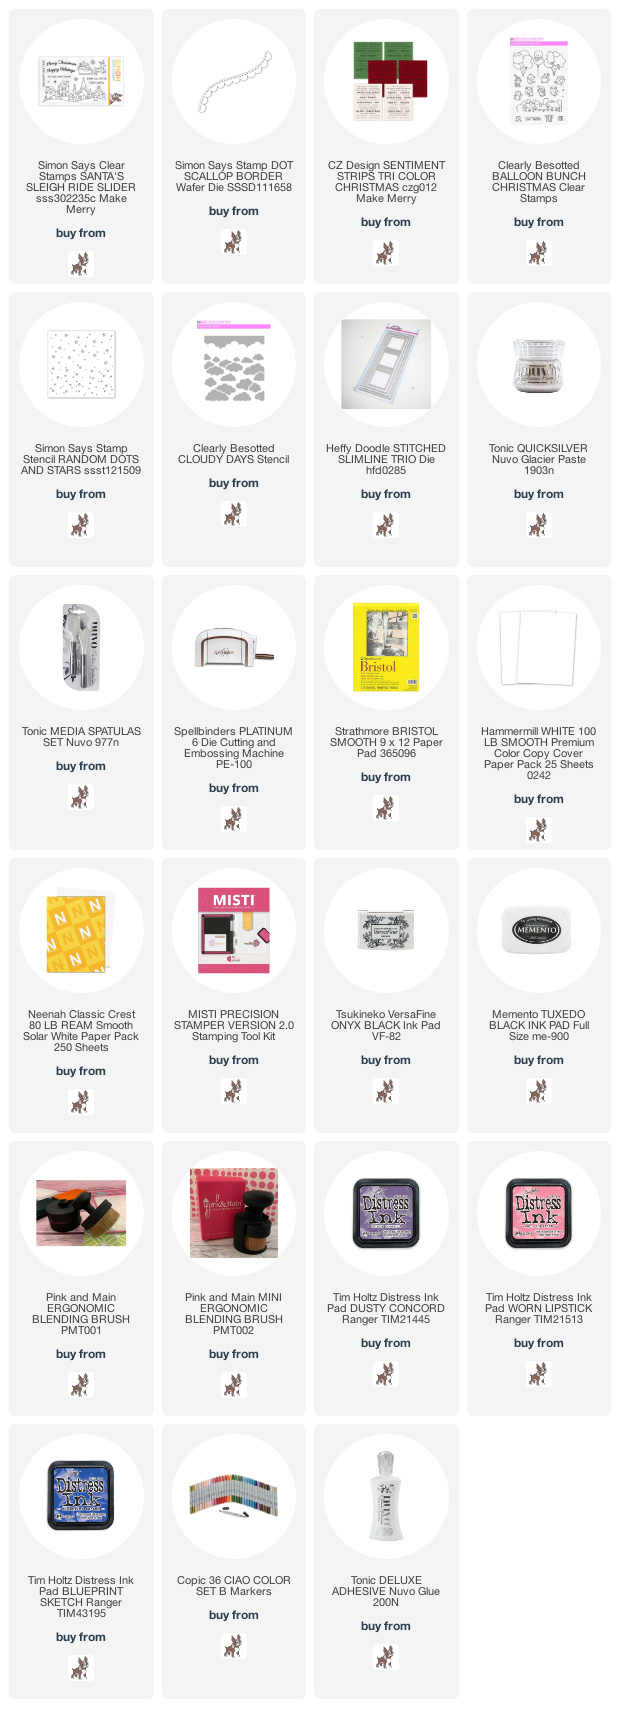
supplies list
Affiliate links applies at no extra cost to you. Thanks for your support.


Leave a Reply