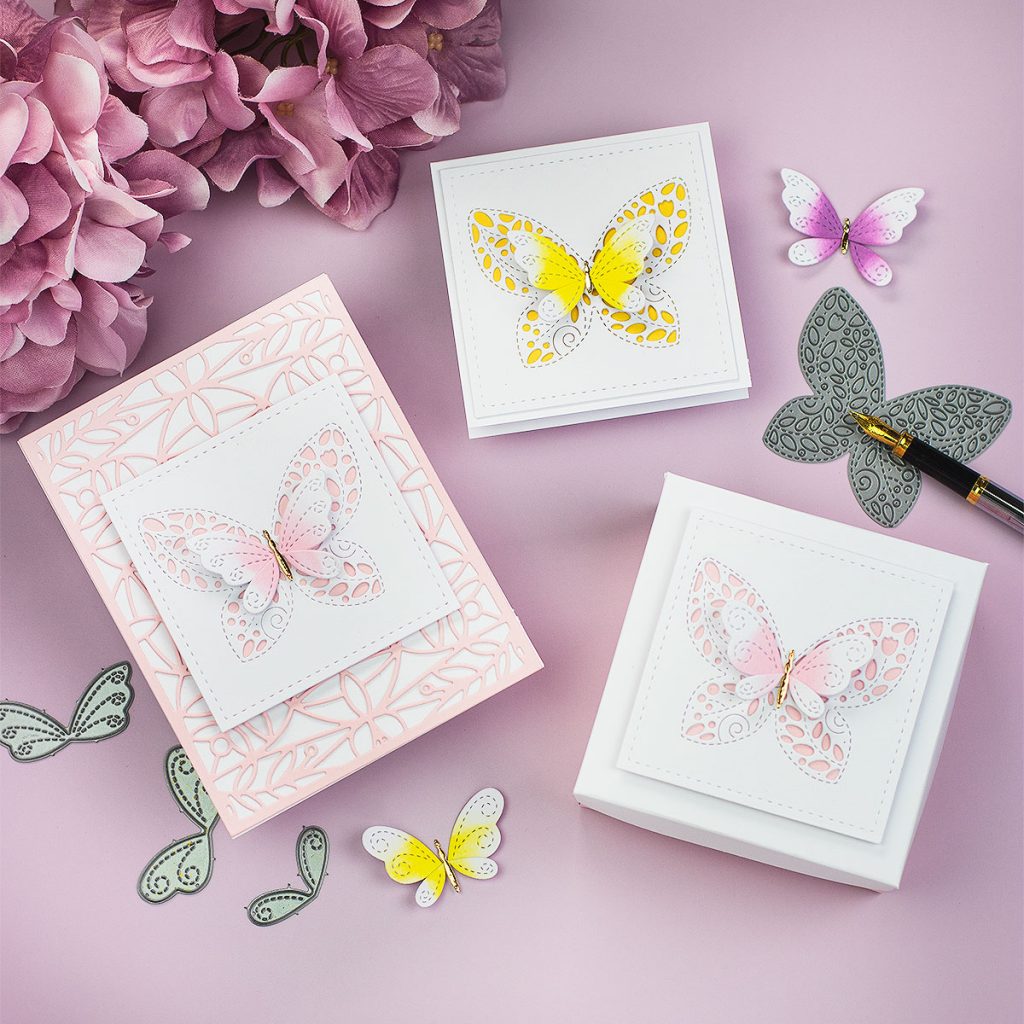
Hello there, today I have 4 easy butterfly die-cutting projects to share with you.
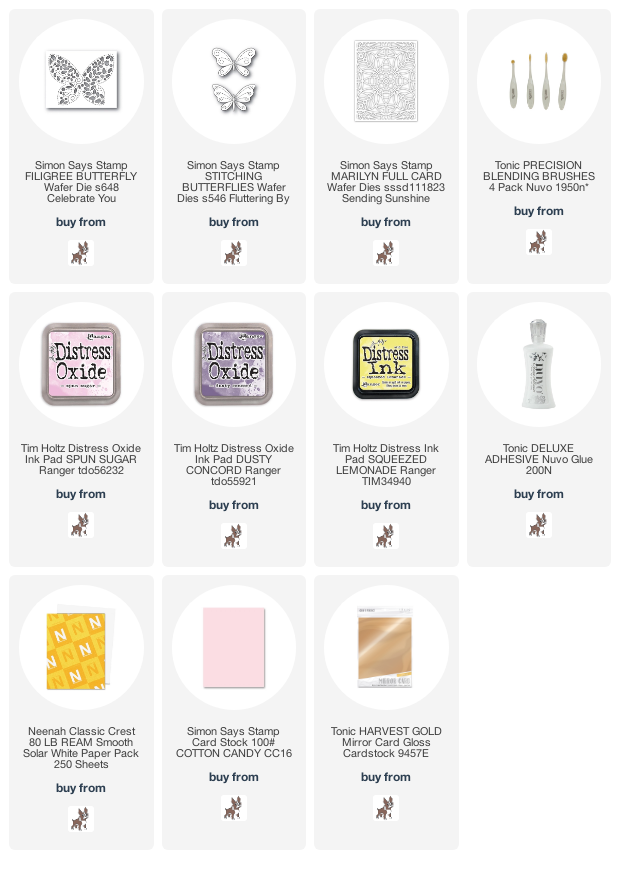
To make them, I have used Stitching Butterflies, Filigree Butterfly, and Marilyn Full Card. All these are dies by Simon Says Stamp.
Filigree Butterfly Cards

- First, I die-cut out of white smooth cardstock all the small butterflies for my projects using Stitching Butterflies die set.
- I added a hint of colour to the butterflies wing using a Nuvo precision brush and Distress inks (Spun Sugar, Squeezed Lemonade, and Dusty Concord)
- Then, I assemble the different butterflies.
- Next, I used a stitched square die ( 3-1/4″) to cut a piece that I die cut again using Filigree Butterfly (the large butterfly in the background).
- I added a backing panel in a color that matched the butterflies colors in all my cards.
- To finish the topper I glued the small butterfly on the center of the die-cut panel.
Marilyn Full Card
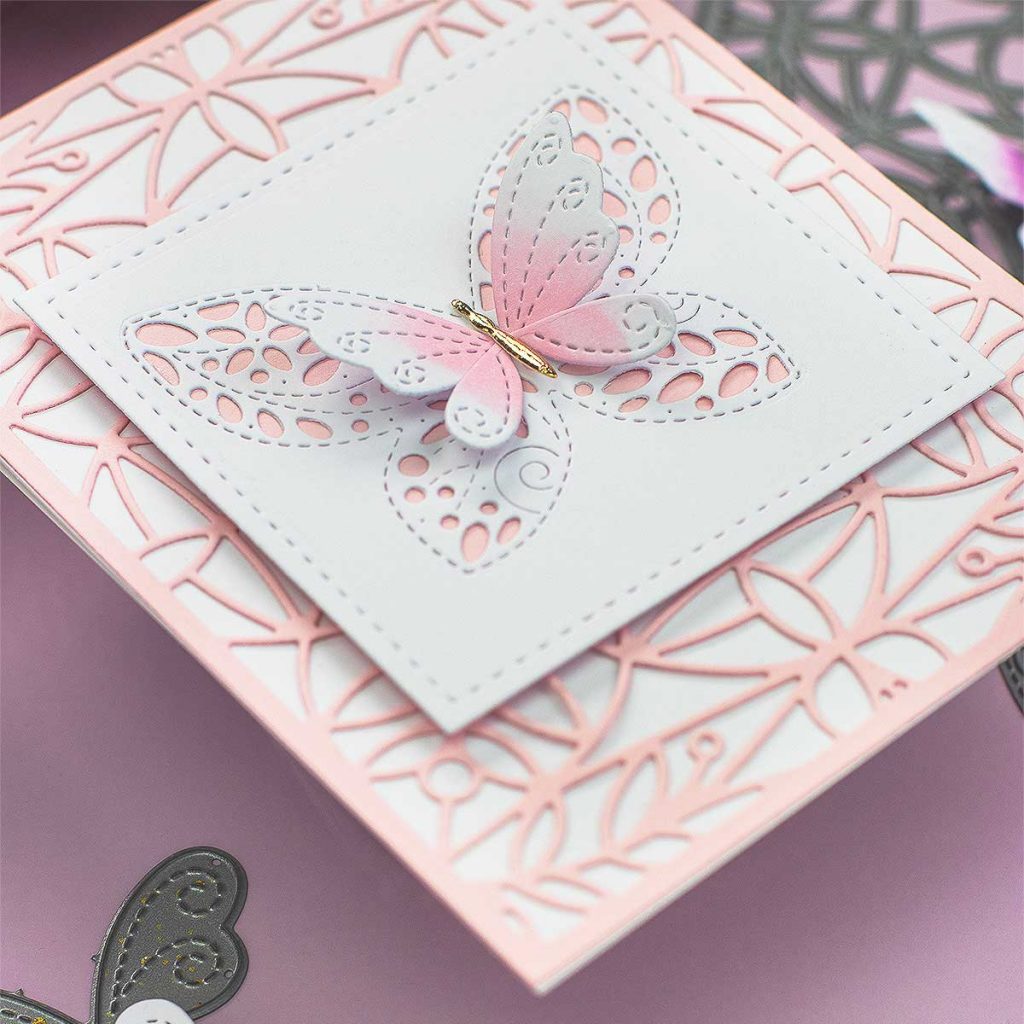
I love Marilyn Full Card wafer die. You can see other projects here, here and here using this die.
So for the card above and the one below, I also die cut a panel using Marilyn Full Card. Then, I adhered the die-cut panels on to a piece of cardstock and I adhered these on to the card bases.
I foam mounted the butterfly topper and I was done!
I wanted to see how this card design would look on a subtle and a regal colour, and I wanted to show you that contrast.

So for this card, I also added a sentiment. Although, I think these are the kind of cards that don’t need sentiment and can be used for any occasion.
mini card
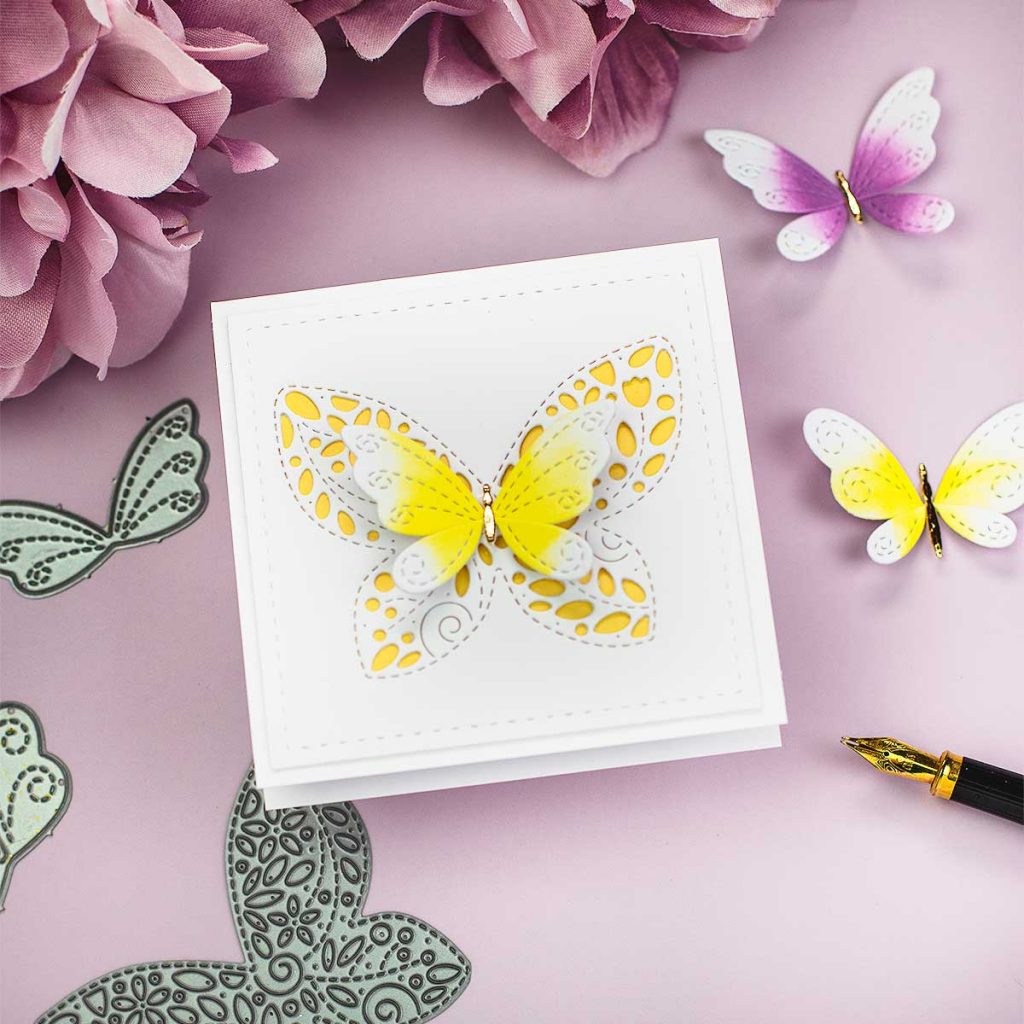
You can make cards in any size by using the same layering idea.
This card measures 3-1/2″ x 3-1/2″ inches.
Butterfly Box – Bonus Project
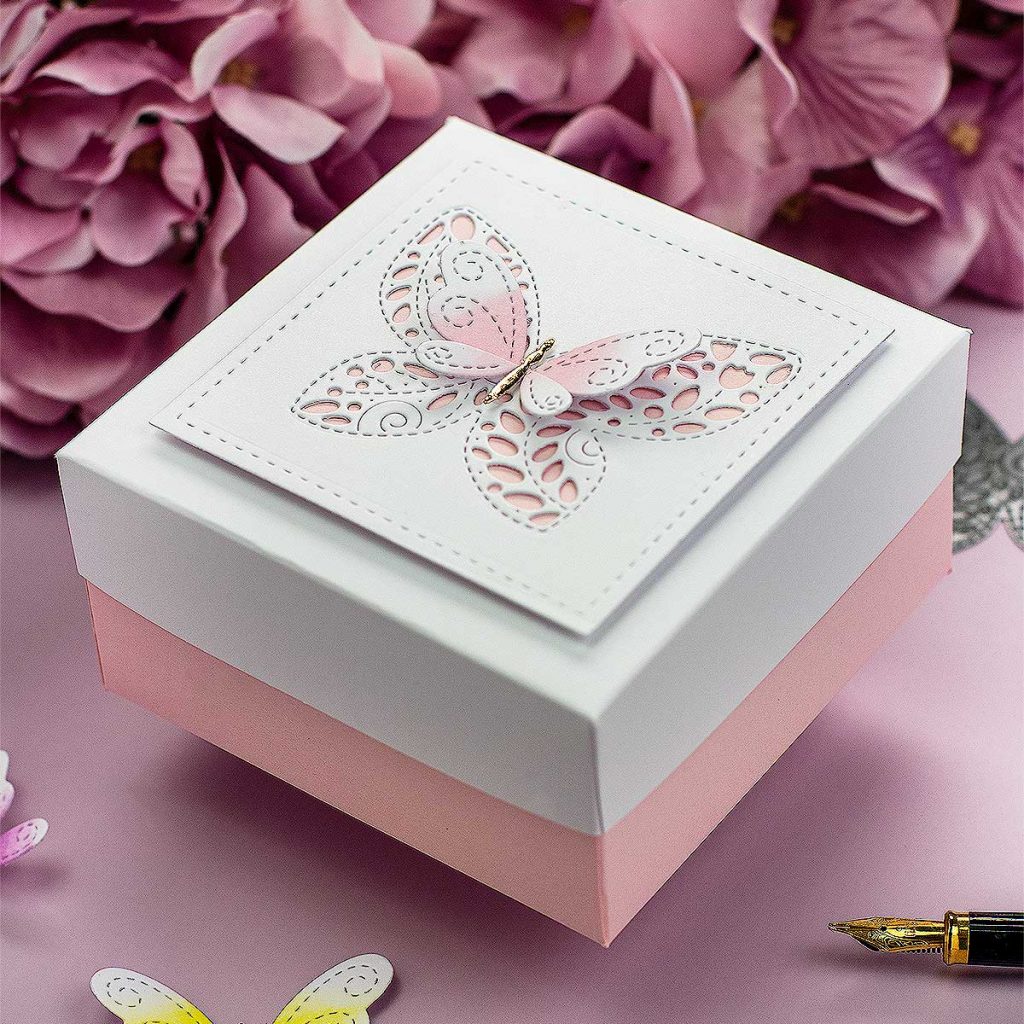
You can also use the butterfly die-cut topper on boxes, jars, paper bags, or any other paper-craft project you might have.
This box measures 4″x4 inches and it is 2 ” tall. To make it I used a scoring board.
I used 2 pieces of 250grams cardstock:
- For the box lid, you will need a 6″x6″ inches white piece of cardstock. Scored at 1″ around the edges.
- For the box body, you will need an 8″x8″ pink piece of soft pink cardstock. I trimmed 1/16″ of an inch from each side before scoring at 2″ inches around the edges.
top tip for diy this box
The piece of cardstock used for the base of the box needs to be 1/16″ inches smaller in reference to the piece used for the box lid to guarantee perfect fitting.
Cut the corners in diagonal to create the box flaps and glue in place.

That’s all for today
I hope you find inspiration in this post.
Happy Crafting
x
Bibi
Supplies
Affiliate links apply at no extra cost to you. Thanks for your support.


Lovely projects to try, Bibi! thanks for sharing.
Those are so beautiful but the large butterfly is not the same one that is shown as a diecut. I like yours much better with the leaves and not the flowers. How can I find the one you used on your projects?
Hi there, Thanks for asking. You can find it in the following link: https://ldli.co/e/xpg46d.
I always add the supplies list at the bottom of my post so you can easily find the products. Sending Hugs
Hi Bibi. I love these cards and was making them last night. The die cut you used for the large butterfly is not the same as this link you have given. The link shows a die cut with many daisy like flowers and yours seems to be one tulip and not so many holes but more stitching. Do you know if the die you used is available somewhere as I cannot find it on Simon Says Stamp?
Thanks
Hello Doris, thank you very much for asking, and apologies for the mistake. I updated the links. Here is the link to the butterfly die used: https://ldli.co/e/d51o75.
Hi! How did you make the butterfly’s body?
Hi, thanks for asking with a die included in Stitching Butterflies die set. x Link : https://ldli.co/e/lp6l7p