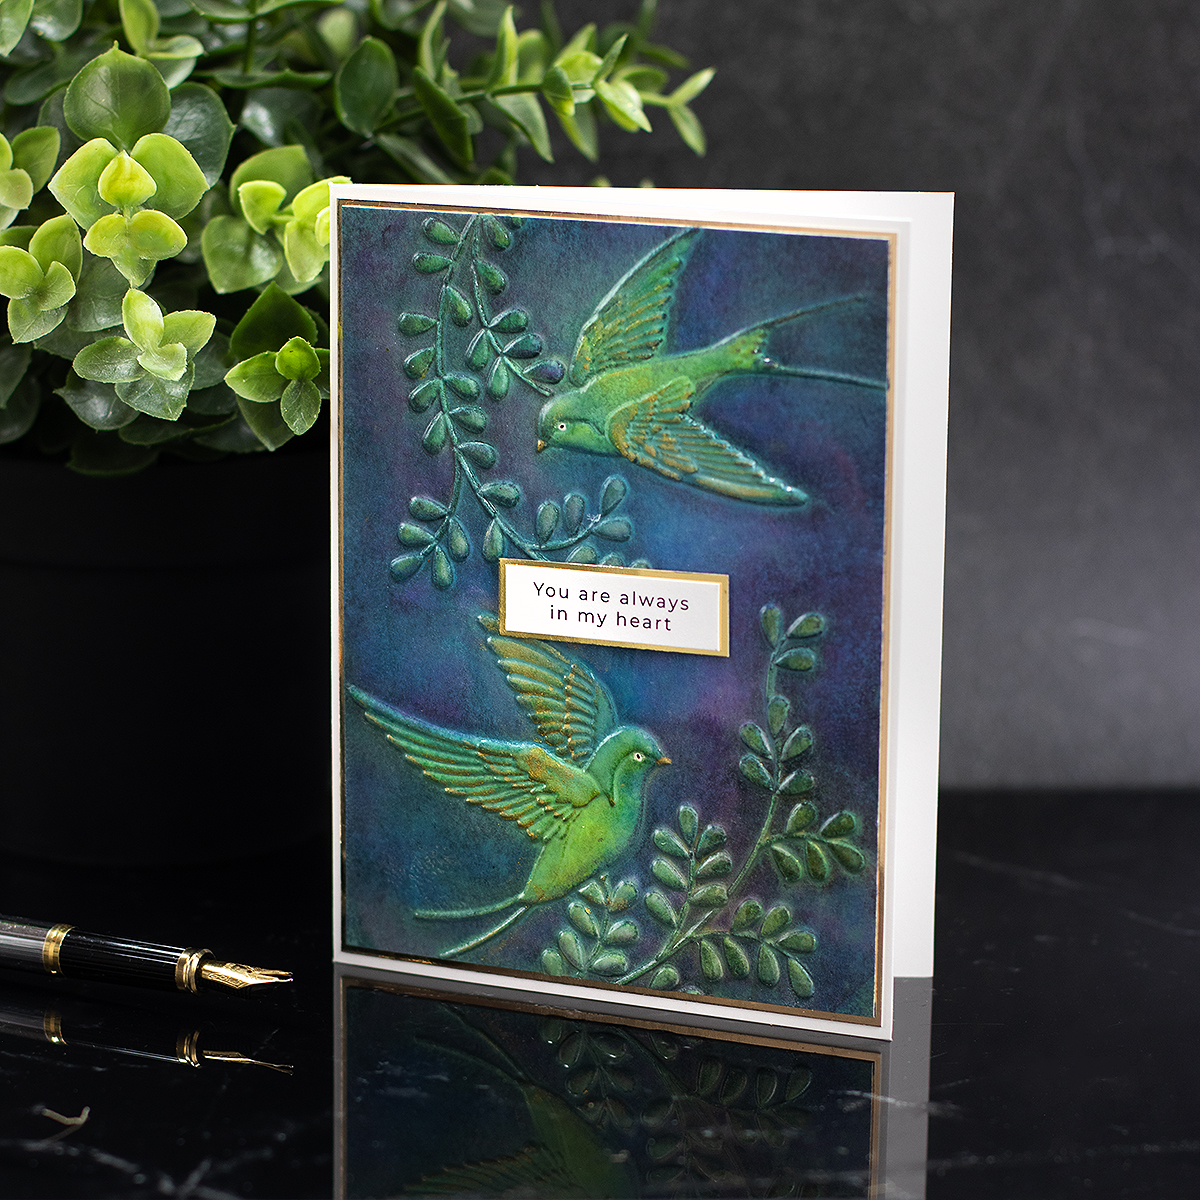
Hello crafty friends! Today I’m sharing the results of an experiment to give paper a rustic blue ceramic effect, capturing the look and feel of handmade ceramic glaze using embossing folders.
This project was inspired by the organic tones and textures of handmade pottery.
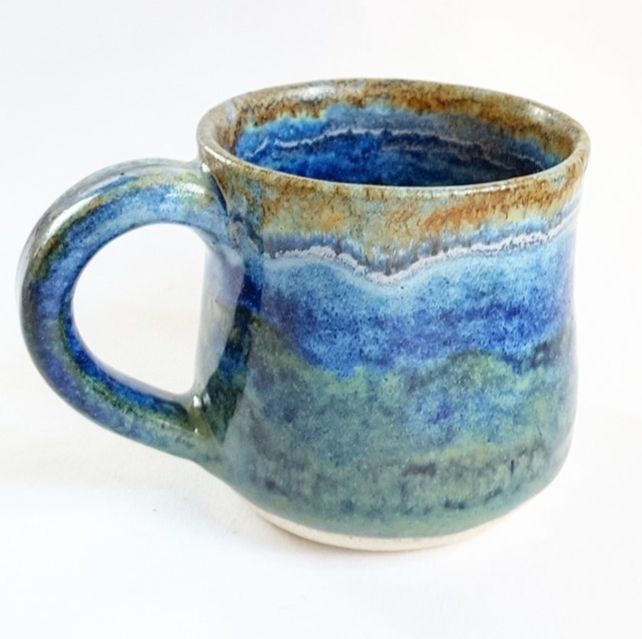
The goal was to achieve a ceramic-like finish, similar to the glaze variations you see in rustic mugs — those soft transitions between blue, teal, and earthy browns.
This technique transforms embossed designs into miniature pieces of art — elegant, tactile, and rich in colour. I can’t wait to explore it further with different colour palettes and embossing folders!
Card Recipe
This is an A2 Card
- Soaring Swallows embossing folder
- Simon Says Stamp Sentiment Strips All the Love
- Watercolor Paper
- Simon Says Stamp White A2 Side Fold Scored Cards
- MISTI Precision Glue Press
INKS AND MEDIUMS
Listed in the order used.
- Bibi Cameron Tuscany Earth – Olive and Sumbean to add a base colour to the embossed birds and leaves
- Altenew Azurite Fresh Dye Ink Pad – Used on the embossing folder to add colour to the background.
- Simon Says Stamp Nocturne Black VersaFine Clair Ink Pad– Used on the embossing folder to add colour to the background.
- Lisa Horton Crafts Cloud 9 Albers Ochre Matt Ink – Used on the raised areas of the embossed image.
- Distress Oxide Spray Old Paper, Distress Oxide Spray Speckled Egg, to add a chalky look and feel and distress the inks.
- Gold Sparkle Base – simultaneously with the Distress Sprays to add shine.
- Lisa Horton Crafts Natural Pearl Metallic Ink – Used on the raised areas of the embossed image.
- Gold Altenew Essential Permanent Markers – For the beak of the birds.
- Sakura Black Glaze Gel Pen and white acrylic paint – for the eye of the birds.
- Wow Mixed Media Embossing Brush or Clear Ink & Re-Inker Set
- Clear Embossing Powder
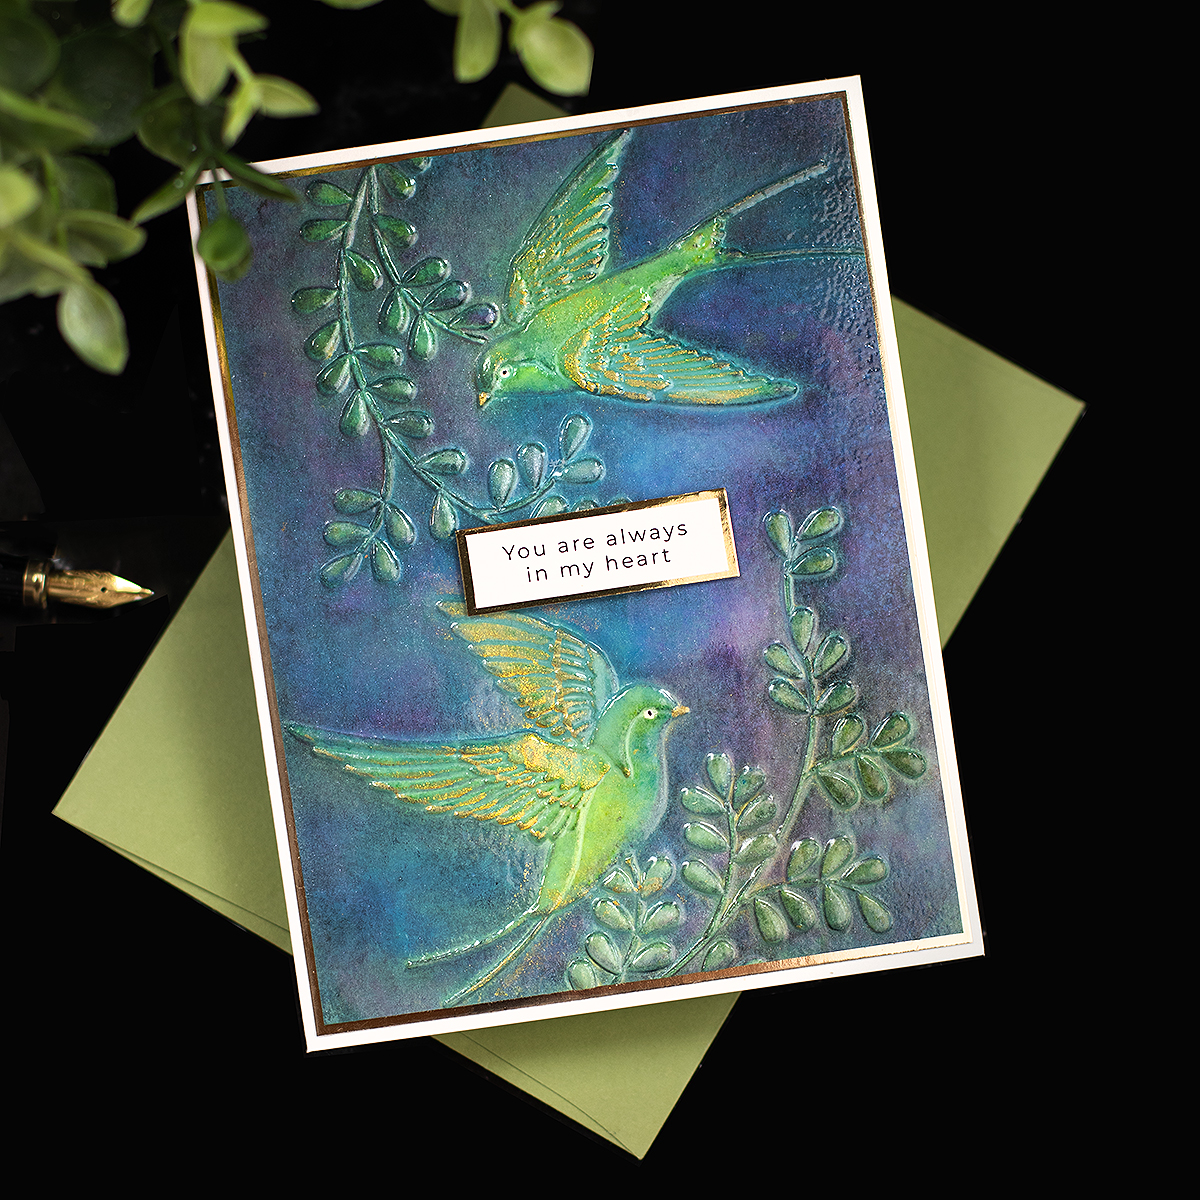
Rustic Blue Ceramic Effect with Embossing Folders
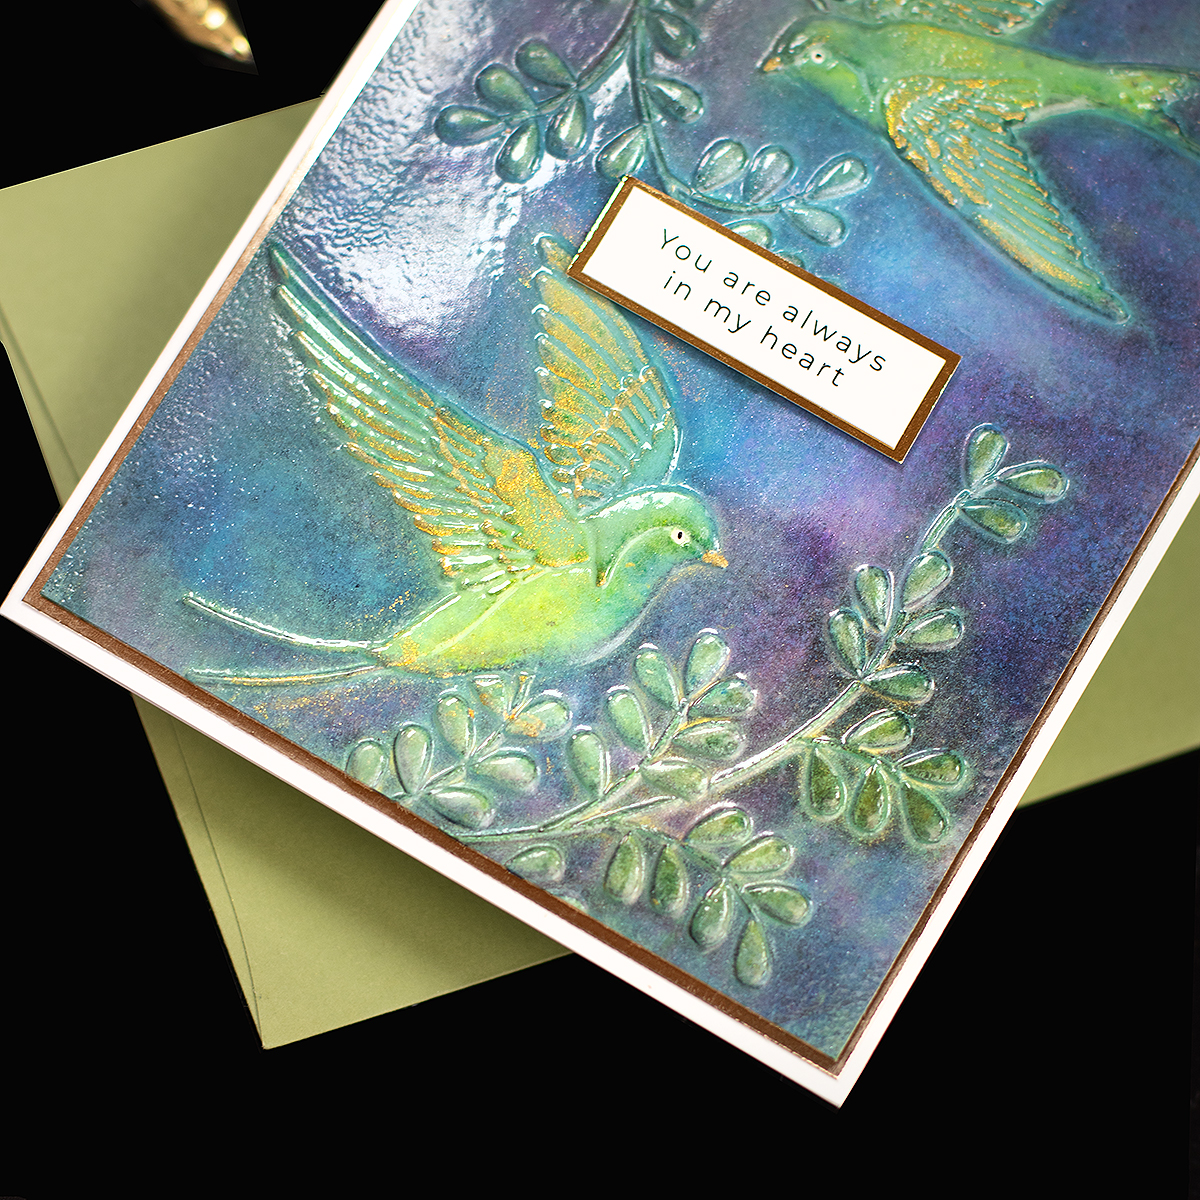
For this card, I used the Simon Says Stamp Soaring Swallows Embossing Folder. The detailed design and raised surfaces were perfect for experimenting with color layering and glossy accents.
- After embossing watercolor paper, I built up layers of color. I started by applying yellow and green Liquid Colours to the embossed images.
- Next, I applied Altenew Azurite Ink over a stencil and ran the panel through the die-cutting machine multiple times to intensify the color.
- I then added Versafine Black Ink directly to the embossing folder, placed the paper inside again, and ran it through the die-cutting machine to deepen the contrast.
- I applied Lisa Horton Crafts Cloud 9 Albers Ochre Matt Ink over the raised areas of the embossed image. Then, I spritzed with Distress Oxide Sprays (Old Paper and Speckled Egg) and Bibi Cameron’s Sparkle Base.
- To add highlights and depth, I enhanced the raised areas with metallic inks and a touch of Lisa Horton Crafts Natural Pearl Ink, giving the shimmer a fired-glaze effect.
- Once dry, I applied Altenew Ayan Gold Relief Paste to the raised areas and added white dots to the birds’ eyes using acrylic paint. I also used a black Sakura pen to add pupils.
- After allowing everything to dry, I used the WOW Mixed Media Embossing Brush, sprinkled clear embossing powder, and heat-set it. The result was a tactile, glossy surface — smooth in some areas, slightly textured in others — reminiscent of ceramic.
- To finish, I added a simple sentiment strip from Simon Says Stamp Sentiment Strips – All the Love, mounted on metallic cardstock to complement the warmth of the piece.
That’s all for today.
Thanks for stopping by.
X Bibi
Thirsty for More?
Supplies
Affiliate links apply at no extra cost to you. Thanks for your support.


Leave a Reply