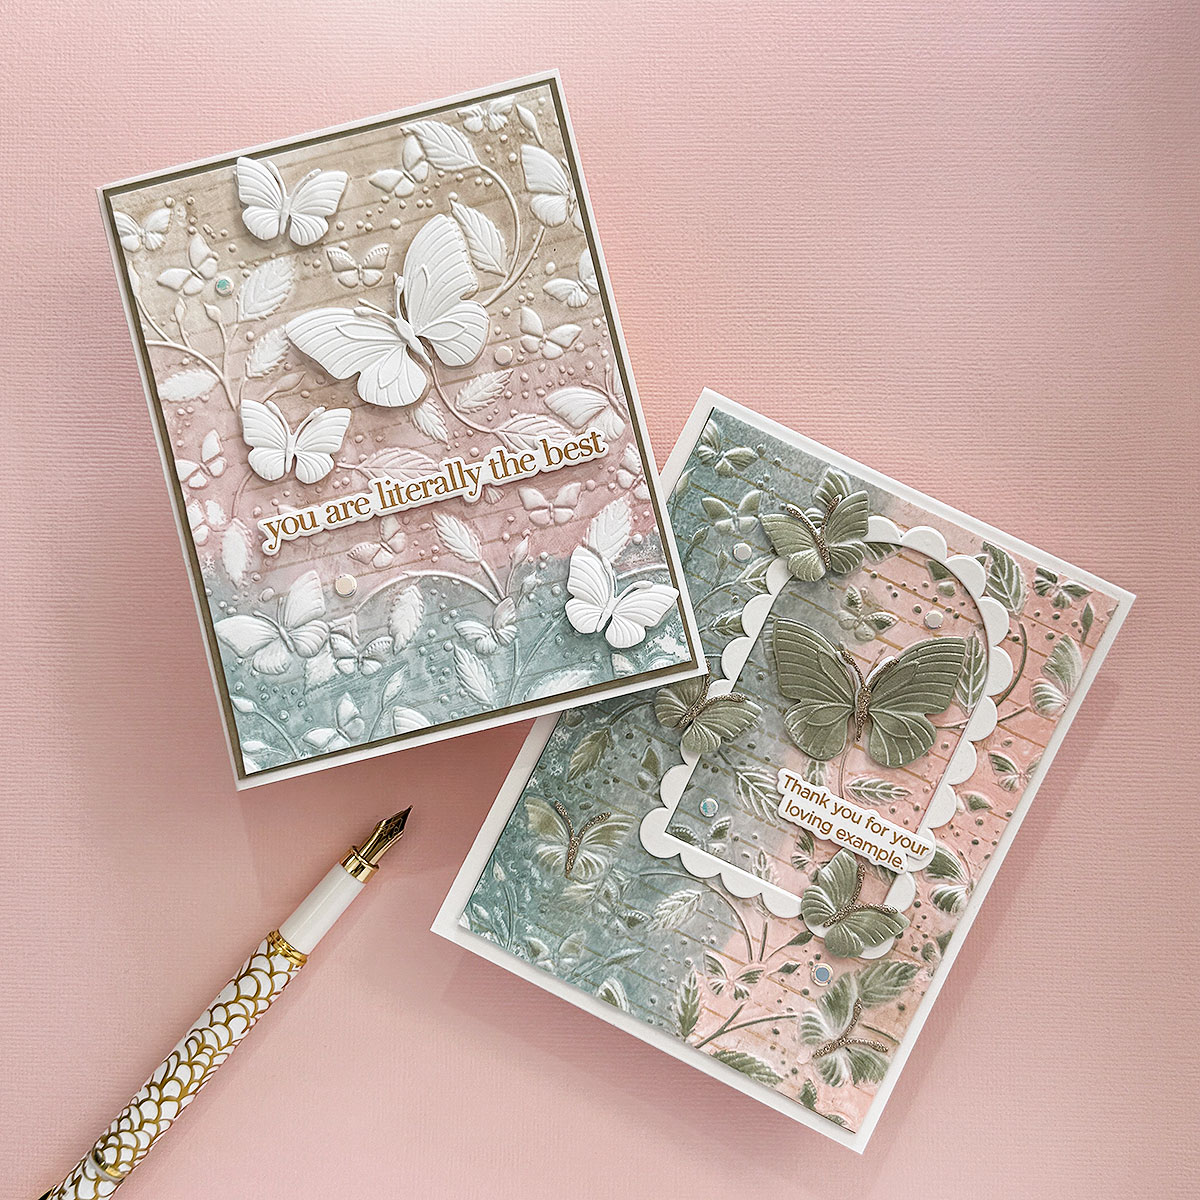
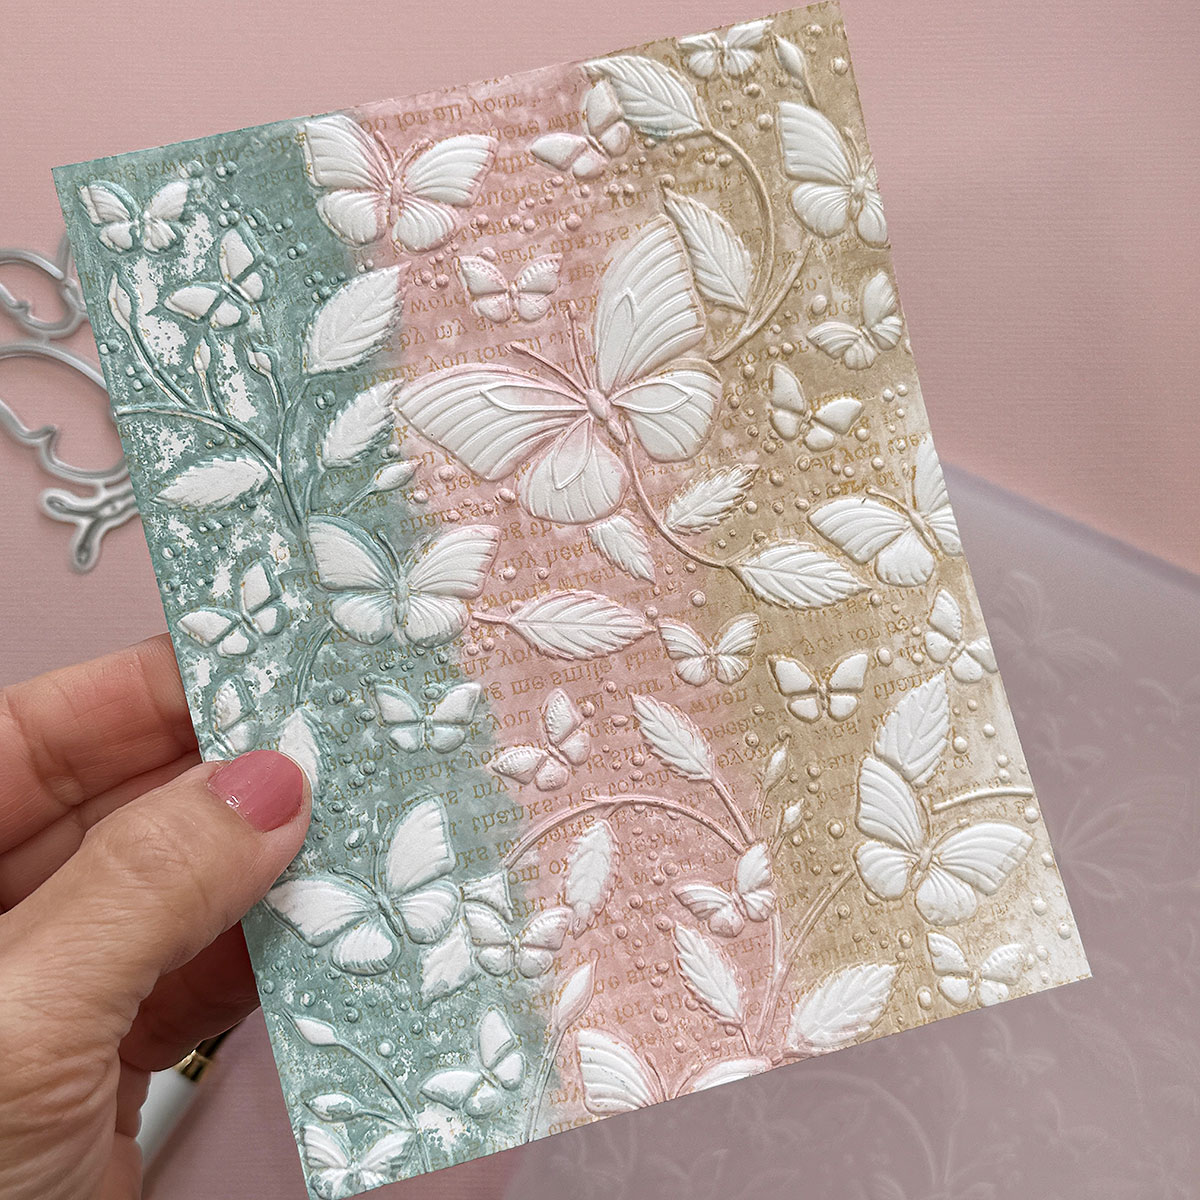
Hello Crafty friends! Today I’m sharing an embossing folder technique featuring the gorgeous Butterfly Escapade Embossing Folder and Cutting Dies by Simon Says Stamp and Lisa Horton Matte Inks.
This Milky Mist Embossing Technique came out of a bit of playtime at my desk… and it completely surprised me.
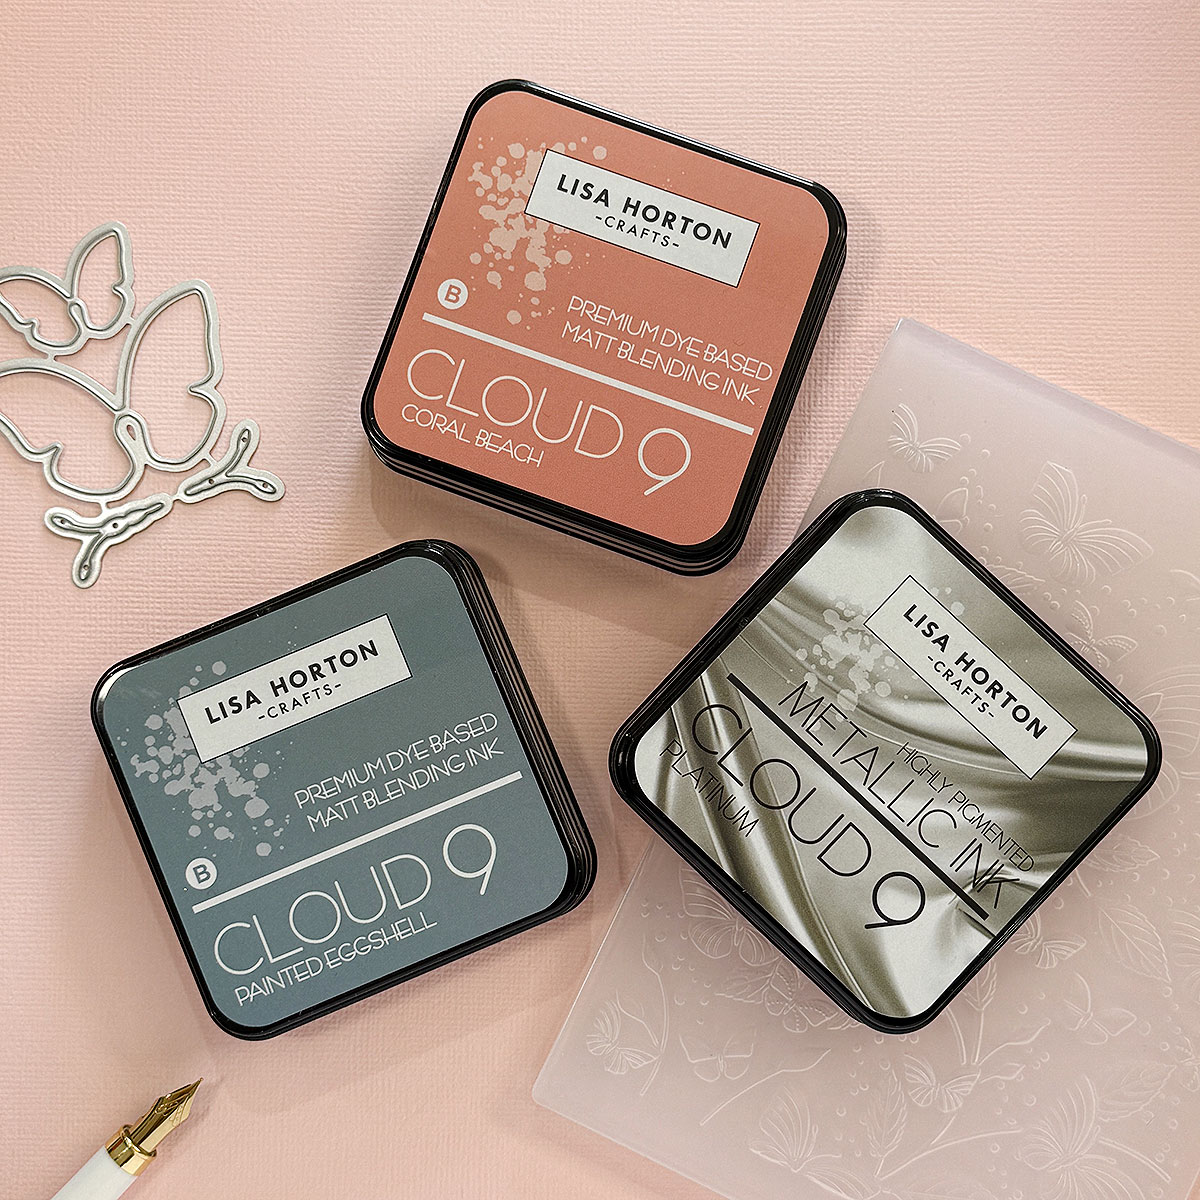
Lisa Horton Matte Blending Inks (Cloud 9)
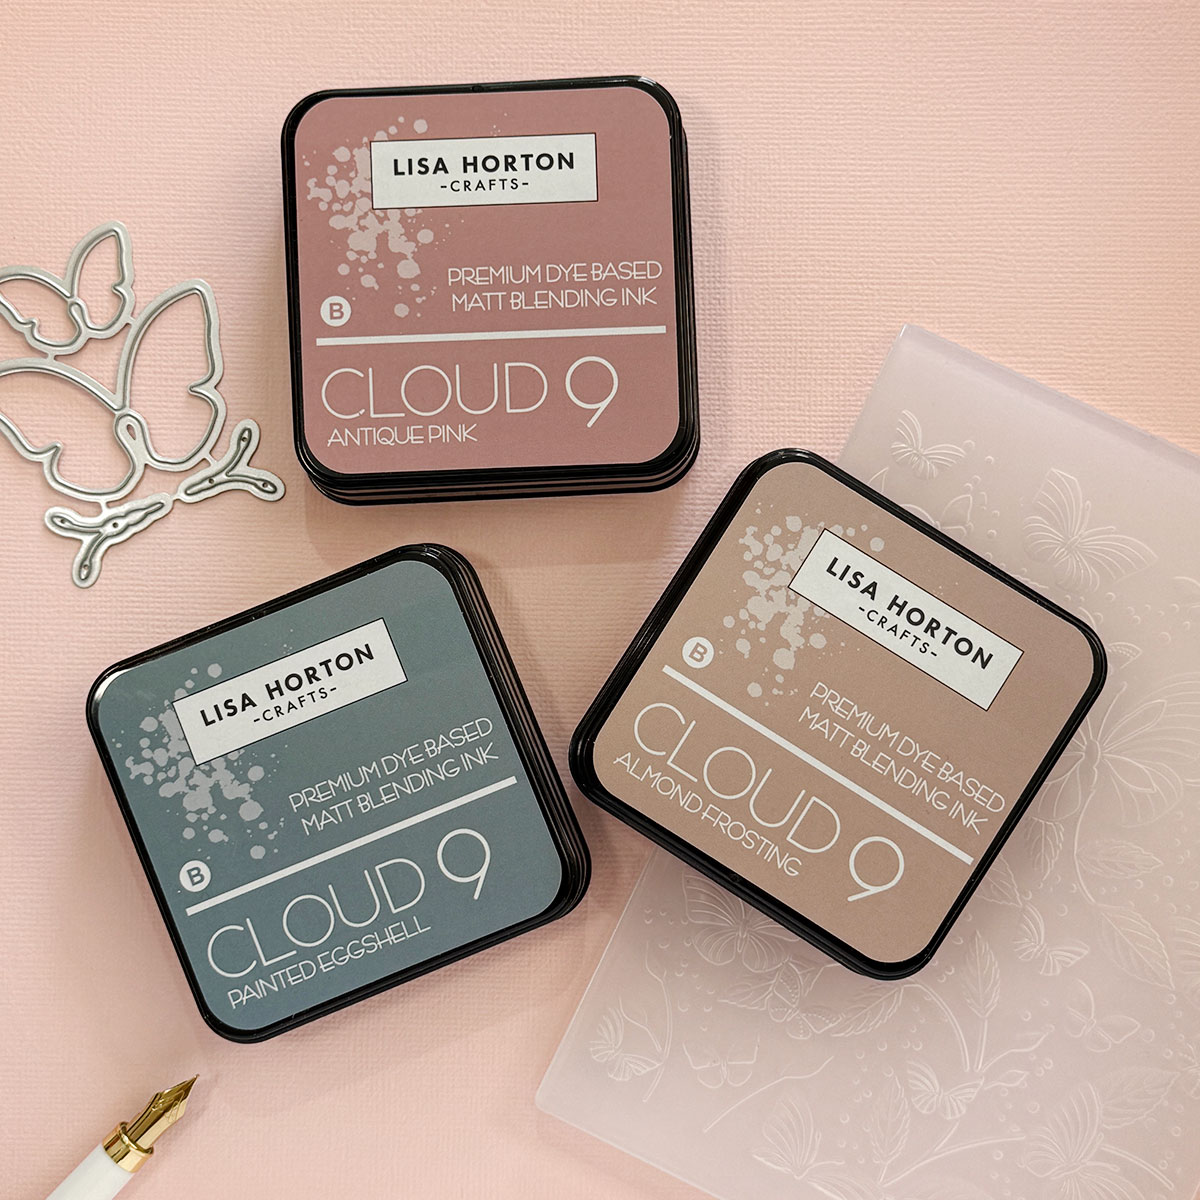
I’m also loving the colour combo that I instinctively put together: Antique Pink, Eggshell, and Almond Frosting.
These are Premium dye-based inks. They come on a felt pad with an edge-to-edge inking surface for smooth, streak-free blends and a matte, chalky finish.
Key features:
- Effortless blending and colour mixing.
- Quick -dry but still moveable for smooth gradients.
- Beautiful for stencils, backgrounds, water-reactive tricks like smooshing and colour lifting.
- Stamp well
These inks react with water in a way that creates a soft, oxidised, almost milky finish.
CardS Recipe
- Neenah 110lb Cardstock
- Spellbinders Fawn or Portobello Cardstock.
- Butterfly Escapade Embossing Folder and Cutting Dies
- Butterfly Escapade Embossing Folder, Dies and Stencils
- Antique Pink – Lisa Horton Matt Blending Ink Pad.
- Eggshell – Lisa Horton Matt Blending Ink Pad.
- Almond Frosting – Lisa Horton Matt Blending Ink Pad.
- Ochre Matt Blending – Lisa Horton Matt Blending Ink Pad.
- Handwriting paper cling background stamp by Simon Says Stamp (discontinued) – sorry!!! You can try something like Quilted Hearts Background instead.
- Platinum Metallic Ink
- Cream Puff Embellishments
Milky Mist Embossing Technique
This technique involves multiple passes through the embossing machine. Depending on the look you want to achieve, you will emboss the piece 2, 3, or 4 times.
- 2 passes – Ink Only first, then ink and water.
For a more distressed Milky Mist effect with stronger definition - 3 passes – Ink and water first, then ink only, then water only.
For a softer look where the ink blends more into the paper, creating a dreamy background! - Additional Pass – if you want to include the optional stamped layer for added detail
Each additional pass softens the ink and enhances that milky, diffused finish.
Step by Step
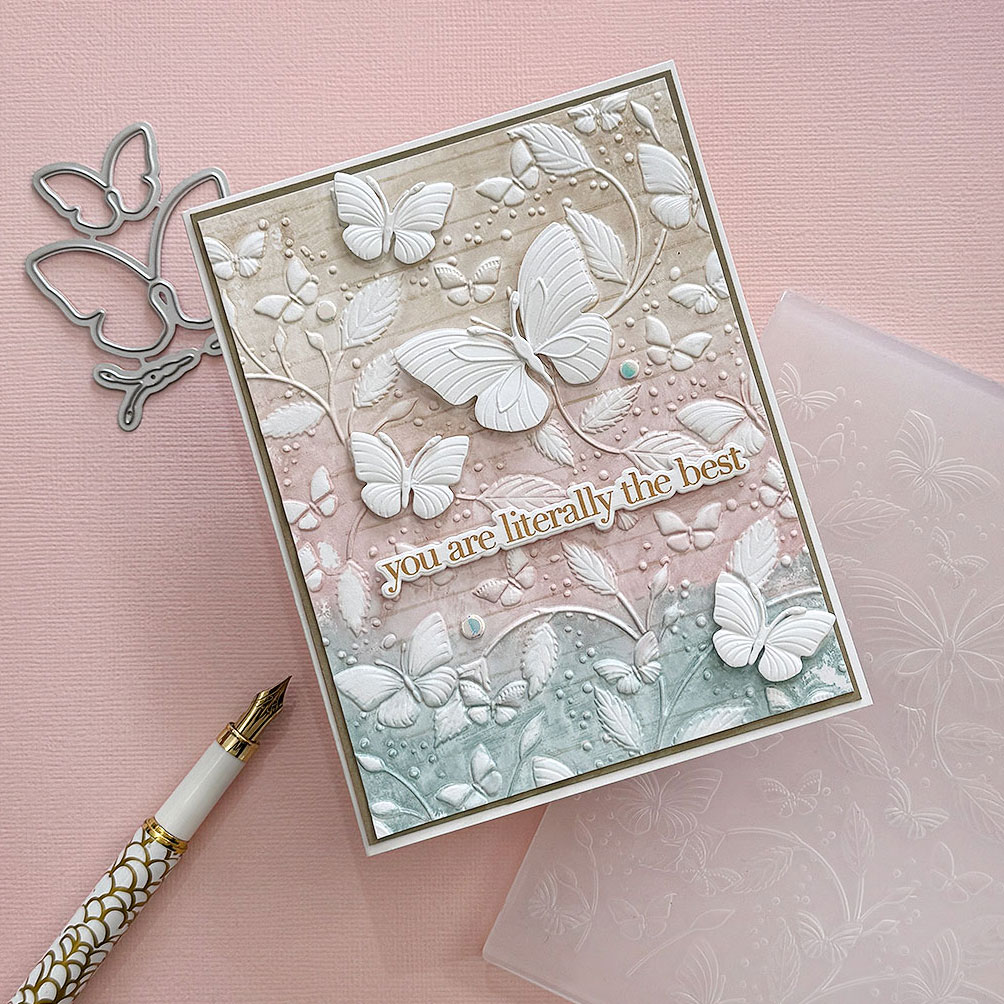
For this technique, I used Lisa Horton inks on Neenah 110 lb cardstock and the Butterfly Escapade Embossing Folder and Cutting Dies.
The soft, milky look develops as the inks react with water and continue to move during repeated embossing.
Step 1
Apply Lisa Horton ink directly onto the flat side of the embossing folder (the side without the raised pattern).
Start with the lighter ink colours first to avoid contaminating your ink pads with darker shades.
There is no need to be too precise. Add the colours where you want them and allow some areas to overlap naturally.
You also do not need to go over areas that are already covered with ink. Simply apply the colours close to each other, and the water will soften and blend the seams for you.
Step 2
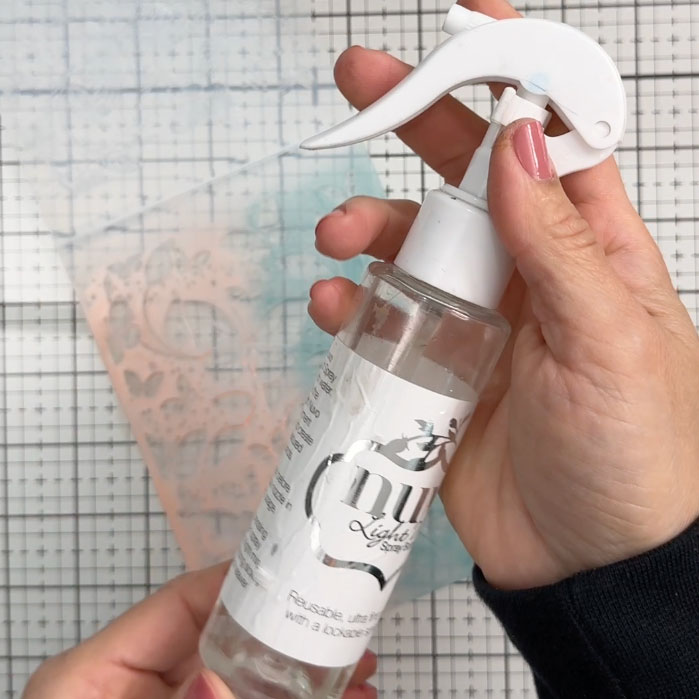
Option 1. Lightly mist the ink applied over the embossing folder with water, just enough to get it moving. Avoid over-spraying, as too much water can create puddles in the debossed areas of the embossing folder.
Place a piece of smooth light cardstock inside the inked embossing folder and run it through your embossing machine as normal.
Option 2. Instead of spraying the inky side of the embossing folder with water, you can emboss the paper straight away to transfer the ink.
Place a piece of smooth light cardstock inside the folder and run it through your embossing machine as normal.
In the next step, you will apply water to the remaining ink in the embossing folder and run the same piece of cardstock through again.
Then, proceed to Step 3.
Step 3
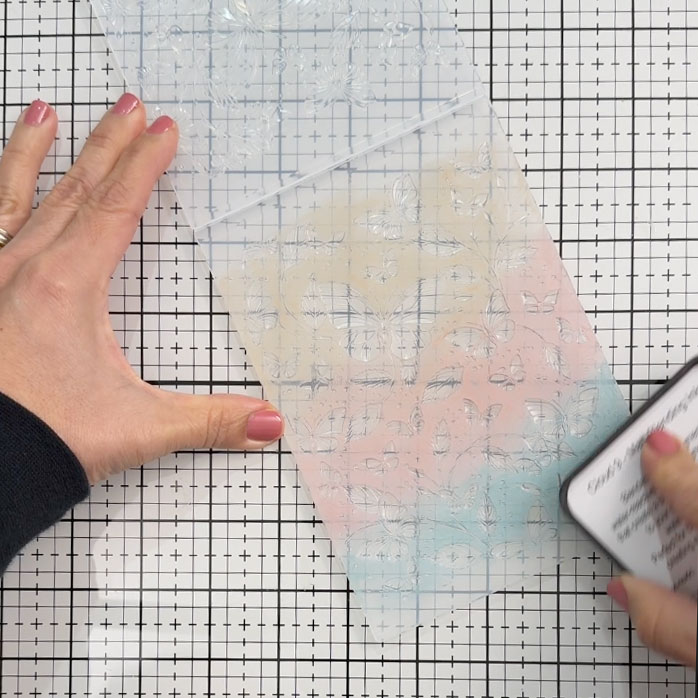
Run the cardstock through the embossing machine a third time – spraying water to the embossing folder -NOT the paper.
Take your already embossed piece and place it back into the embossing folder, making sure it is lined up with the embossing folder.
Now, lightly mist the embossing folder with clean water only.
Spray just enough on the embossing folder. Do not oversaturate or create puddles.
Close the folder and run it through your embossing machine again.
This pass with water only reactivates the leftover ink and creates the soft, milky, diffused effect.
Allow to dry naturally!
At this stage, you should start to see the inks soften and oxidise, creating that dreamy, chalky, milky look.
Step 4 – Optional Layered Stamping
For extra detail, you can add a stamped layer.
Choose a geometric background stamp with a small pattern. Avoid fonts or words, as they will transfer in reverse.
Apply a medium tone ink to the stamp and press it firmly onto the flat side of the embossing folder (the side without the raised pattern).
Stamp carefully and steadily. The stamp may slide on the plastic surface, so keep a firm, controlled pressure to get a clean impression.
Place your embossed piece back into the folder, again aligning it exactly with the embossed image.
Run it through your embossing machine once more.
Voilà!
You will get a softly layered, detailed background with that dreamy, milky finish.
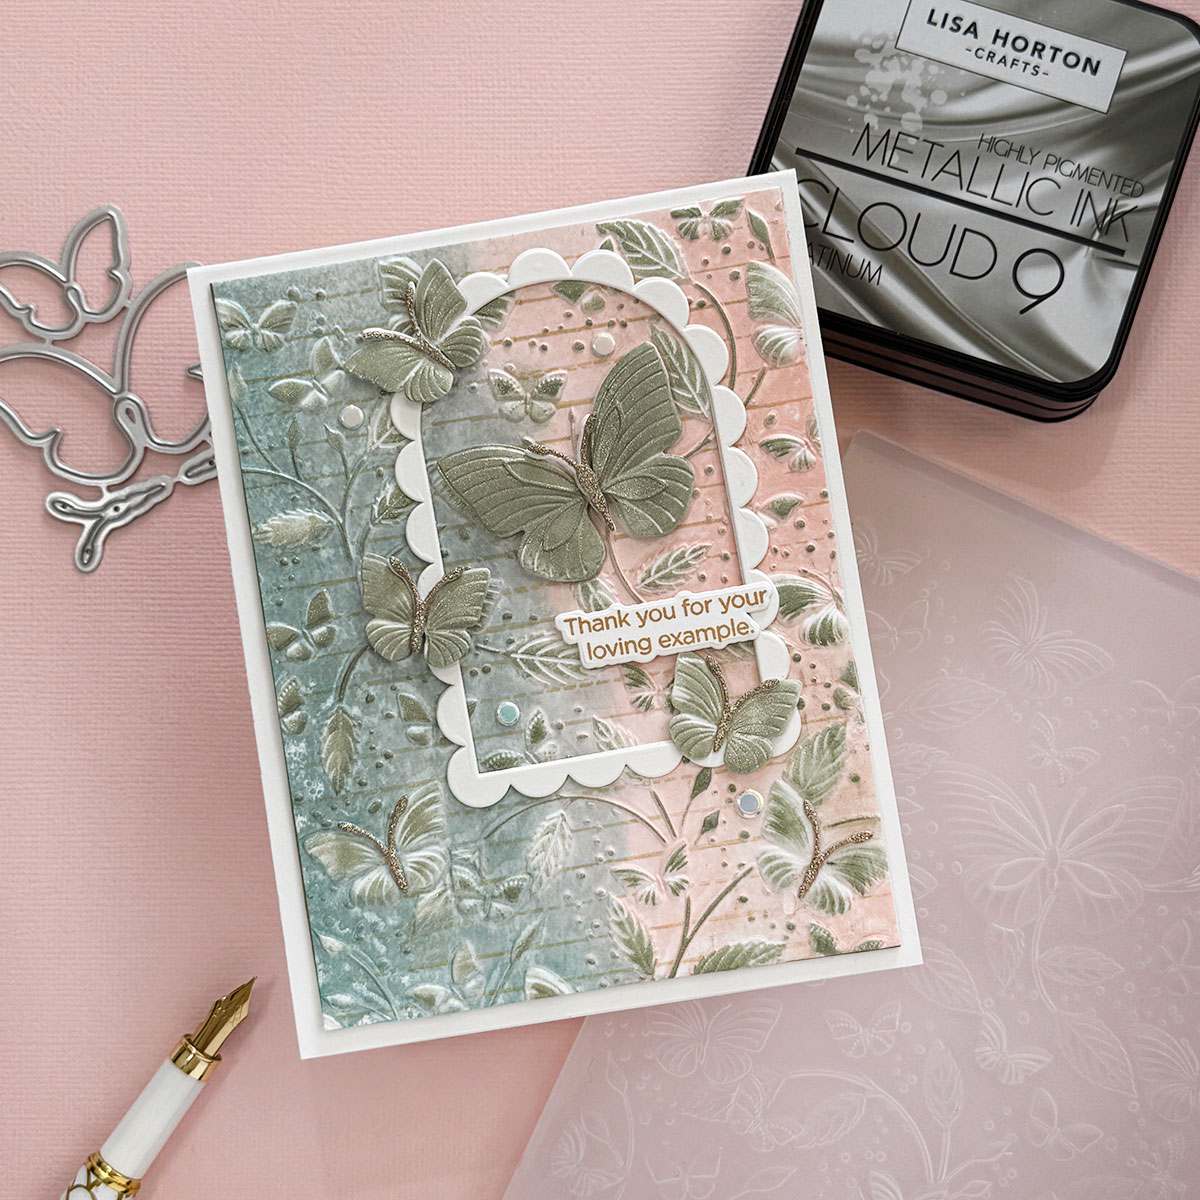
For a Twist, Add Gold Ink
I wanted to test the waters, so I added gold ink over this card sample to give you extra ideas.
To do the embossing, I used Painted Egg Shell and Coral Beach, and to highlight the raised areas, I used Patinum Metallic Ink.
Pictures don’t do it justice!
That’s all for today.
Thanks for stopping by.
X Bibi
Thirsty for More?
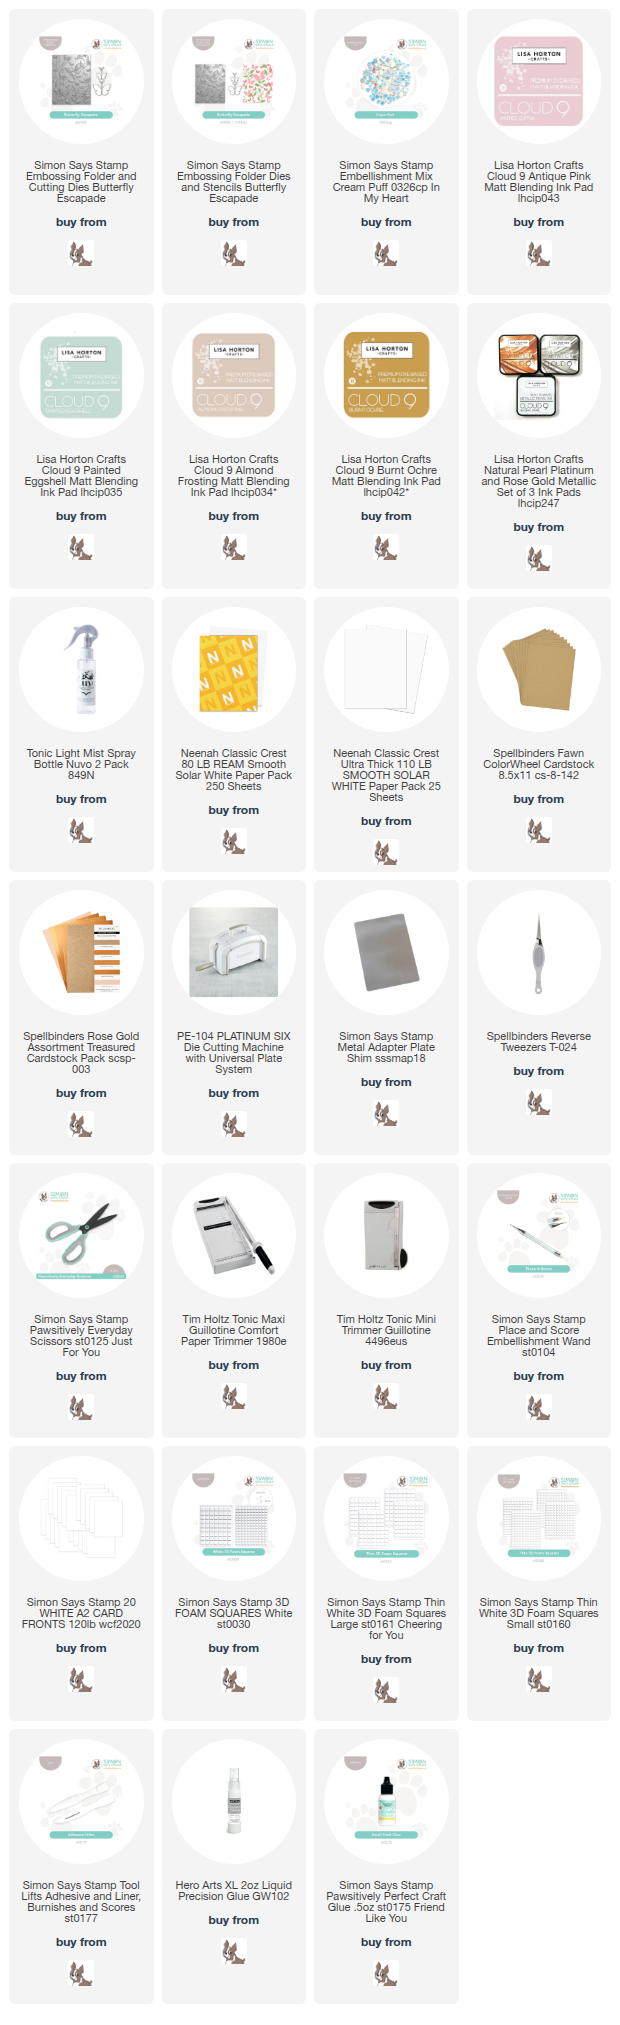
Supplies
Affiliate links apply at no extra cost to you. Thanks for your support.


These are absolutely gorgeous! Can you get the same effect using other dye inks?
Beautiful cards!
😍😍😍 Beautiful