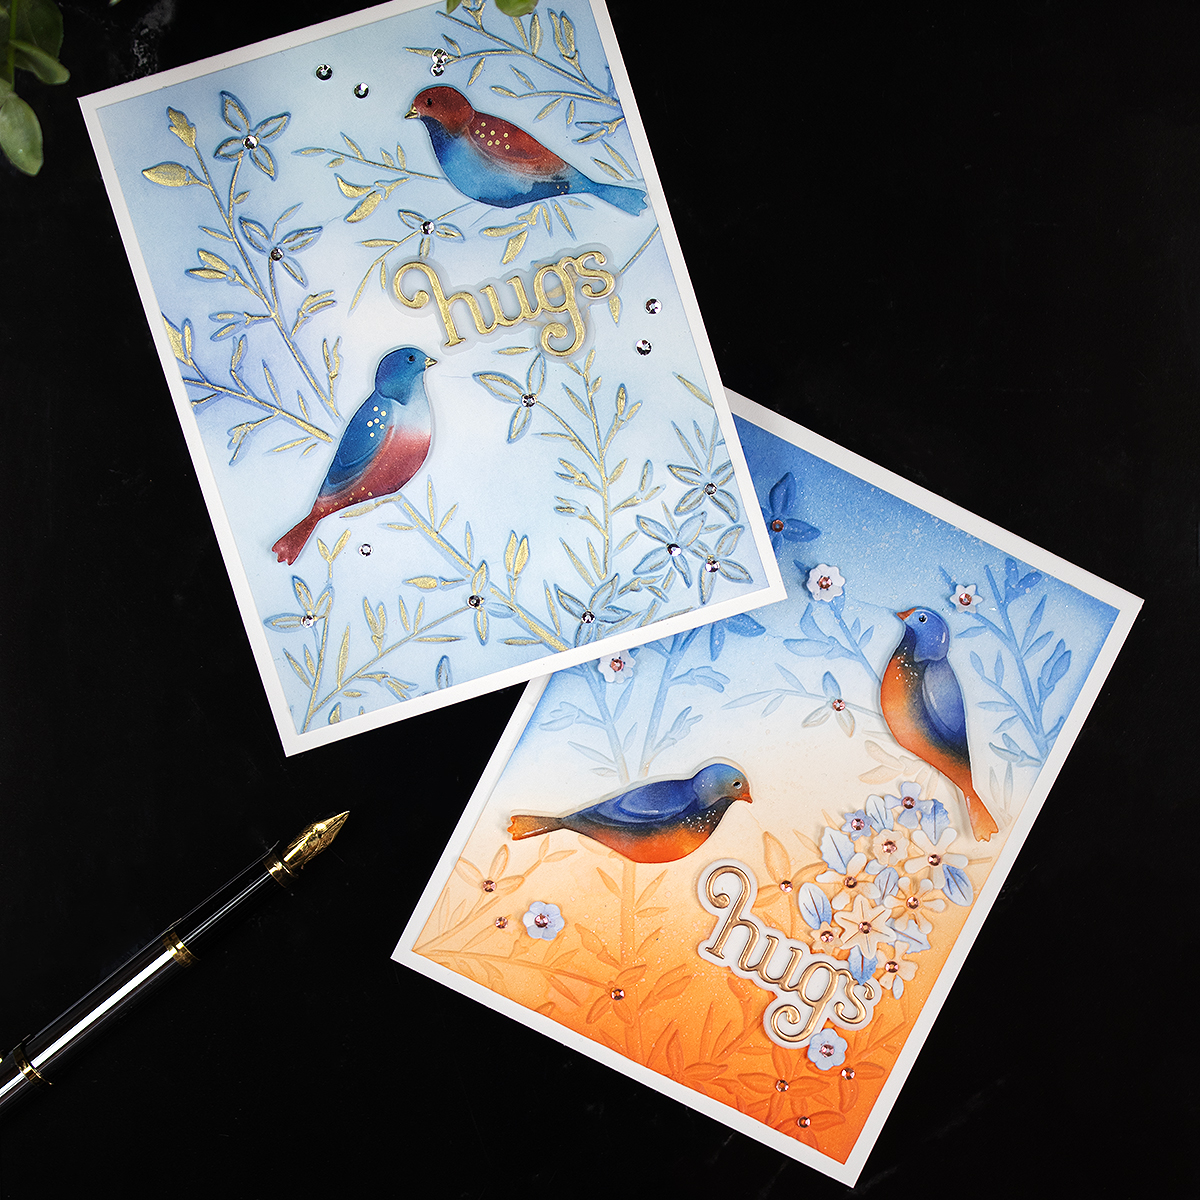
Hello, Crafty Friends! I’m so thrilled to share some exciting cardmaking inspiration featuring the new Bold Bird Branches Embossing Folder and Dies, alongside the delightful Giggle Hugs Wafer Dies.
These products are included in the latest Simon Says Stamp release called Moments in Time, and today I’m joining an Instagram hop filled of ideas and inspiration for you.
Video
Ready to dive into creative cardmaking? Let’s make some magic!
CardS Recipe
- Neenah Classic Crest Ultra Thick 110lb
- Spellbinders Rose Gold Cardstock
- Bold Bird Branches Embossing Folder and Dies
- Giggle Hugs Wafer Dies – die cut sentiment
- Sweet Tiny Flowers Wafer Dies – for the blue-orange card
- Simon Says Stamp Pawsitively Perfect Craft Tacky Mats – to secure the die-cust in place wehn inking.
Inks Used
Blue and Orange Card – Altenew Fresh Dye Ink:
Blue/ Red Card Simon Says Stamps Pawsitively Saturated Inks:
Add Splatters Also
The Process
This is a 4 steps process : Ink- Emboss- Ink Again – Emboss Again!
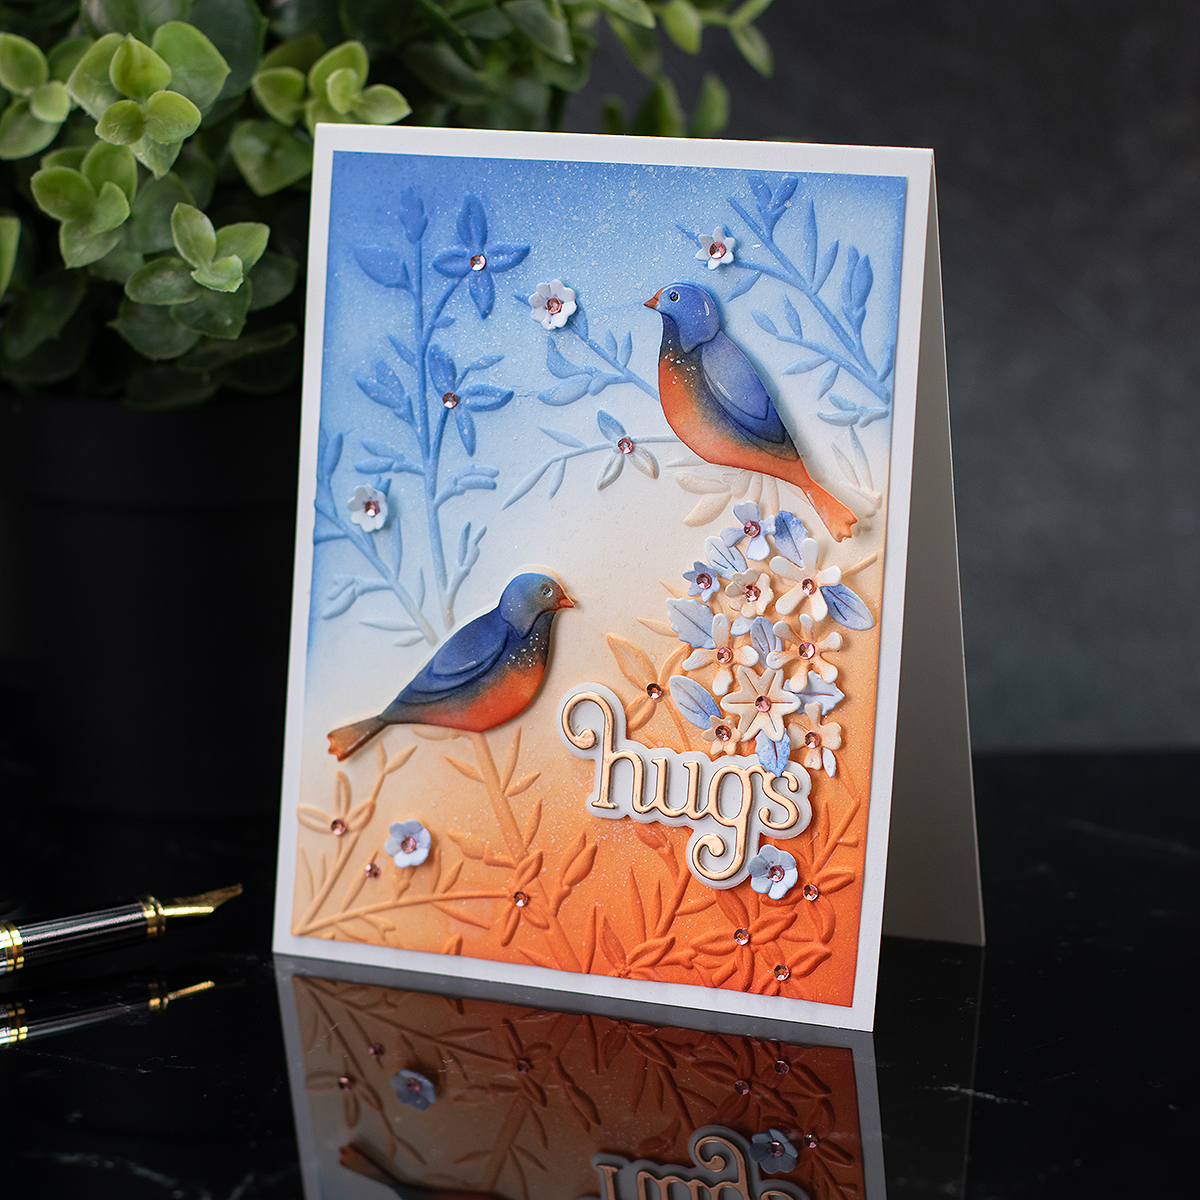
- First, I start by applying two different ink colours over the background panel corners to set the scene for the card.
- Then, I embossed the paper using the Bold Bird Branches Embossing Folder to create that stunning raised texture.
- To make the embossed details pop, I grabbed a flat blending brush and added another layer of ink over those raised areas.
- For texture, I also added splatters to the panel with a Sparkle Base and Spellbinders Splatter white.
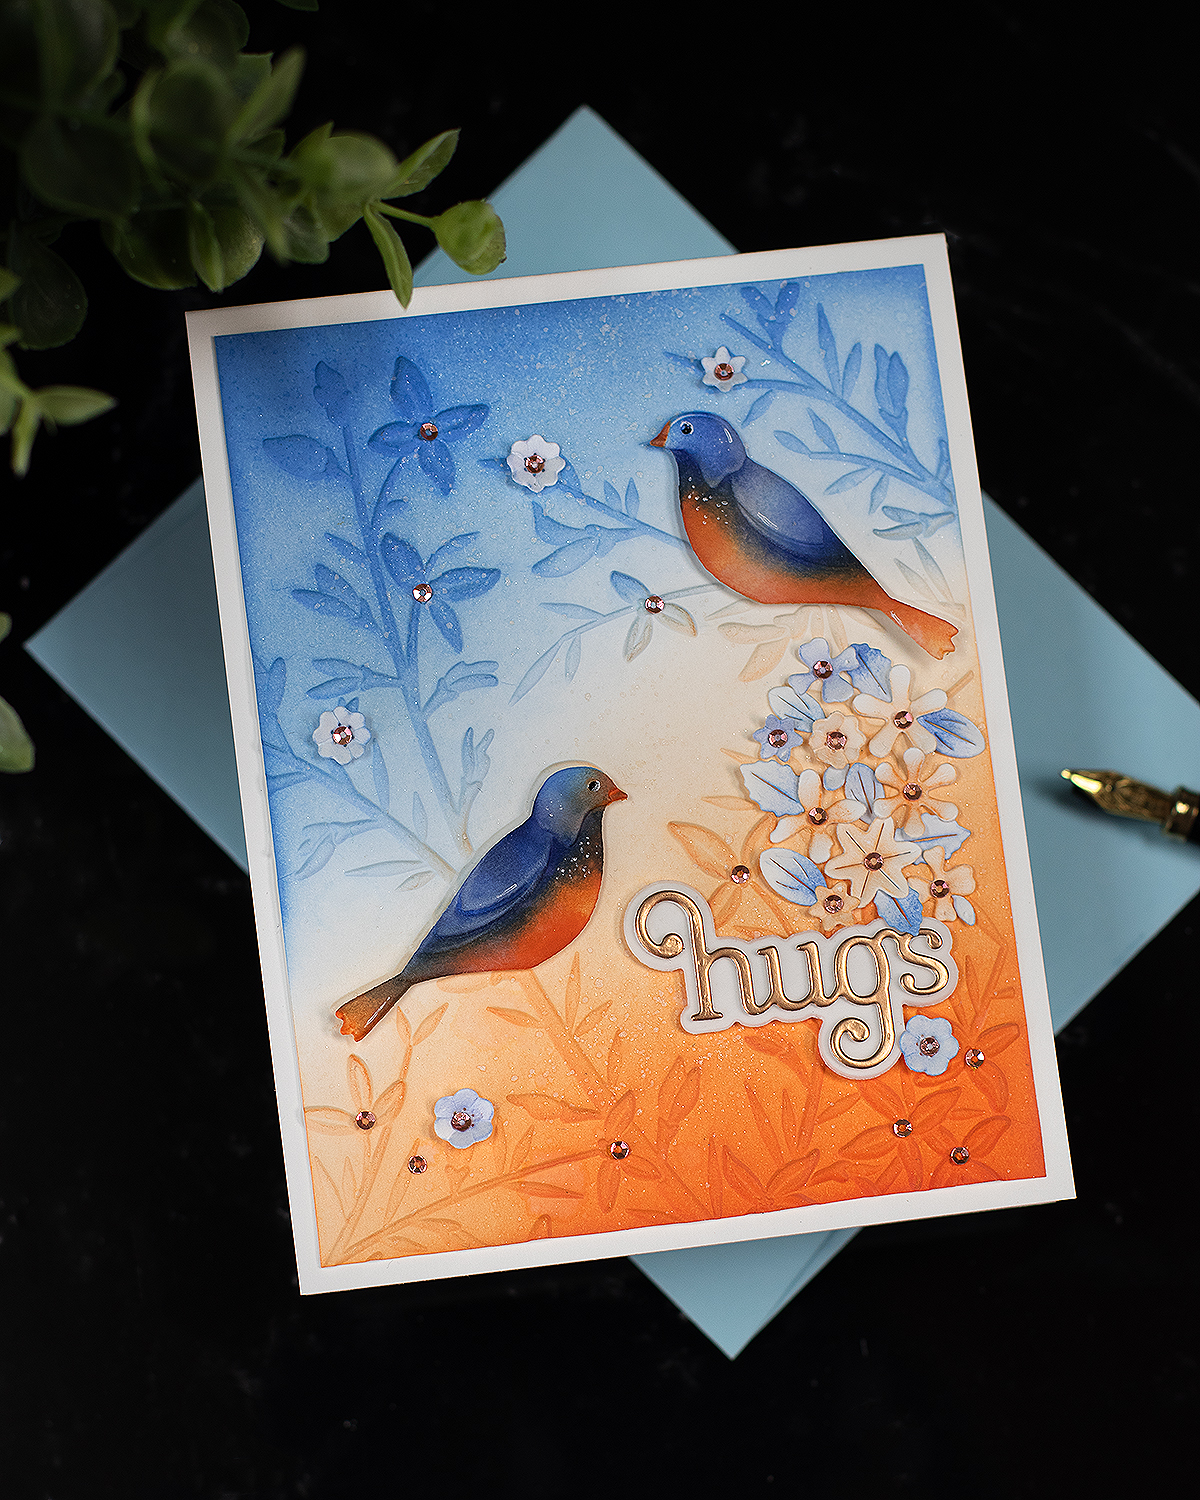
- Next, I die-cut the birds from white cardstock and brought them to life with the same ink colours used for the background and Altenew Detailed Blending Brushes.
I also added shading with alcohol markers (Altenew Woodland Garden Set L – R916, R912, R111) . I blended more ink over the top and I finished by passing the Altenew white ink pad over the raised areas for soft highlights.
Note: *** To make colouring the small pieces easier, I place them on a Simon Says Stamps Tacky Mats.
- In addition to this, I also added little details using a Sakura gel white and black pens.
- Next, I embossed the birds images again!
- The fun part is lining up these inked die-cuts with the embossing folder again to give them that beautiful, matching texture.
- I using dimensional foam pads to stick the bird birds on the background, giving them a lovely lift.
- The next step was gluing the panel over a C6/ A2 card base.
- For a sweet finish, I embellished with small floral die cuts made using the Sweet Tiny Flowers Wafer Dies .
- I also used Giggle Hugs Wafer Dies for the sentiment, and I die-cut it out of Spellbinders Rose Gold Cardstock to match the orangy background.
- Lastly, don’t forgetto add some blink. I used gorgeous Altenew Stellar Peony Gold sequins.
Gold Highlighted EMbossing
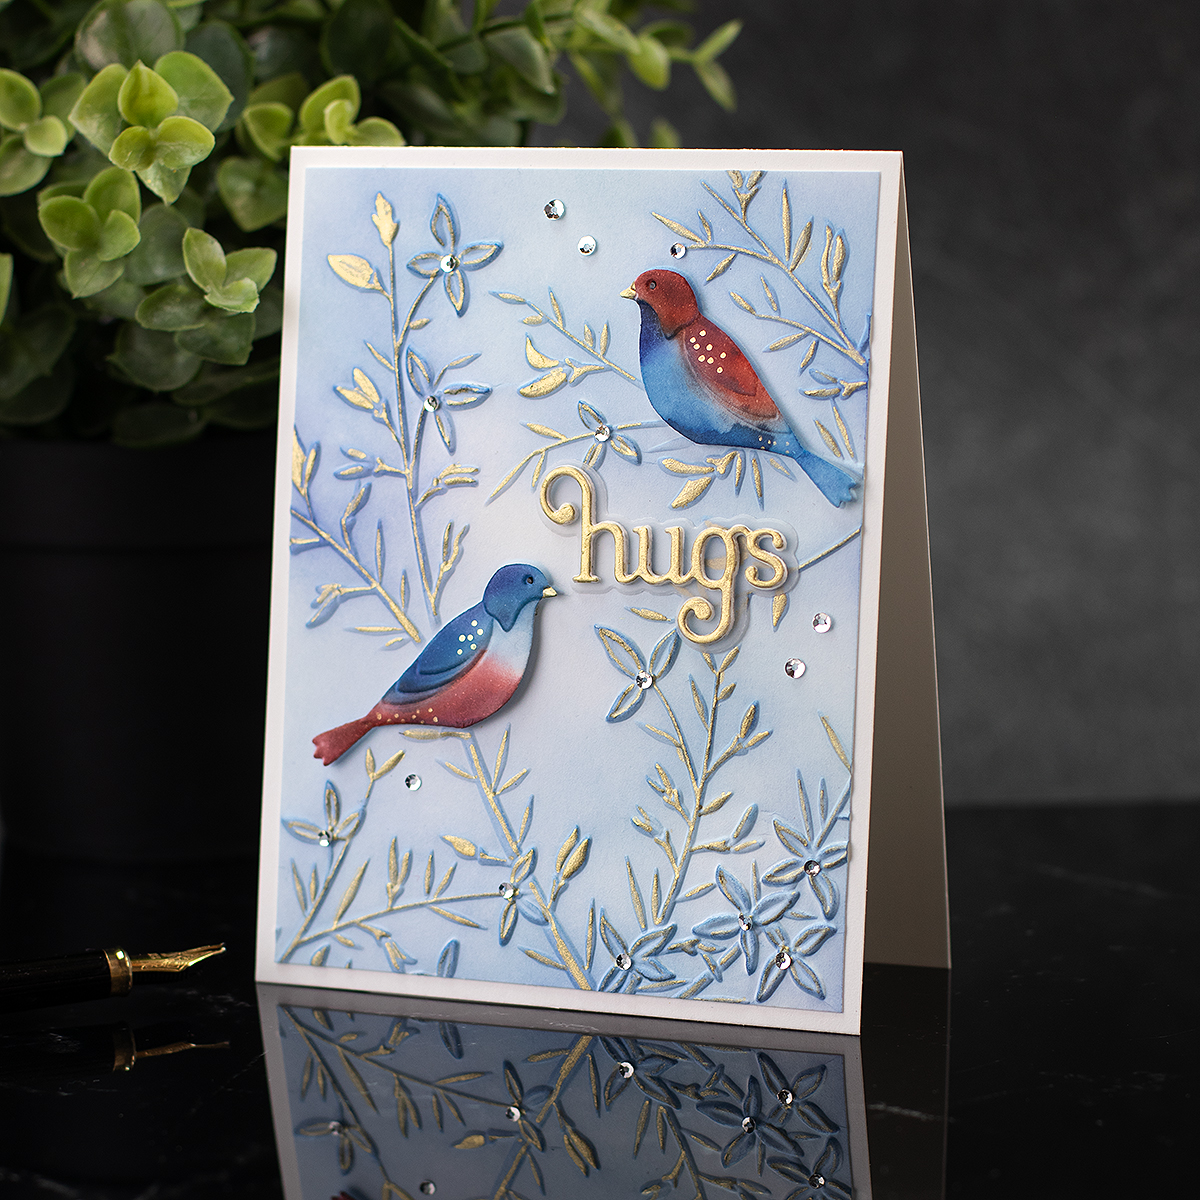
- For this version, I began by applying blue ink that was still on my brush to the panel, creating a soft, ethereal wash.
- Next, I embossed the panel using the Bold Bird Branches Embossing Folder.
- The real magic happened when I grabbed an Altenew gold marker and highlighted all the raised areas.
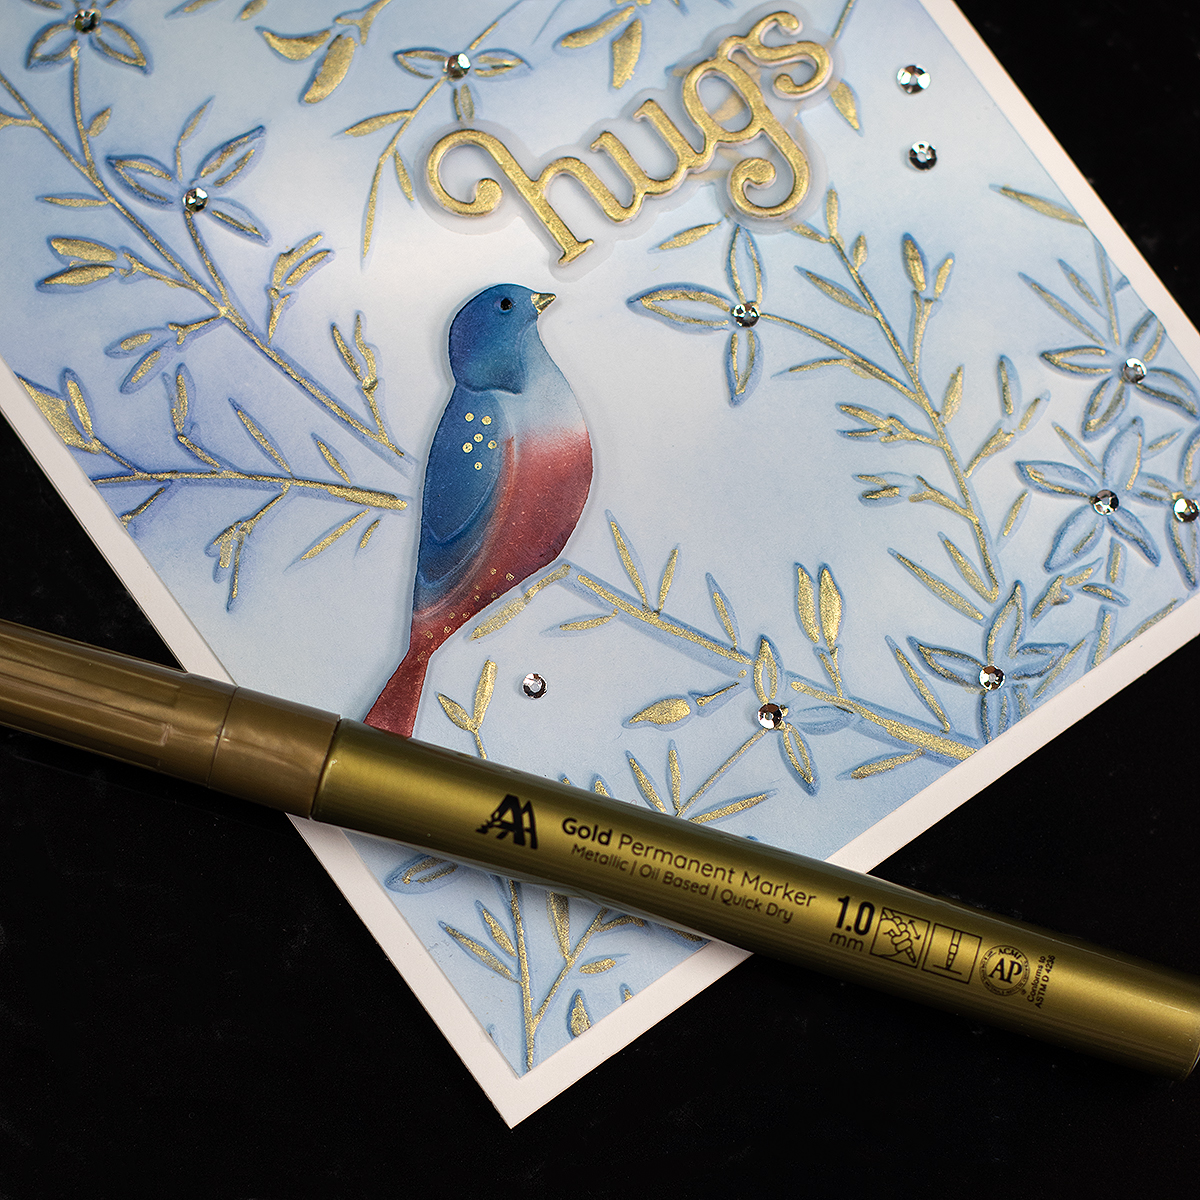
These markers are simply perfect for adding intricate detail to the embossed image. Super easy to use because they were designed to add accents to tiny wax seals. The gold colour it produces is truly stunning!
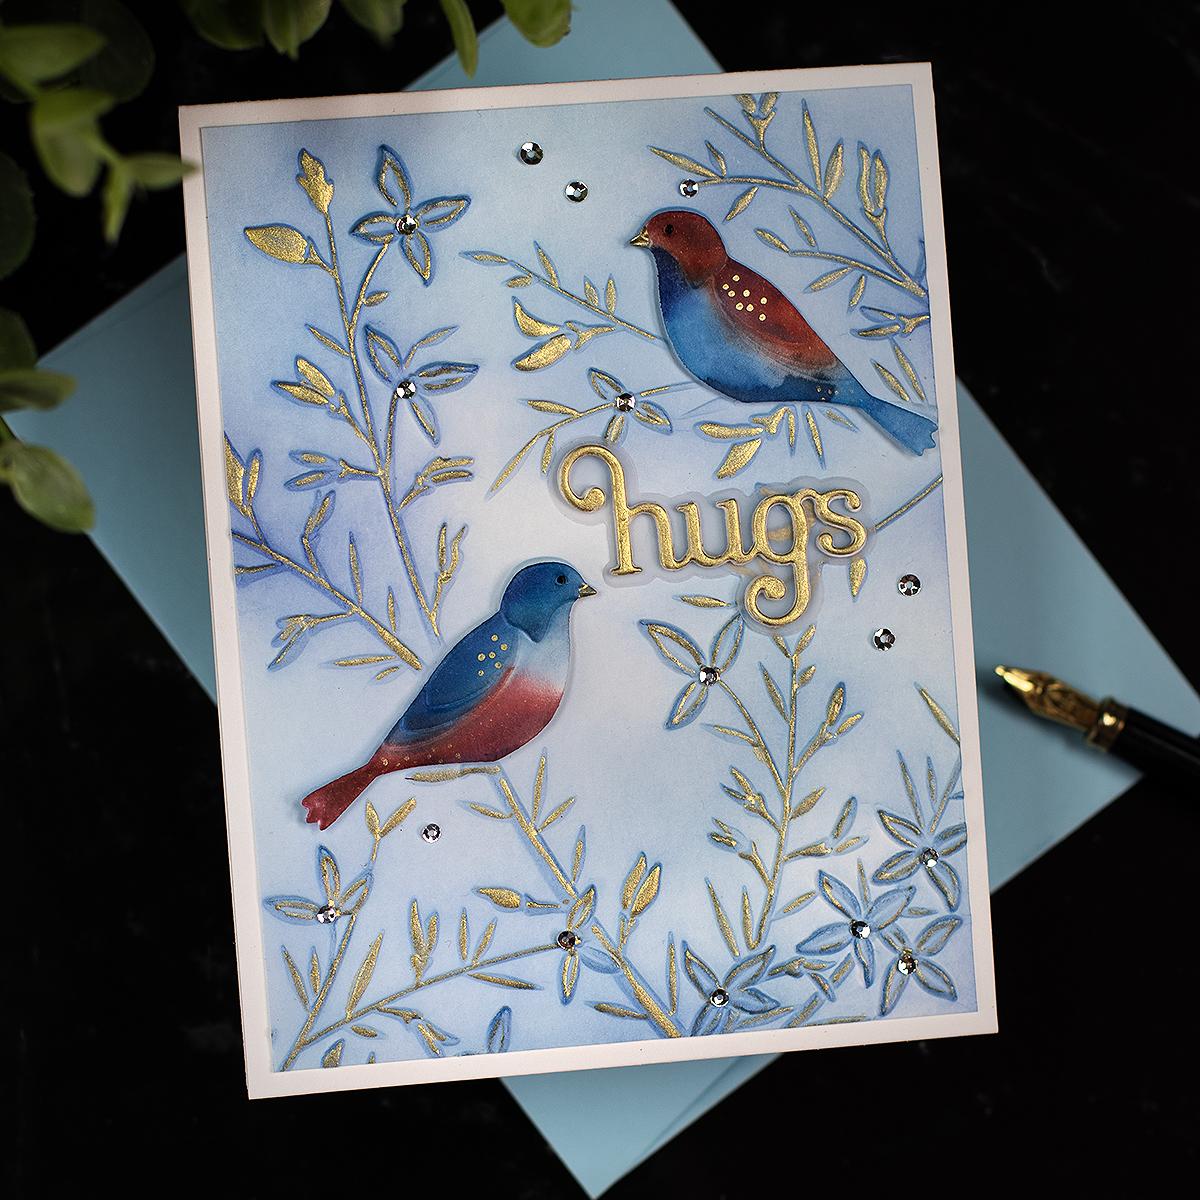
- After that, I die-cut and coloured the birds, then embossed them for a matching texture.
- To finish, I added delicate accents using my Sakura white, black, and that gorgeous gold marker, bringing all the elements together beautifully.
- For blink, I used Altenew Stellar Sequins Dazzling Diamond
That’s all for today.
Thanks for stopping by.
X Bibi
Thirsty for More?
Explore more embossing folders inspiration here
Supplies
Affiliate links apply at no extra cost to you. Thanks for your support.


Leave a Reply