Hello! I couldn’t resist using my Split Card Design – Door with the new Altenew Dreamy Dahlia Project Kit.
I’m also featuring new Altenew Fresh Ink colours…
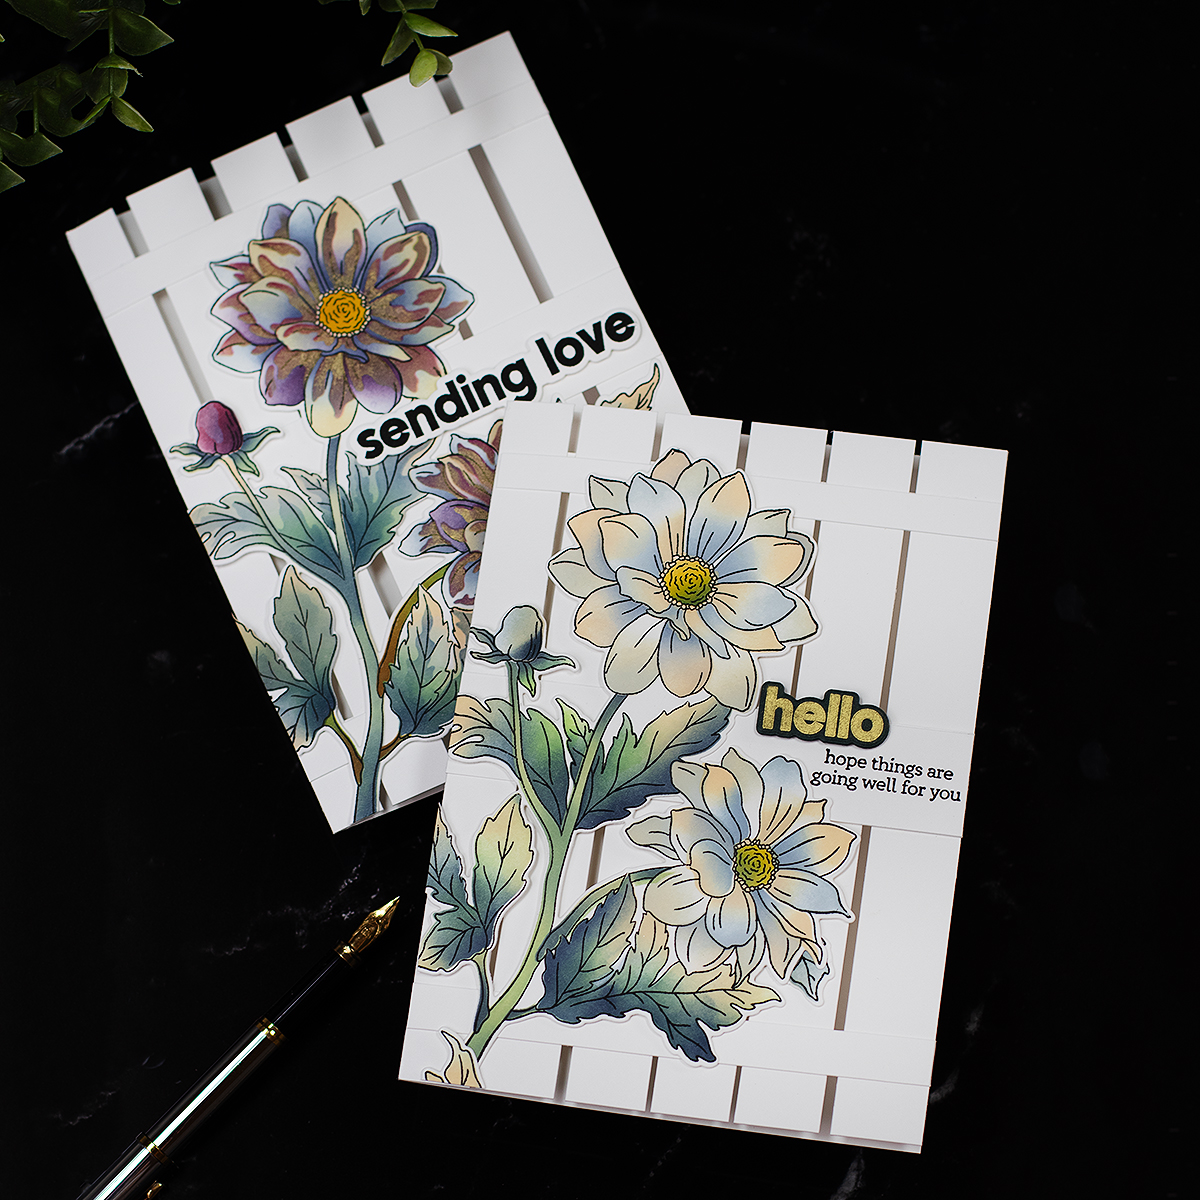
Dahlia – Door Split Cards
So these cards measure 7″x 5″.
The floral image is just about 6-1/2″ tall and 5″ wide.
Depending on how you lay it down on the panel you can have room to add a sentiment.
In the video below I show you how I do it
Altenew Dreamy Dahlia Video – Available soon
Door – Split Card Base Parts
- 5 x 7 inches card base
- Two 1″ x 5″ inches cardstock pieces.
- Four 1/4″ x 5″ inches cardstock pieces.
The Process
- To make this type of card you will need an A 4 sheet of Thick Cardstock ( 300 grams)
- Use any precision paper trimmer to cut the paper.
*** I use the Tim Holtz Guillotines or Spellbinders Trimmer. - First, you will need to cut and fold a 5″x 7″ inches card base.
- Cut stripes each 3/4″ inches along the card base front panel.
***You should get 6 stripes but you will only use 5. - Place the card base with the trimmed panel facing up (towards you).
- Then, align the paper stripes over the card base surface to shape the door.
You can hold the paper with tape as I show in the video here if you want to. - Next, glue a 1″ x 5″ inch paper stripe across the panel centre to connect the vertical stripes.
- Once is glued in place, open the card base and glue another stripe of paper behind it to give stability.
***On this central panel you can stamp a sentiment later on. - Now, use the 1/4″ x 5 ” paper stripes to reinforce the top and bottom parts of the card base.
Glue one piece at the front of the panel and another at the bottom as shown in the video.
To finish this type of card, glue the toppers over.
Make sure the glue or dimensional foam pads used are not shown at the back of the front panel.
DONE!
Altenew Dreamy Dahlia – Card IDeas
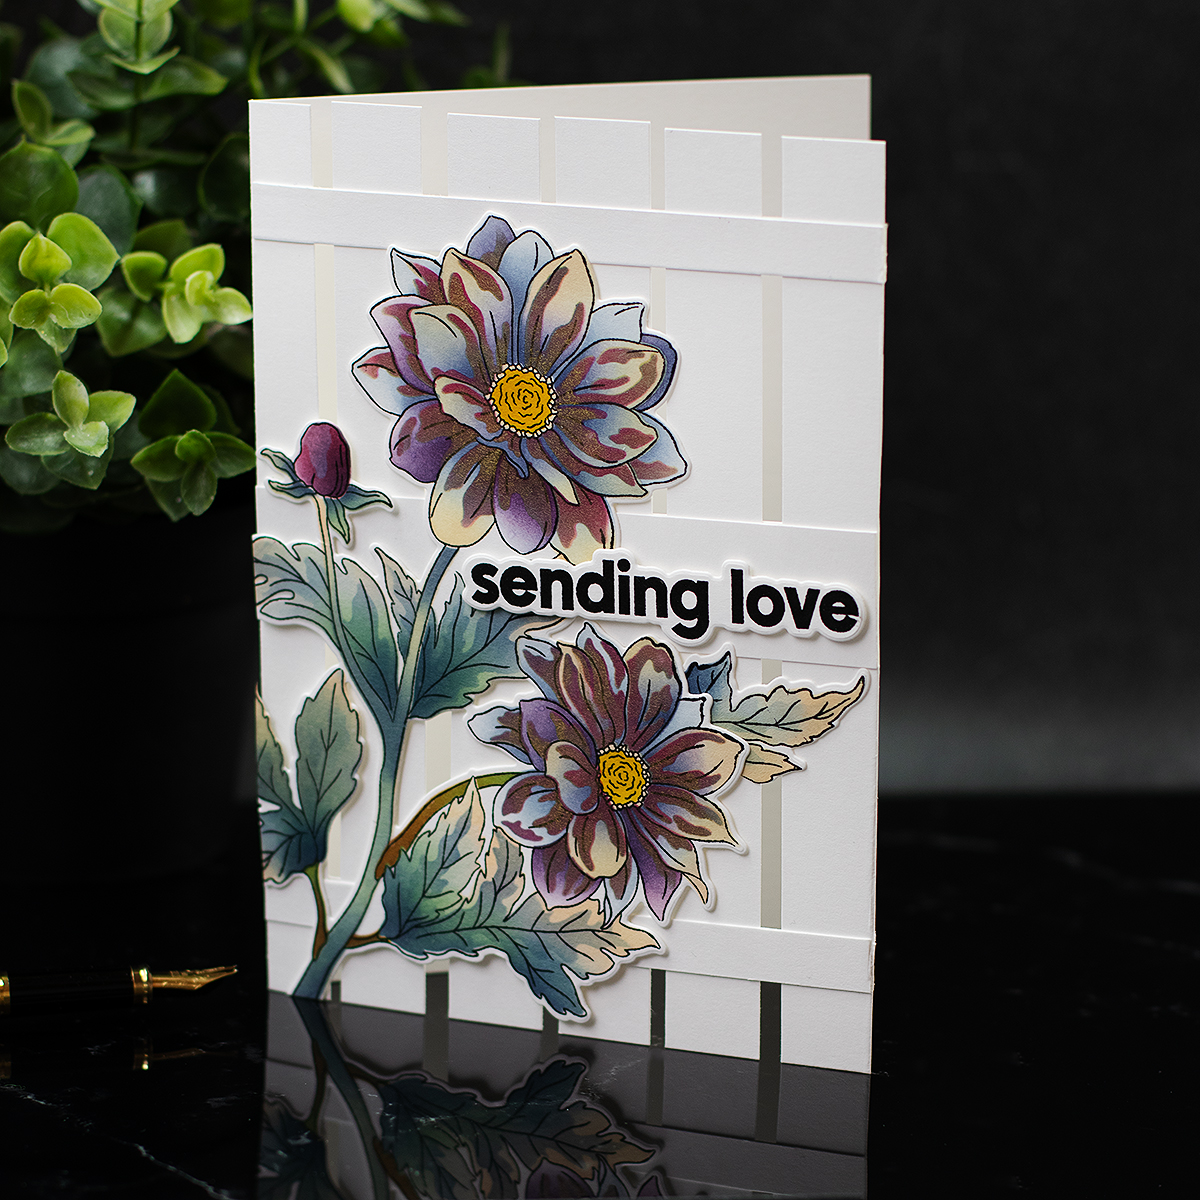
This card measures 5×7 inches and it was the first I made using Dreamy Dahlia Project Kit by Altenew.

It is important to try the supplies at least once to then understand them better.
I loved the way the ink blending was looking.
I mixed: vanilla Cream + new blue shades + a hint of Purple Wine.
Sadly, I messed it up with the last layer of the stencil.
The last layer of ink completely covered the blend you see in this picture.
So I added gold ink to try to soften things up but guess what? It did not work.
This was a good experiment.
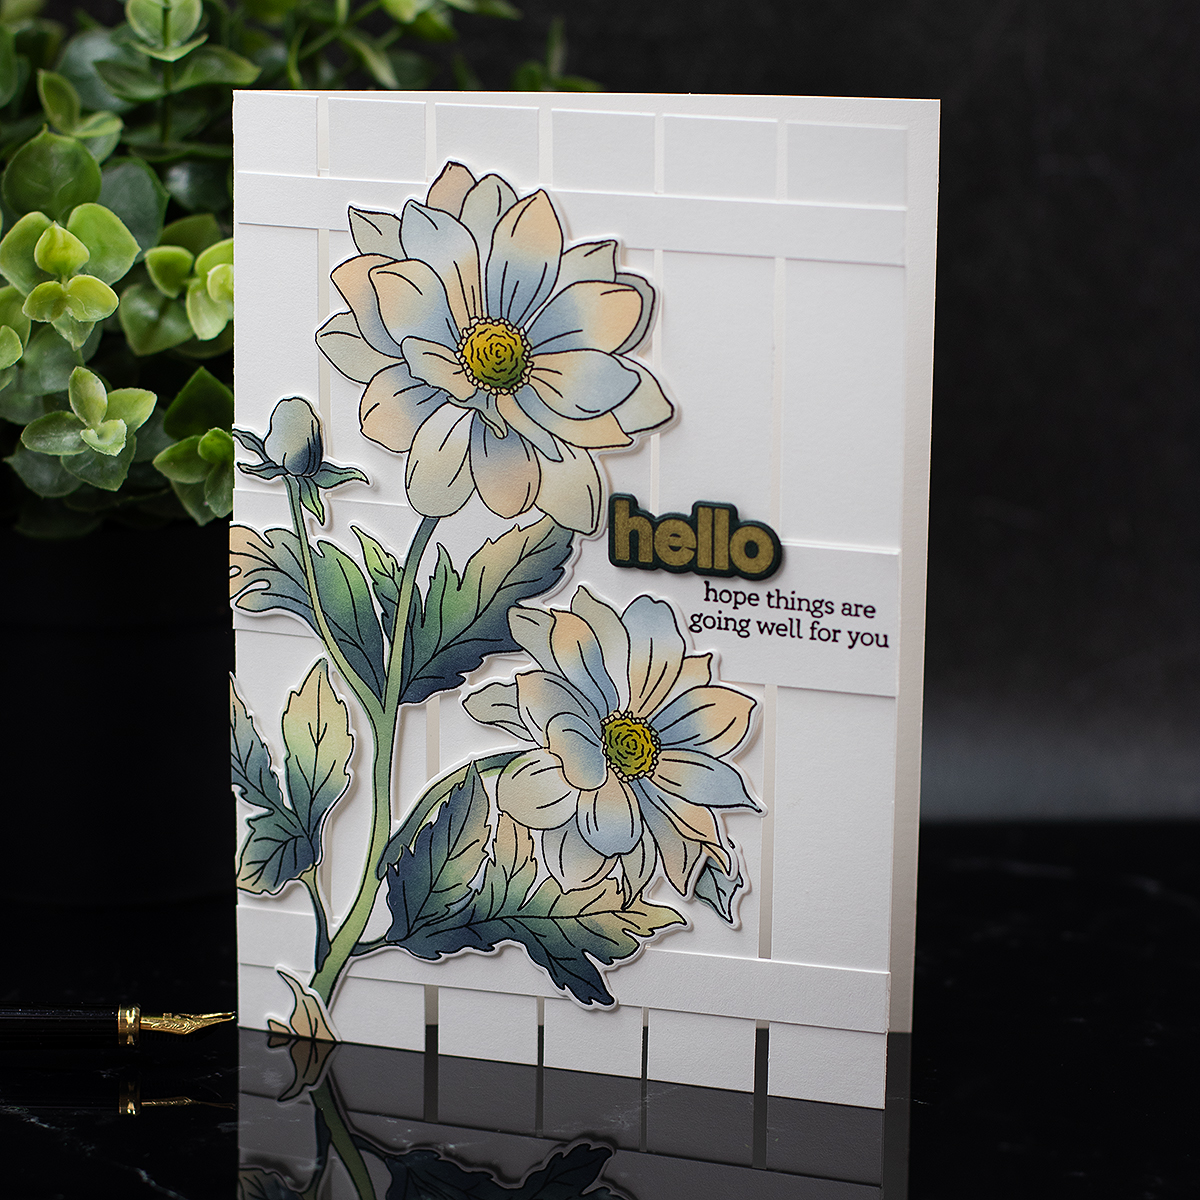
When I was making this first image, I noticed the blend of Vanilla Cream and Misty Morning inks creates a gorgeous soft minty shade.
I also noticed that for the stems we should use a lighter ink colour and by adding darker inks to the leaves, you will add immediate dimension to the image.
Plus, I like the flower without the shadowing provided by the last stencil.
Card Recipe
- Altenew Build-A-Garden Dreamy Dahlias and Add-on Die Set
- Vanilla Cream
- Misty Morning
- Cloudy Sky
- Nimbus
- Dark Night
- Purple Wine
- Antique Gold.
- Firefly.
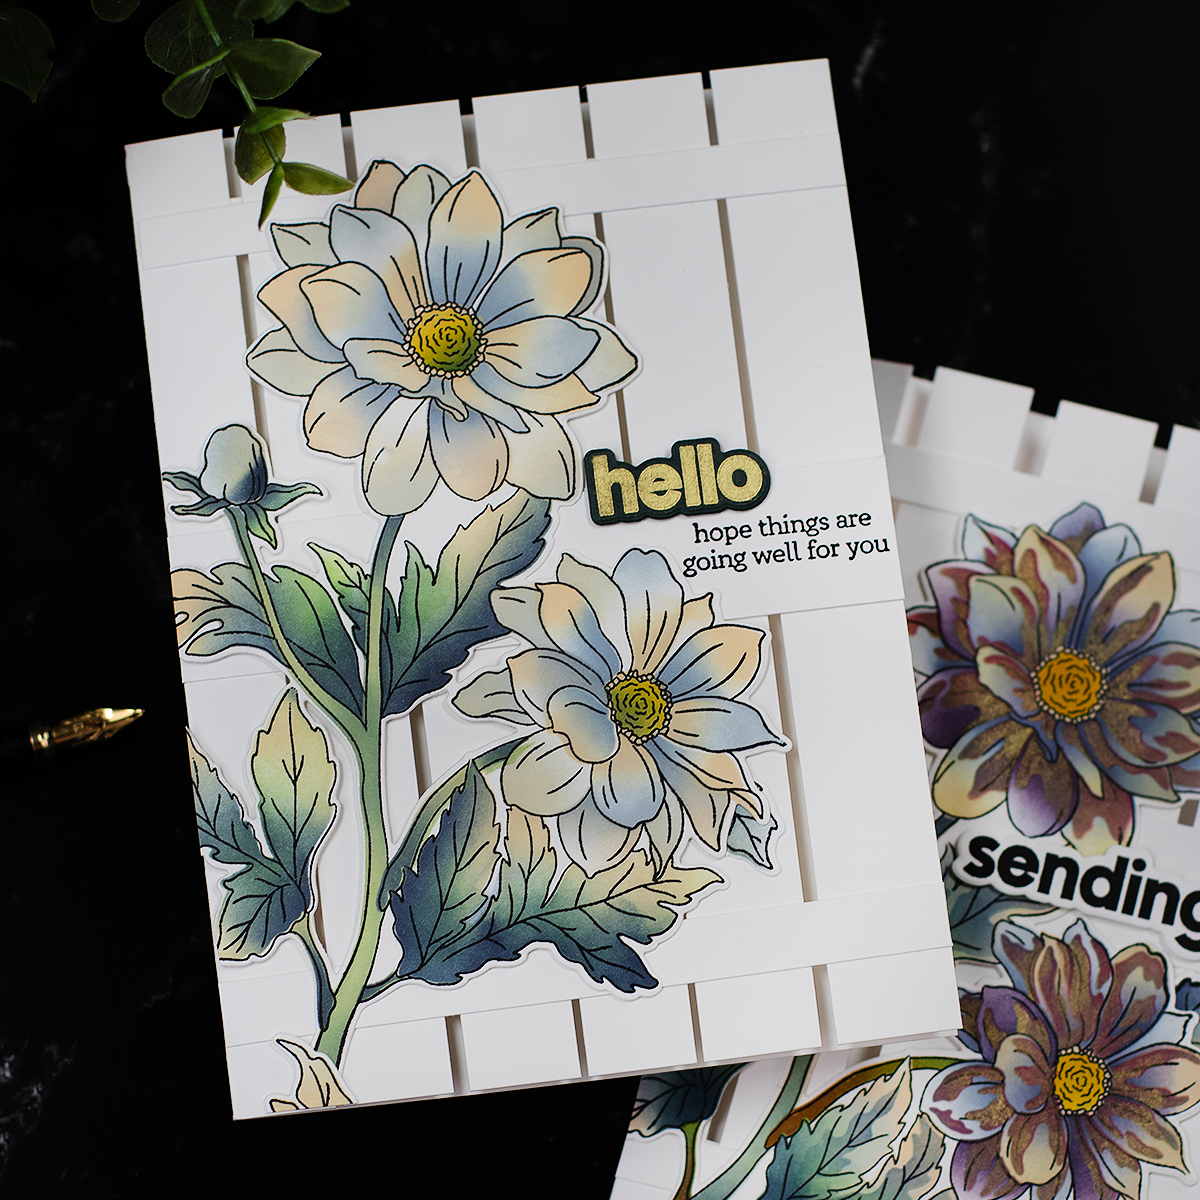
So when I was creating this second image, I knew better what I wanted.
I used fewer ink colours and I blended them differently.
- I blended Vanilla Cream and Misty Morning at the edges of the image when using stencil # 1.
- When using stencil #2, I applied Vanilla Cream at the edges and blend Misty Morning from the centre.
- Then, I did the opposite when using the stencil #3 and so on.
- This allowed me to add some movement to the image
- Not all the petals look the same even though I used the same ink colours.
- I also added a hint of Nimbus or Dark Night here and there to add shadows and contrast.
Card Recipe
- Altenew Build-A-Garden Dreamy Dahlias and Add-on Die Set
- Vanilla Cream
- Misty Morning
- Cloudy Sky
- Firefly.
- Antique Gold ( The Hello stamped sentiment)
- Obsidian – Black Ink ( stamped outlines and sentiment)
Instagram Hop + Giveaways

To celebrate the December release, @altenewllc is giving away a $100 Gift card to 1 winner and $50 Gift cards to 4 winners over the Instagram Hop here >>
That’s all for today.
thanks for stopping by.
X
Bibi
Thirsty for More?
Supplies
Affiliate links apply at no extra cost to you. Thanks for your support.


Leave a Reply