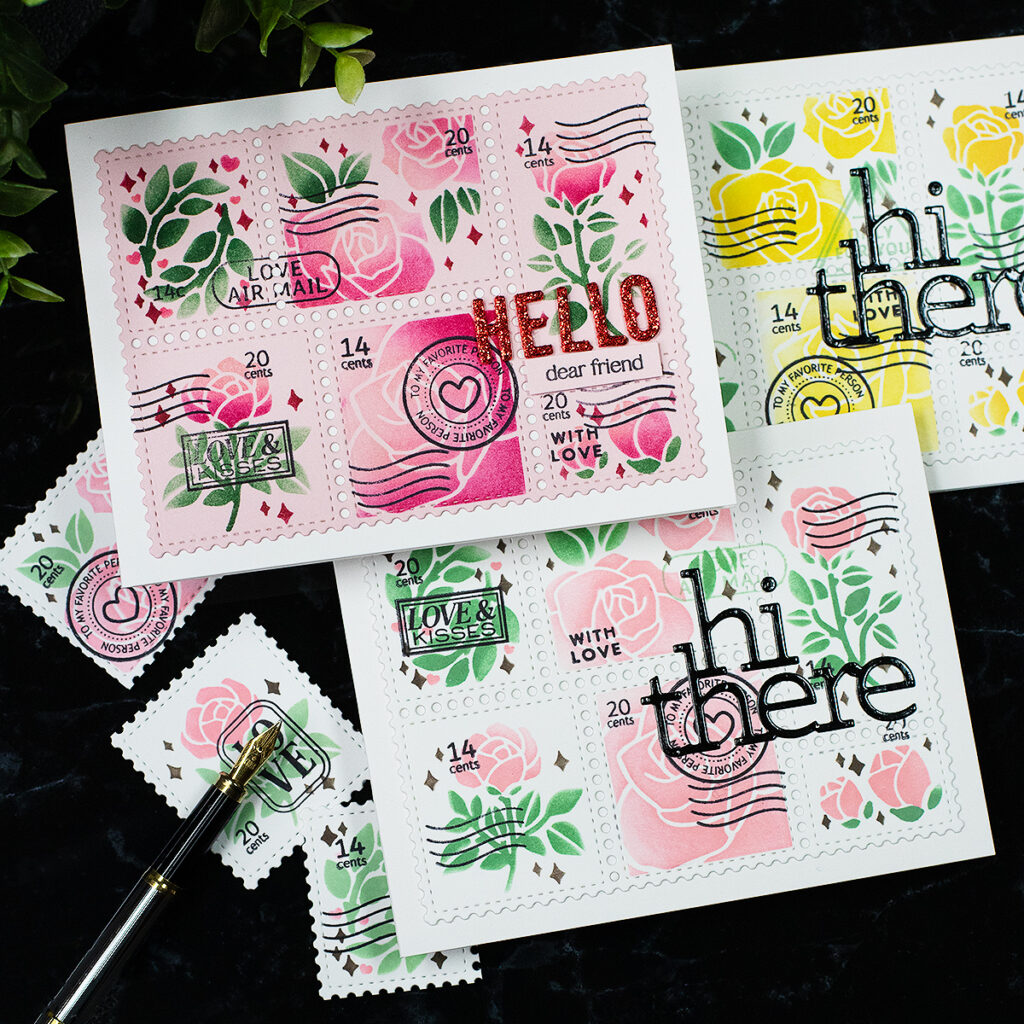
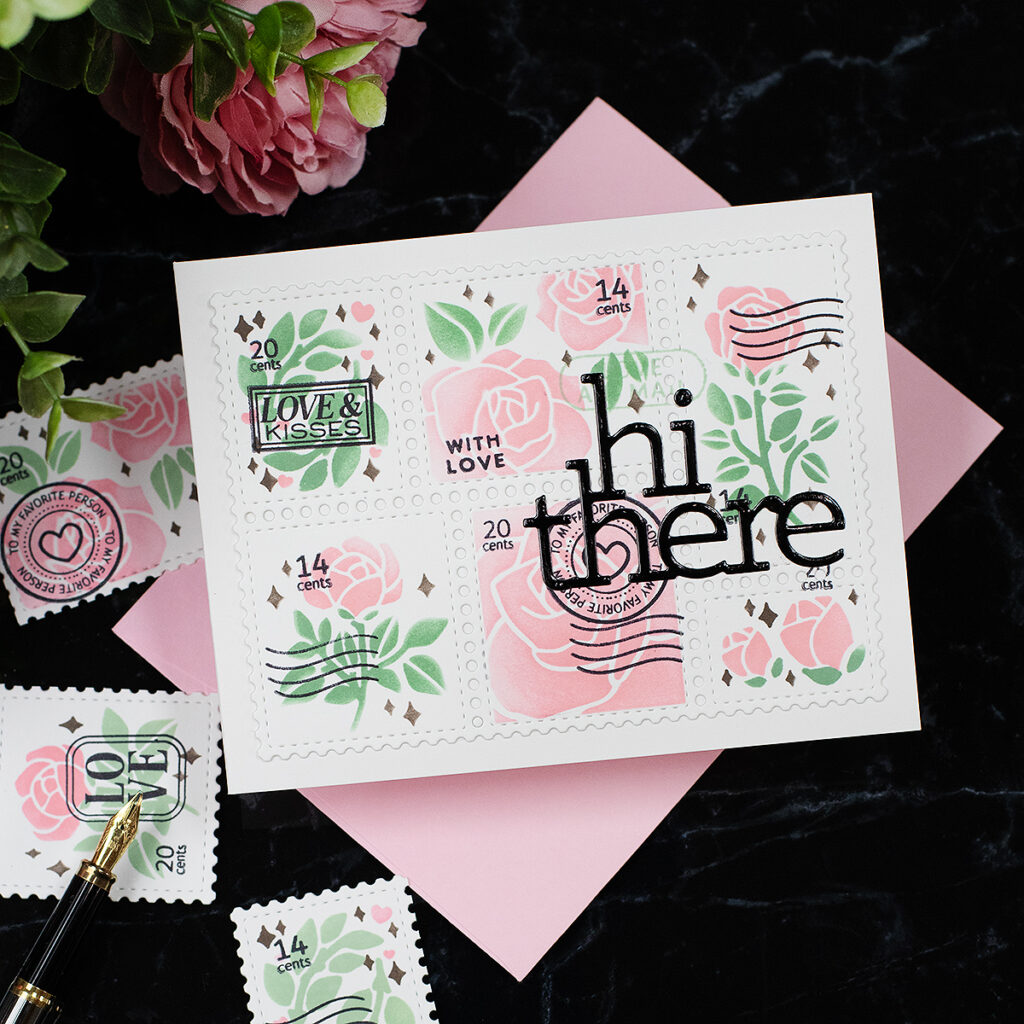
Hello there! I’m in love with the Postage Collage Line by Waffle Flower … It is absolutely gorgeous.
This line of products includes themed stencils and stamps, plus a coordinating die set that will cut all the little labels created using different stencils.
There are 4 previous Postage Collage Releases :
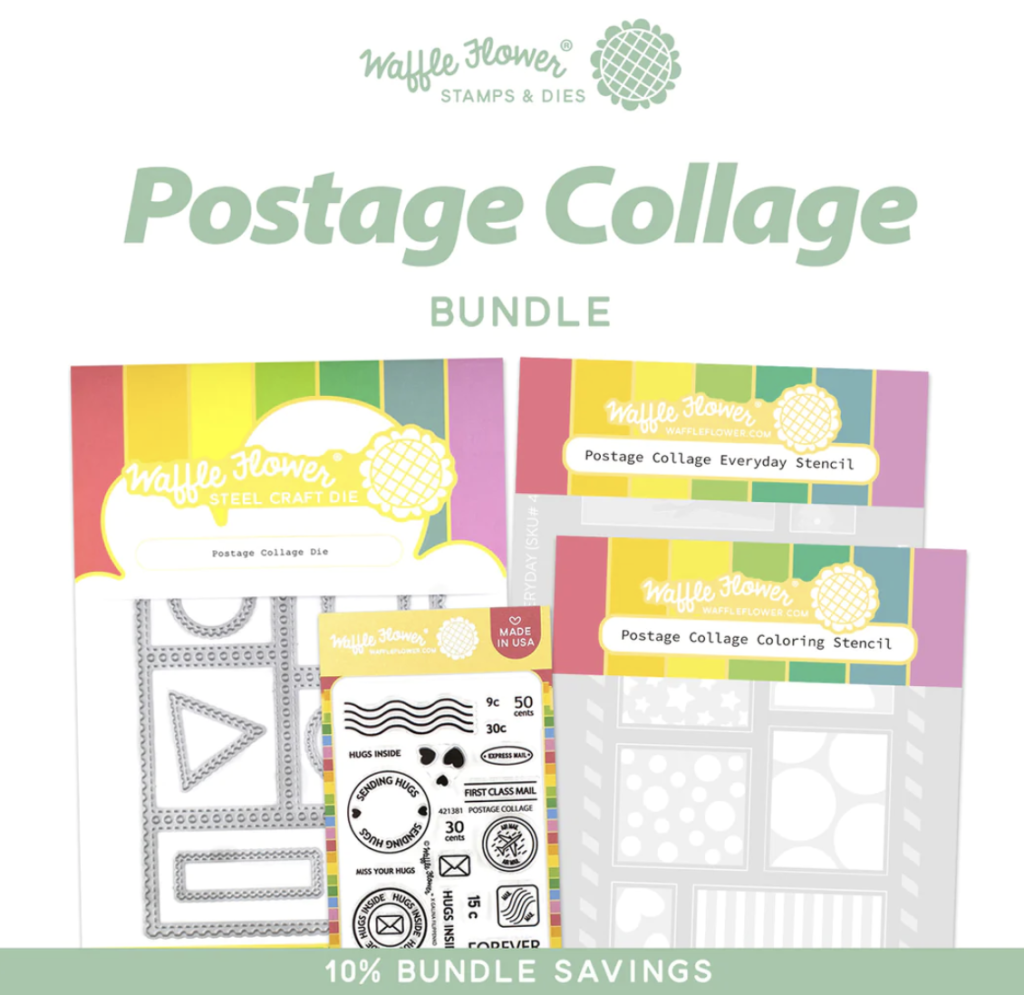
Postage Collage Rose Stencils and Love Stamps
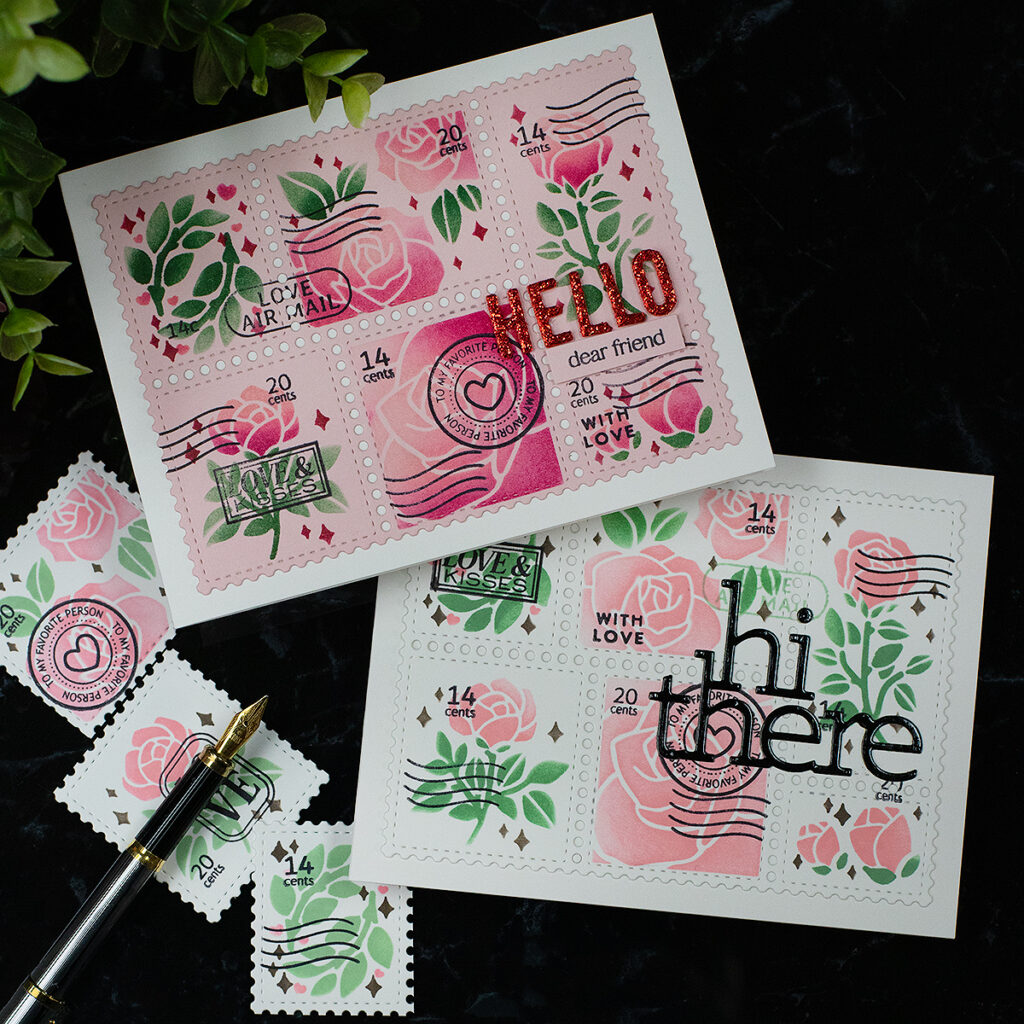
So today, I’m featuring the new Postage Collage Rose Stencils and Postage Collage Love Stamps.
To die-cut the panel, I used the main die included in the Postage Collage Dies.
Watch the Video
Top Tips
- Use a Gel Plate to hold the stencils
- If you are planning to create background pieces, use light ink colours.
- You can add interest and contrast by using dark ink colours in some areas.
To do this after inking the brush tap it over the stencil and near the image you will be stencilling. This will reduce the amount of ink in the tip of the bristles. Then, move the brush in circular motion dragging the ink from the stencil towards the image.
Cards Recipe
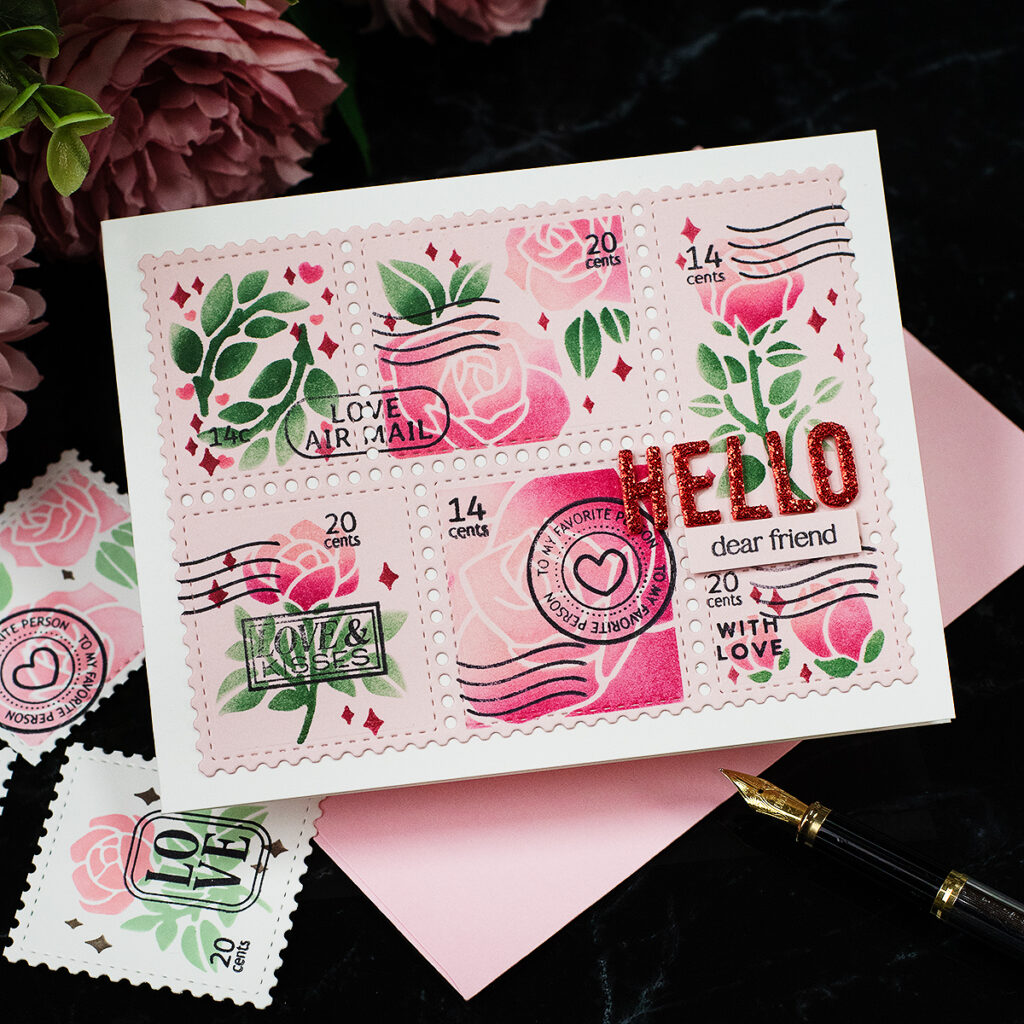
- Postage Collage Rose Stencils
- Gel Plate ( to hold the paper and stencils in place while using inks)
- Postage Collage Dies
- Postage Collage Love Stamps
- Simon Says Stamp Pawsitively Saturated Inks and Blending Brushes.
- Black Ink by Simon Says Stamp.
- The word “hello” was made with a die included in the Mini Slimline Windows die set.
- CZ Design Hi There Waffle Die.
Bonus Project

Instagram Giveaway
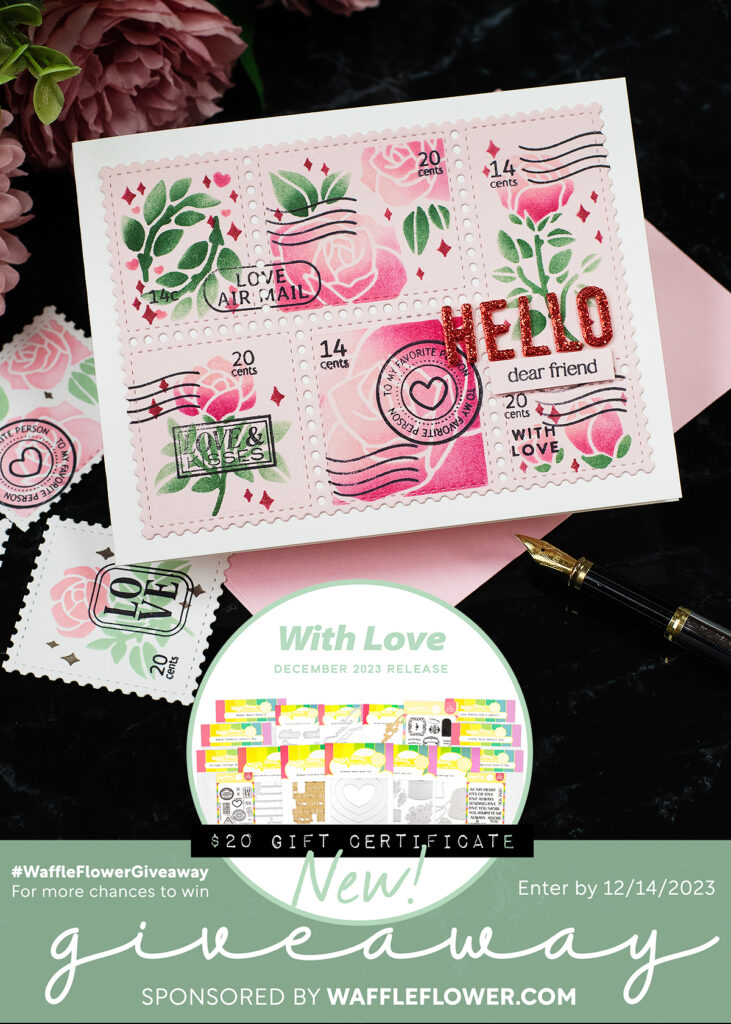
Win a $20 gift certificate to the Waffle Flower Store. To enter leave a comment in my Instagram post here.
The giveaway closes on December 14th at midnight – Pacific Time.
Winners will be randomly chosen and announced/ tagged in the giveaway post to claim their prize.
Thirty for more?
Supplies List
Affiliate links apply at no extra cost to you. Thanks for your support.


Leave a Reply