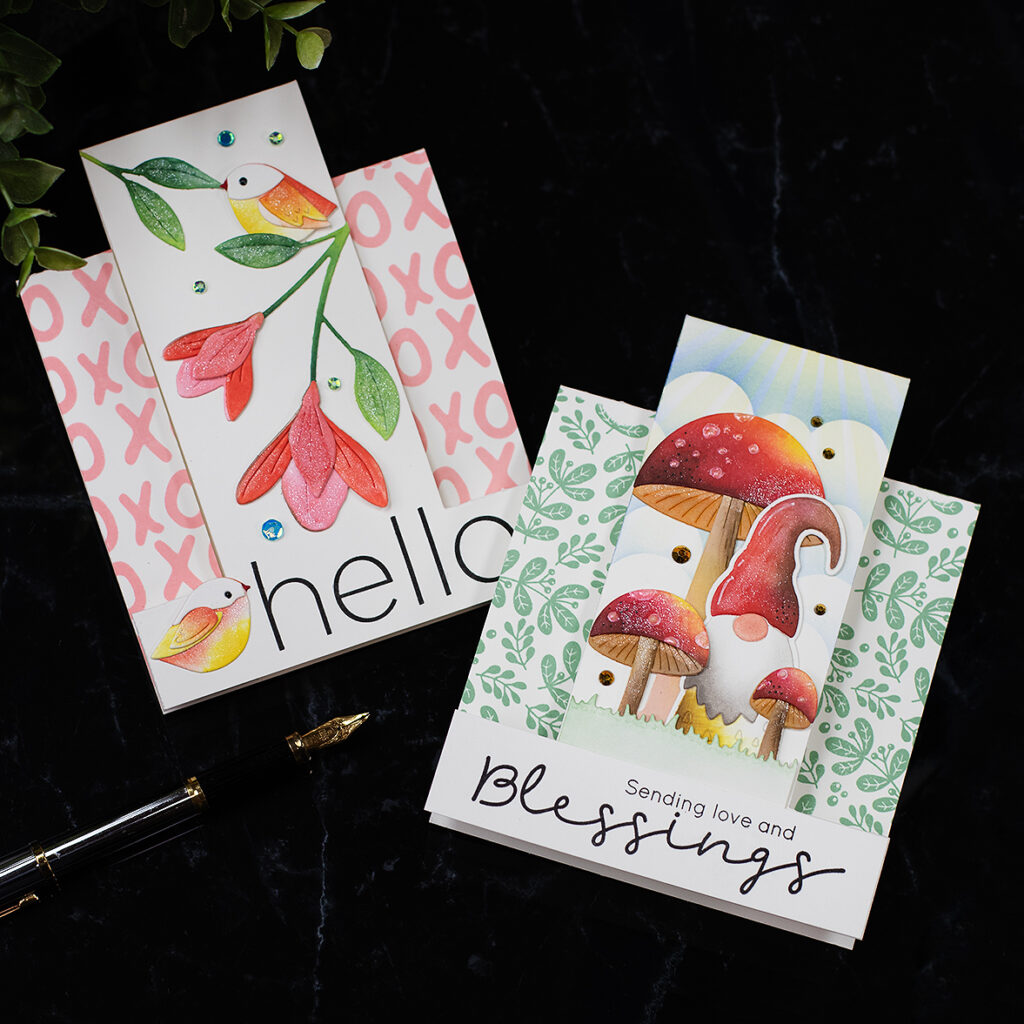
Center Step Cards or Stepped Cards are perhaps among the oldest fun folds in our cardmaking universe.
You might have noticed a predominant use of scrapbook paper to decorate this type of card, and I wanted to revamp the concept.
Perhaps introducing easy and fun stamping, die cutting, and stencilled ideas to decorate them.
Here I go…
In the videos, you will see me using the Spellbinders 12″ Paper Trimmer & Scorer which is very similar to the new Tim Holtz Precision Trimmer by Tonic Studios.
These tools are ideal for precision cuts but you can also use a craft knife, a ruler, and a stylus to do this.
You also see me masking different areas of the cards to be able to stamp or do stencilling on the stepped panels.
I love background stamps by Simon Says Stamp, these produce a sharp image that can be used to decorate the panels instead of using scrapbook paper.
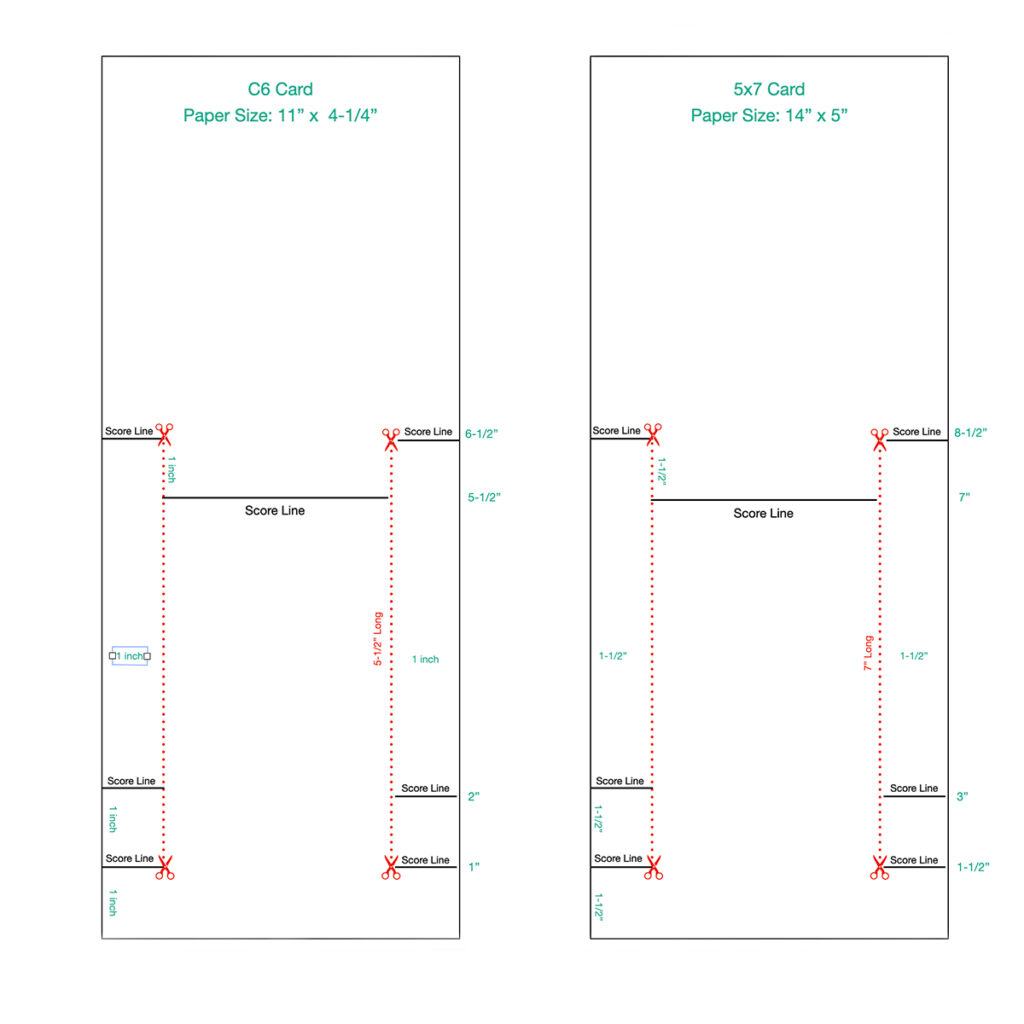
Center Step Card Template

Note: I used my graphic design skills ( None -lol) to create this visual aid.
So these are not scaled, they only show how to cut and score the paper to make C6 and 5×7 cards.
You can experiment and make this type of card in any size (just bear in mind the formula below)
The Formula
- Cut the paper to create a top-fold card base.
Examples:
11″x 4-1/4″ to create a C6 card
14″ x 5″ to create a 5×7 card. - DO NOT FOLD the paper.
- The first thing you need to do is to cut the sidelines.
Do this along the longest side of the paper and at a proportional distance from the sides and the bottom (see the 2 red lines in the image above) - These cuts should be as long as the card length = half of the length of the paper you cut to create the card base.
Examples:
Make a 5-1/2″ linear cut to make a C6 card ( 5-1/2″ x 4-1/4″)
Or a 7” cut for a 7x5 inches card. - If you cut them at 1″ from “the side” and “the bottom” of the panel, the distance between scoring lines and cut lines should be 1″ as well.
- When making larger cards such as a 5×7, you also need wider steps to create a balanced composition so you can increase the spacing between scoring lines. e.g. 1 -1/2″ instead of 1″.
Gosh, this all sounds more complicated than it is… but I hope you can understand me.
I’m confident that if you try this once you will be able to quickly understand the template.
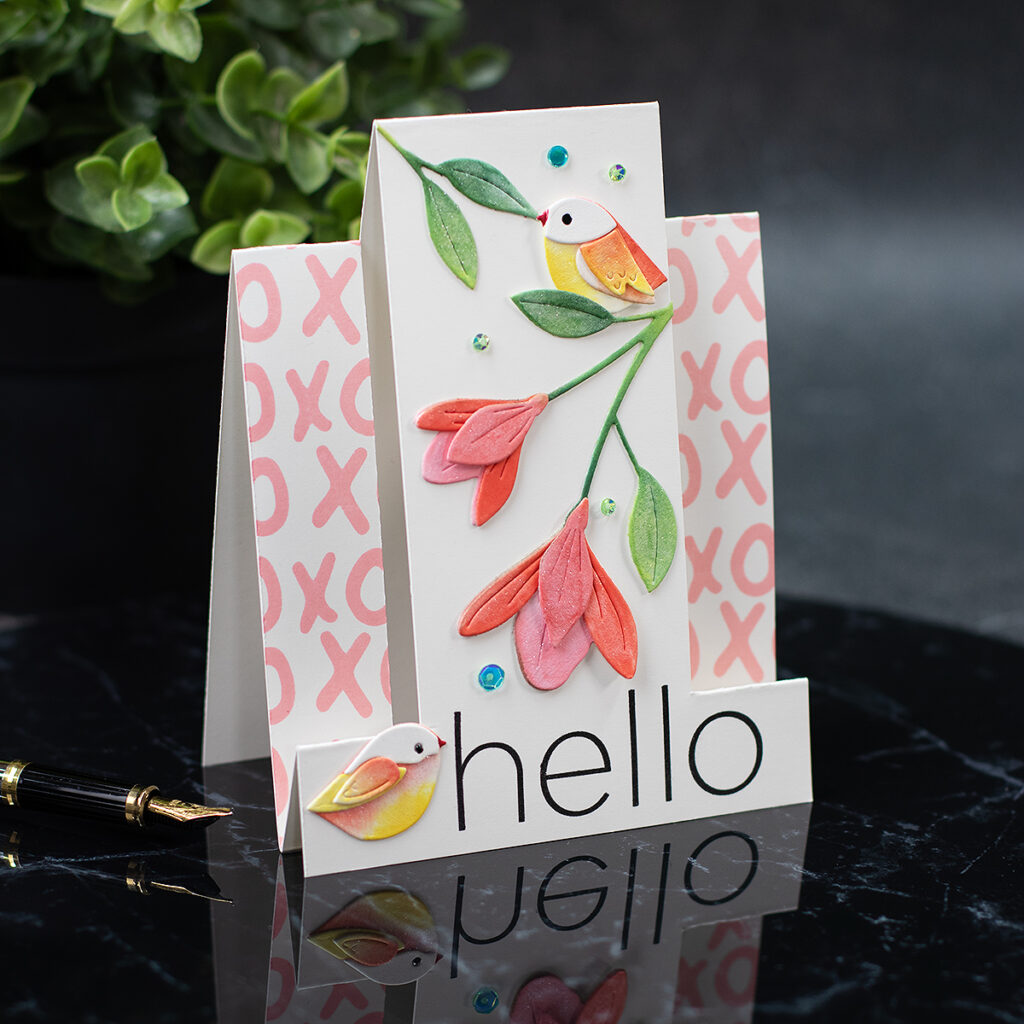
Birds and Flower Card

Card Recipe
- Layered Perky Flower Wafer Dies
- Layered Bird Bunch Wafer
- XOXO background stamp
- Frosty Pines Sequins
- Blending brushes
- Pawsitively Saturated Inks used:
Background: Cheeky
Birds and Florals: Cheeky, Blush, Puker, Lemonade, Sage, Pine.
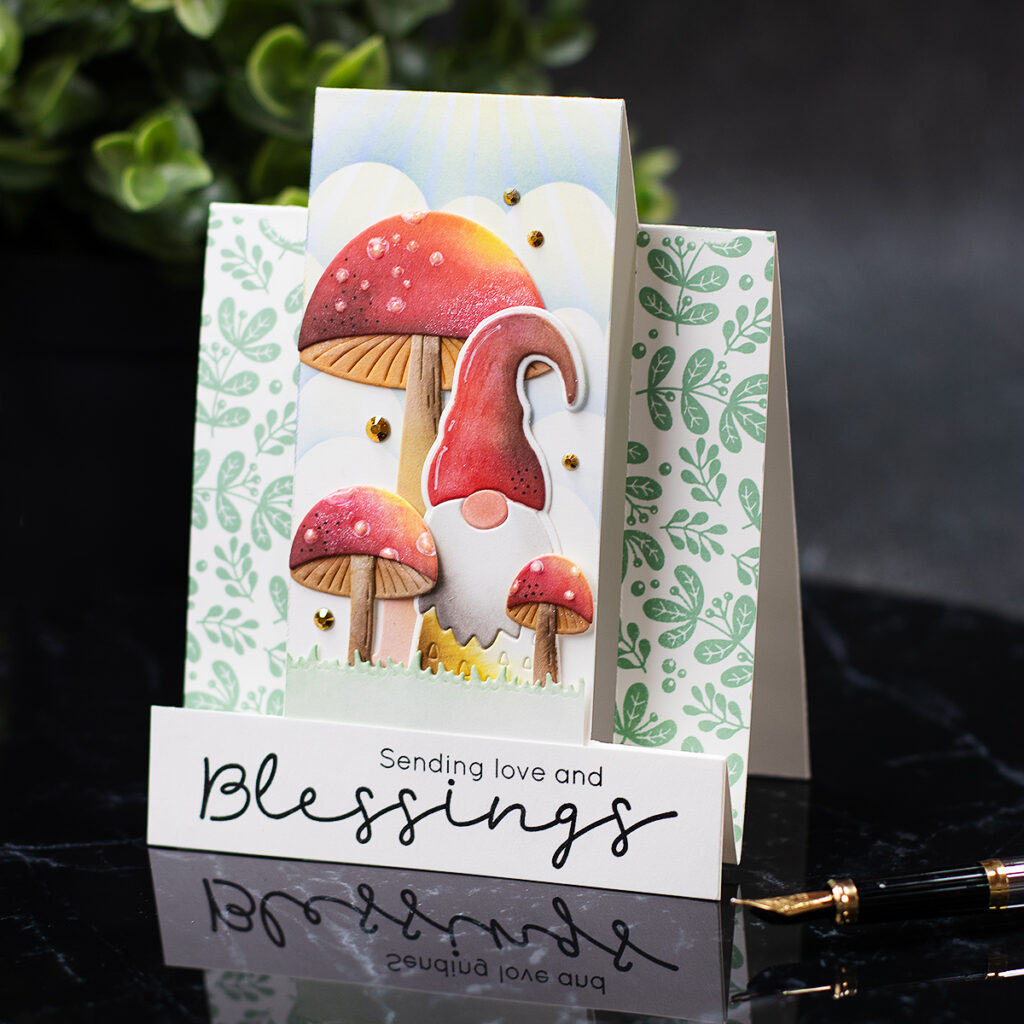
Gnomes and Mushrooms Card

Card Recipe
- Lil Gnome Wafer Die
- Mushroom Stems Wafer Die
- Bunny Blessings stamp set
- Clean Line XL stamp set
- Clouds for days
- Sun Ray Stencil
- Pawsitively Saturated Inks :
That is all for today!
I hope to be able to inspire you to try this fold if you are like me and by 2023 you haven’t.
Hugs
Bibi
Thirsty for more?
Supplies List
Affiliate links apply at no extra cost to you. Thanks for your support.


Bibi…I always love to see you making your cards! I took your butterfly class a few years back and you make card making so fun with your colors and ideas. I always learn something new from you!!
Aw Janette, thank you very much for your kind comment.