Hi crafty friends, I’m obsessed with Split Card Front Designs so here is another idea to easily add interest and a decorative element to your cards.
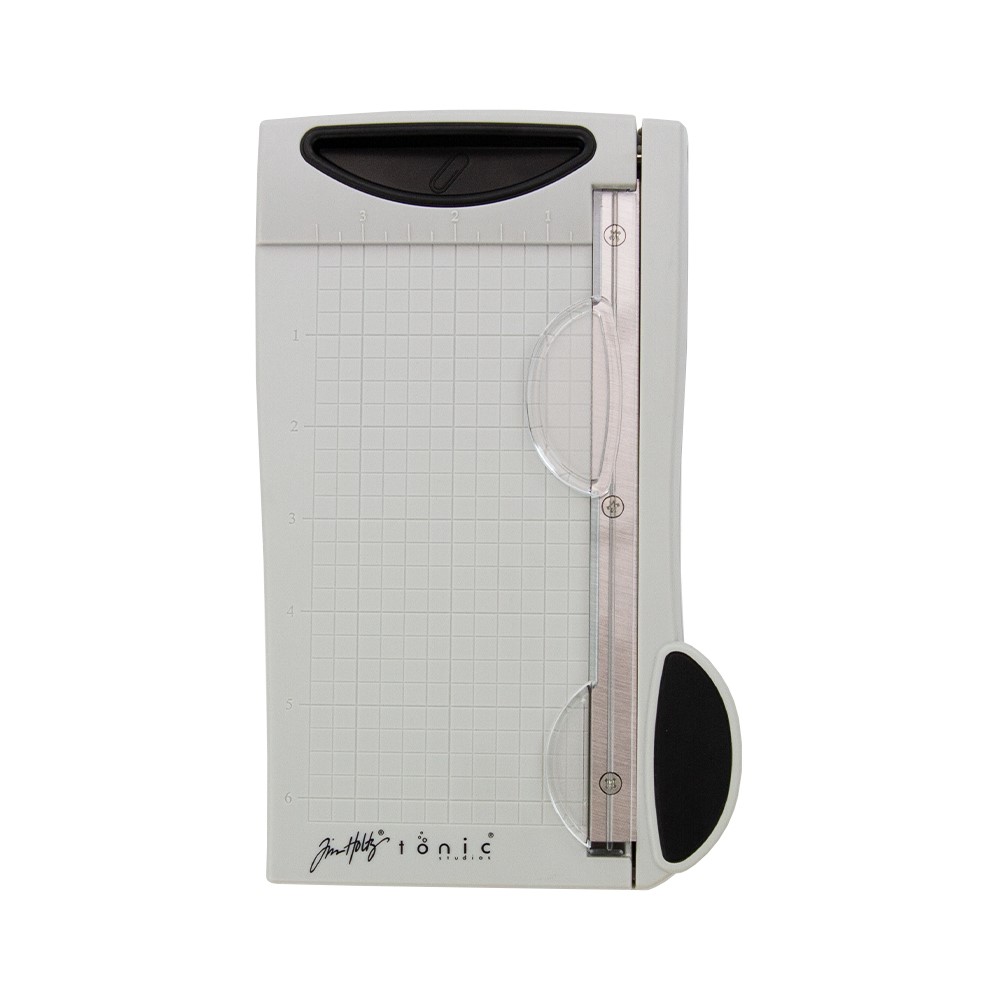
No dies are required but I’m loving the Tim Holtz Mini Trimmer to cut the card fronts as it provides very sharp, and clean cuts.
***Find links to the videos and to the complete supplies list below...

- The Tim Holtz Mini Trimmer is 6.25 inches (16cm) long. It is portable and lightweight.
- I used to cut banners, card fronts, and small pieces.
- For large projects, I used her big sister the Tim Holtz Maxi Guillotine which is 12.25 inches (31cm) long format cutting tool.
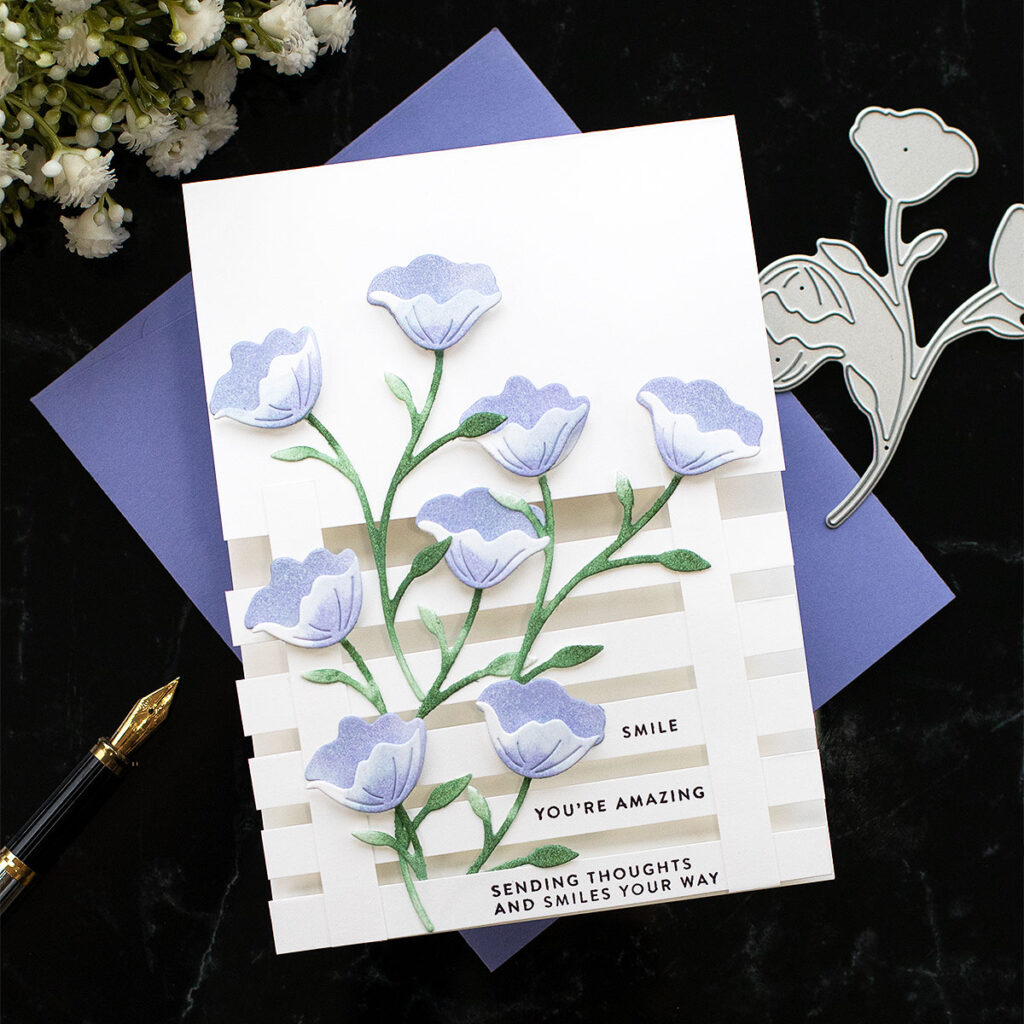
Split Card Front Design #4
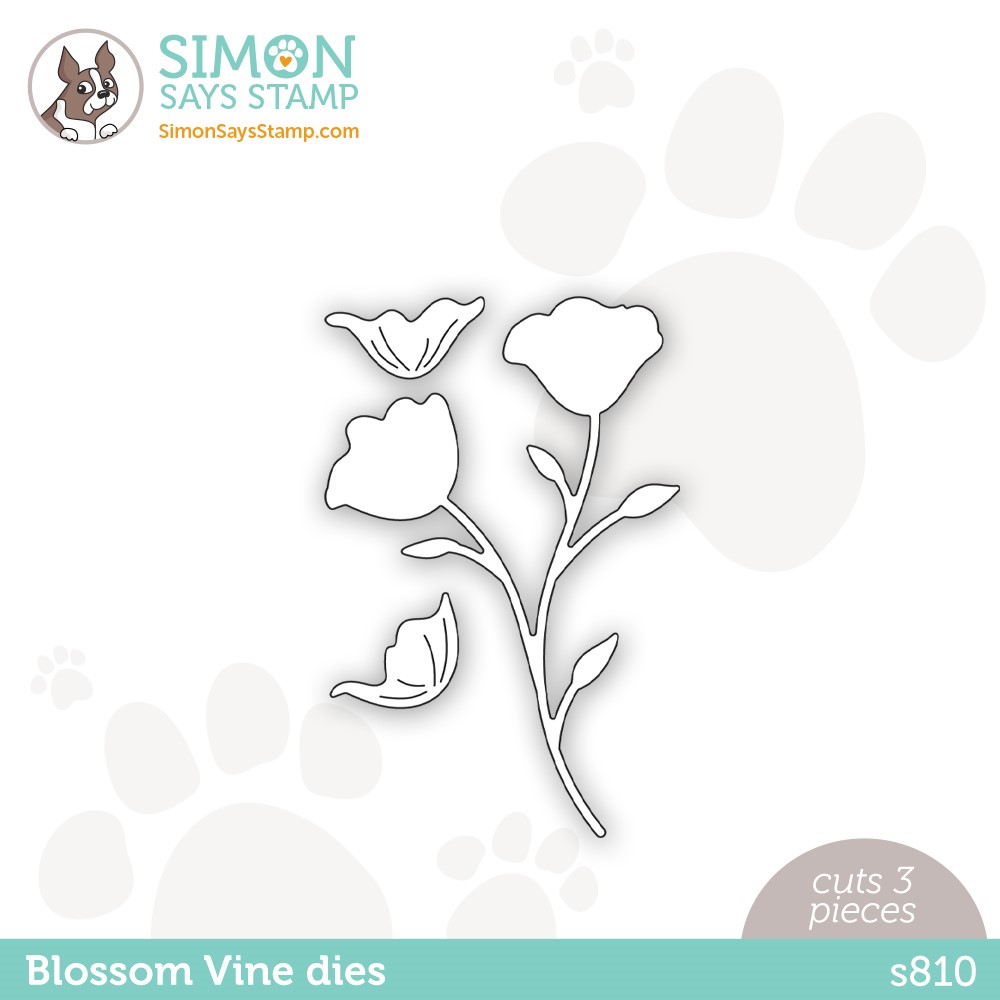
SSS Blossom Vine wafer Dies

This is a C6 card ( 4-1/4″ x 5-1/2″ inches) but using this idea you can make any card size, even slimline cards.
I did not measure anything but the stripes are about 3/8″ x 4-1/4″ inches (1cm wide).
So the split card front designs invite you to give a new appearance to the front panel of your cards while adding design elements that ease the layout of elements.
In this case, the front panels look like a trellis, a fence, or a leader and you can apply this design idea to “any top folding” card format or size.
I tried several things and I found that small and thin die cuts and sentiments work best.
So I used the Blossom Vine Die Set by Simon Says Stamps to decorate the front panel and the sentiments are from the Tiny Words Encouragement stamp set.
The sky’s the limit.
Blossom Vine Die Set

Card Recipe
- Use Neenah Classic Crest 80 LB Smooth Solar White or Neenah Classic Crest Ultra Thick 110 LB for the card base ( 250 or 300 grams) because these are sturdy, good for ink blending, and great surfaces for stamping.
- Then use the Tim Holtz Tonic Mini Trimmer Guillotine to cut the card front ( This is lightweight, easy to handle and provides a clean cut)
- To hold the pieces while glueing them in place use Simon Says Stamp Very Very Low tack tape.
- I use the Spellbinders PLATINUM 6 Die Cutting and Embossing Machine to die-cut any piece of my projects.
- For this card design, I found the Blossom Vine Wafer Dies ideal.
- I die-cut the flowers and steams out of Neenah Classic Crest 80 LB Smooth Solar White (250 grams) easy to die cut and great for ink blending.
- Using Small SSS Blending Brushes, I applied Morning and Violet Simon Says Stamp Pawsitively Saturated Inks and for the steams I used Sage and Pine.
- The sentiments are from the Tiny Words Encouragement stamp set and to stamp them, I used Black Simon Says Stamp Premium Dye Ink and the Misti.
***The Misti was essential to get the stamping right and Black Simon Says Stamp Ink provides very clean and detailed stamped sentiment. - To adhere the flowers to the card front I used Nuvo Deluxe Adhesive and some flowers were affixed in place using 3D Foam squares.
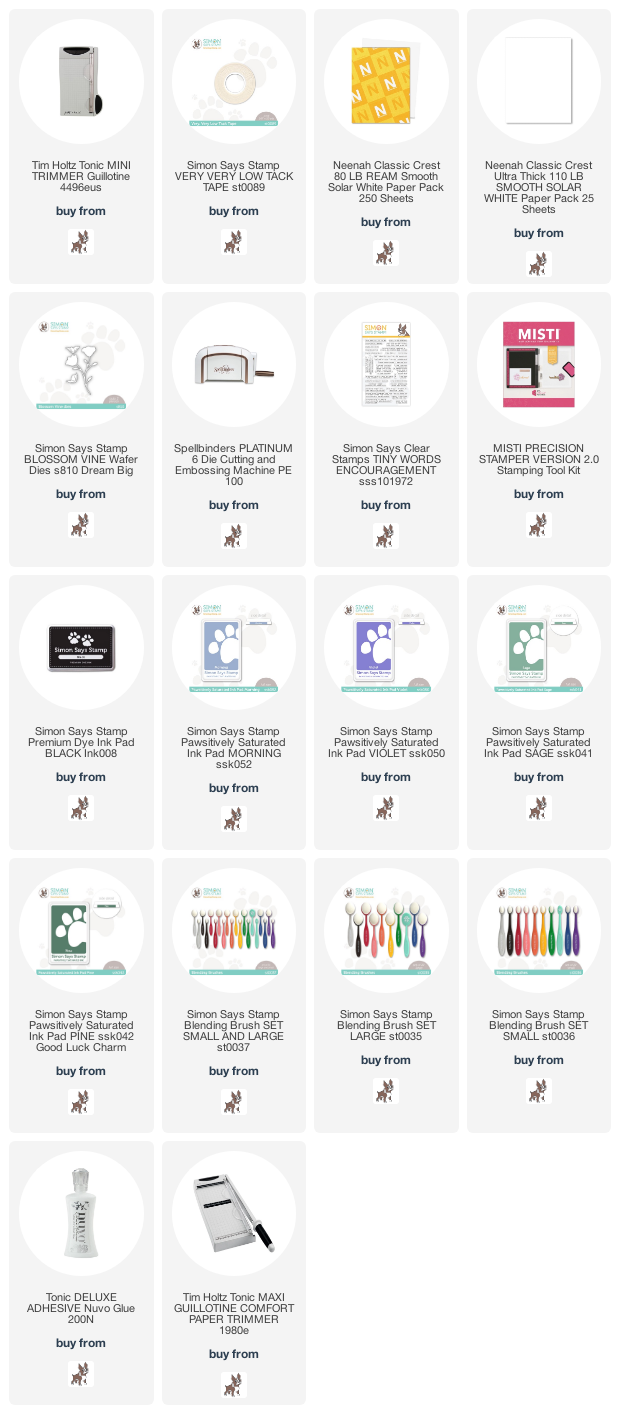
*** Find the complete supplies list with thumbnails at the bottom of this blog post.

As images are better than words, please take a minute to watch the videos below.
You will be able to see how easy is to do this and you can play around with creating new designs.
PIN ME

Thirsty for more?
That is all for today
Thanks for stopping by
X Bibi


I wish you would put the actual size of the strip you cut off. It’s hard to tell from watching the video and it would be easier to know the sizes. Thanks.
Hello, I did not measure anything really.
This is a C6 card base. The strips are about 3/8″ (1cm).
You can add as many as you want.
I”ll add this to the description.x
It would be better if you can show us how to make this card. I come from The Netherlands and do not know what C6 cardbase is. How do I fold this??
Hello! there are videos available in this post showing you how to make this card ( youtube and Instagram).
Find the links in the post.
C6 format = 4-1/4″ x 5-1/2″ inches.
You can make this in any size.
The strip size is in the written instructions;
they are approx 1cm wide.
hope this helps
I always love your cards and creations, even when I do not say anything.
You have such great talent. Just keep on showing and explaining. And it is great to let one know where and what to get.
I had told myself I would only stamp and color or do my own drawing at times. But I fell in love with your card, the flower vine and your idea with the split fence and other ideas.
Thanks much, truly!.
Regina
PS. my mailbox is on Yahoo, my website is Microsoft Edge
Thank you very much Regina for taking the time to leave a comment and for your kind words. Happy crafting. x
Love the split design card Bibi.
Rene from OZ x
thank you. x
nice work so pretty and not too fiddly
Delightful card, Bibi! You’ve got my mind working overtime on all of the ways I can use this idea for my cards. Thanks a bunch! I hope you won’t mind if I case your card for the card making class I teach at our local cancer support centre.
My ideas are yours and happy teaching… Thank you x
I absolutely love this card. However, where do you write your message? If you write on the inside of the card, it will show through. Do you just write inside on the top third of the card where it won’t show through?
Hello, thanks. I would write in the whole panel. It is totally optinal 🙂
It’s so pretty, thank you for tutorial!!
This is such a lovely card. Thanks fos sharing. x Bibi