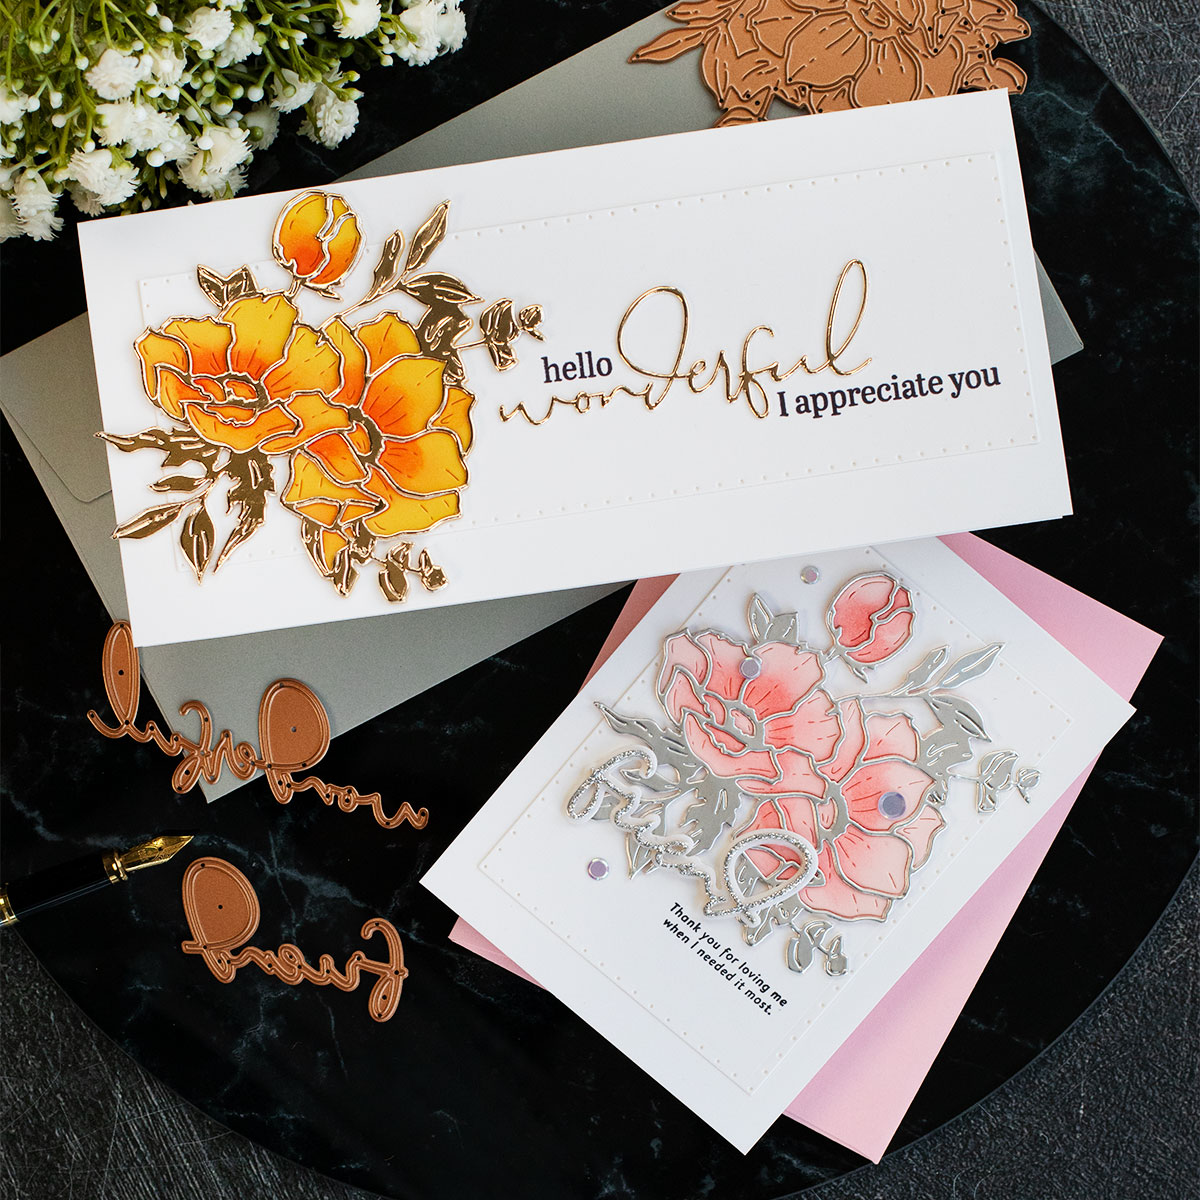
Hi crafty friends, this month Spellbinders released the Anemone Blooms Collection by Yana Smakula.
As always Yana’s collections are stunning!
Anemone Blooms include dies and glimmer plates listed below:
- Anemone Blooms die set
- Wonderful Script Sentiments die set
- Anemone Glimmer Blooms Hot Foil Plate & Die Set
- Inside Card Glimmer Sentiments Glimmer Hot Foil Plate
- Hello, Friend Sentiments Glimmer Hot Foil Plate
So I decided to make quick and easy cards also incorporating stamped sentiments from other stamps in my stash that has no relation with the Anemone Blooms release.
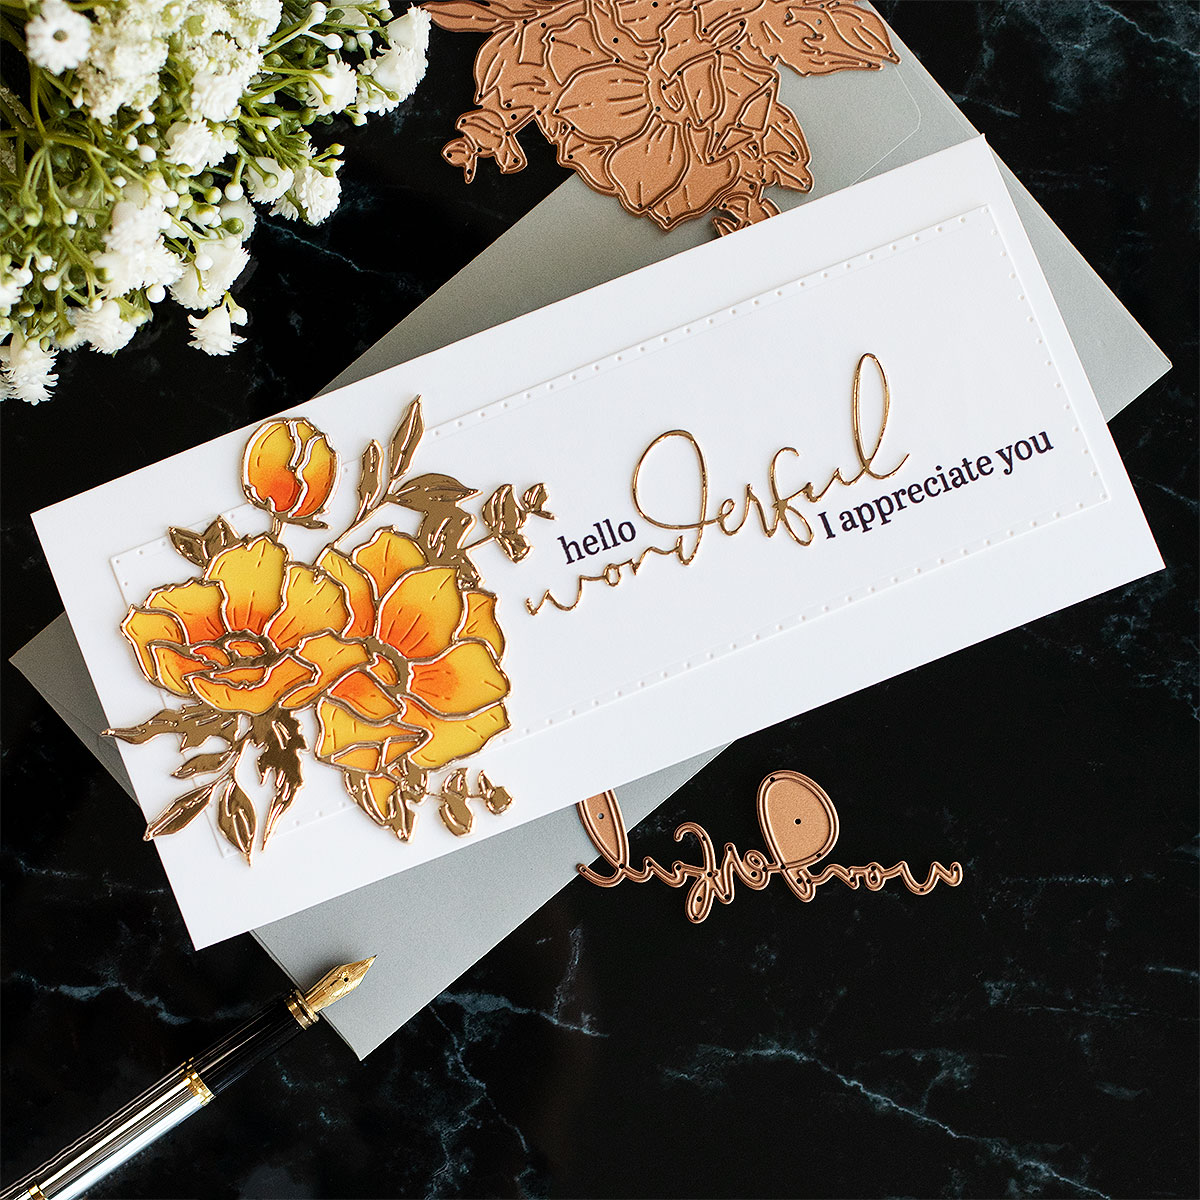
Anemone Blooms Slimline Card
Card Recipe
- Anemone Blooms die set
- Wonderful Script Sentiments die set ( die-cut word: wonderful)
- Postage Edge Slimline die set ( background panel)
- Yellow cardstock
- Detail round brushes and Grapefruit Pawsitively Saturades Ink
- Harvest Gold Mirror cardstock which is also included in the must-have gold paper pad here
- Just a Note Pansy stamp set ( black sentiments)
- Simon Says Stamp Black Ink and the Misti stamping tool for precision stamping.

Floral C6 Card
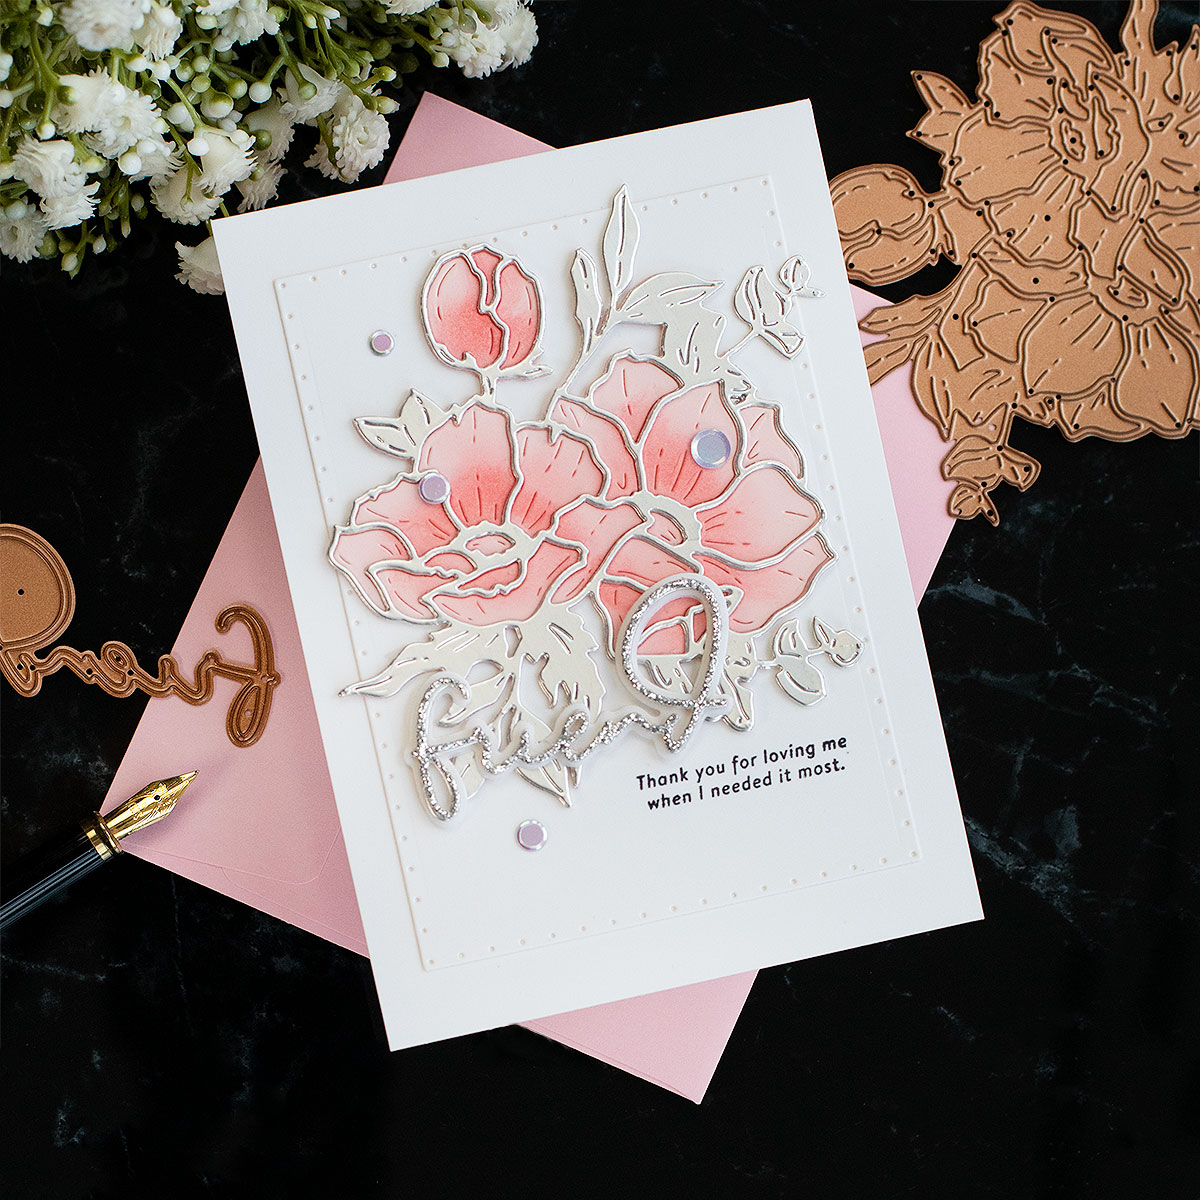
- Anemone Blooms die set ( flower and die-cut sentiment: Friend)
- Pink cardstock
- Detail round brushes and Cheeky Pawsitively Saturades Ink
- Silver Matte cardstock
- Silver Glitter Cardstock which is also included in the Winter Glitter 6×6 Pack here.
- Vellum ( for the backing of the die-cut sentiment)
- Simon Says Stamp Black Ink and the Misti stamping tool for precision stamping.
- Postage Edge Rectangles
- Thankful Flowers stamp set
Cardmaking Process.
- Simply die-cut the Anemone out of coloured cardstock. The die-cuts will tend to say together so add tape at the back to keep them that way.
- Apply contrasting ink over the central areas of the flowers using Detail Round Brushes.
- Die-cut another Anemone out of mirror cardstock and use the Spellbinders Tool N One to remove the negative die-cuts leaving only the outer line of the die-cut image.
- Glue the metallic image over the coloured cardstock.
- Die-cut a backing panel and use a mix of die-cut and stamped sentiments to create your own messages.
- To add dimension to the sentiment cut 2 or 3 sentiments out of white cardstock and stack them up.
- To mute the backing panel of a die-cut sentiment, die-cut a sentiment a layer of vellum (this gives a very soft finishing touch )
Pin Me

Thirsty for more?
That’s all for today.
Thanks for stopping by.
x
Bibi
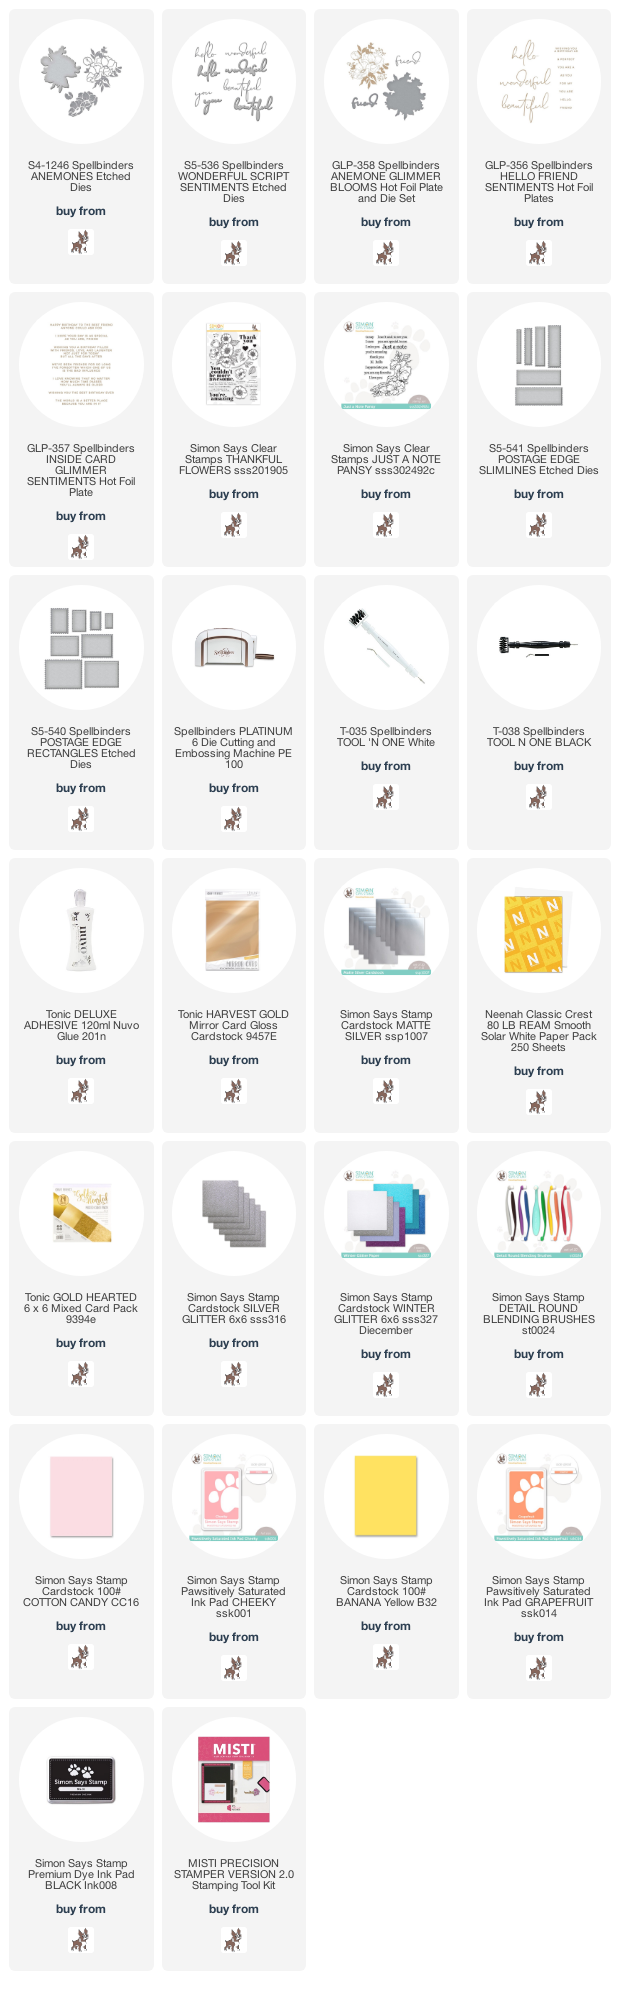
Supplies List
Affiliate links apply at no extra cost to you. Thanks for your support.


Leave a Reply