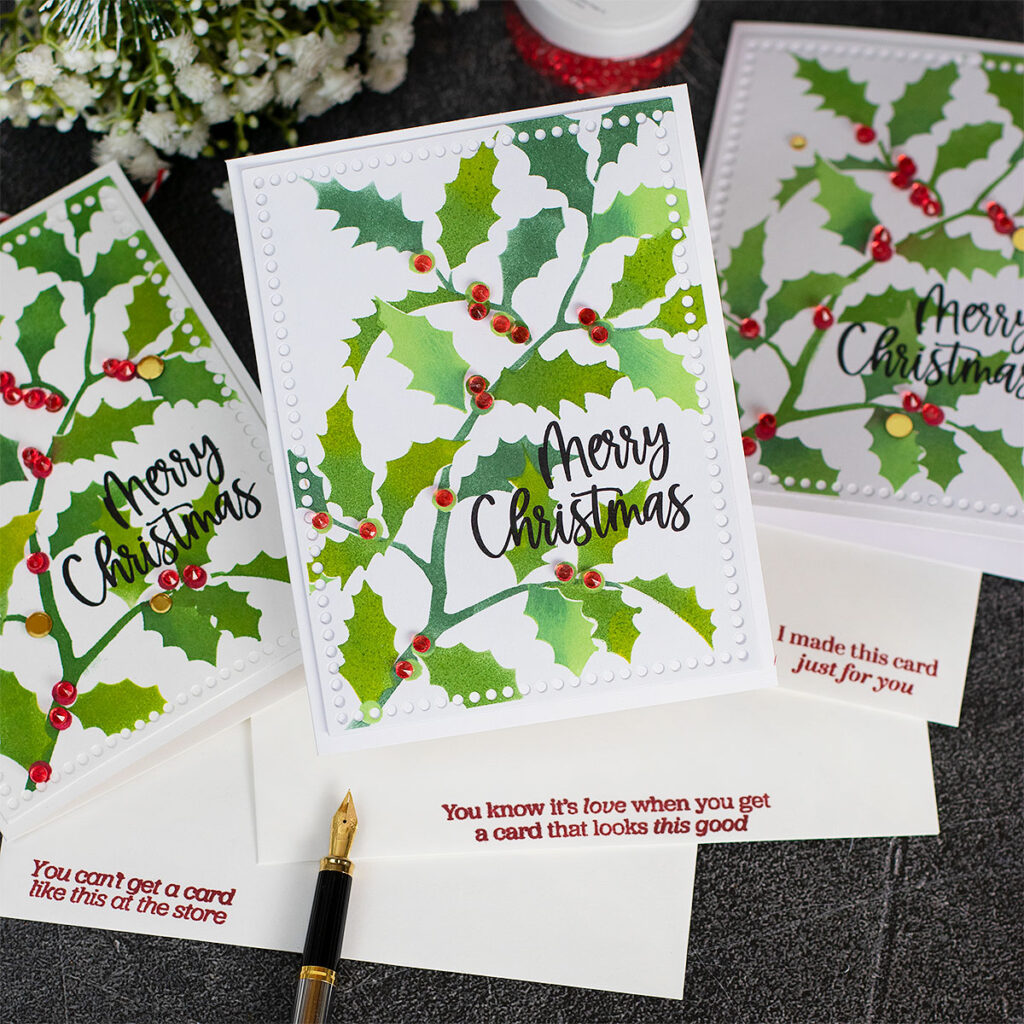
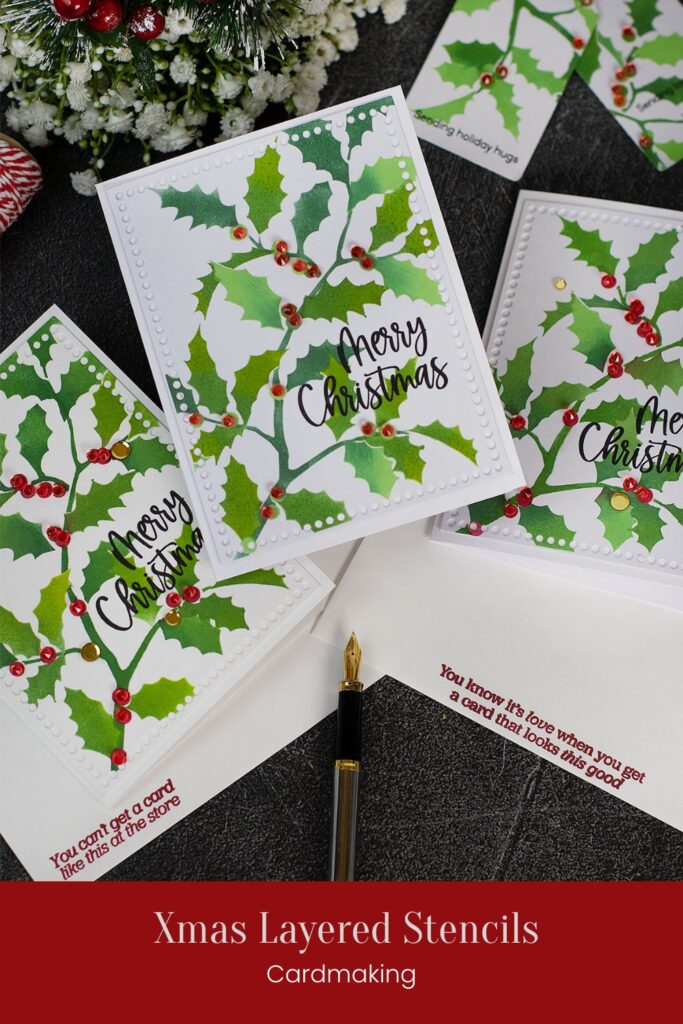
Hello crafty friends, for today I’m sharing super simple cardmaking ideas using the new Holly Branch Layered stencil by Simon Says Stamps.
I also made a couple of tags using one of the stencilled panels…
Holly Branch Layered stencil
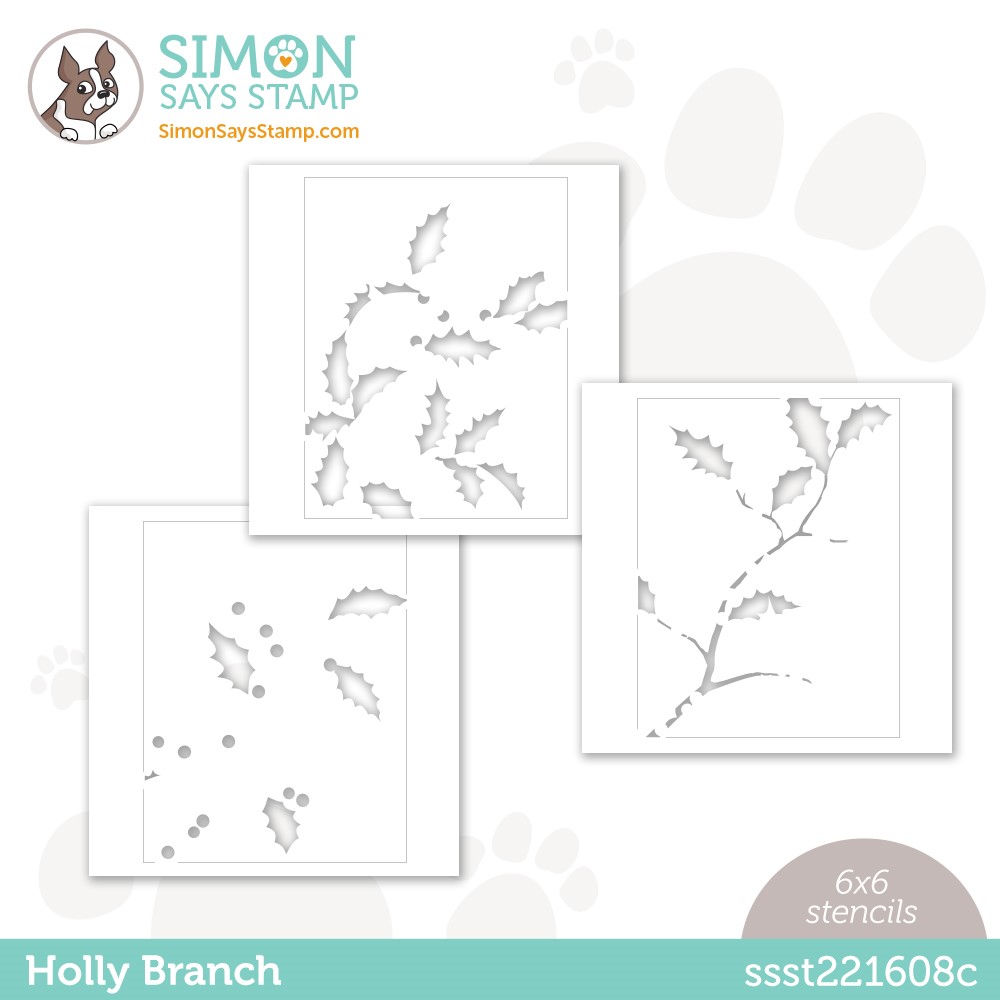
- The new Holly Branch Layered stencil by Simon Says Stamps is a 3 layers stencil.
- It will allow you to easily add differt colours or mediums to the leaves and the berries.
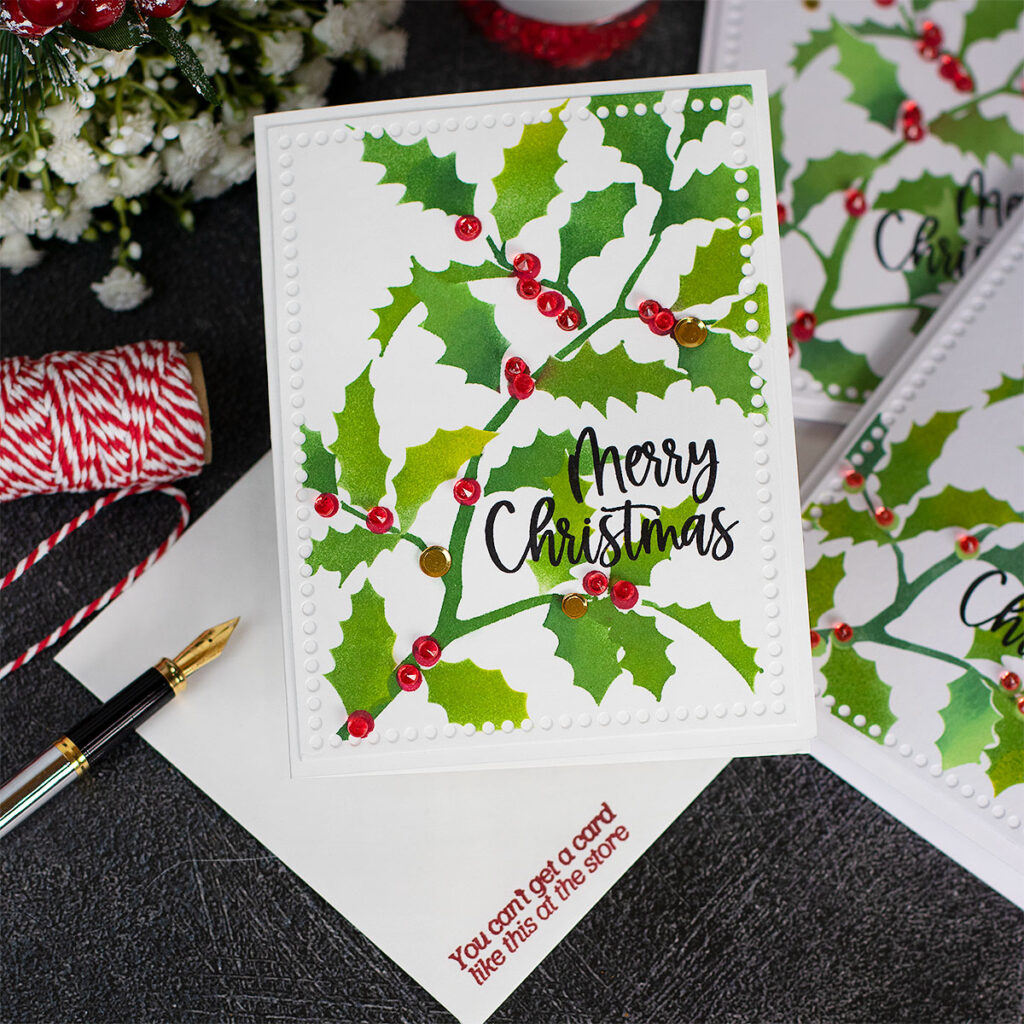
After my explant surgery, I need to keep things very simple and I decided to add only green ink colours to some of the panels.
I was planning to add any red rounded embellishment or Nuvo Drops over the stencilled berries to add dimension, interest, and sparkle.
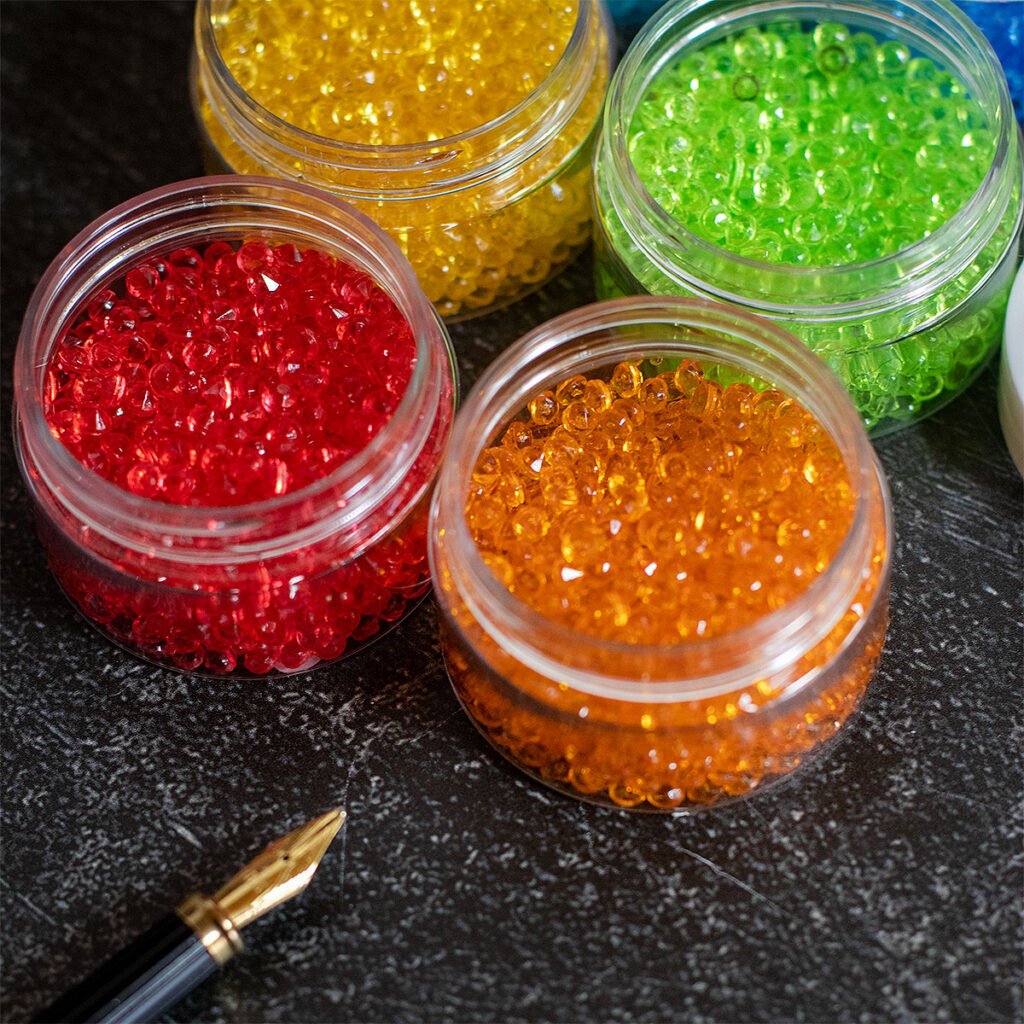
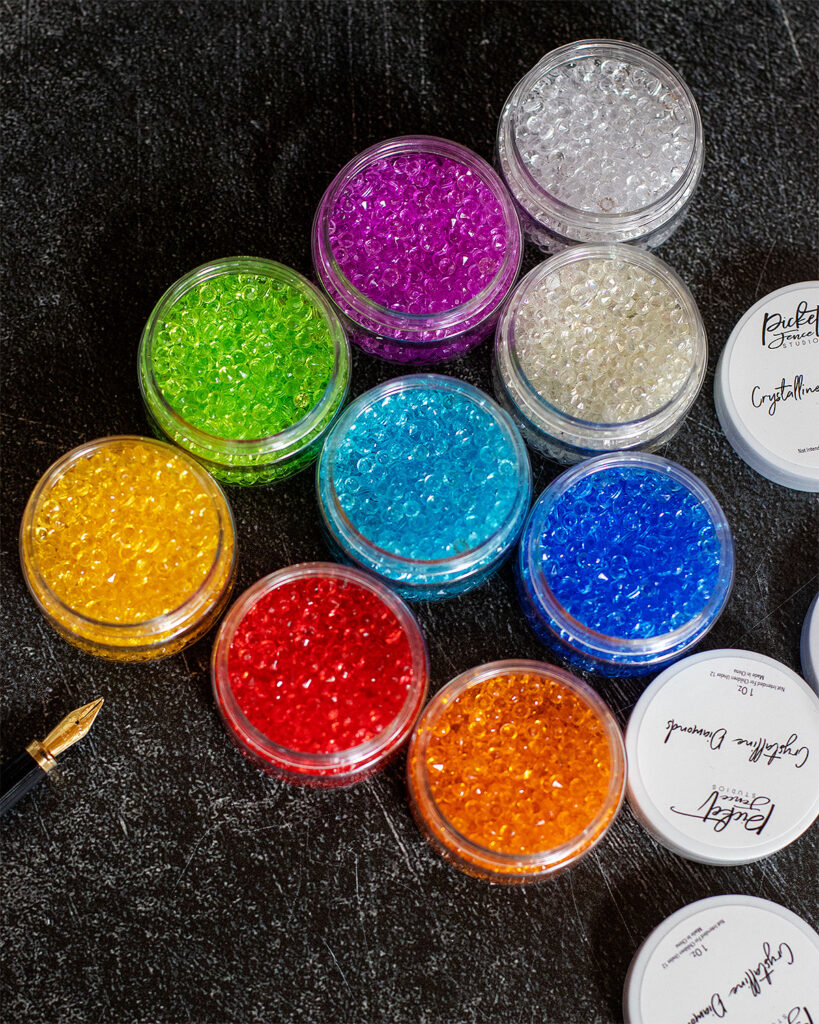
From all the options we have to embellish this type of stencilled panels, I chose red Crystalline Diamonds by Picket Fence available in multiple colours.
These diamonds are pretty cute and they have a flat side that you can easily stick to the paper using Nuvo Deluxe Adhesive.
They add a lot of dimensions and I consider them great for cards to be delivered personally.
Yes, you can mail them but bear in mind that the thickness could increase the cost of postage depending on the country you live in.

Cards Recipe
- Main stencilled image: Holly Branch Stencil
- Card sentiments: Heart of Christmas stamp set
- Background: A2 Marquee Wafer Dies
- Tags: Nested Tags Die Set
- Messages on the envelopes: Stamped with Love Stamp Set
Pawsitively Inks Used:
The Cardmaking Process
Using stencils to make this type of project is super easy.
Years ago I liked to apply temporary spray adhesive at the back of the stencil but I stopped doing it because when removing the stencil I could find adhesive residues on the paper and that doesn’t look good
Instead, I use temporary tape to hold the paper in place over the craft mat. I like to use the Simon Says Stamps Dot Runner. It is very strong and sticky, so I only use it a little bit.
When planning to make several cards using layered stencils, I use a DIY tape hinge system to hold the stencils in place and quickly align and ink the images.
It is also key to use blending brushes according to the size of the area you are working on.
To make these panels I used Detail Round blending brushes ( for very small areas), and Small blending brushes (for small areas).
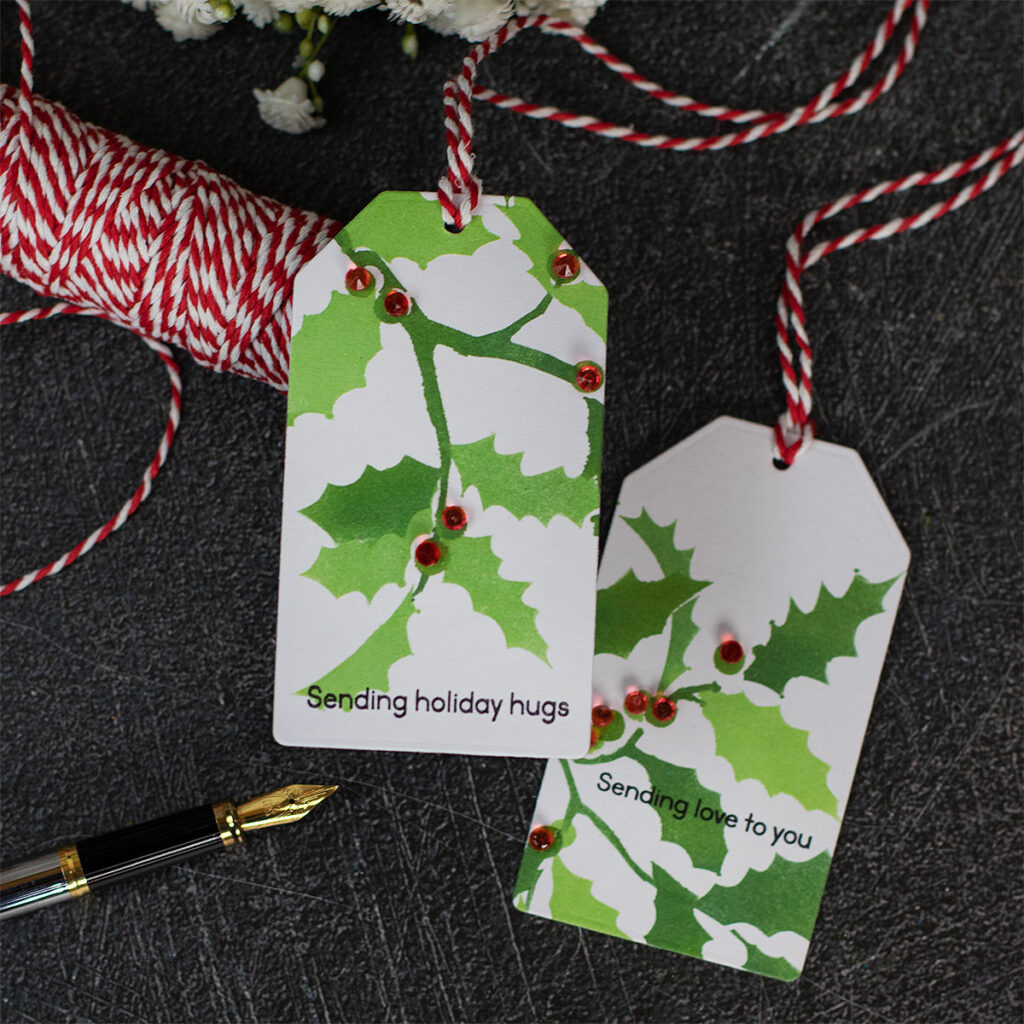
You can use any ink colours, or add the stencilled image over any surface or craft project
PIN ME
Thirsty for More?
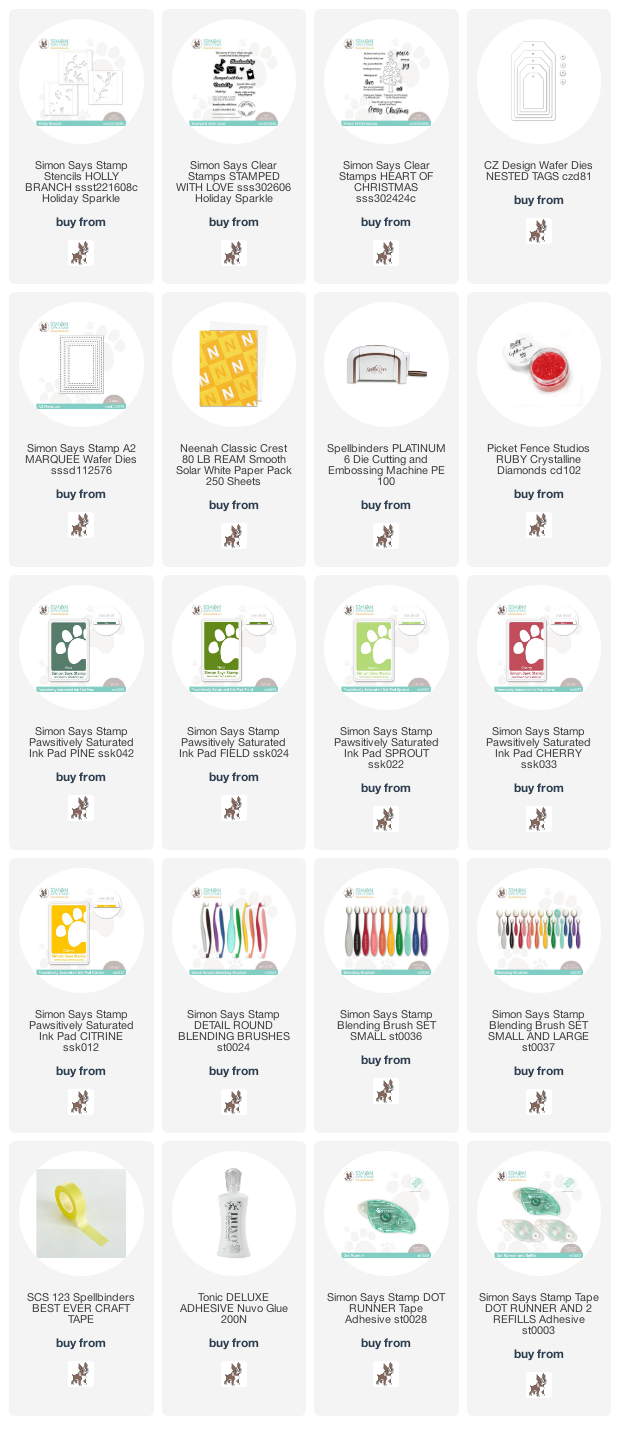
Supplies List
Affiliate links apply at no extra cost to you. Thanks for your support.


Super-gorgeous, Bibi!! Thanks for posting this!
Lori S in PA